Basic DIY maintenance

To do your own maintenance is very rewording, applies doubly if you ain't a mechanic or on a low budget - every success feels so good
March 2025

Wheel washers - spacers  @302K

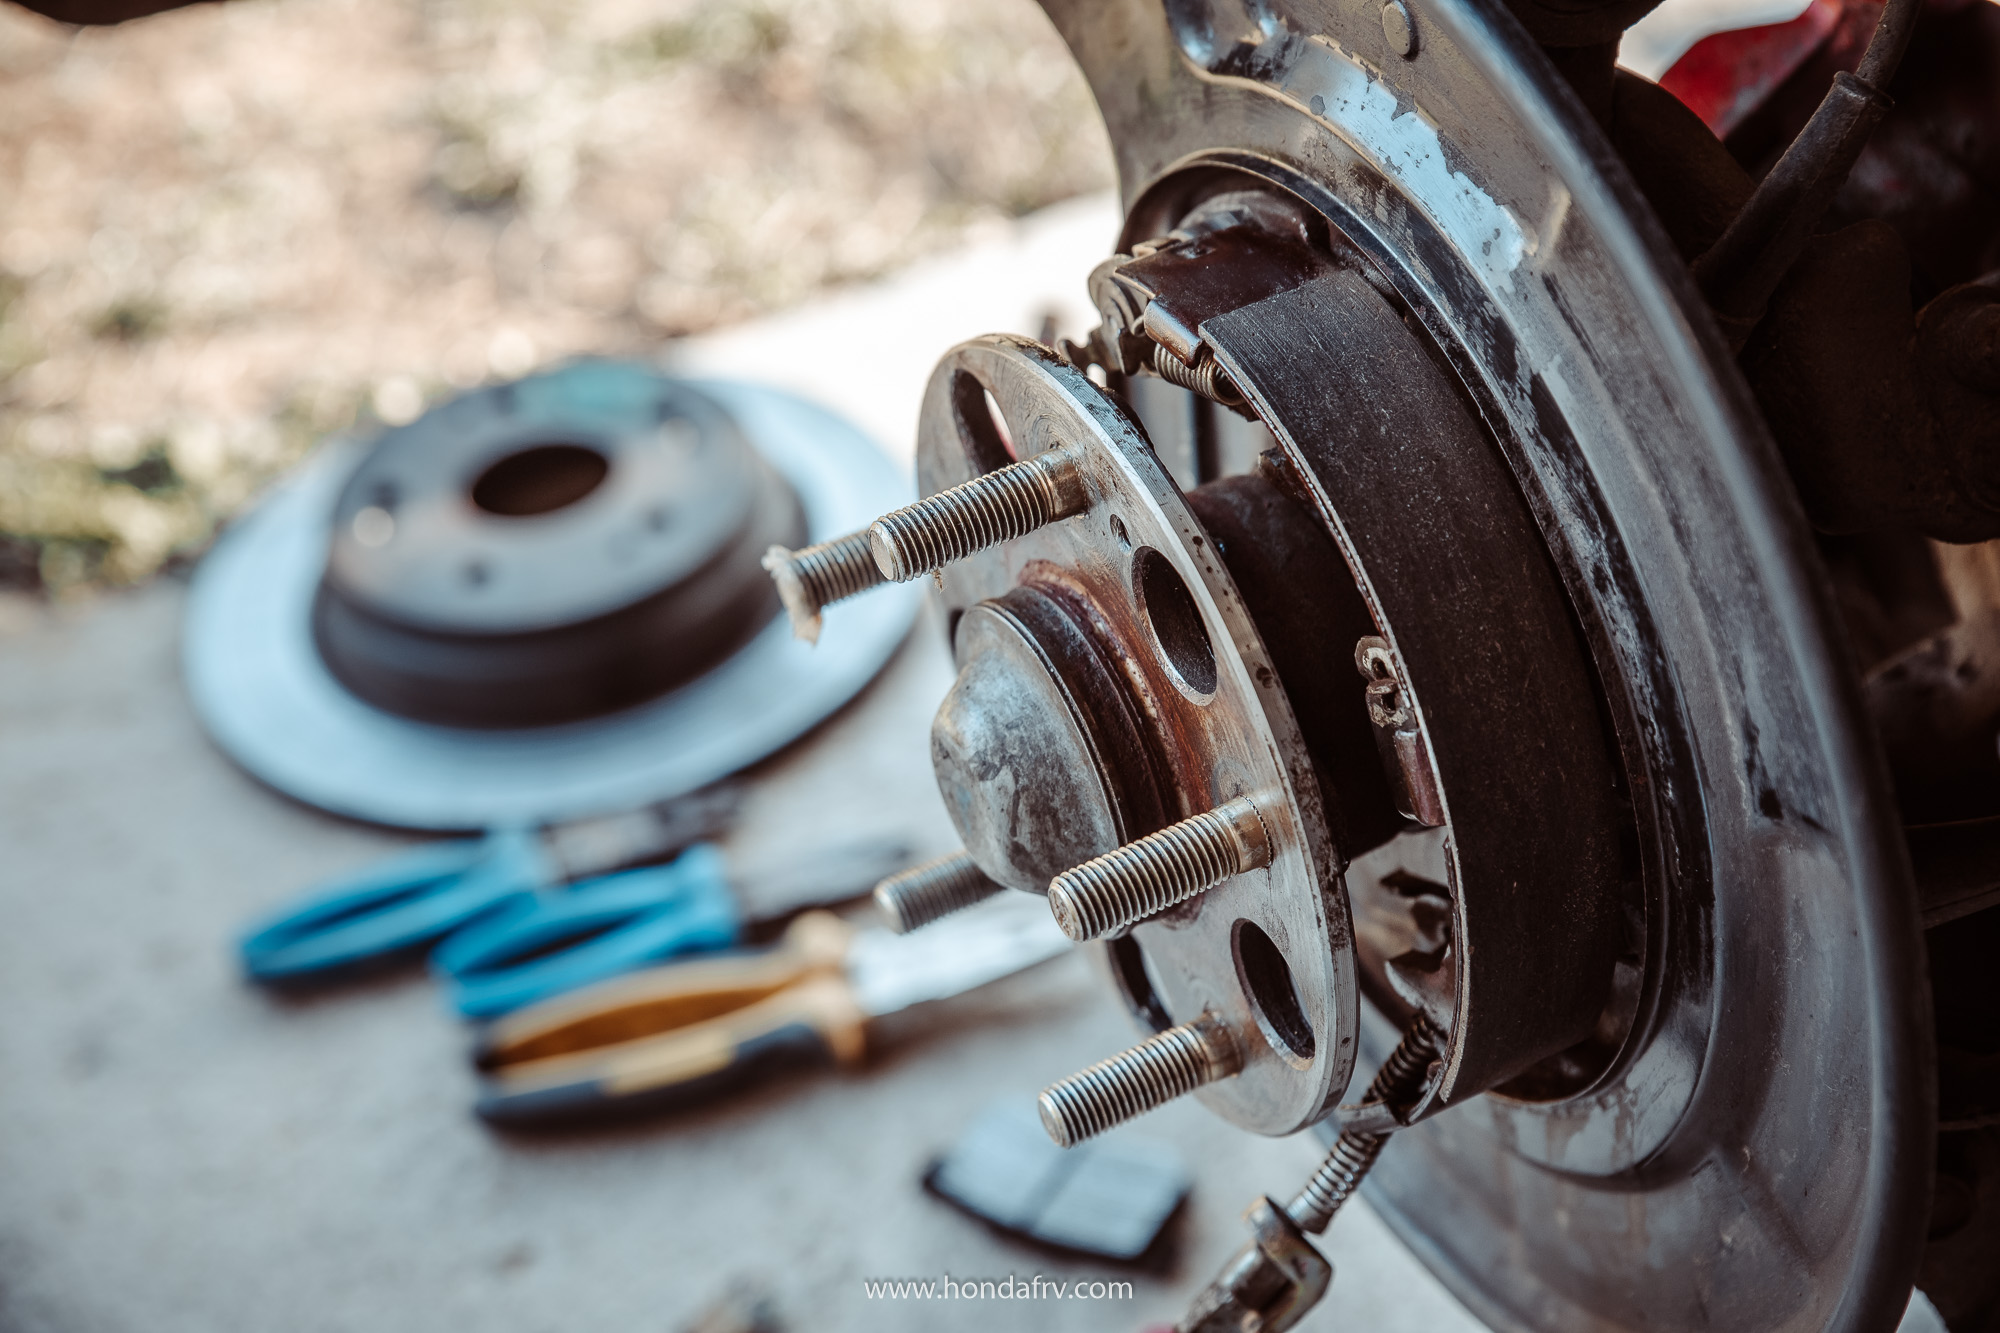
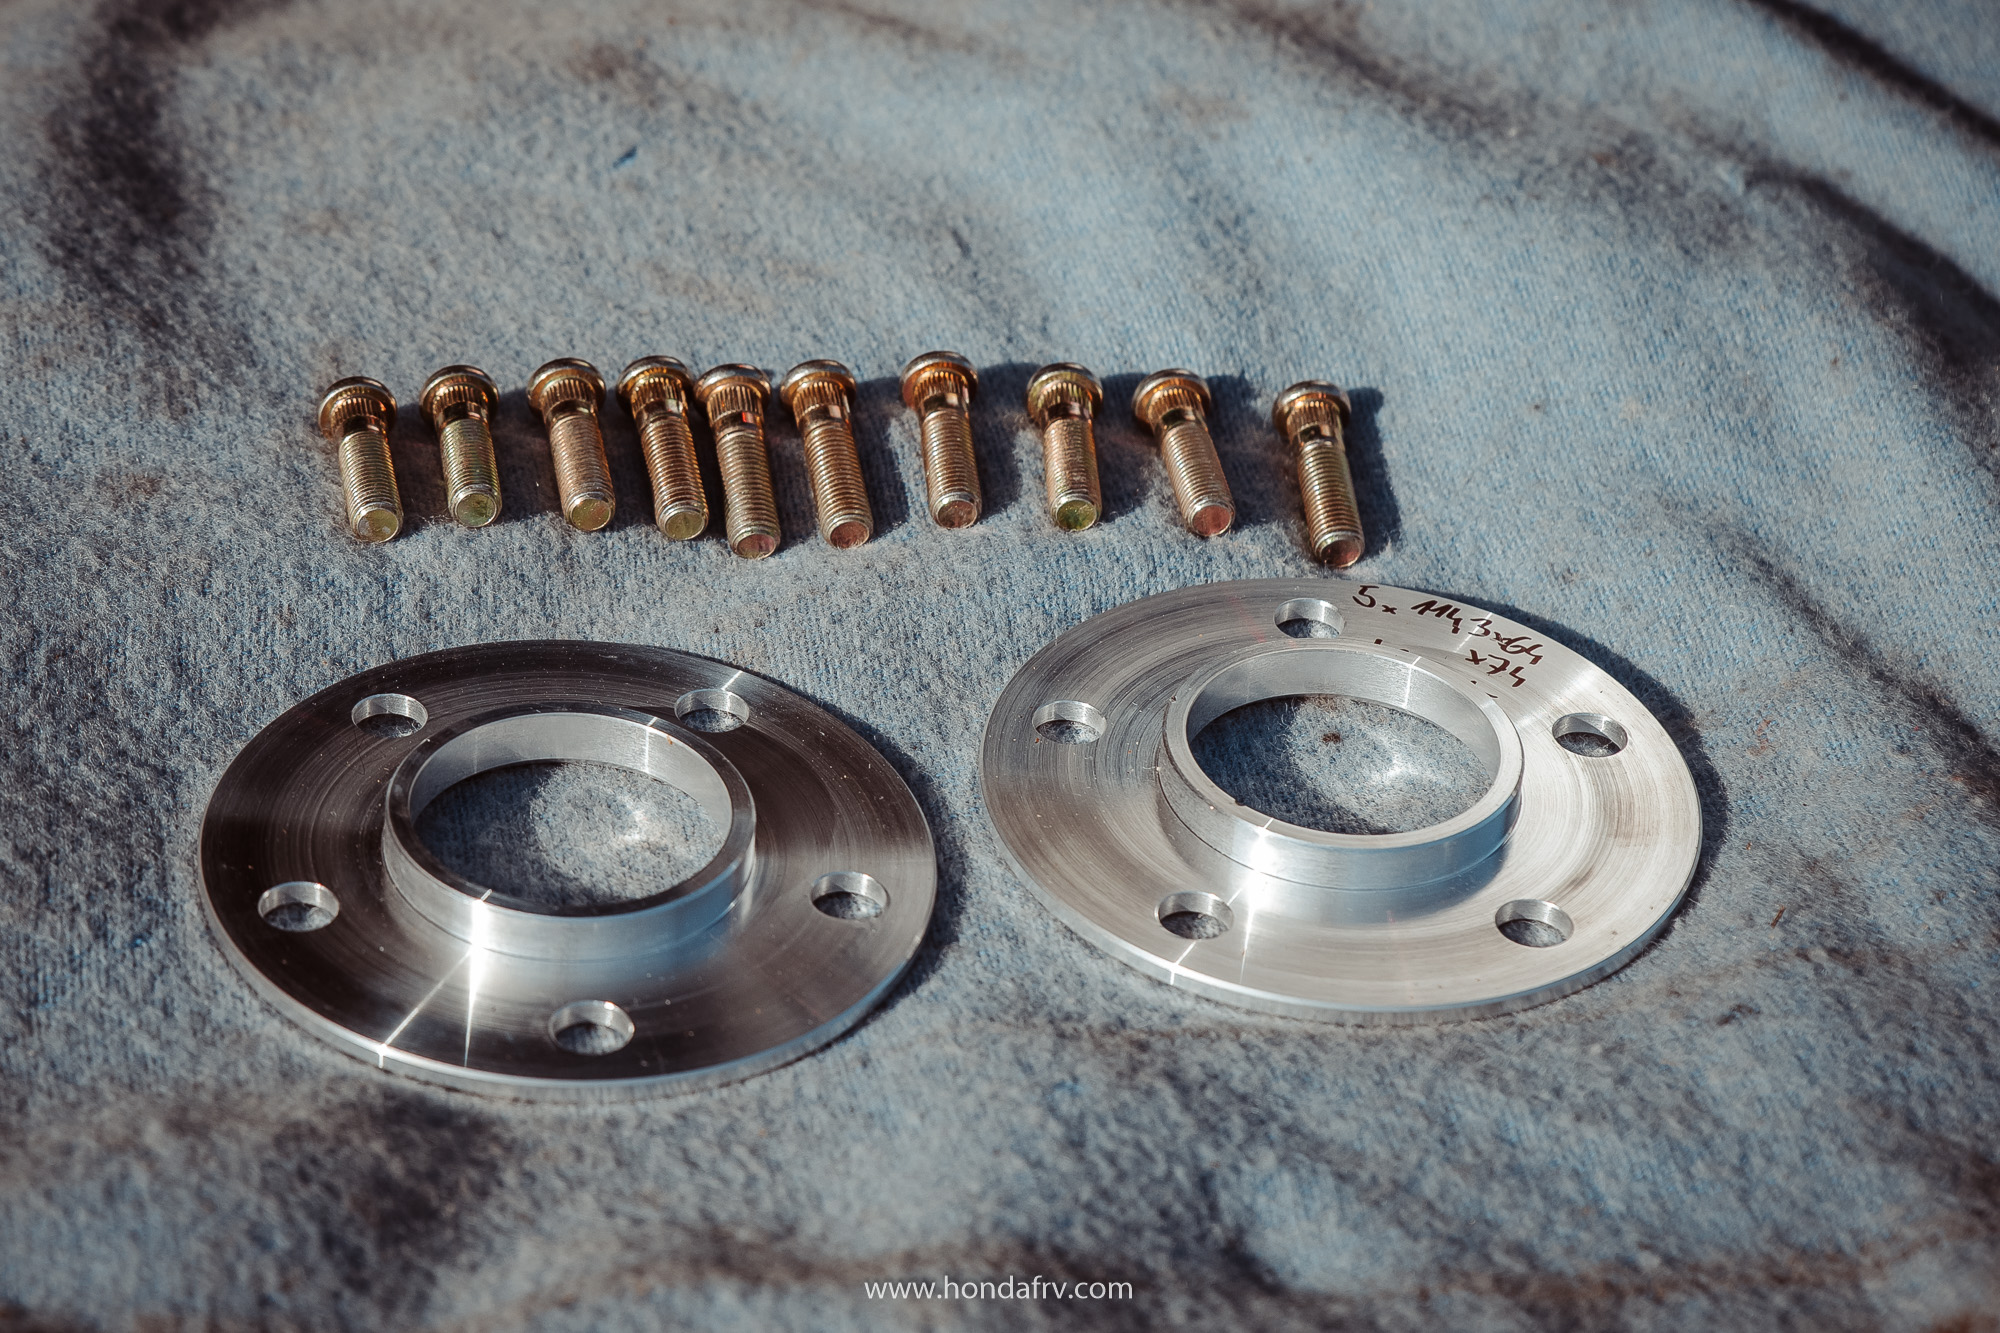
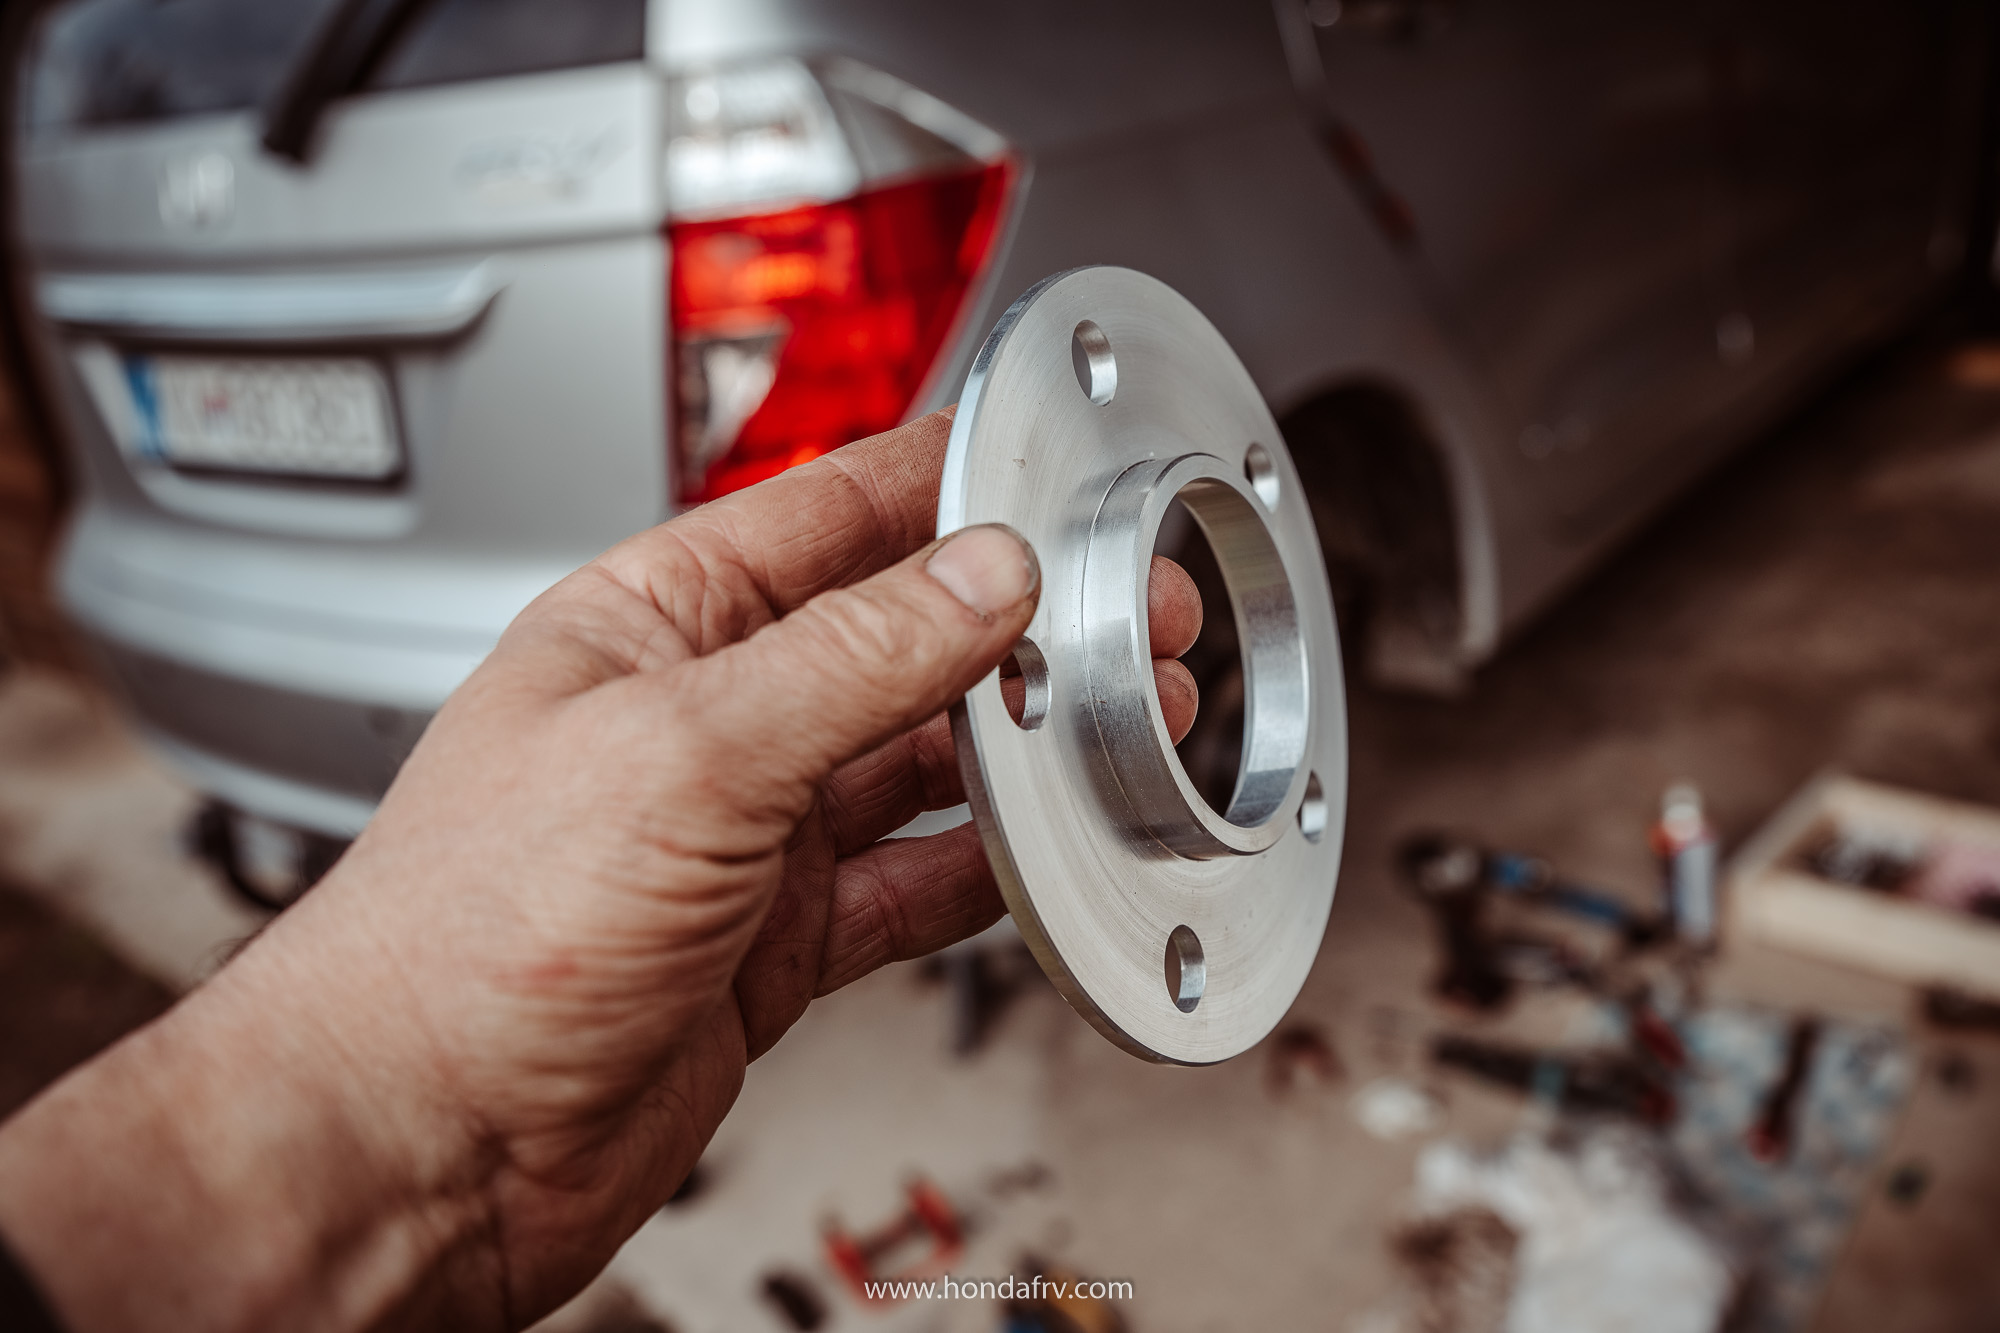
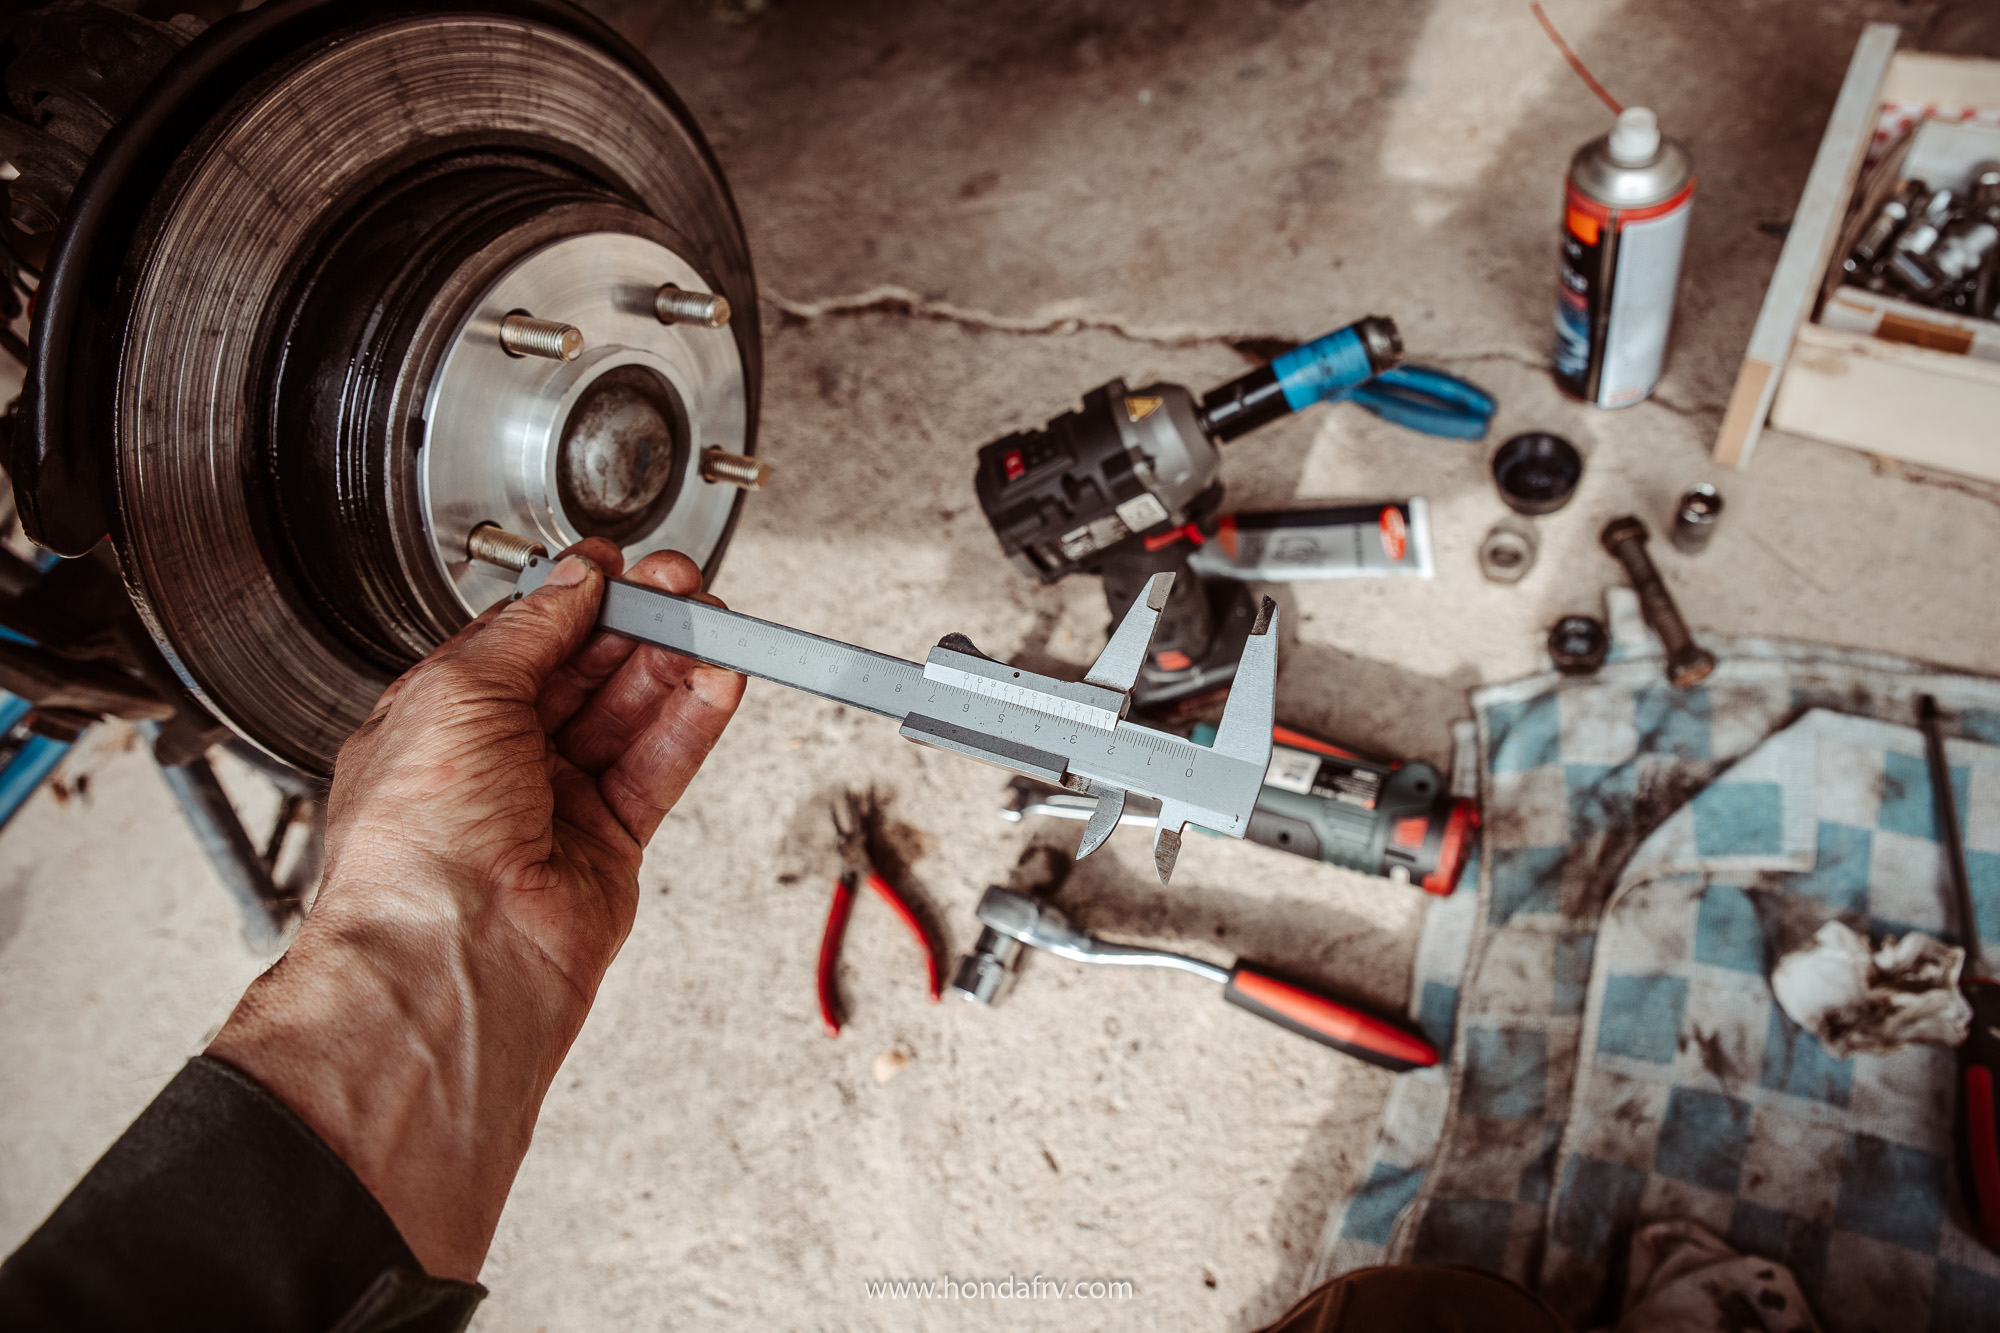
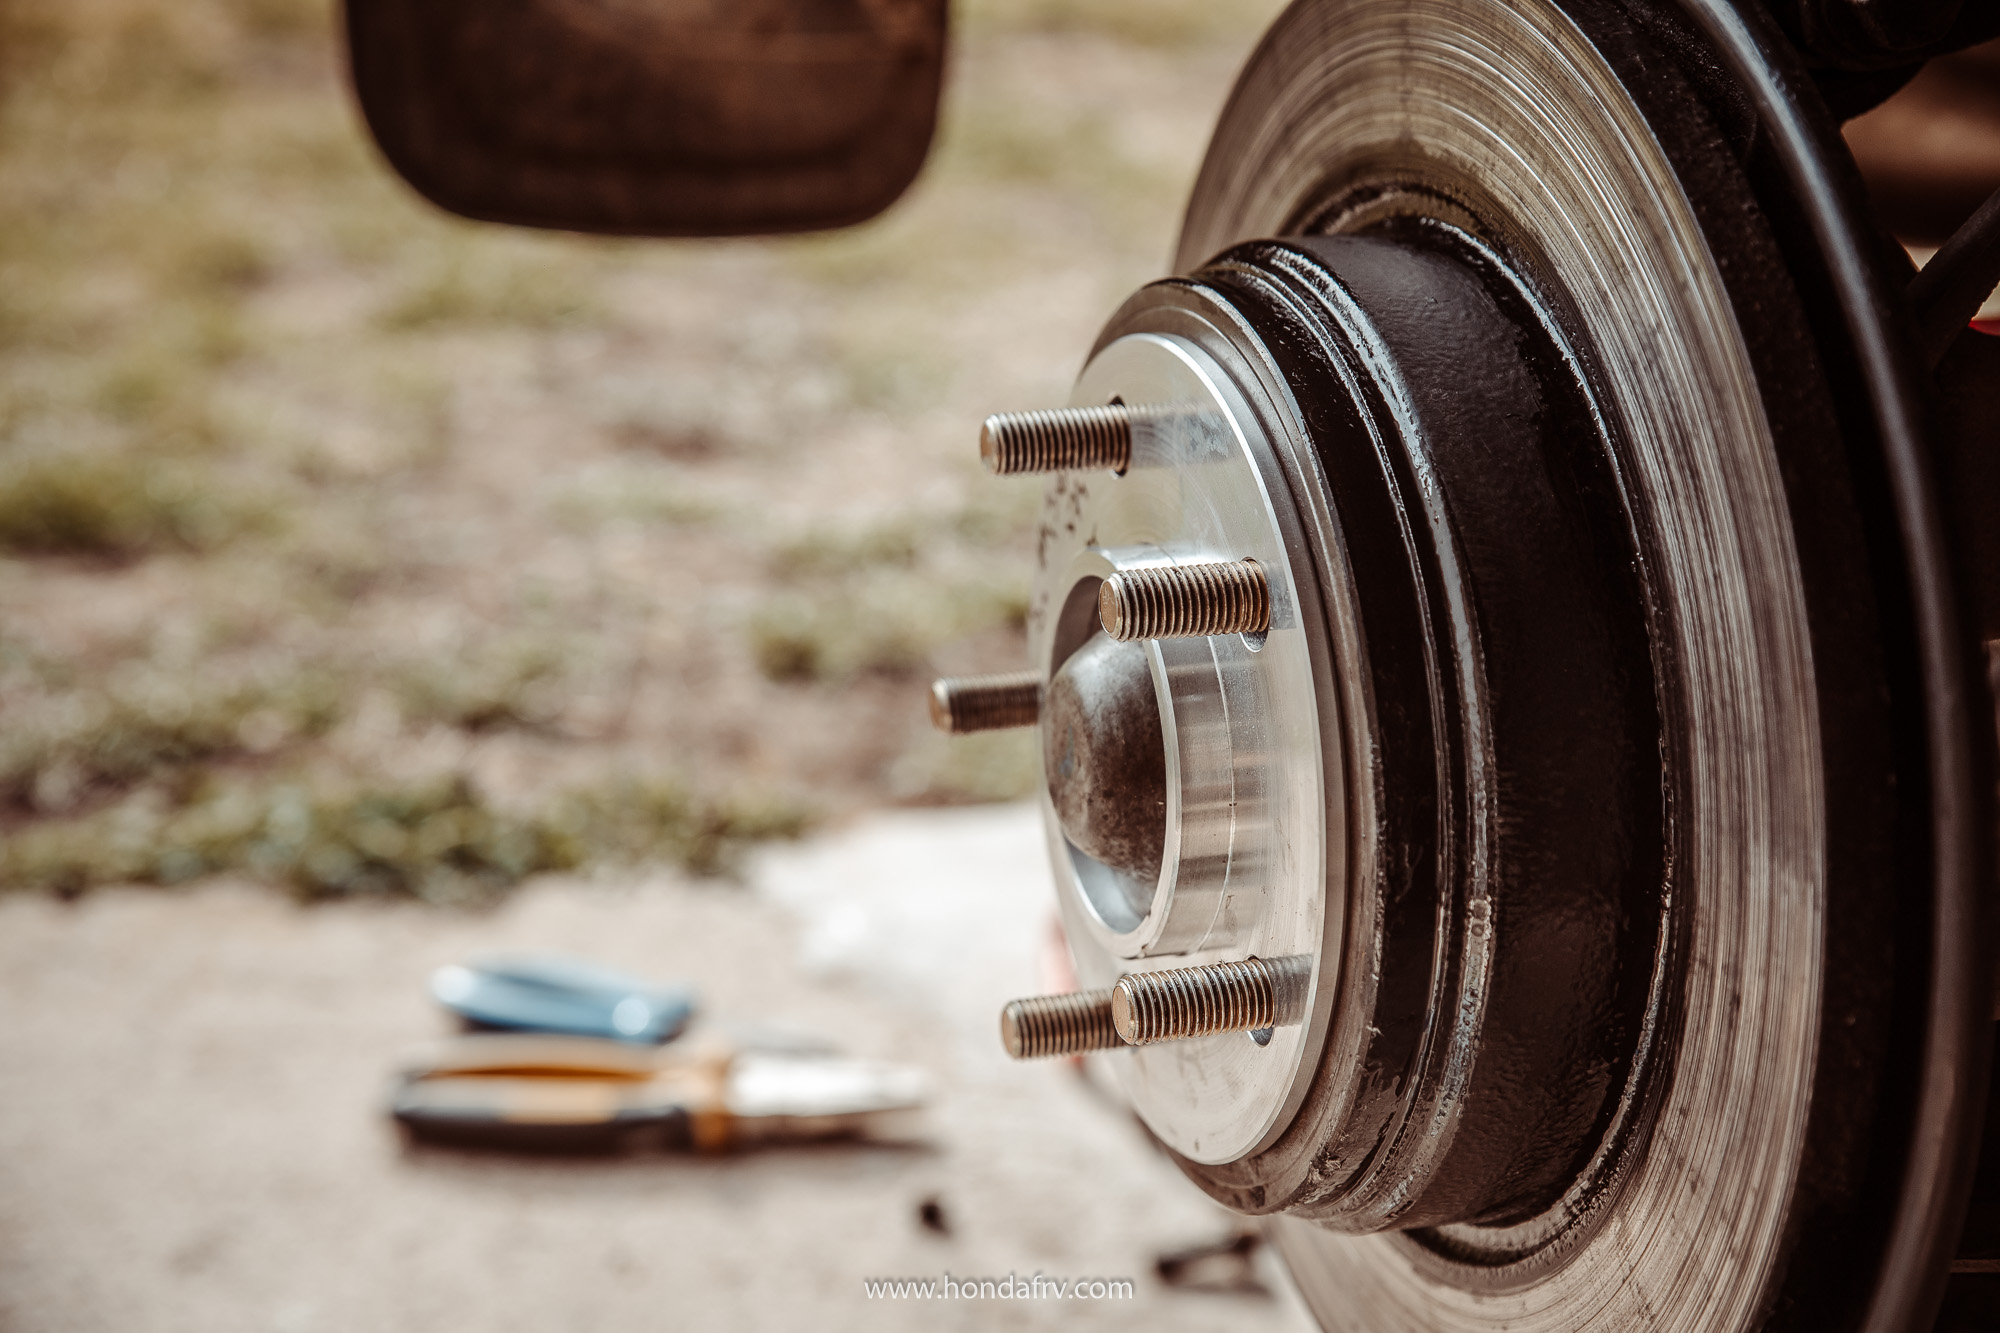
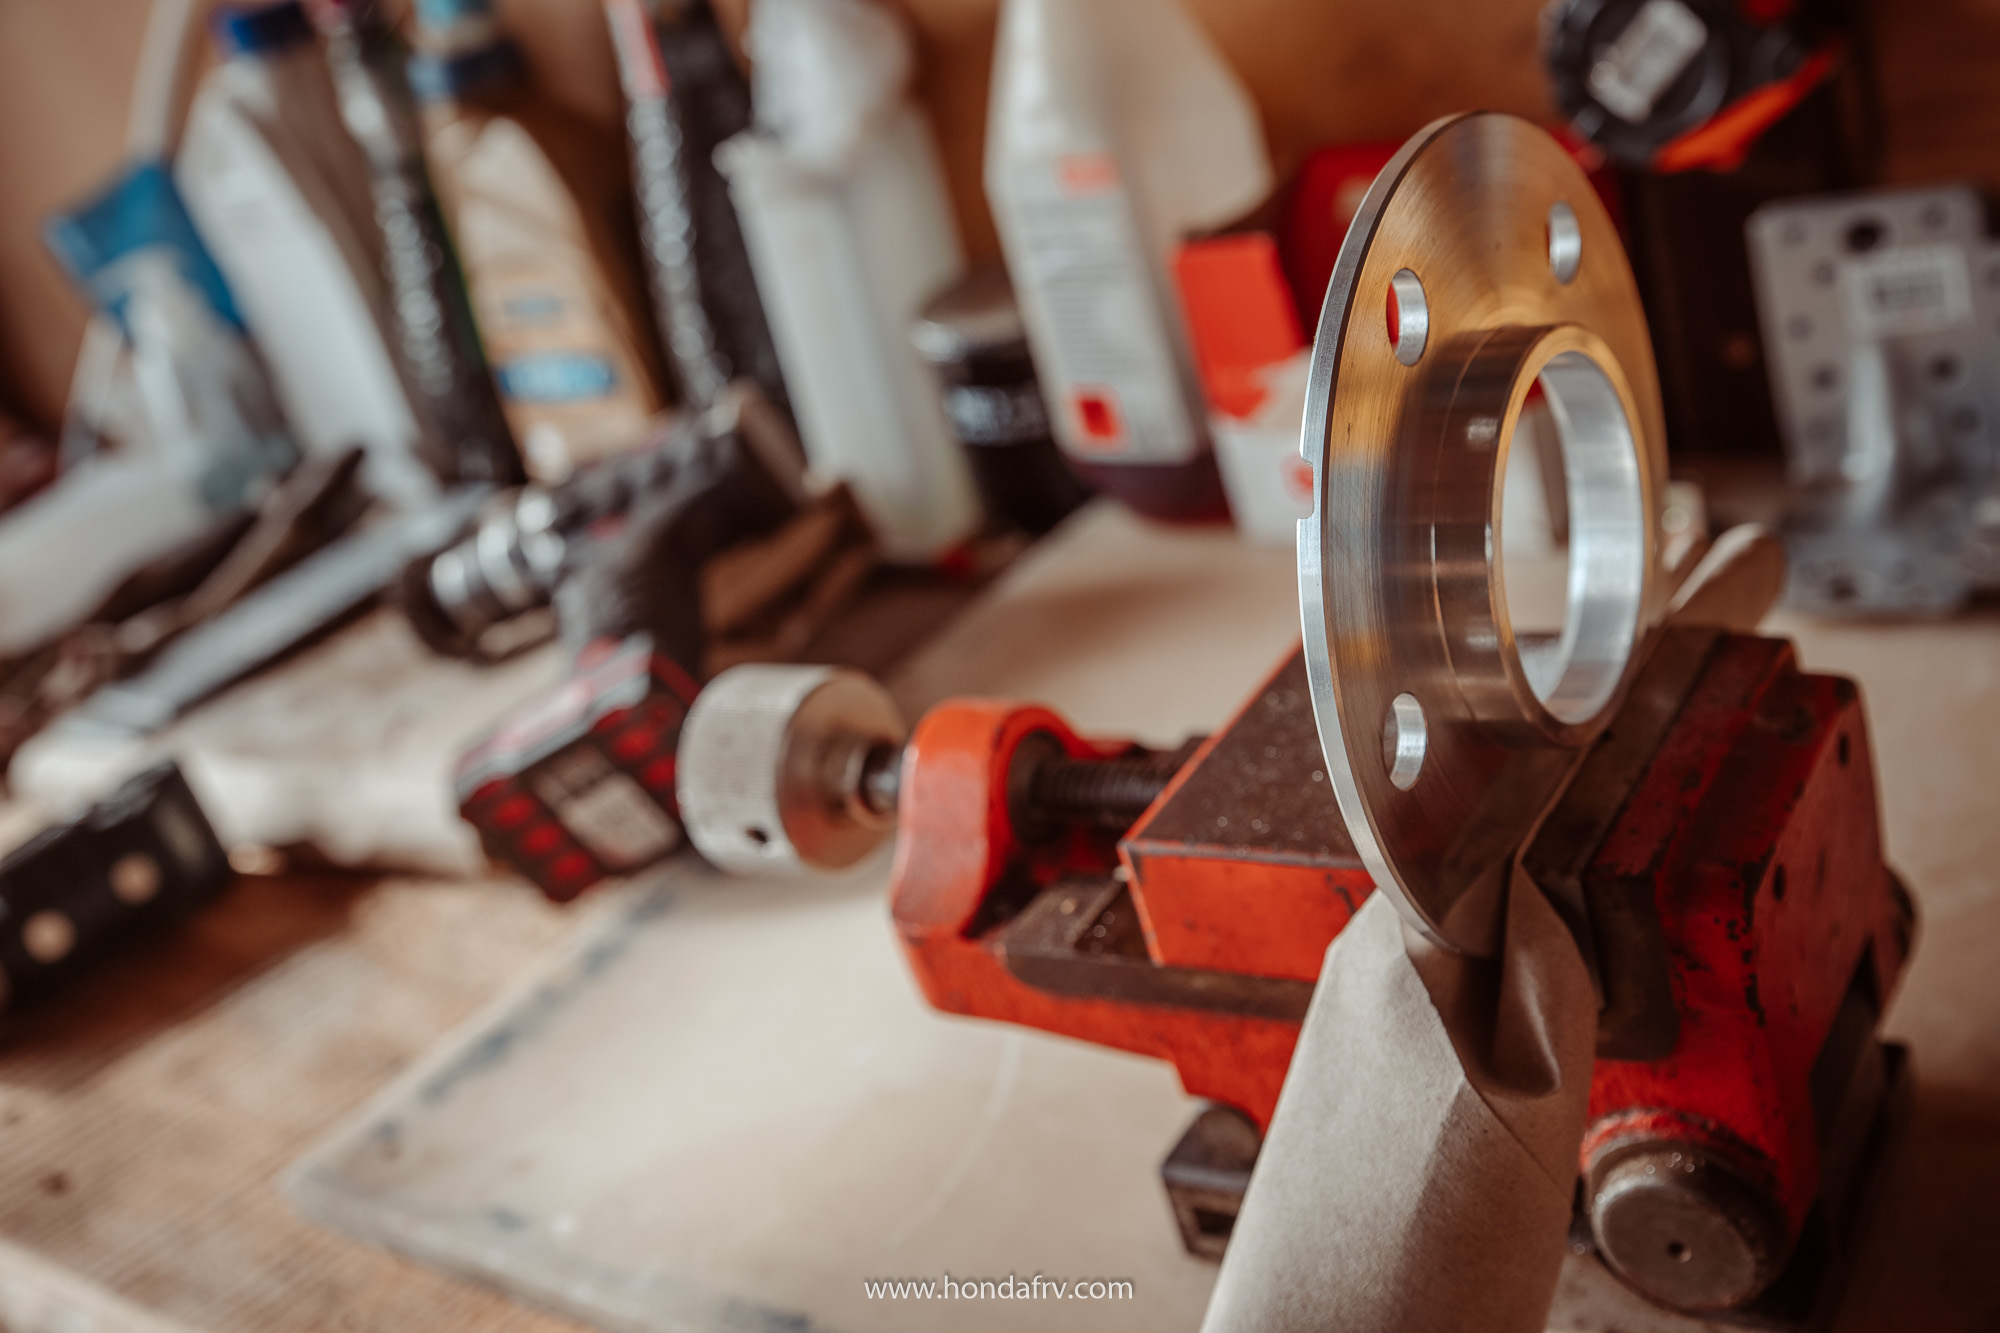
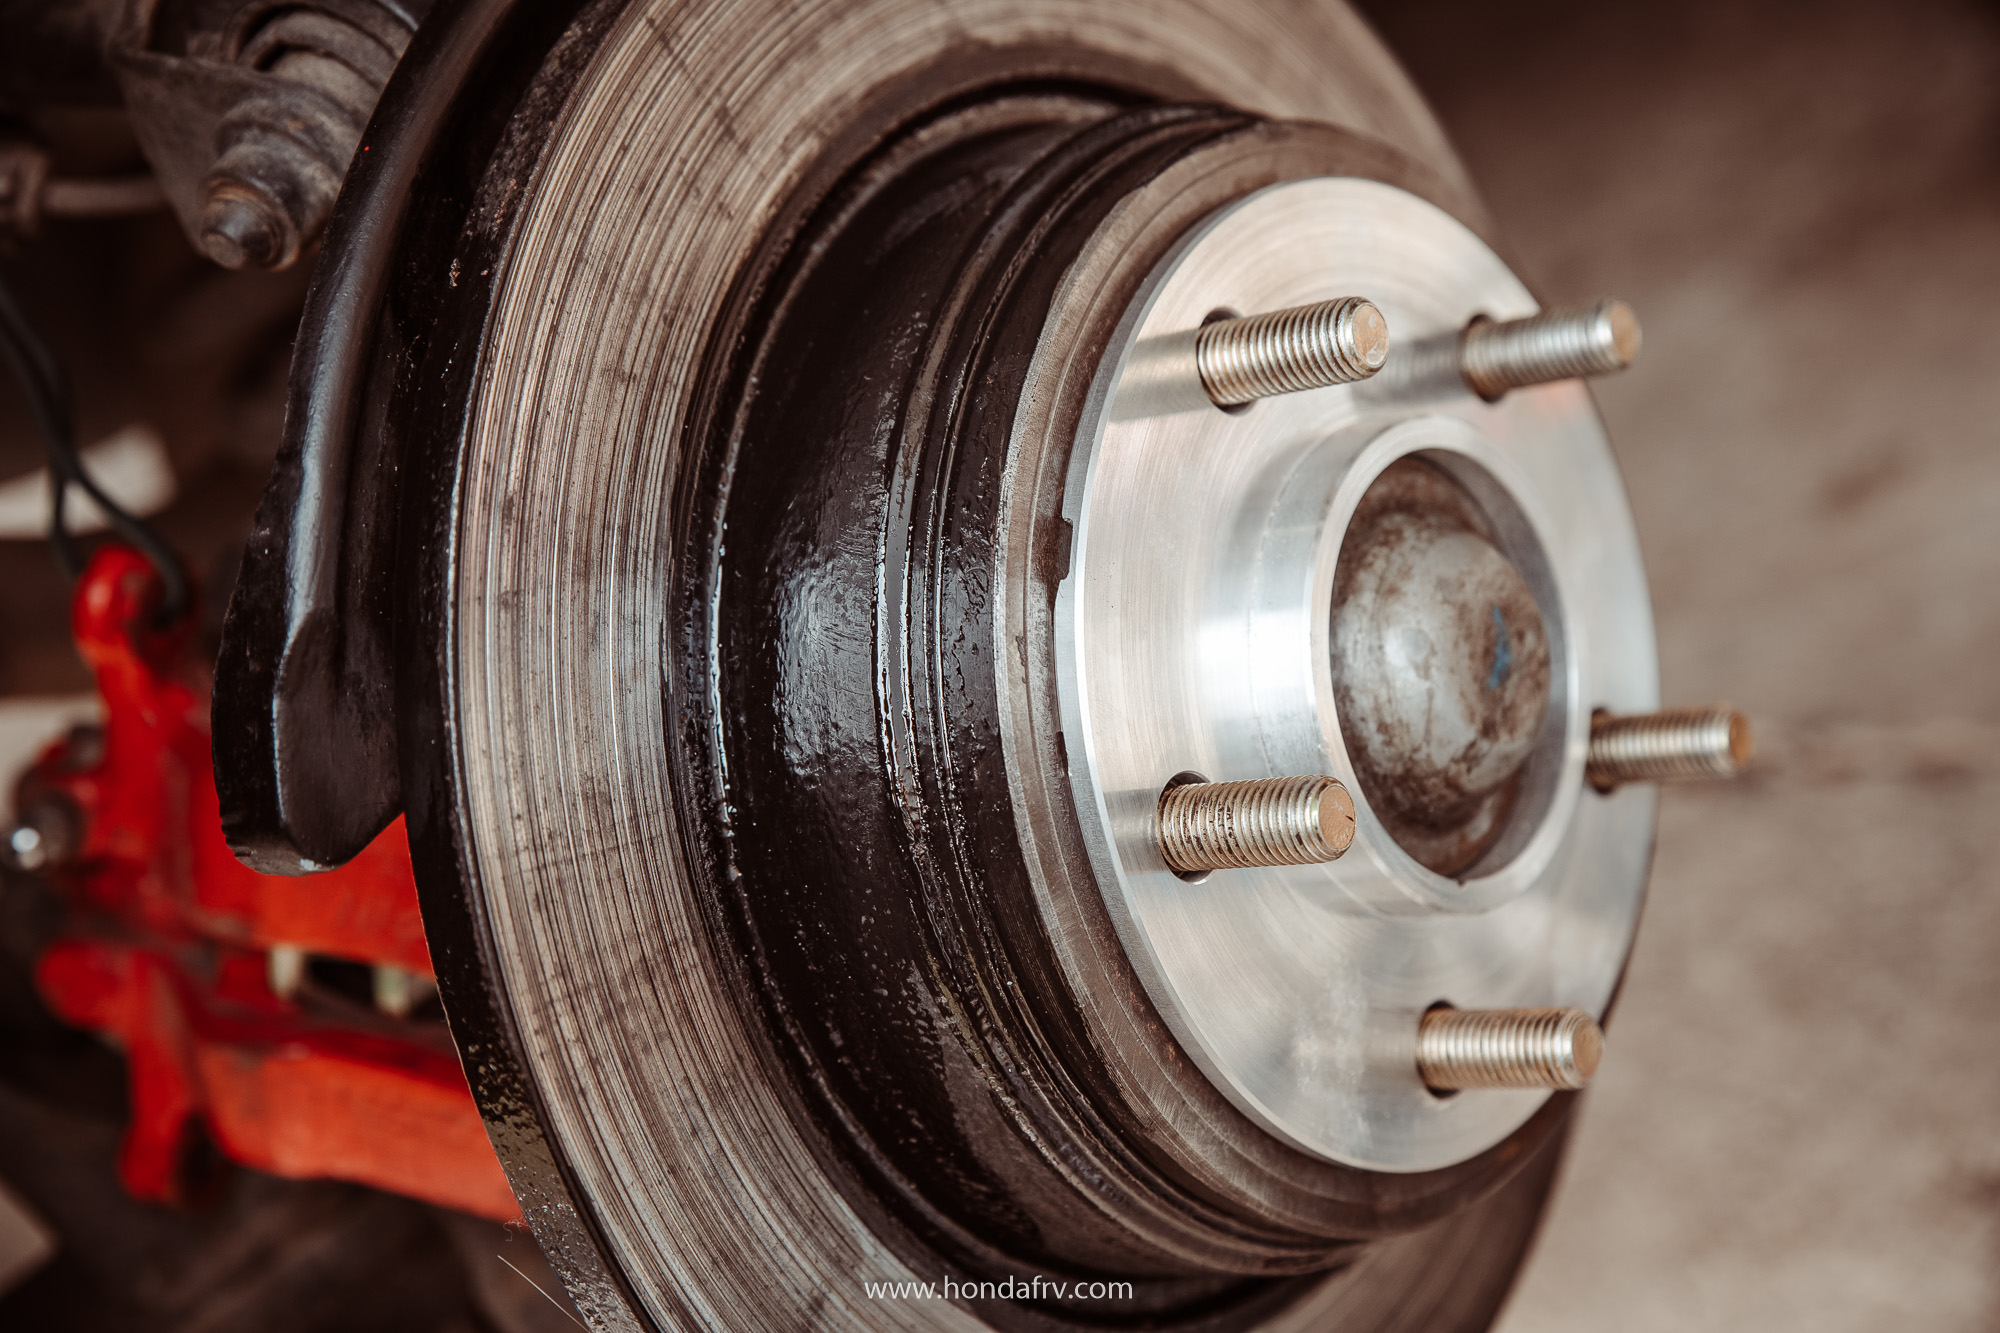
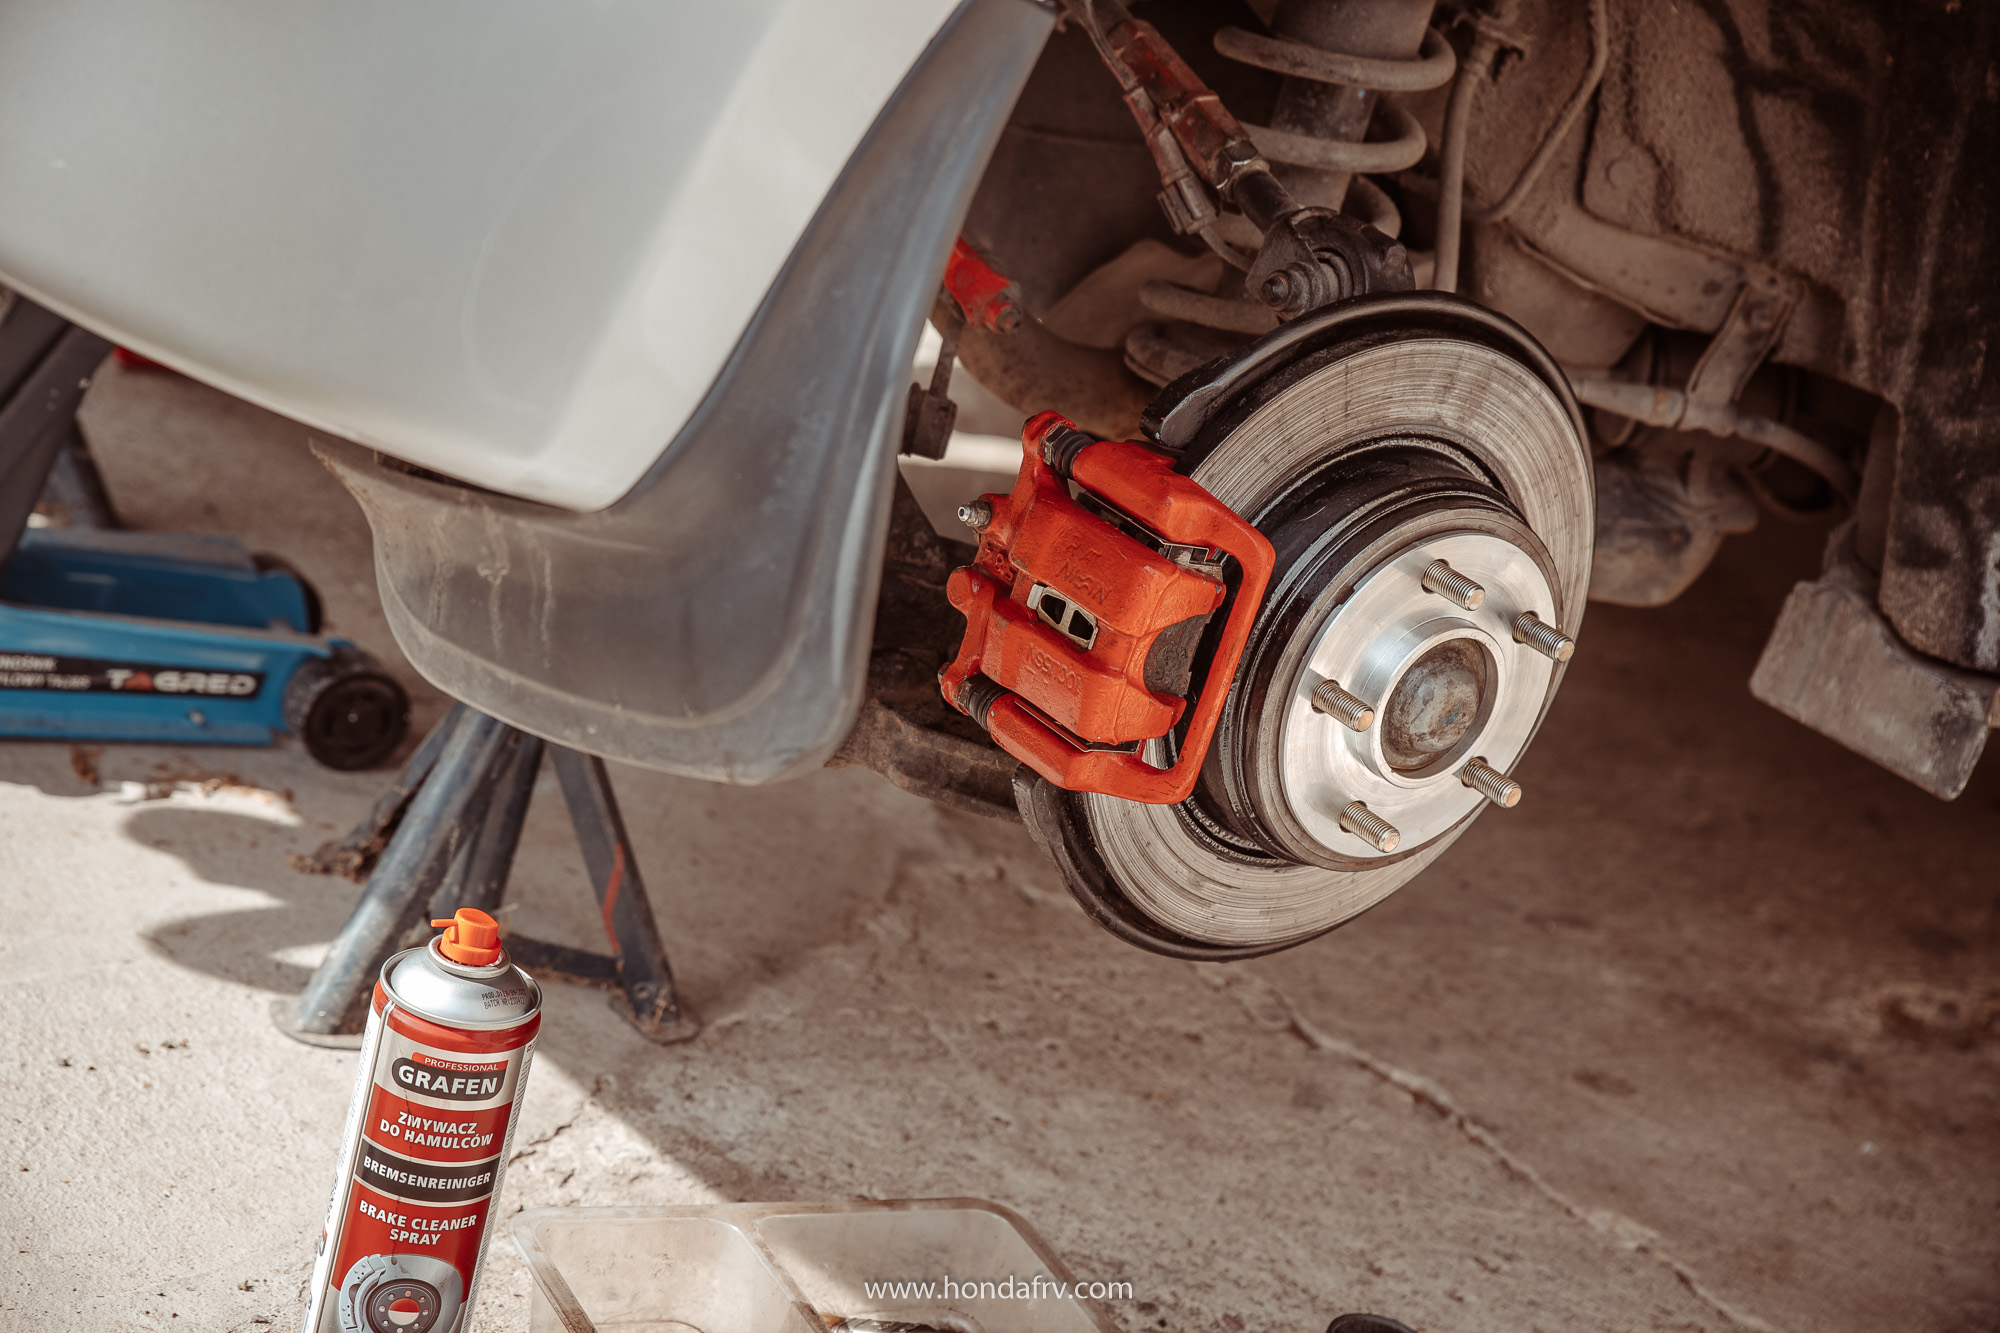
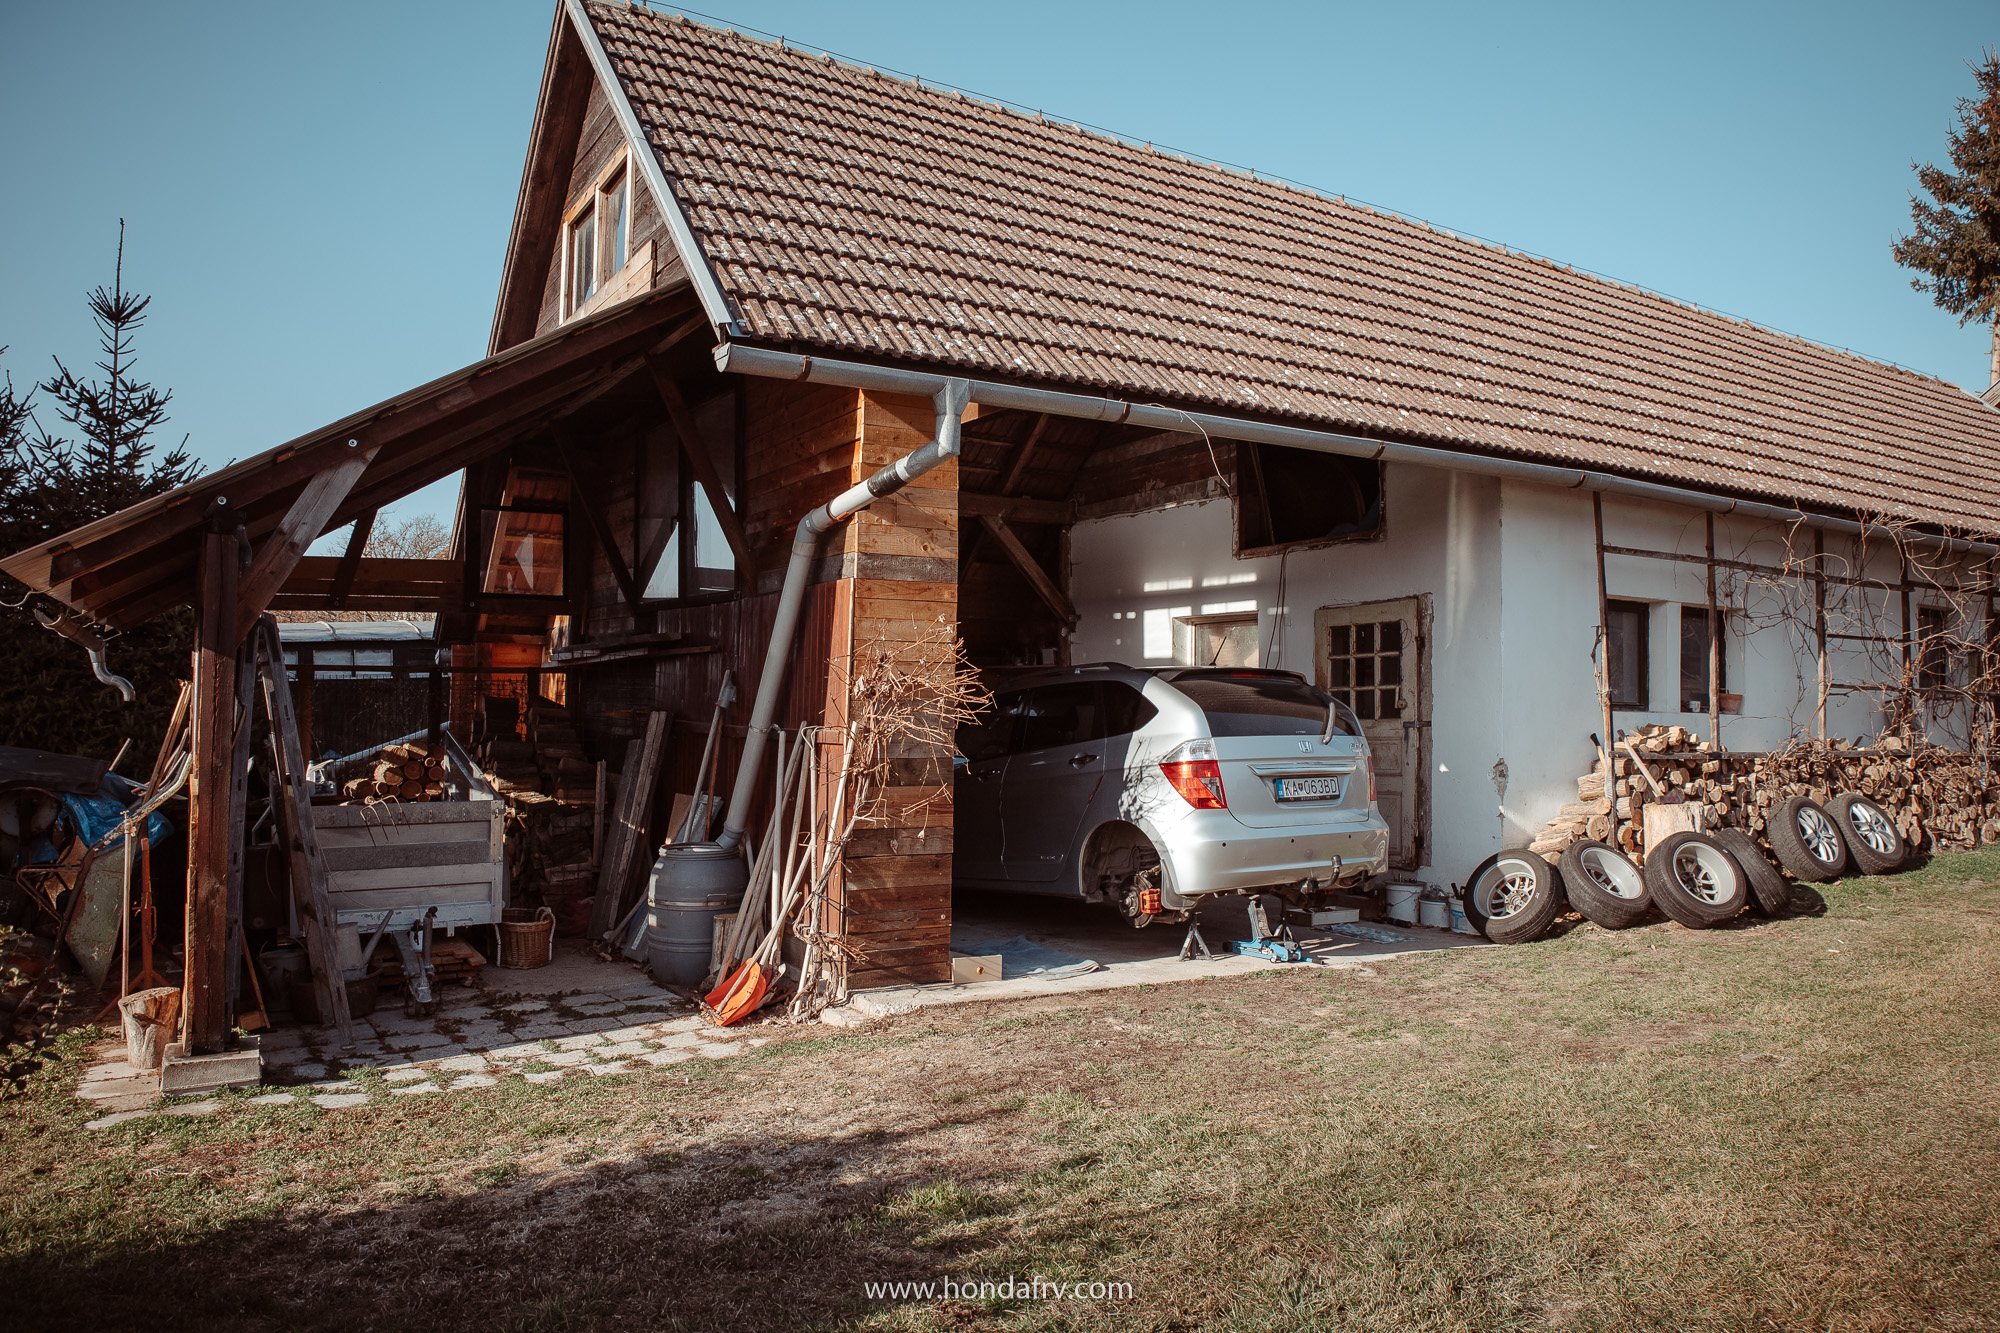
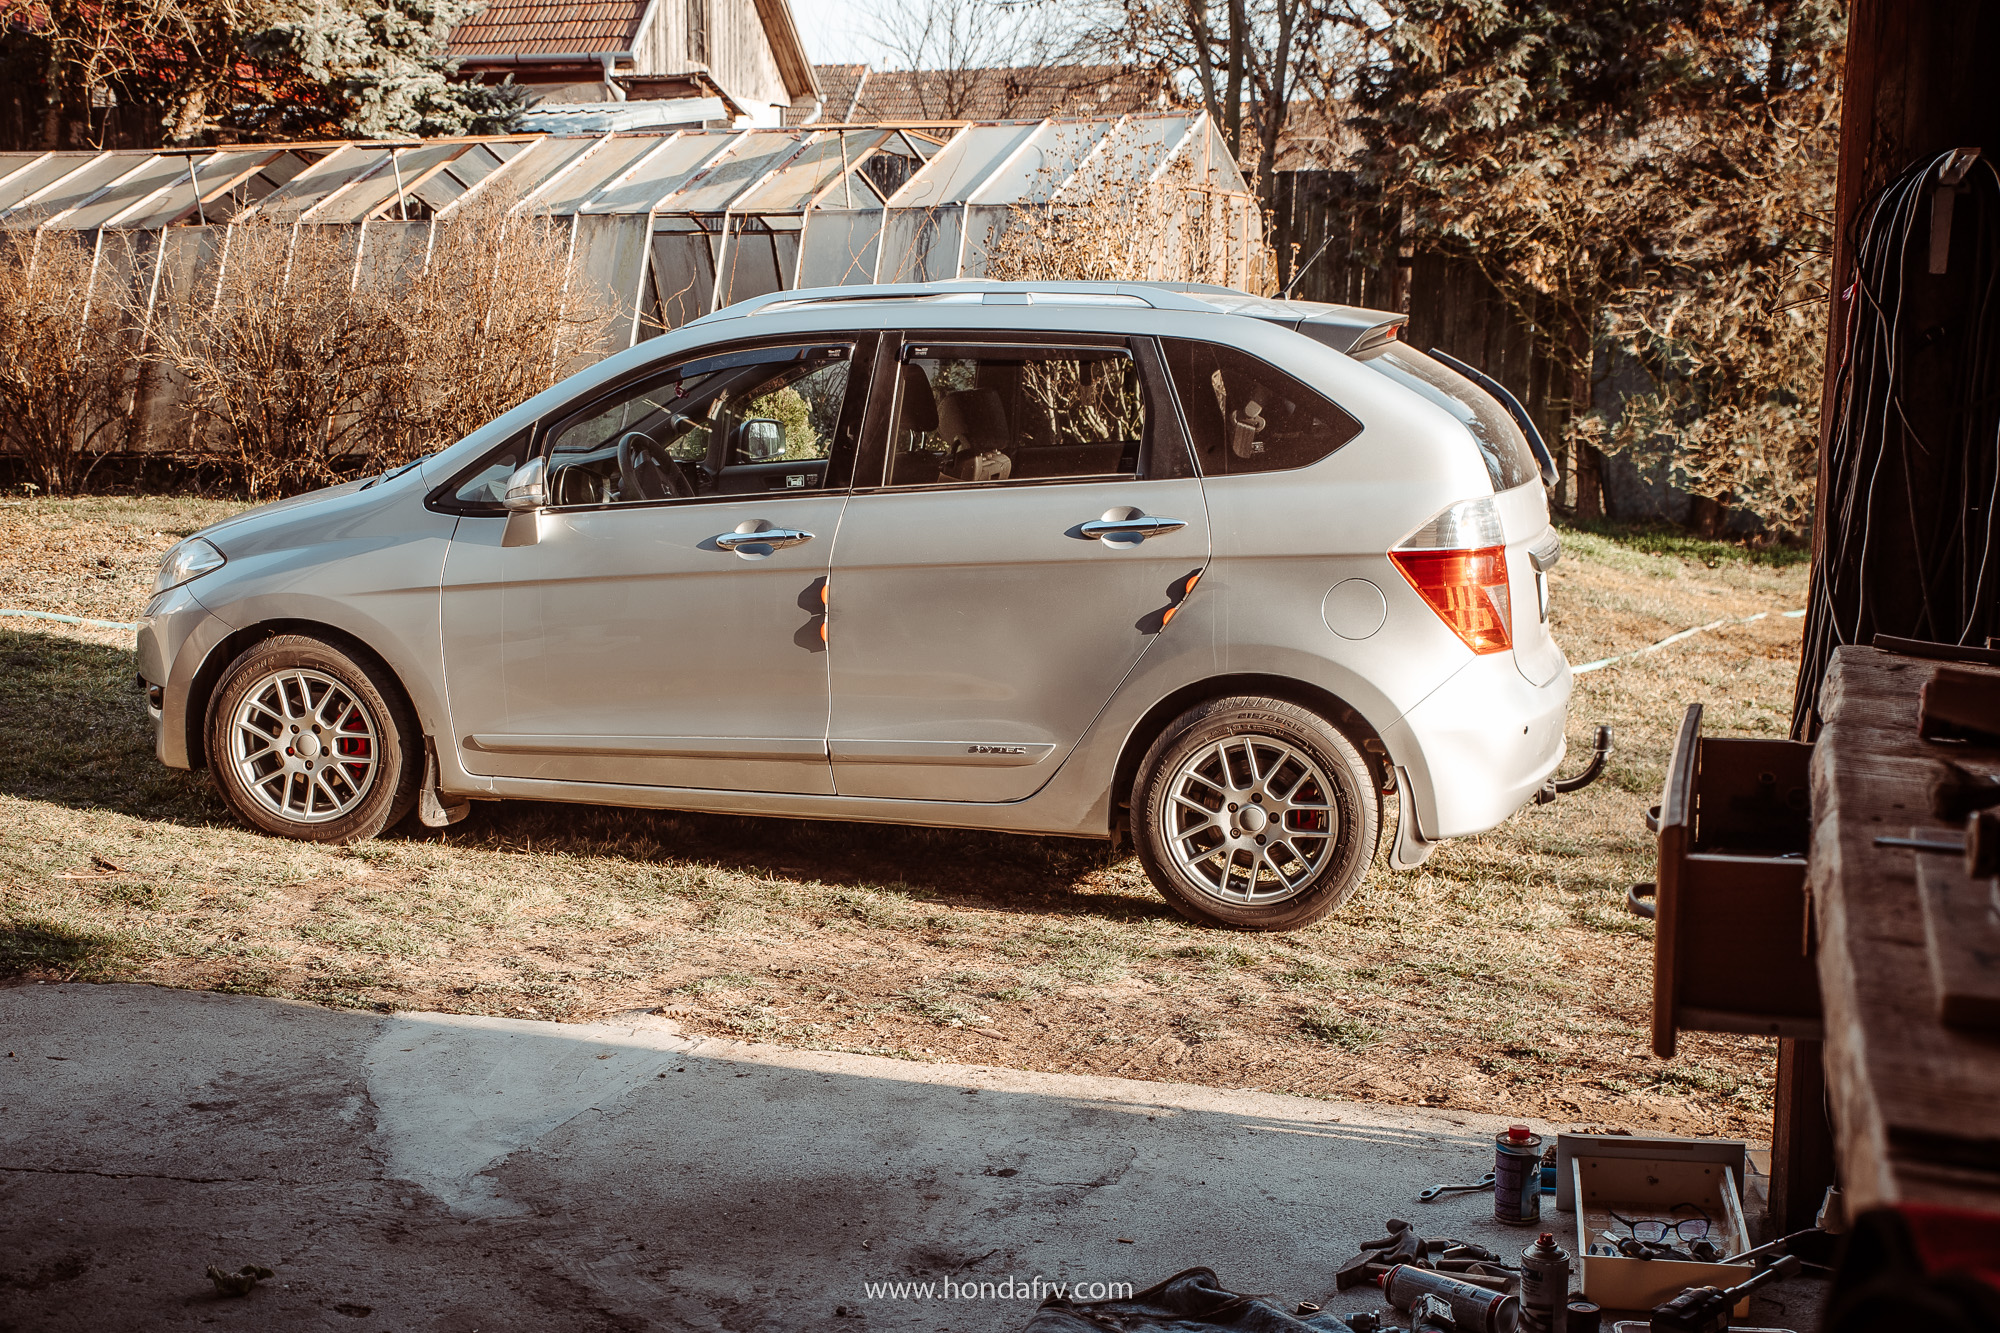
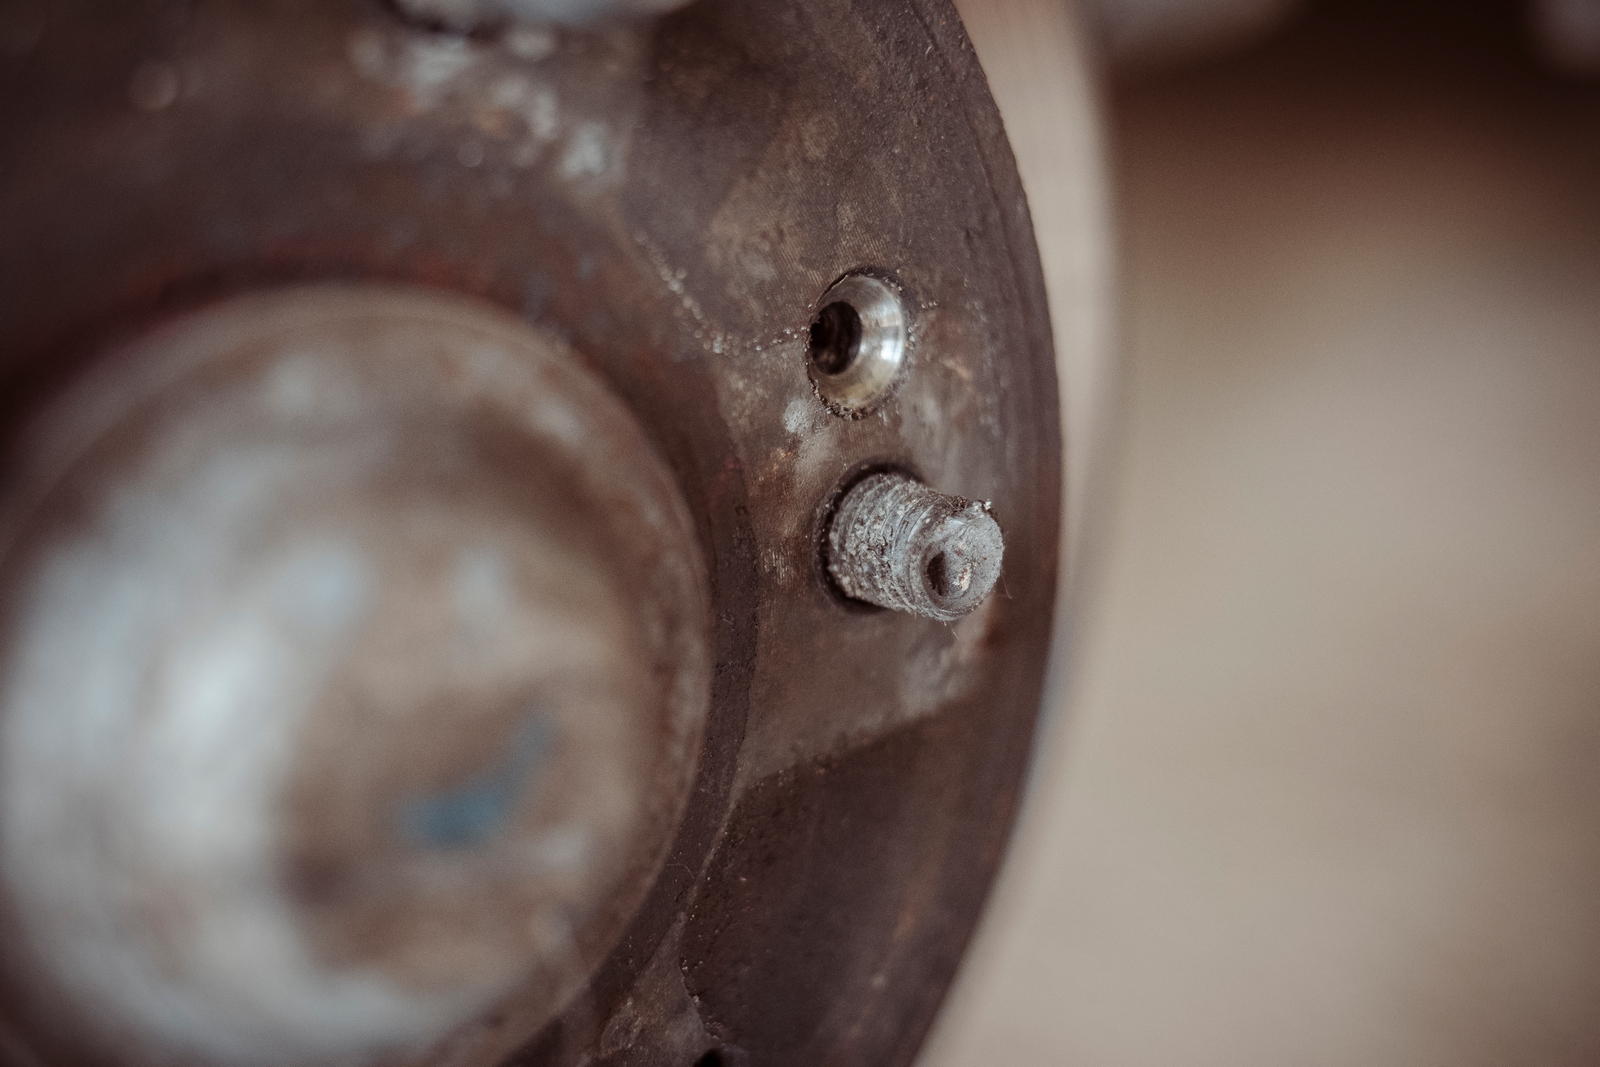
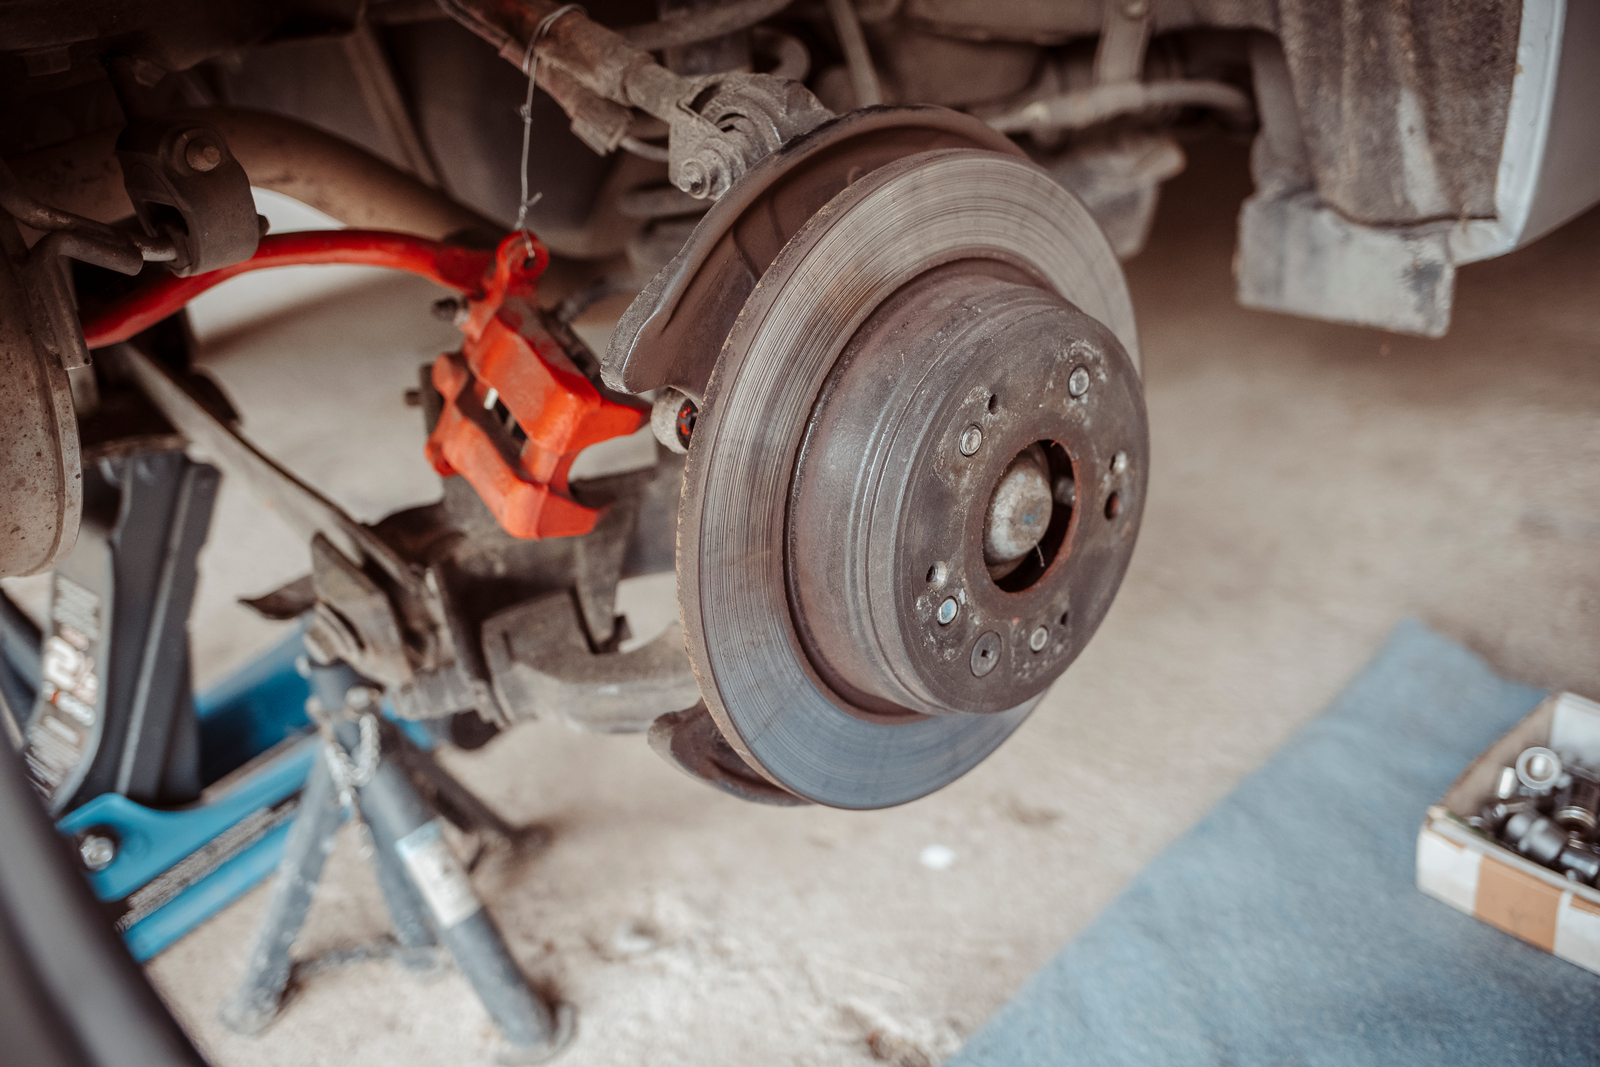
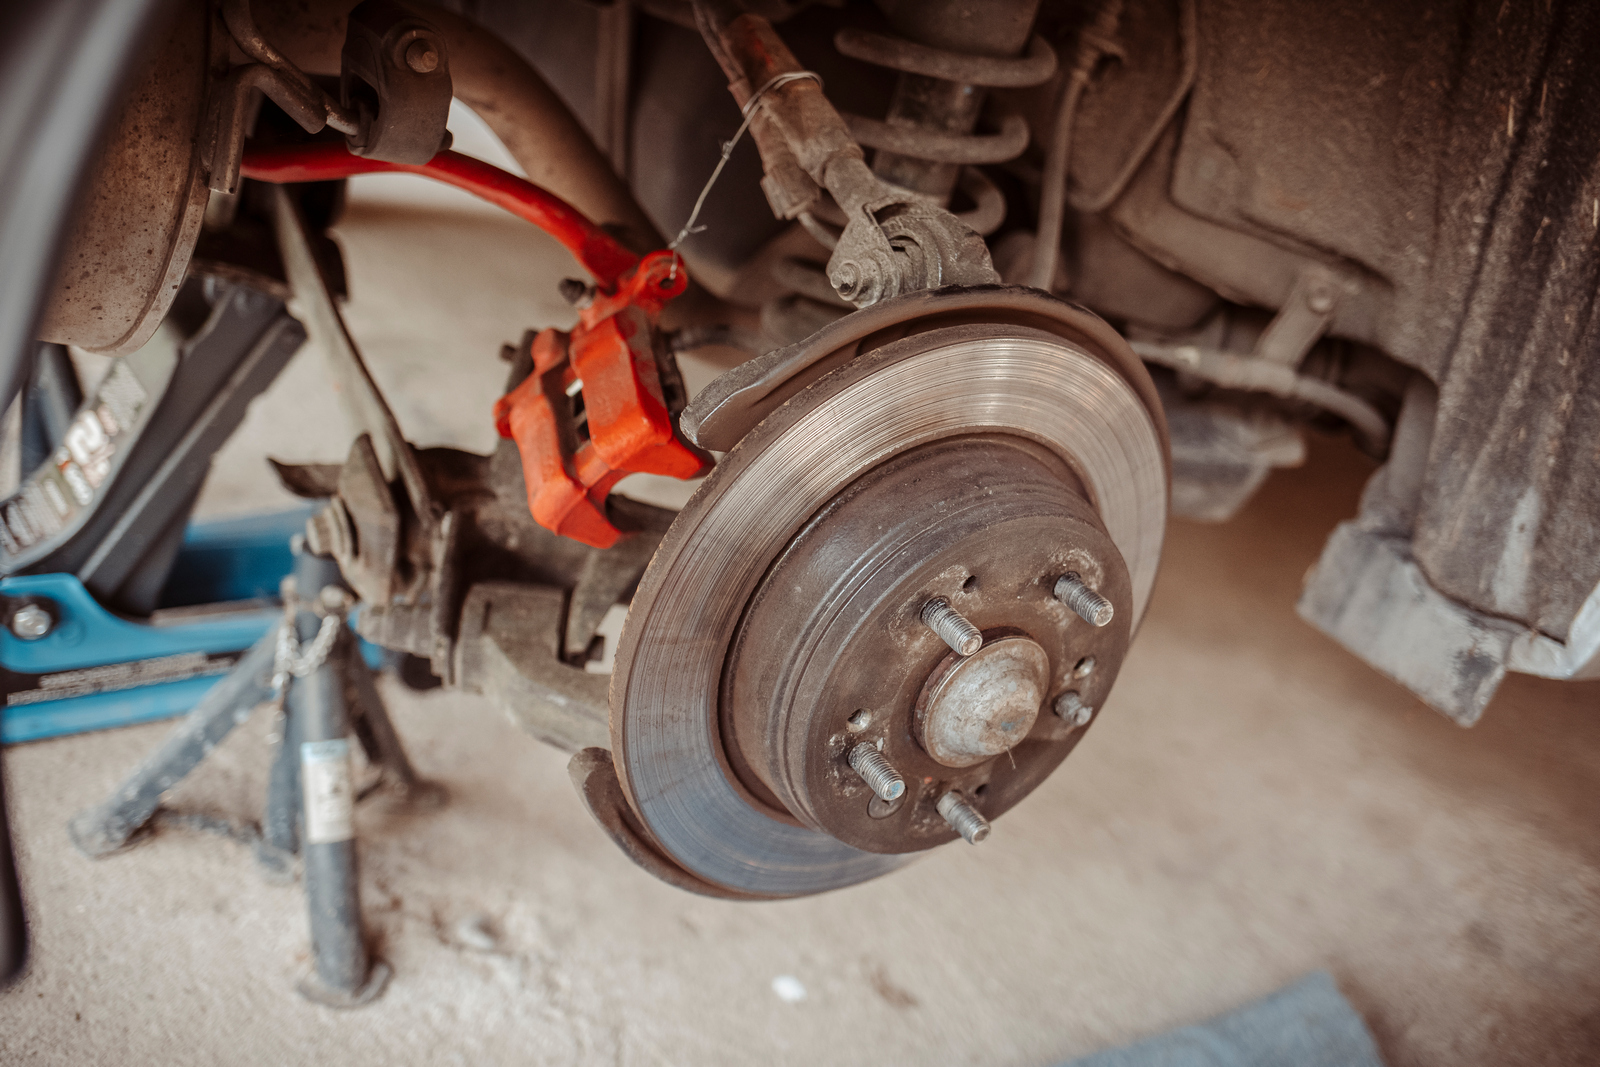
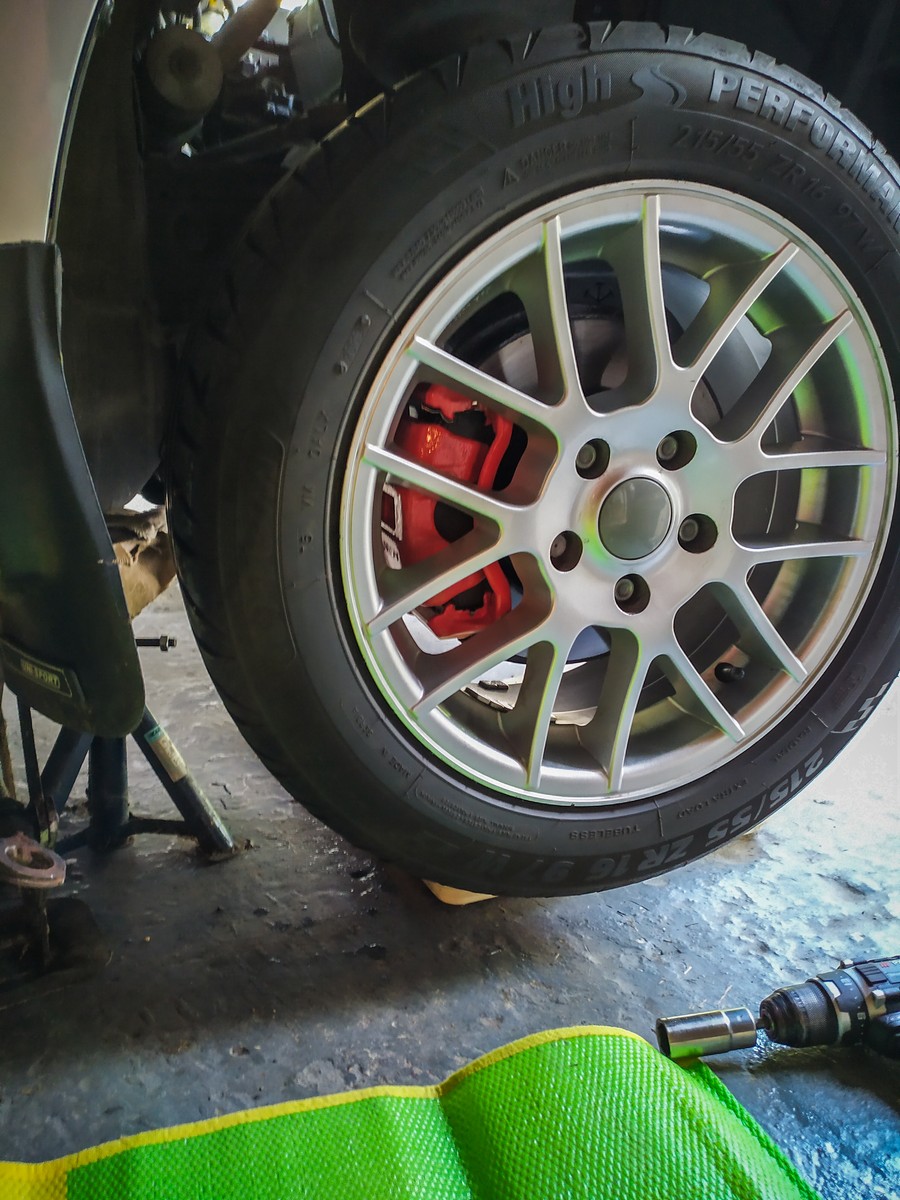
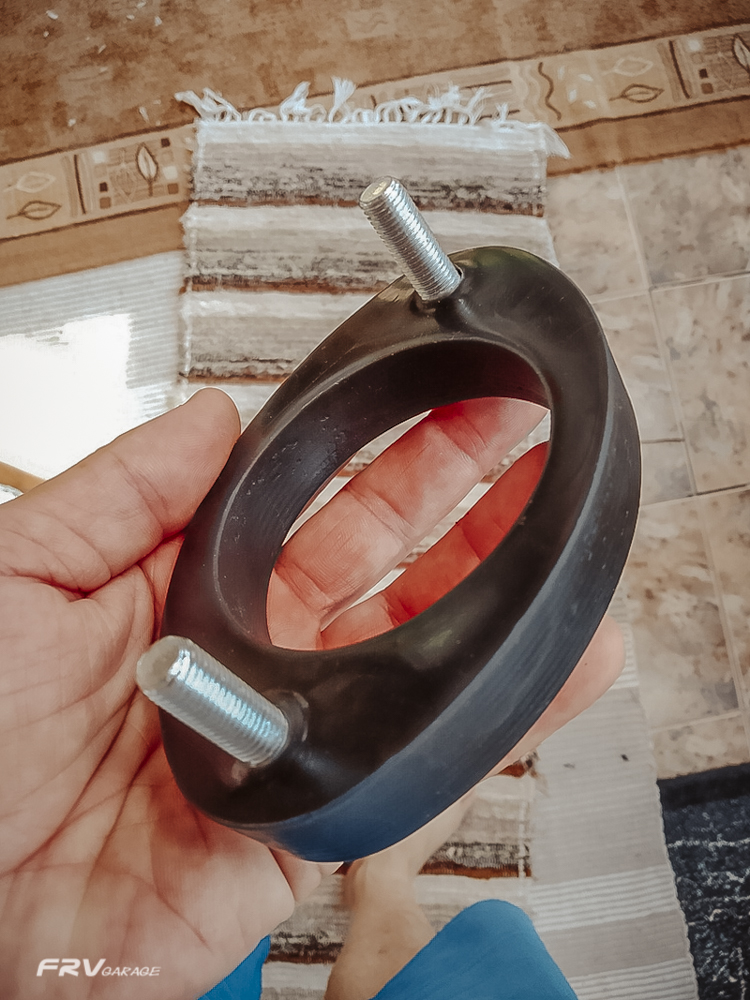
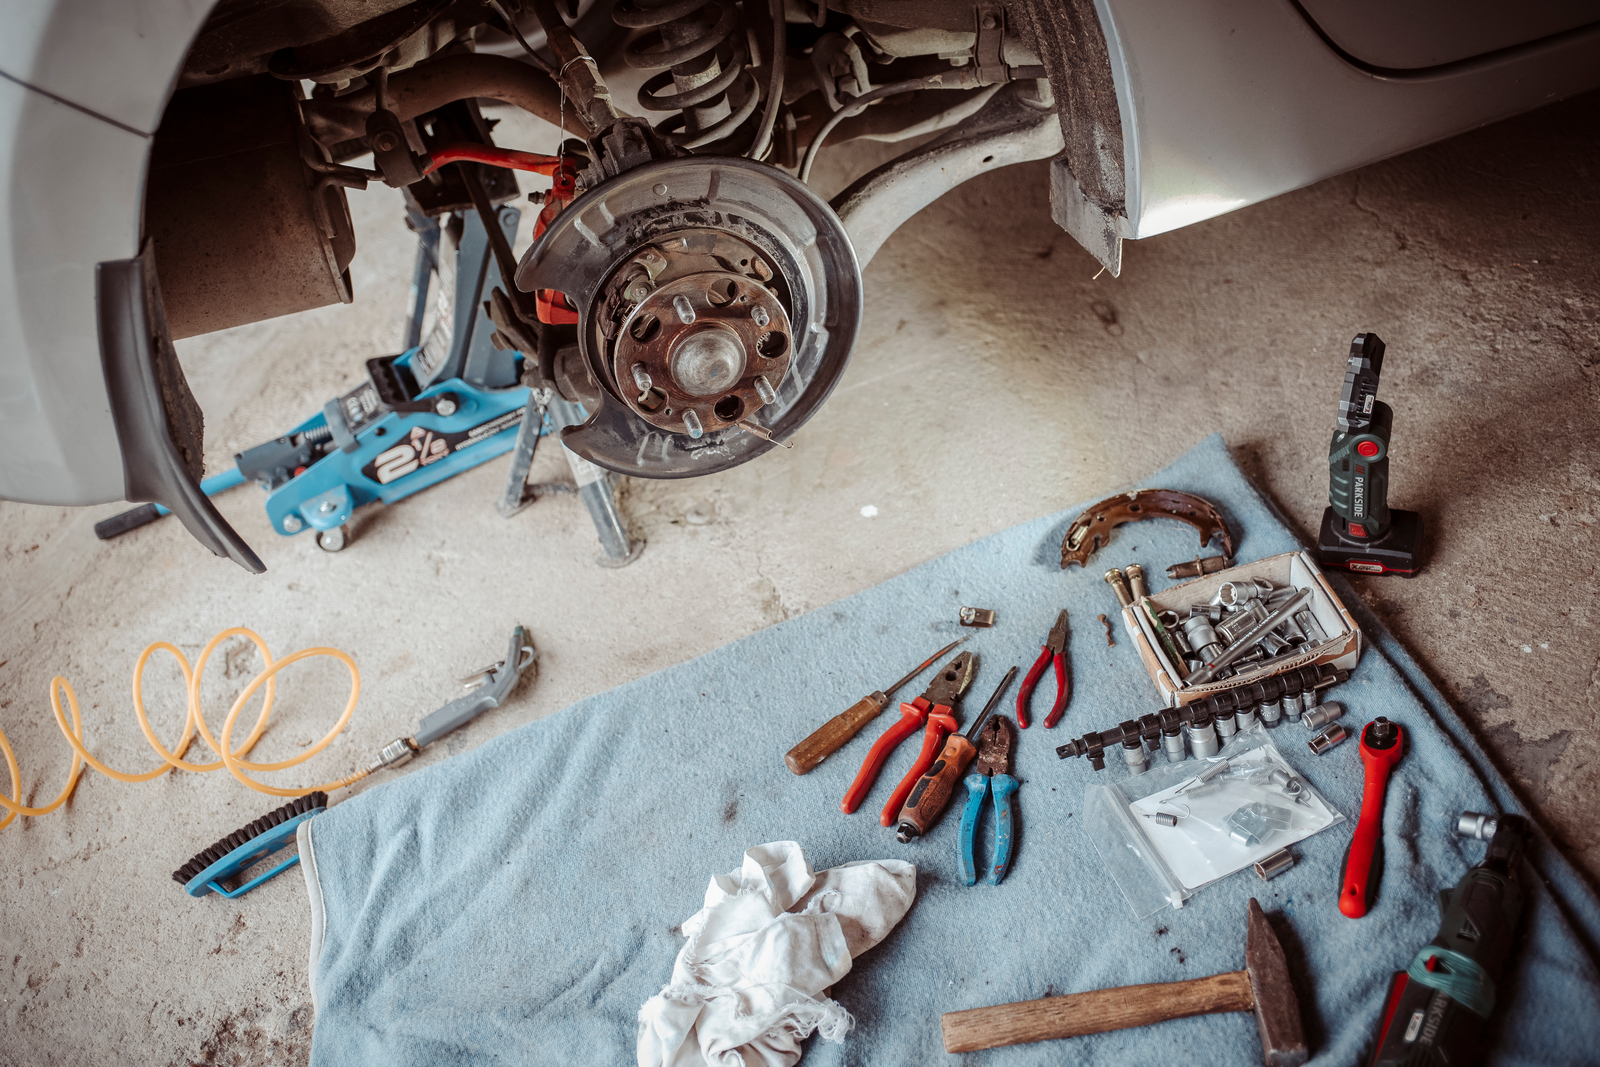
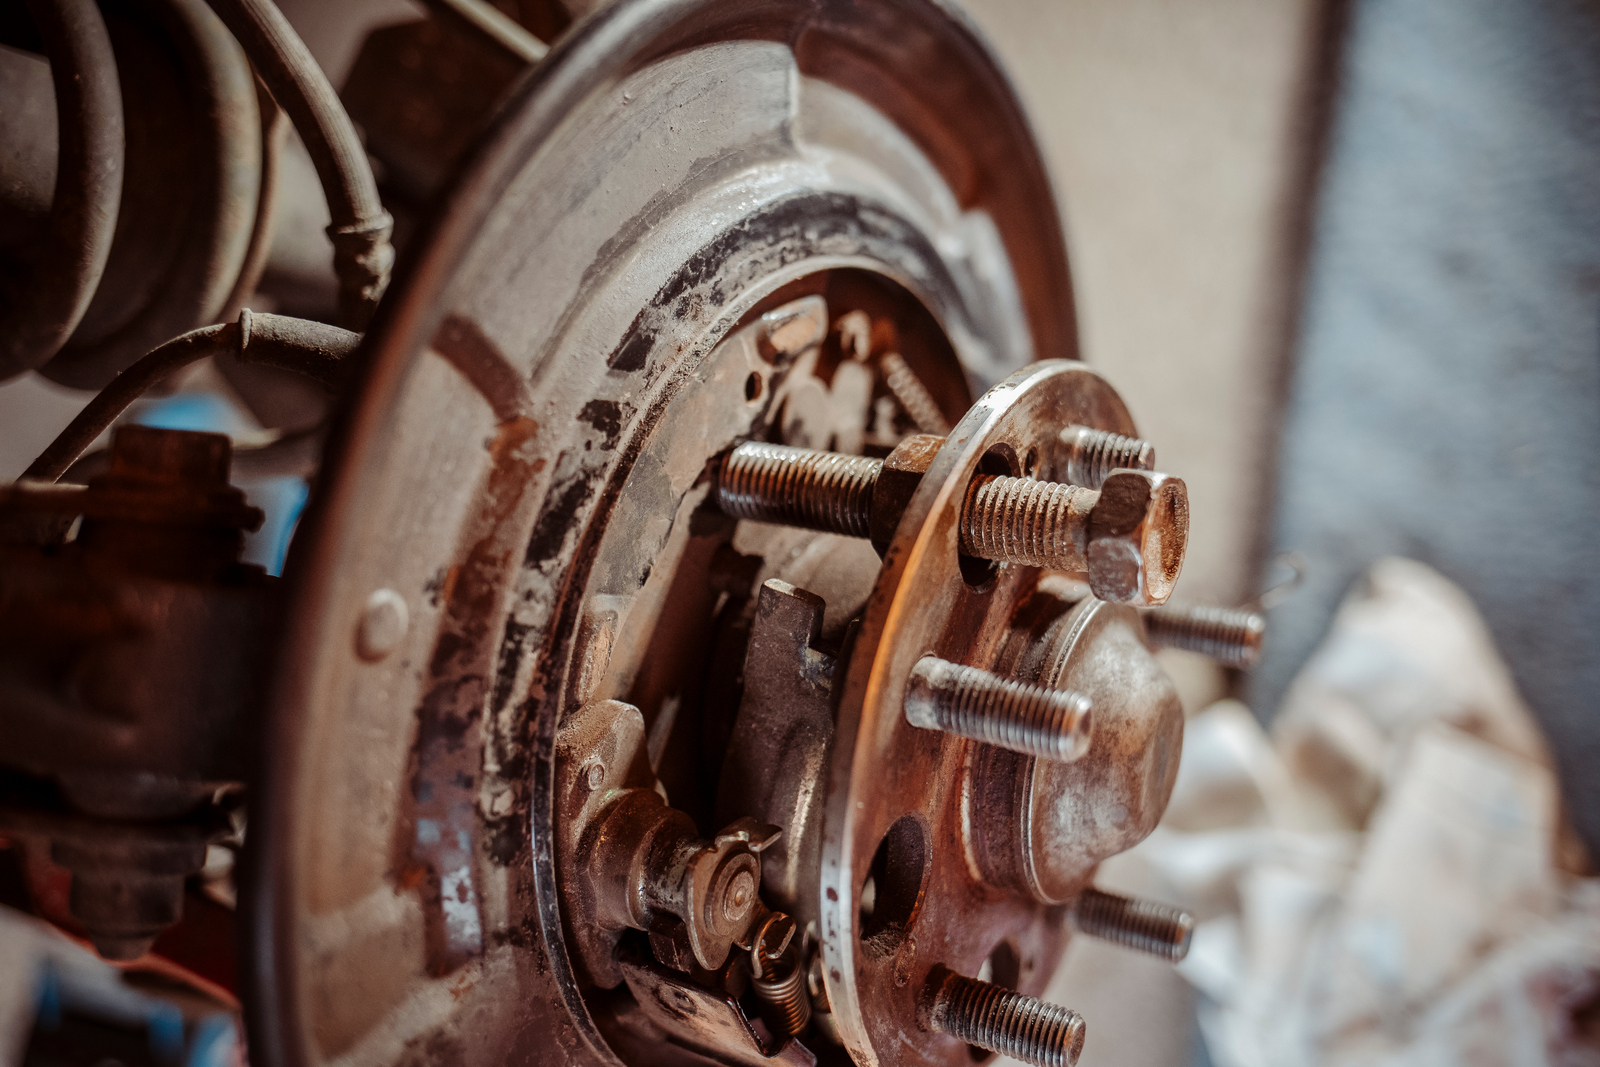
The weather been very nice recently, daffodils in bloom so the Forsythia best time to swap the summer wheels.  But this time I wanted to utilize a pair of spacers on the rear axle, I had made by V-Mspacers. To use them, the wheel studs needed to be replace for longer ones. 
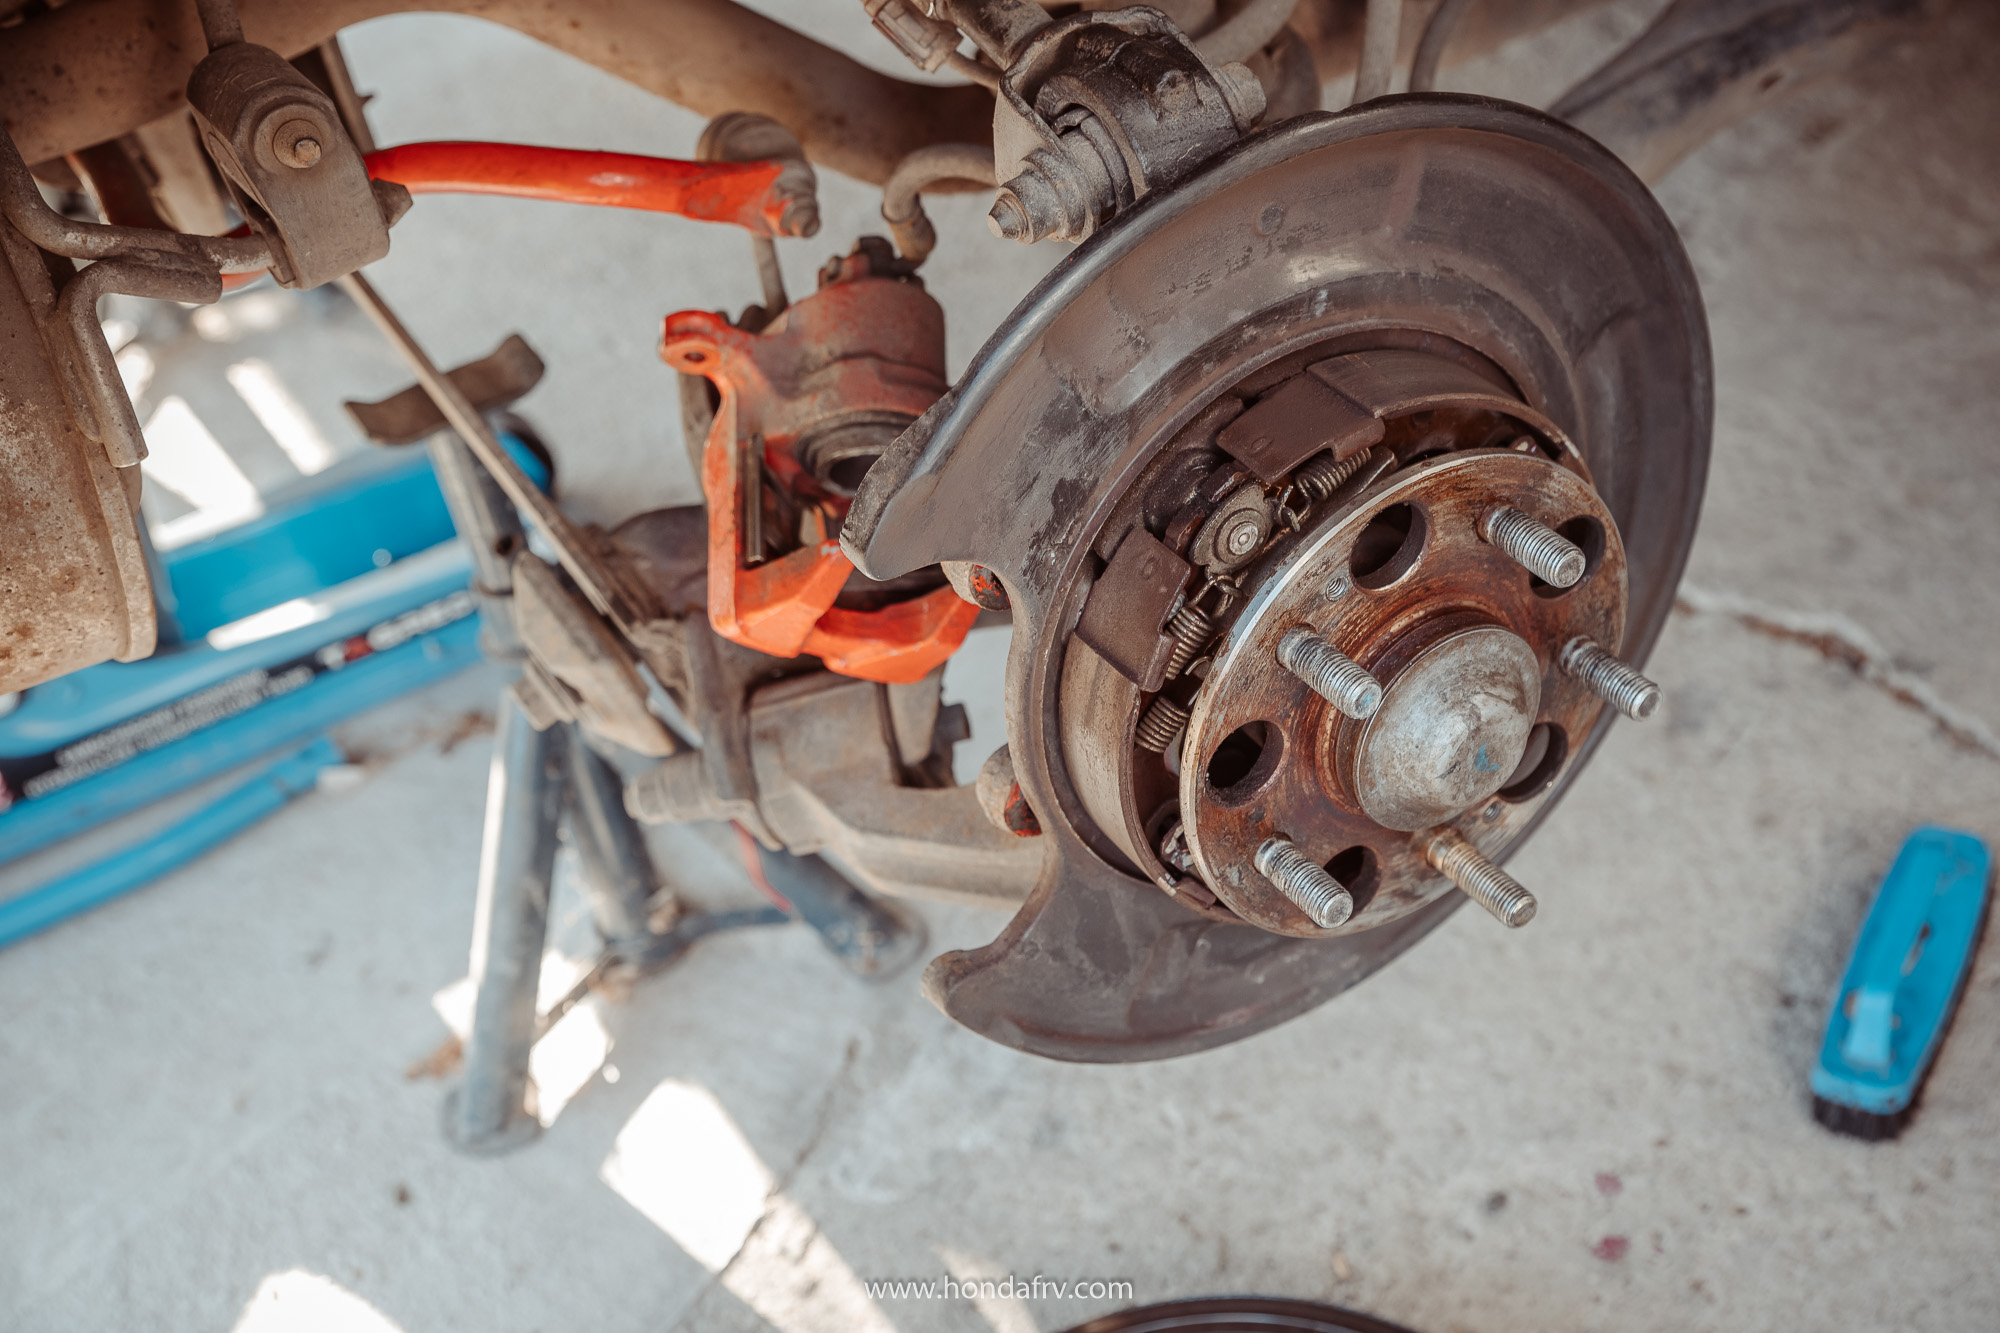
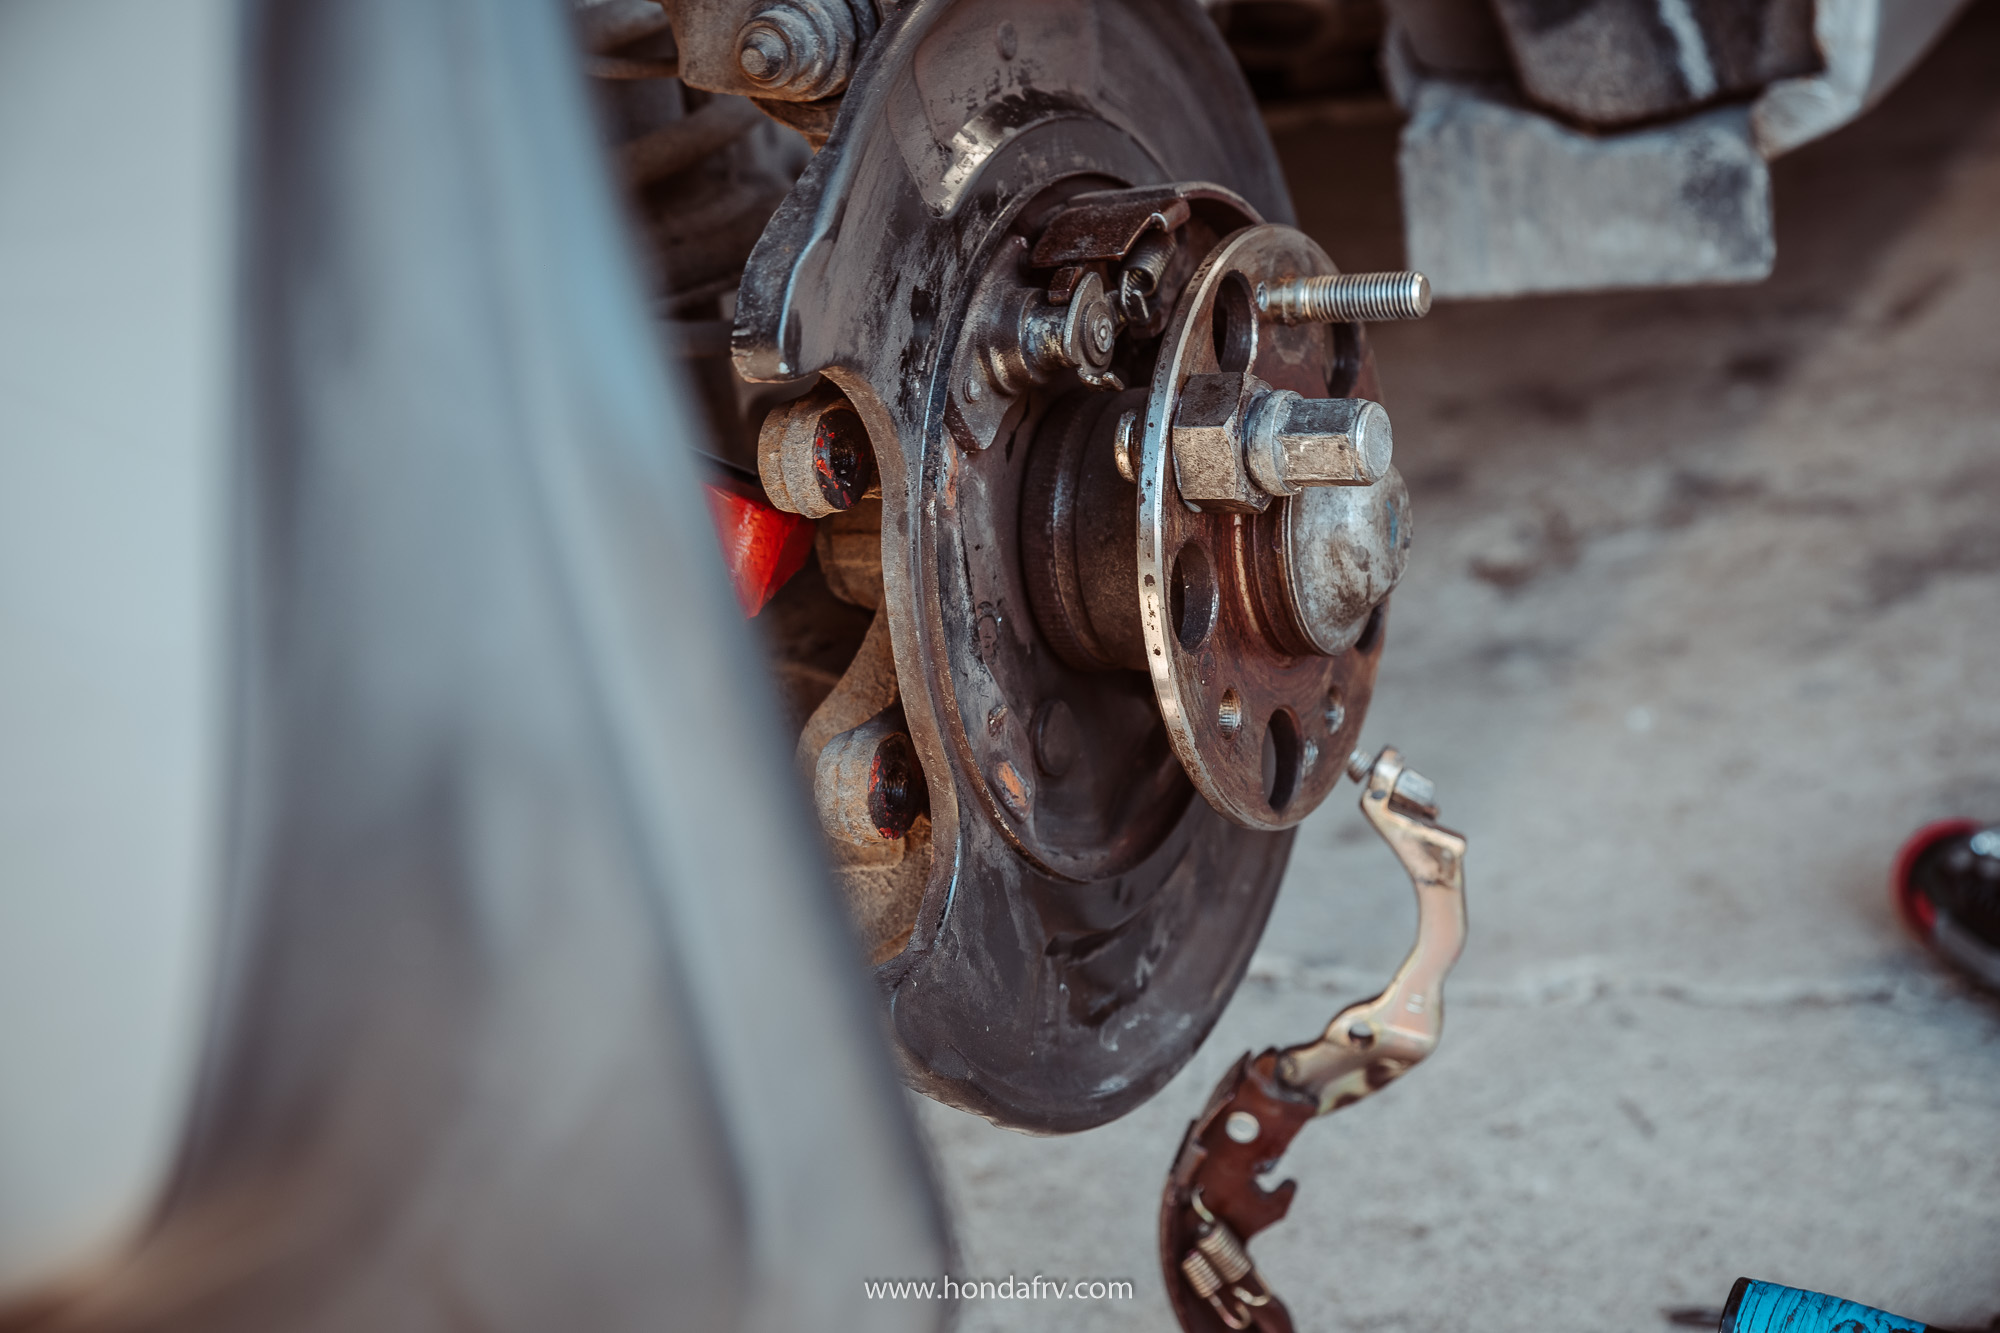
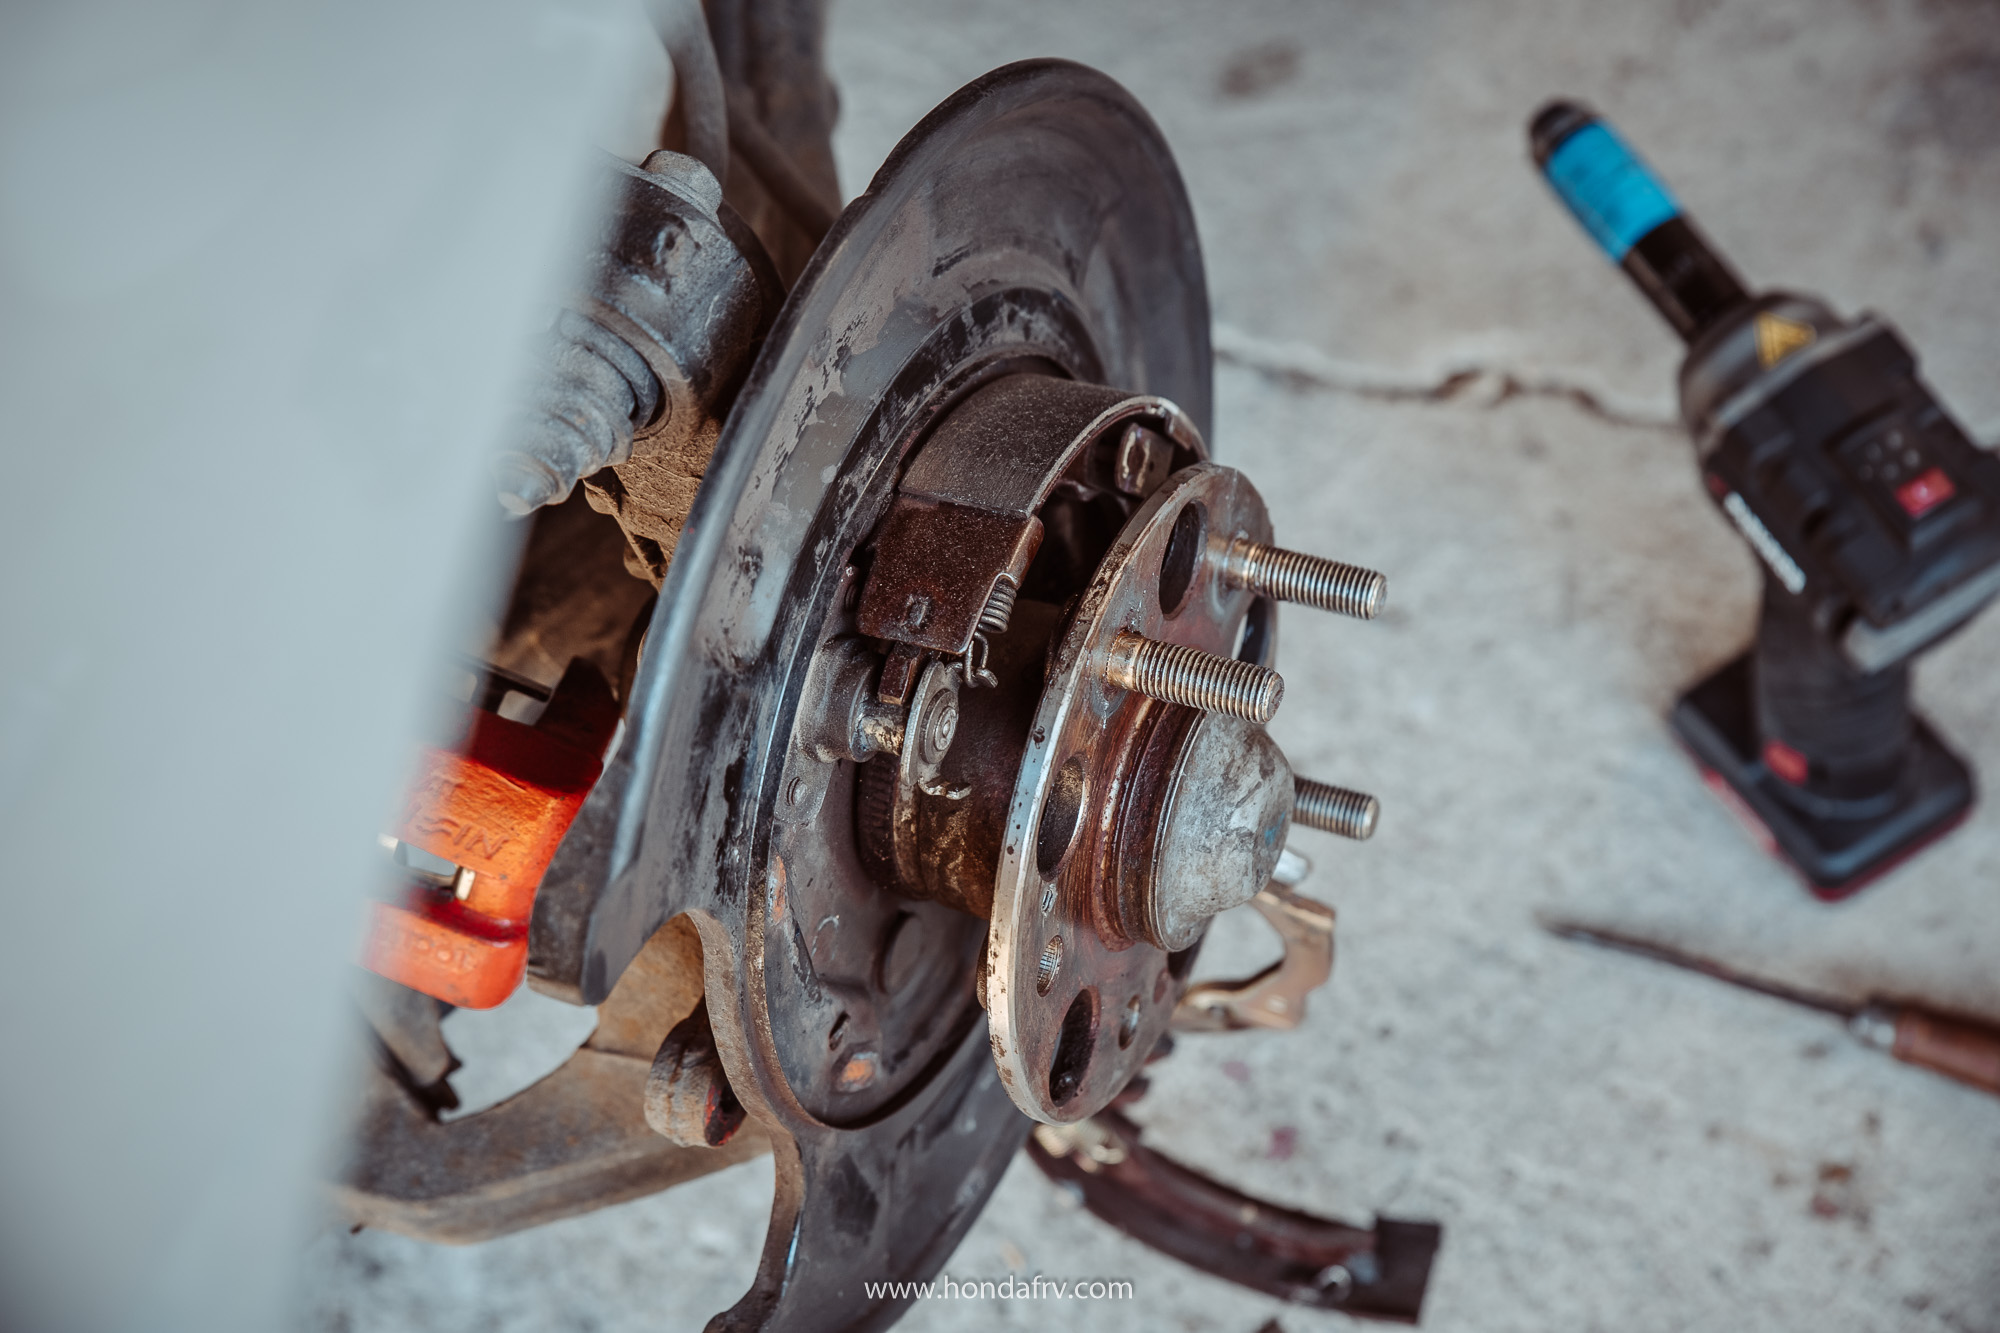
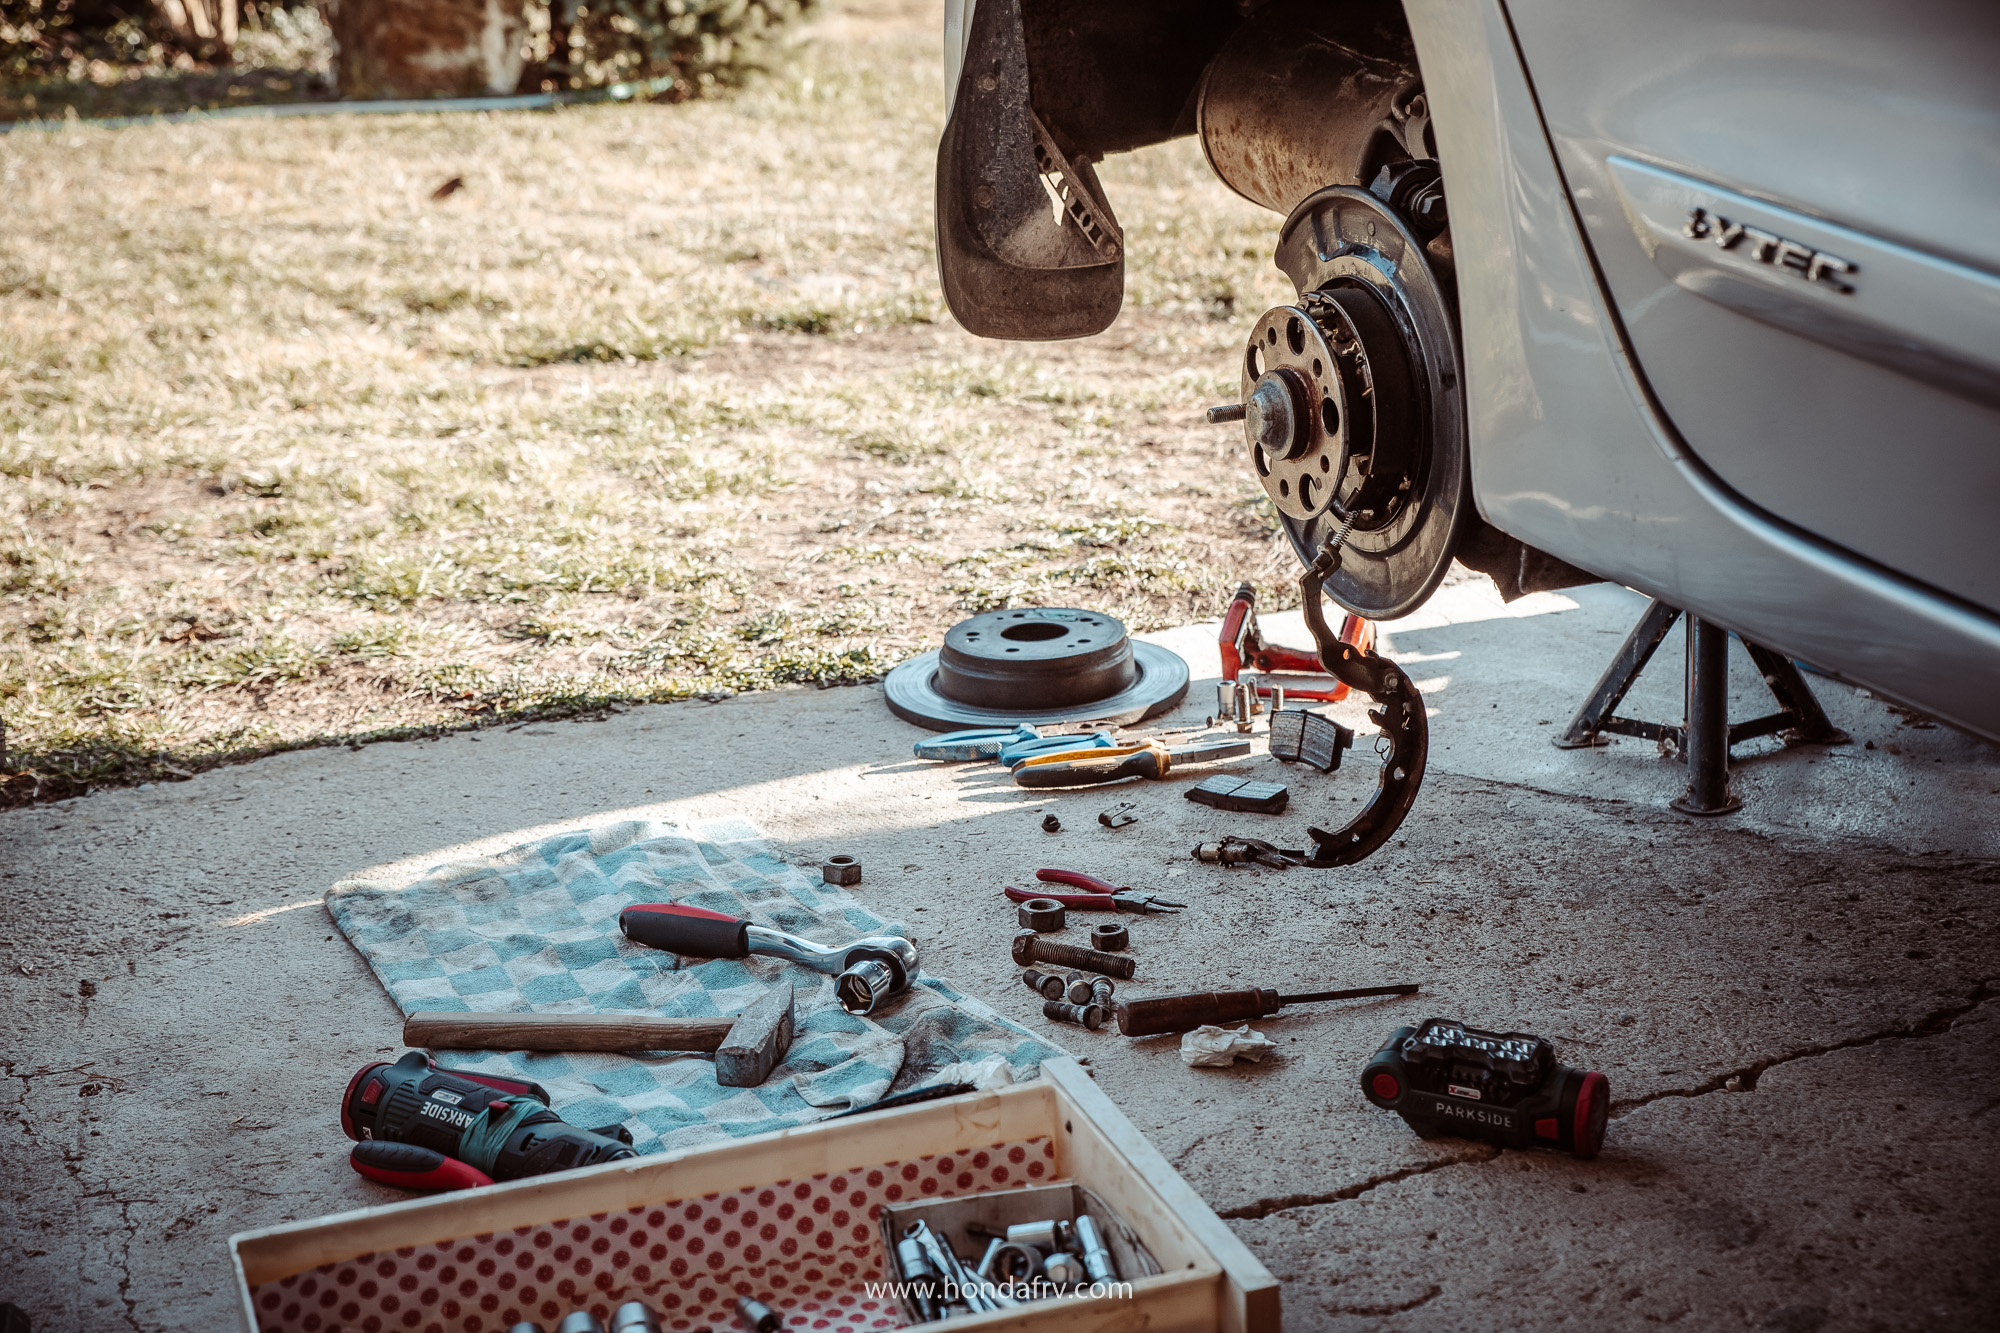
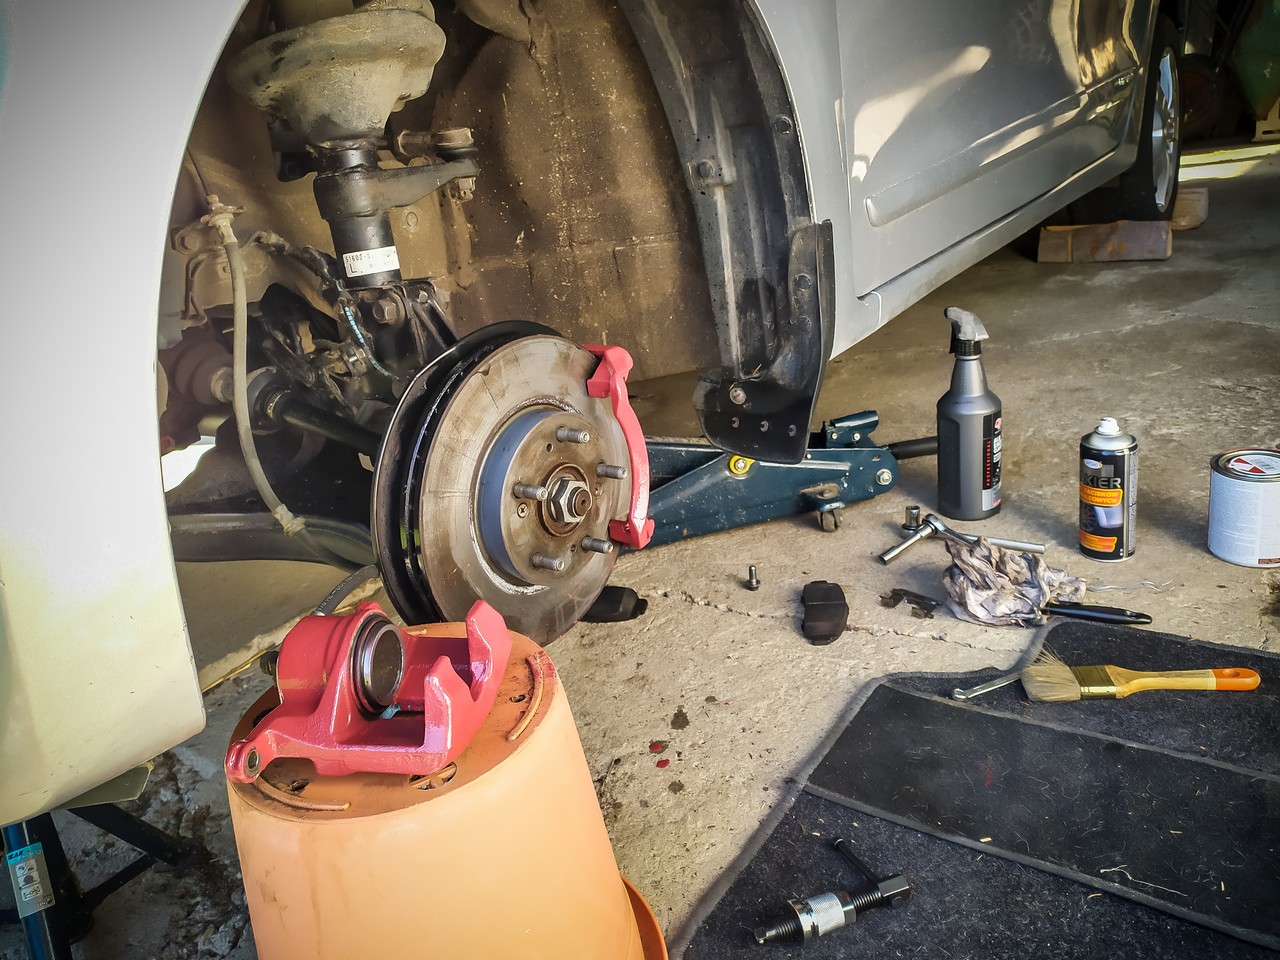
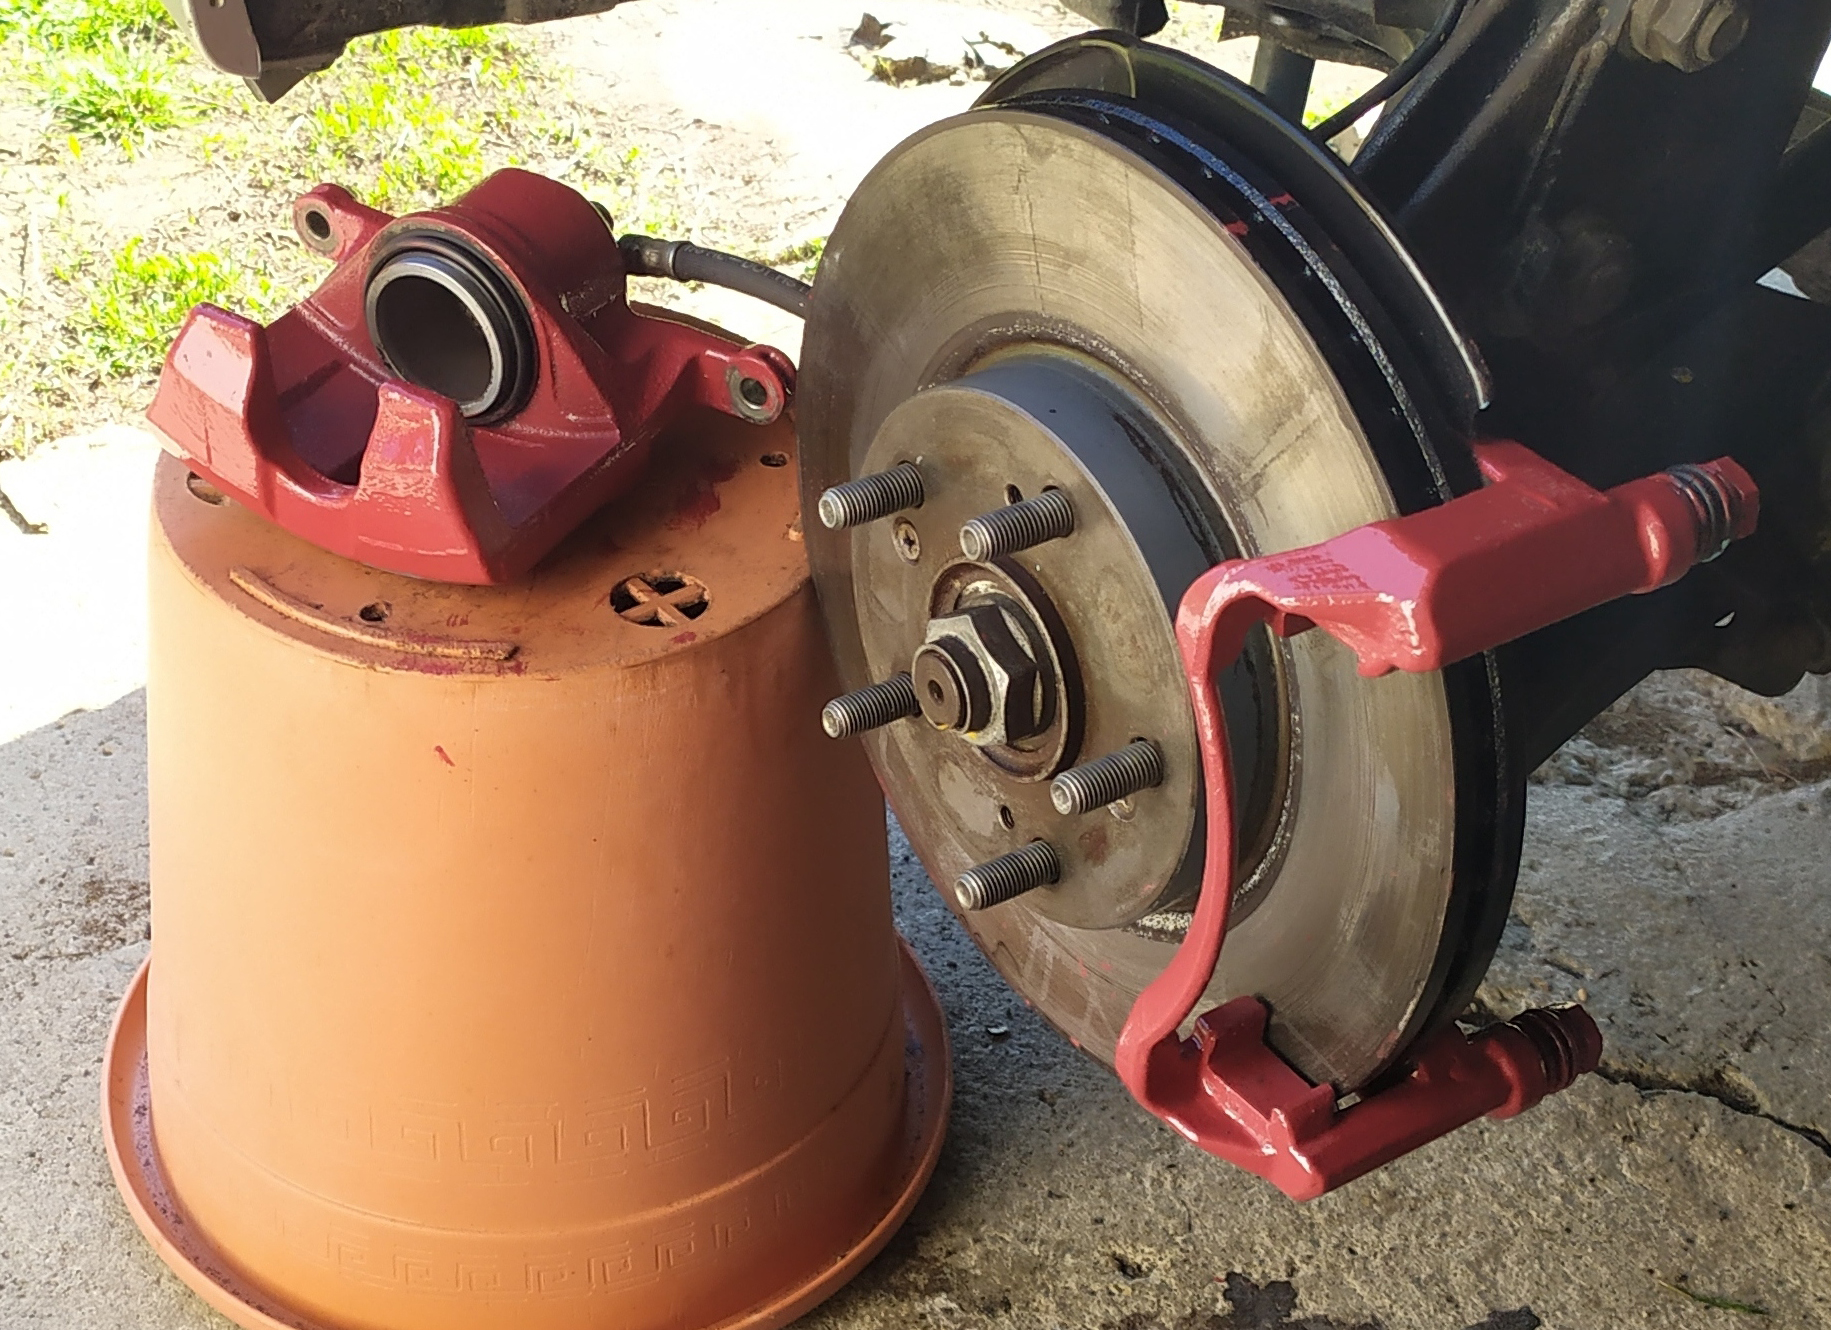
As I had an recent issue with one of the wheel studs, the work was easy and I have just 10x repeated what I did last time. And of course together with that goes brake calipers and handbrake cleaning to prevent sticking.
 Go To The Original Article 
Jan-Feb 2025

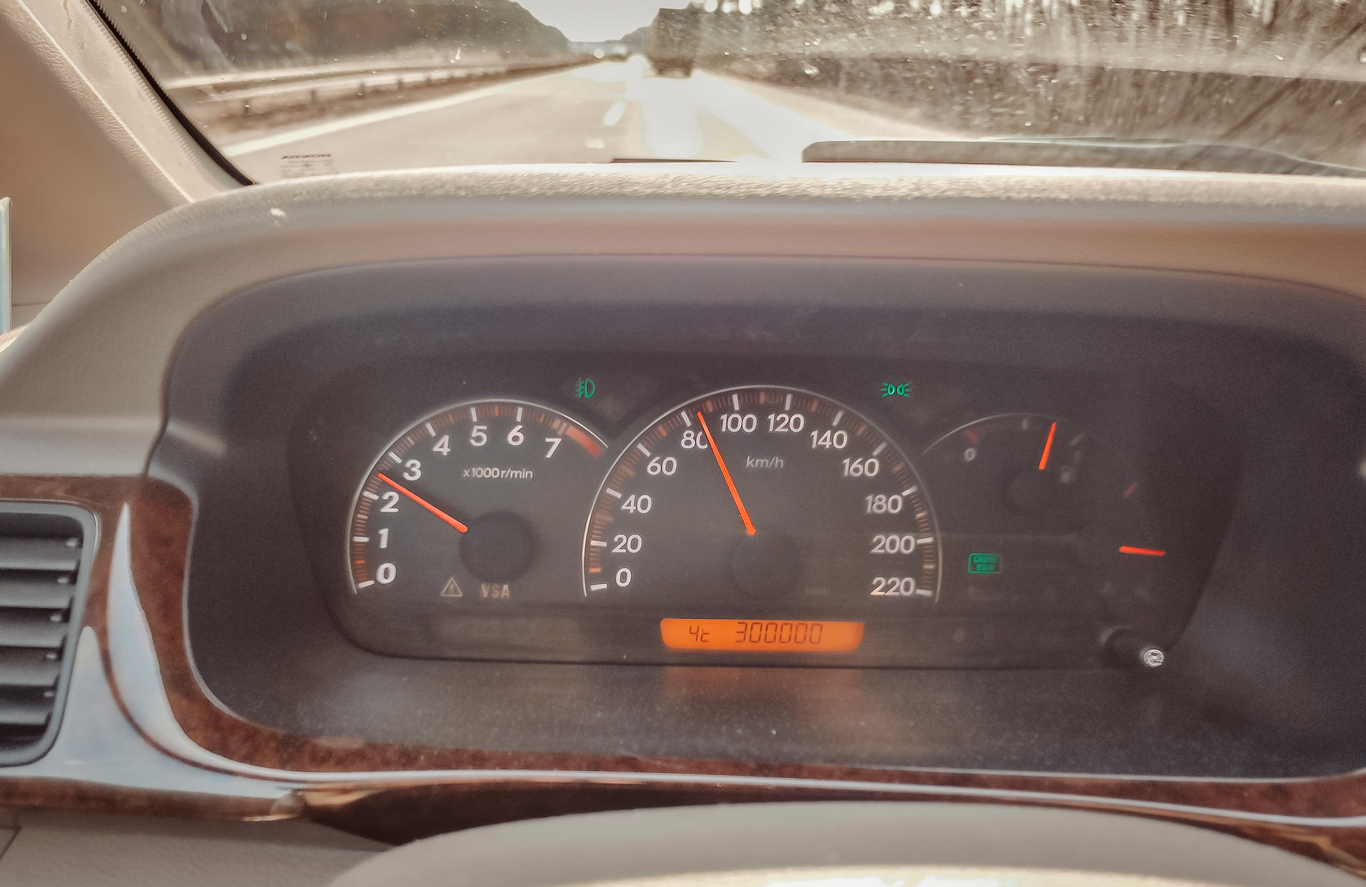
Big service  @300K


As the car reaches 300K Km, I plan to carry out this work on the top of the usual oil & filters, brakes, sparkplugs one:

  • coolant replacement   /done last time circa 65K Km ago 
    go to the article

  • valve clearance and camshafts check   /done last time circa 60K Km ago, this is ever so important for the K20 engines, the recommended service interval is 40K 
    go to the article

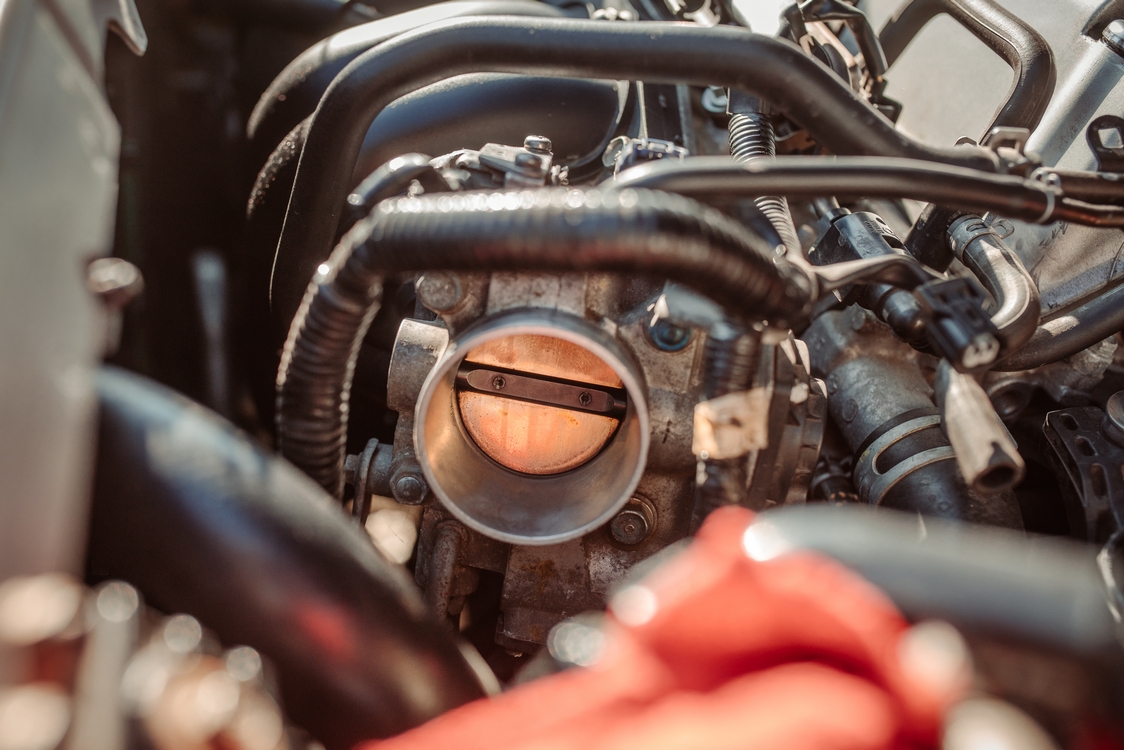
  • intake manifold, IMRC and TB cleaning + VTC filter replacement   /never done yet apart the TB, plus by doing so it creates also a good access to the VTC filter and to the starter motor
     go to the article

  • starter motor replacement   /the pinion stays sometimes engaged with the flywheel, it needs to get cleaned, but I will put in a new starter while this one is being done, have bought it already 
     go to the article

  • fuel filter   /done last time almost 100K Km ago, rutine check to the filter body and the pump /might replace it/ and the filter shoe replacement
     go to the article
Dec 2024

Coolant replacement  @300K

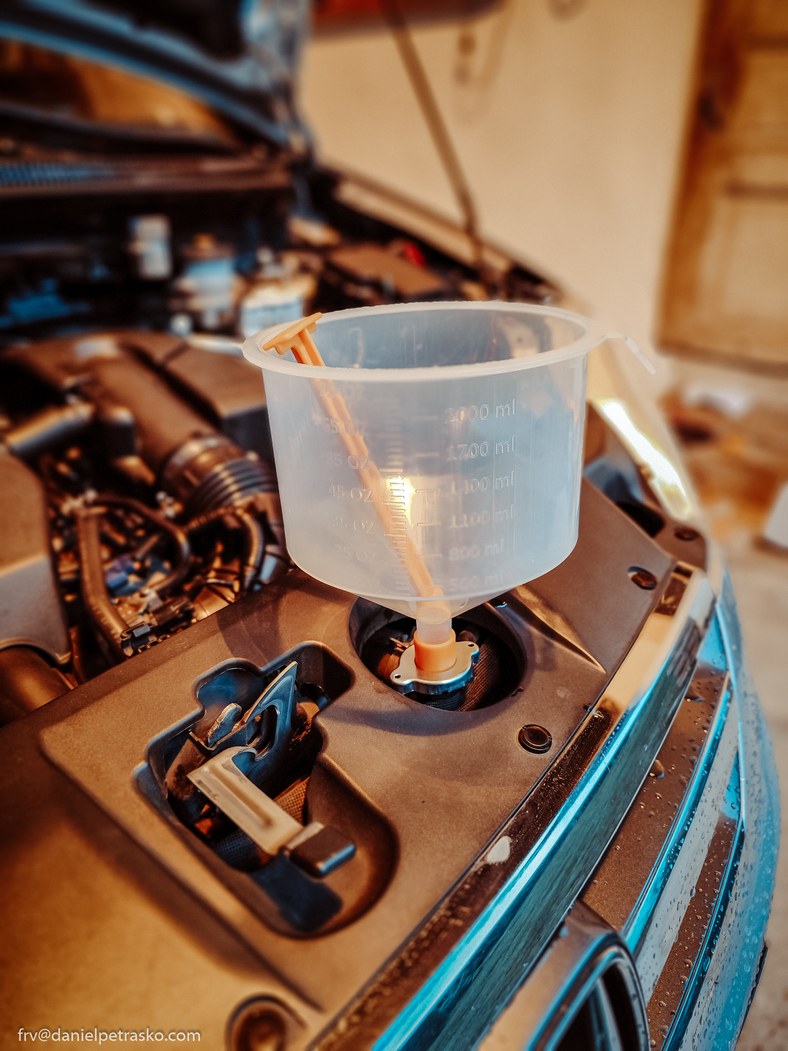
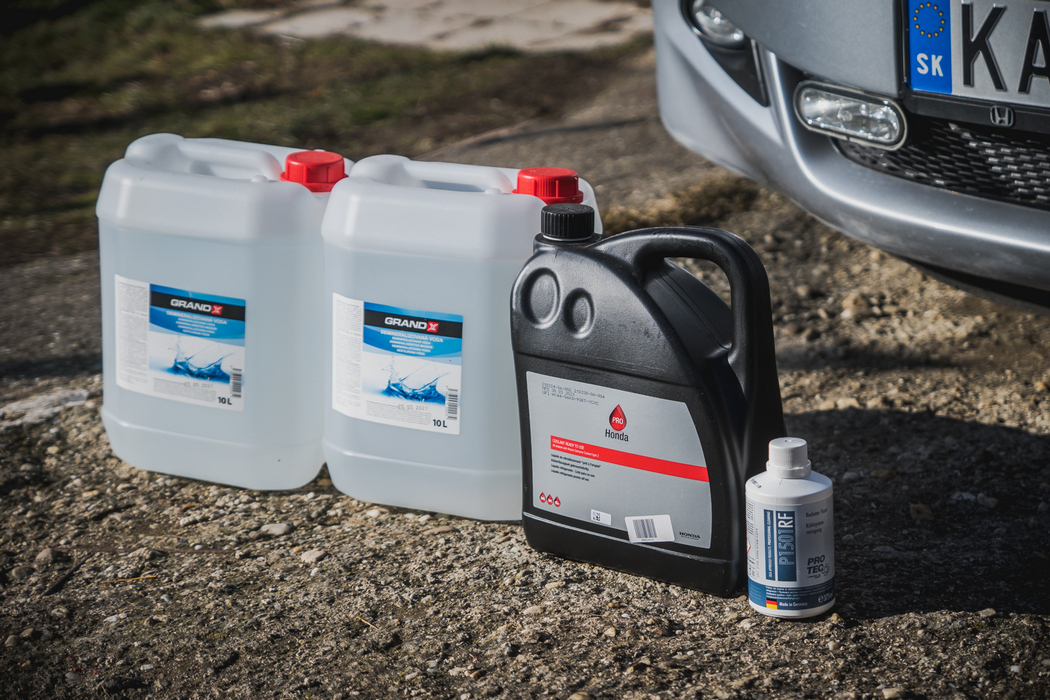
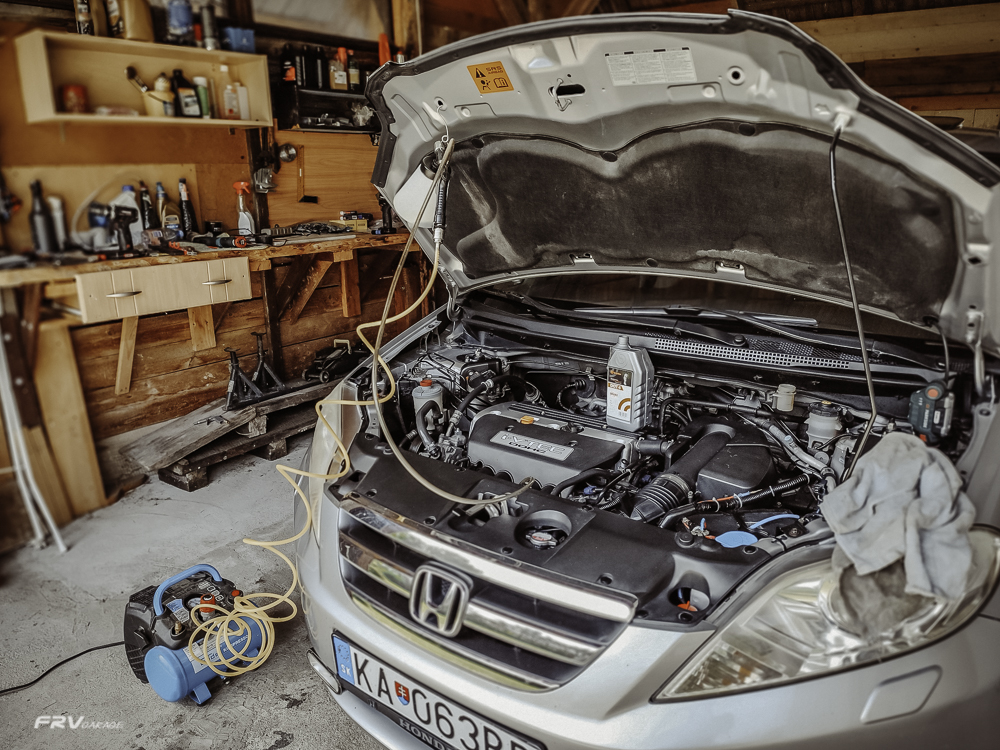
The servis interval by the FR-V manual is round 90K Km, as I try to keep it fit I have shorten all the intervals. The coolant one to circa  60K Km. Like the previous time I have decided to performed the flush again, so bought 6 lit. of Honda CF and 15 lit of demineralized water. This time I have used ever so useful but a simple gadget - a coolant filling funnel. It costed about 15€ and the work with it is very comfortable, clean and  fast. 
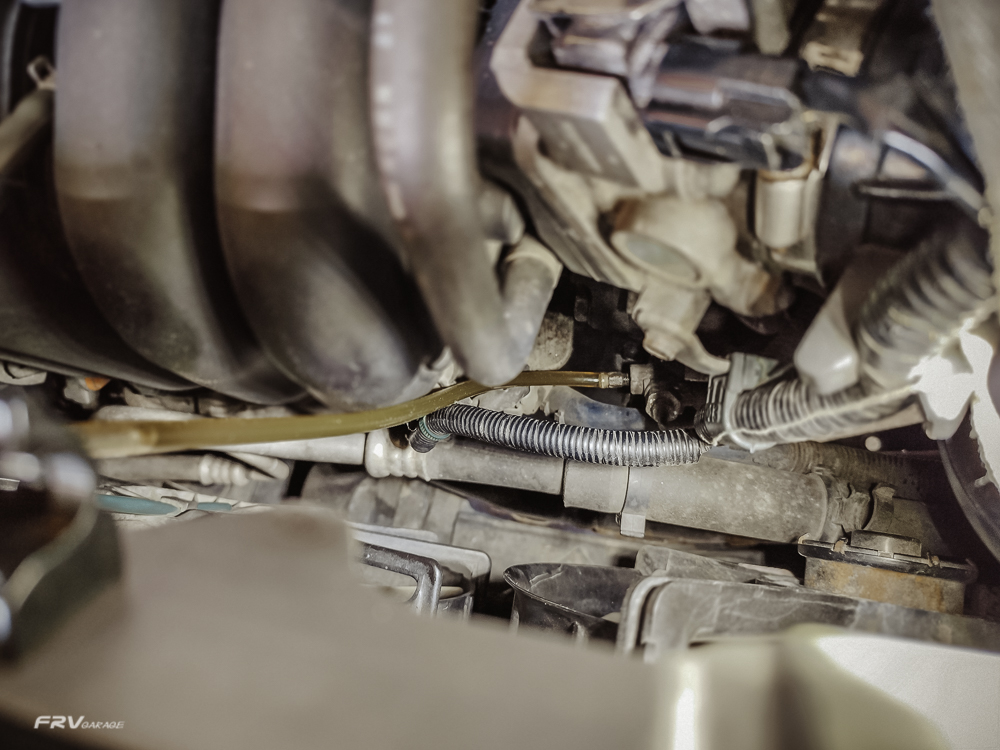
The work itself is also very simple - on the bottom of the cooler is a stop cock, open it and let the old fluid out /watch for the rubber O-ring/. It takes about 5-10 min. till it leaks out, but about 1-2 lit. will always stays in. I have jacked up the rear axle to speed up the proces and to drain a bit more of it. Than I flushed the radiator itself with circa 20-30 lit. of tap water, closed the stopcock and poor in the demineralized water. Thanks to the funnel it went in so easy while pushing the air out. Within 10 min. it was full. Pressing the pipes also helps to drive the air bubbles out. Than I took it for a short drive and drained it out again. The water turned blue as it contained 15-20% of the old coolant. Another fill, and a short drive - the termostat needs to get opened at least 3 to 5 times with heating fully on. Again out it went this time almost as clean as the original water.  As I got a downhill drive I drained it nose down to let out as much water as possible. Filled it with Honda coolant /about 2,5-3 lit. gone in/ and reparked the car to the garage and finished the filling. All together 5,5 lit. was needed to get it fully up. The dipstick is in the expansion tank and it needs to be half way full - up the ball on the dipstick. 
The Honda ready mixture is good up to -30 Celsius, so even if a bit of water after the flush stays in, it makes it no considerably weaker for this part of Europe. As all was so clean I think next time I will skip the flush and replace only the coolant.  
Sept 2024

Spark plugs check  @290K

While the spark plugs don't do the heavy lifting, they do make sure all the work is happening. Honda FR-V K20a9 uses the older and cheaper type nickel central electrode of plugs. No need for iridium, but they could be used. Cannot say whether would that be of any noticeable performance or financial benefits. 
I tend to pull them out every circa 15K Km to check n clean and every 30-35K to replace. They are cheap enough and the work is very easy to do it this often. The full set of Denso KJ20DR-M11 or NGK 6711 is up to 25€ and the replacement takes up to 1/2 hour.
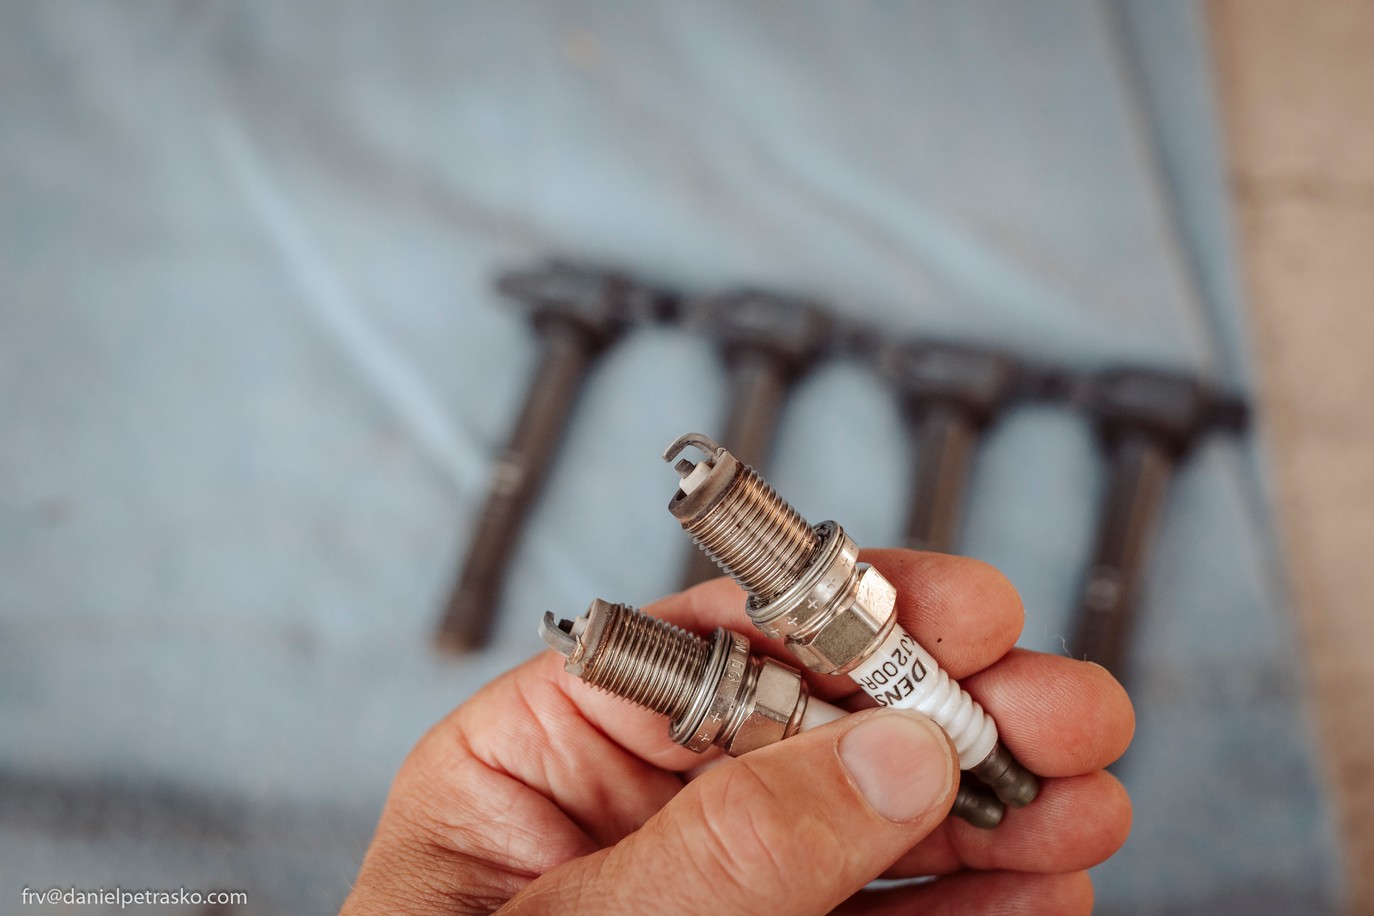
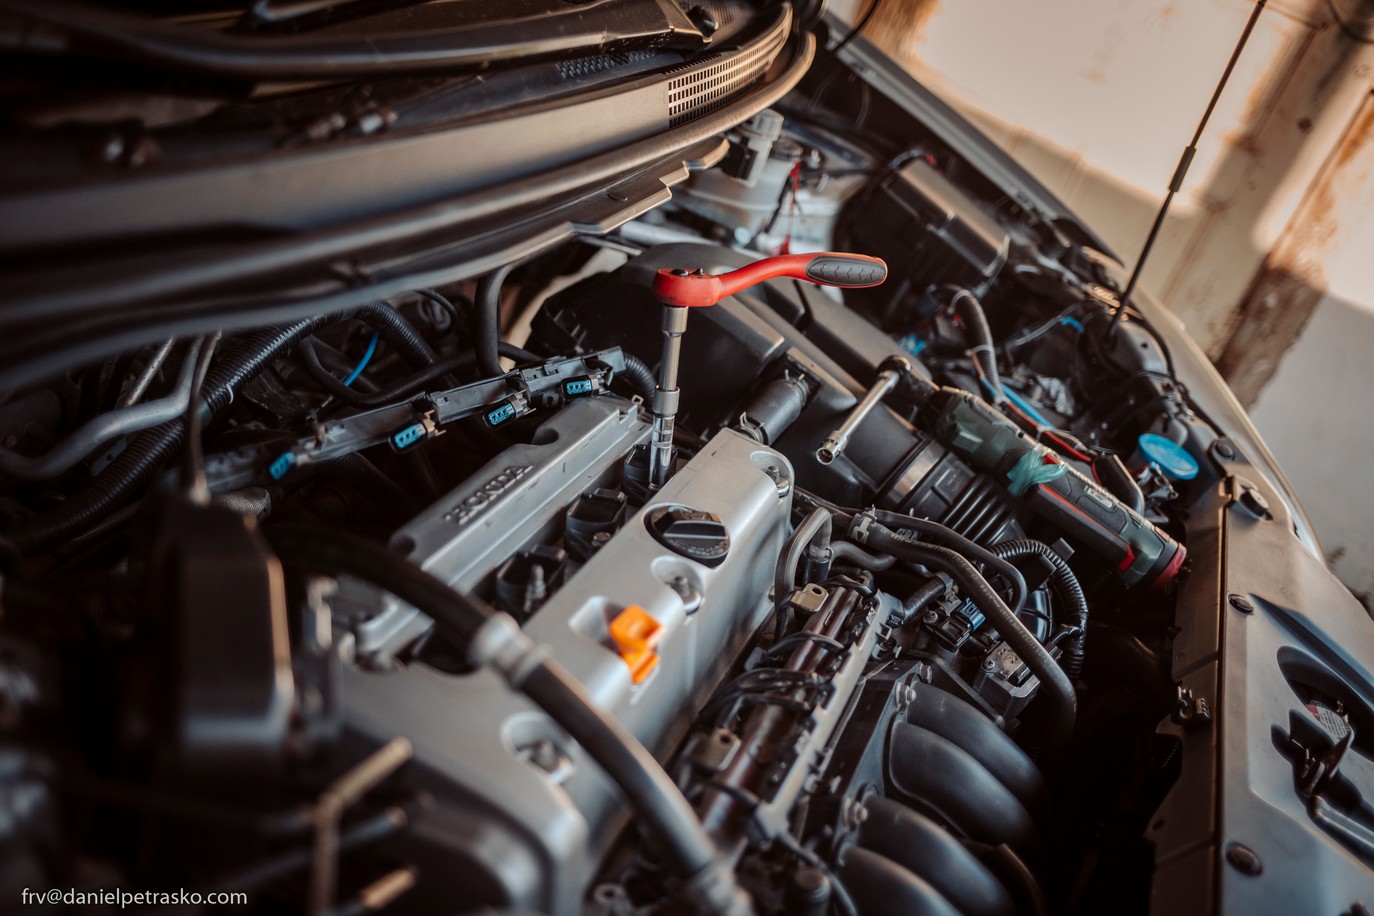
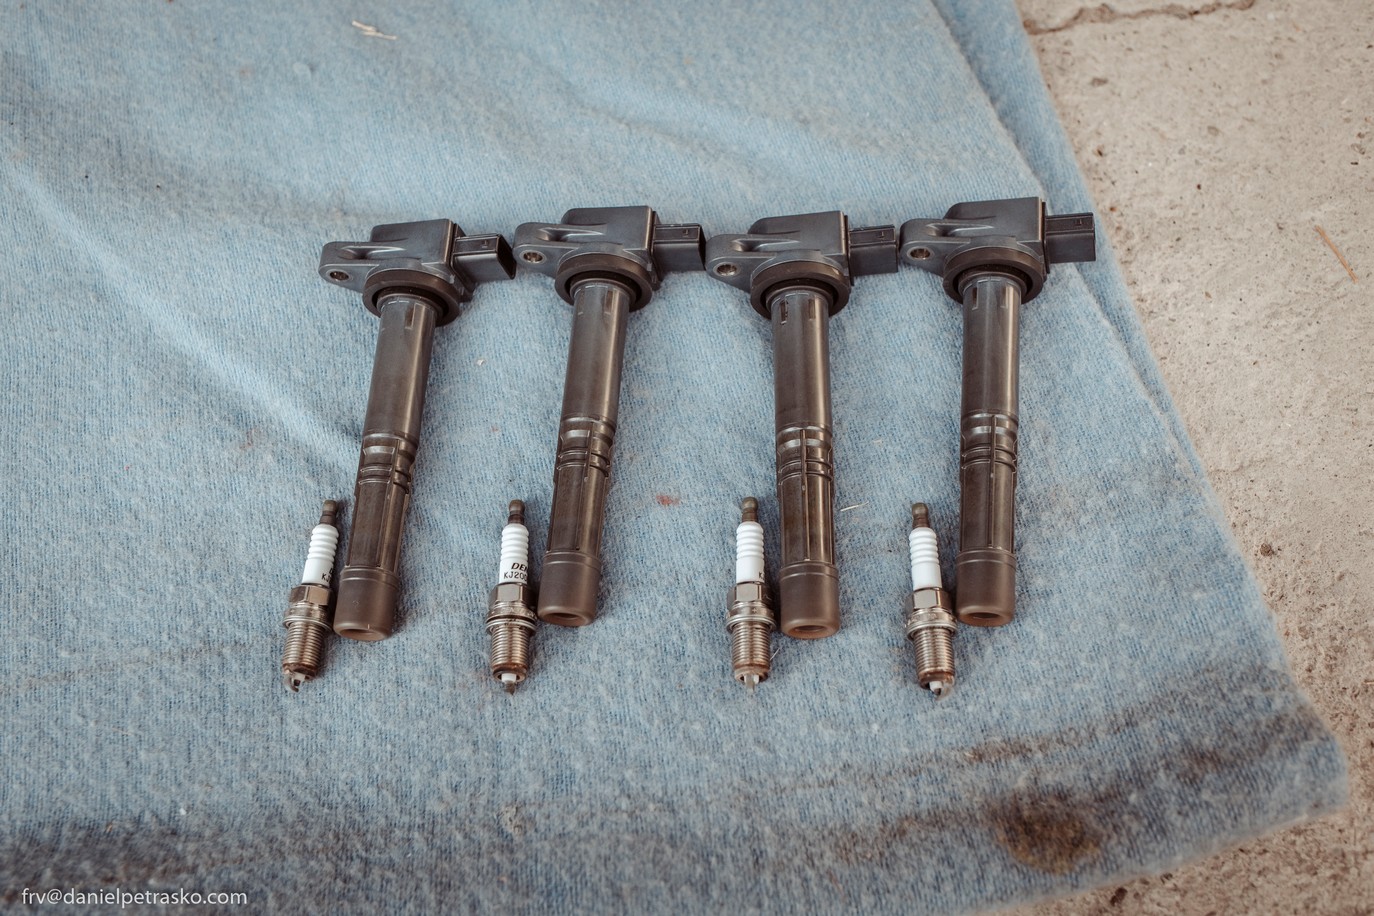
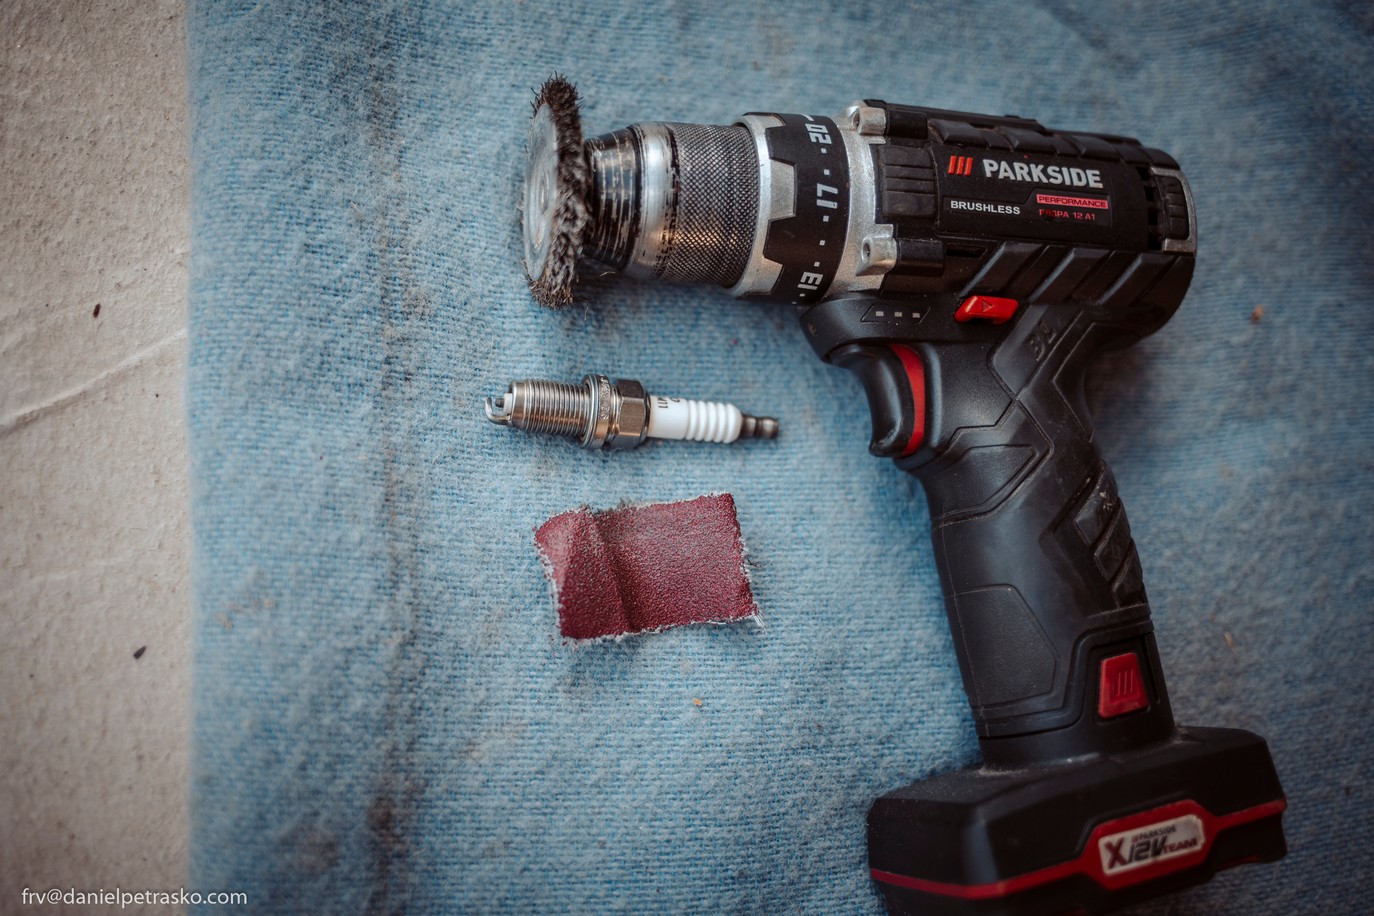
Reading and understanding the spark plugs gives you good clues how is engine running /too rich, lean, using oil and so on/. The used spark plugs should be of brownish color like a pizza from the bottom. Picture one. If is all fine, I check the gap, clean them and off they go back to the engine. The plugs socket is 16mm, and the tightening torque is 23Nm but I always do it just by hand and feeling. The magnetic spanner socket is the one to use. The ignition coils have 6mm bolts, a long 10mm socket needed as two of them - the second and the last one, are rather studs than bolts. Running clean or new spark plugs apart the obvious, also passes on less stres on coils and the whole wiring. Both mentioned types are roughly equally good and priced, and Honda recommends them.  
August 2024

Broken wheel stud replacement  @284K

I am trying to accomplish most of the repairs and maintenance myself, but there are some you just cannot do at home.

One of them is the wheel balancing.  So I went to a local garage to have done this simple job and ended up with a ripped off wheel stud on the rear left wheel. Despite my advise 110Nm for the wheel tightening torque, the incompetent guy set the wrench to 140Nm /that's what he insists, likely even more/ way too much for my 20 years baby and bang went it off.
To be fair, there was a weird cavity inside the stud, that for sure made it weaker but for almost 20 years of normal handling it was absolutely fine and rock solid. Yes I know its always the last straw, but anyway no offer how to solve it or a word of apology, free coffee, or a discount voucher from their side... Well a some week later I set to work and done it myself.
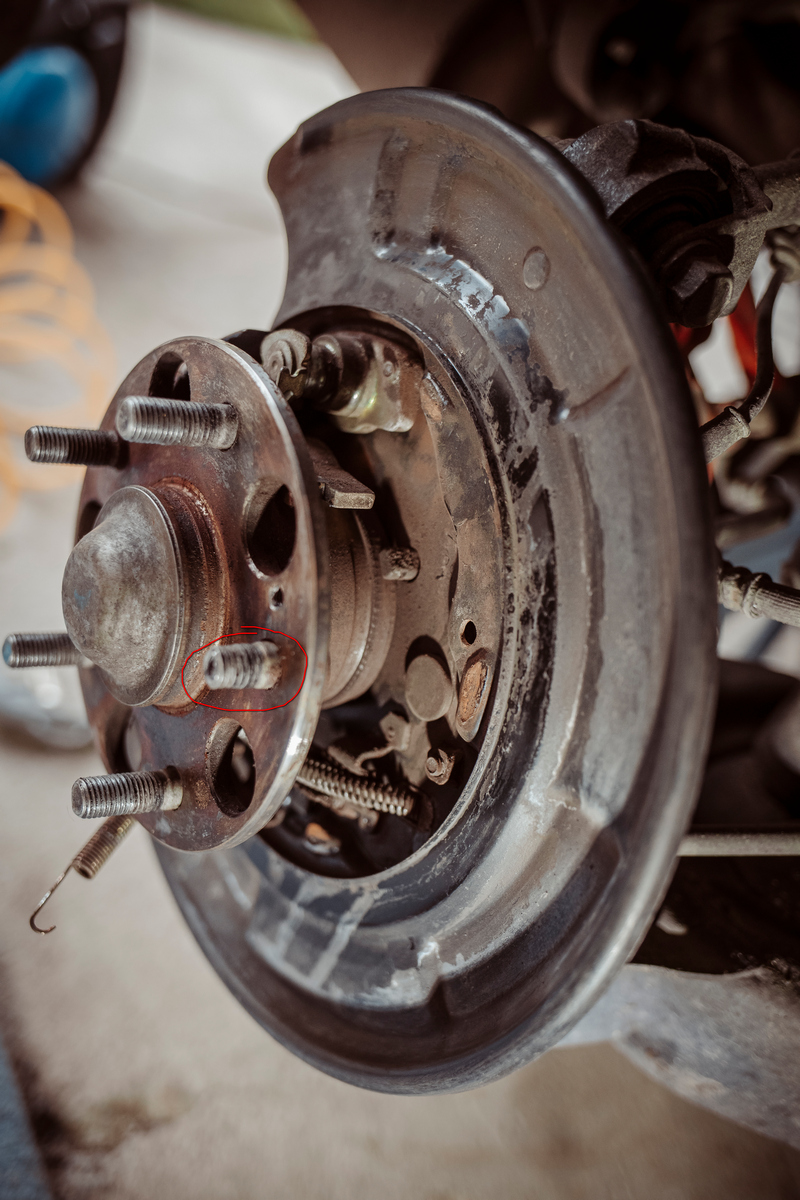
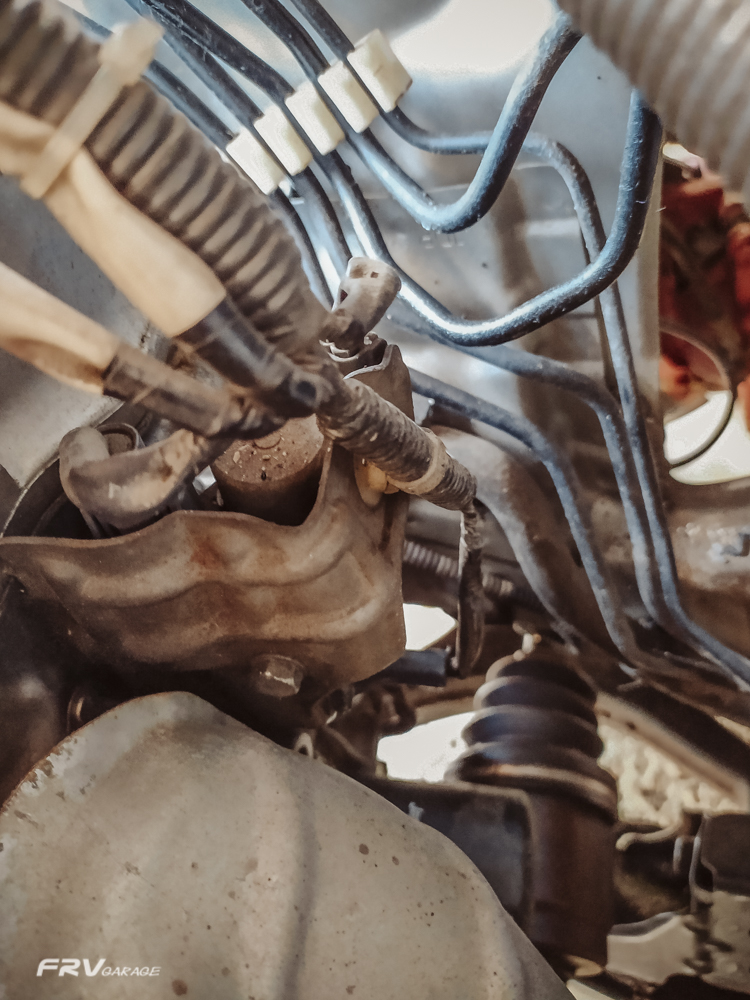
So this is a brief instruction how I replaced a broken wheel stud on a Honda FR-V. It certainly will apply to another Hondas or cars but the details will differ. First step is to dismount the brake caliper, than to pull down the brake rotor. For the caliper there is 11mm socket, for the caliper bracket 12mm. The rotor is held by two screws. Up to now an easy work.  
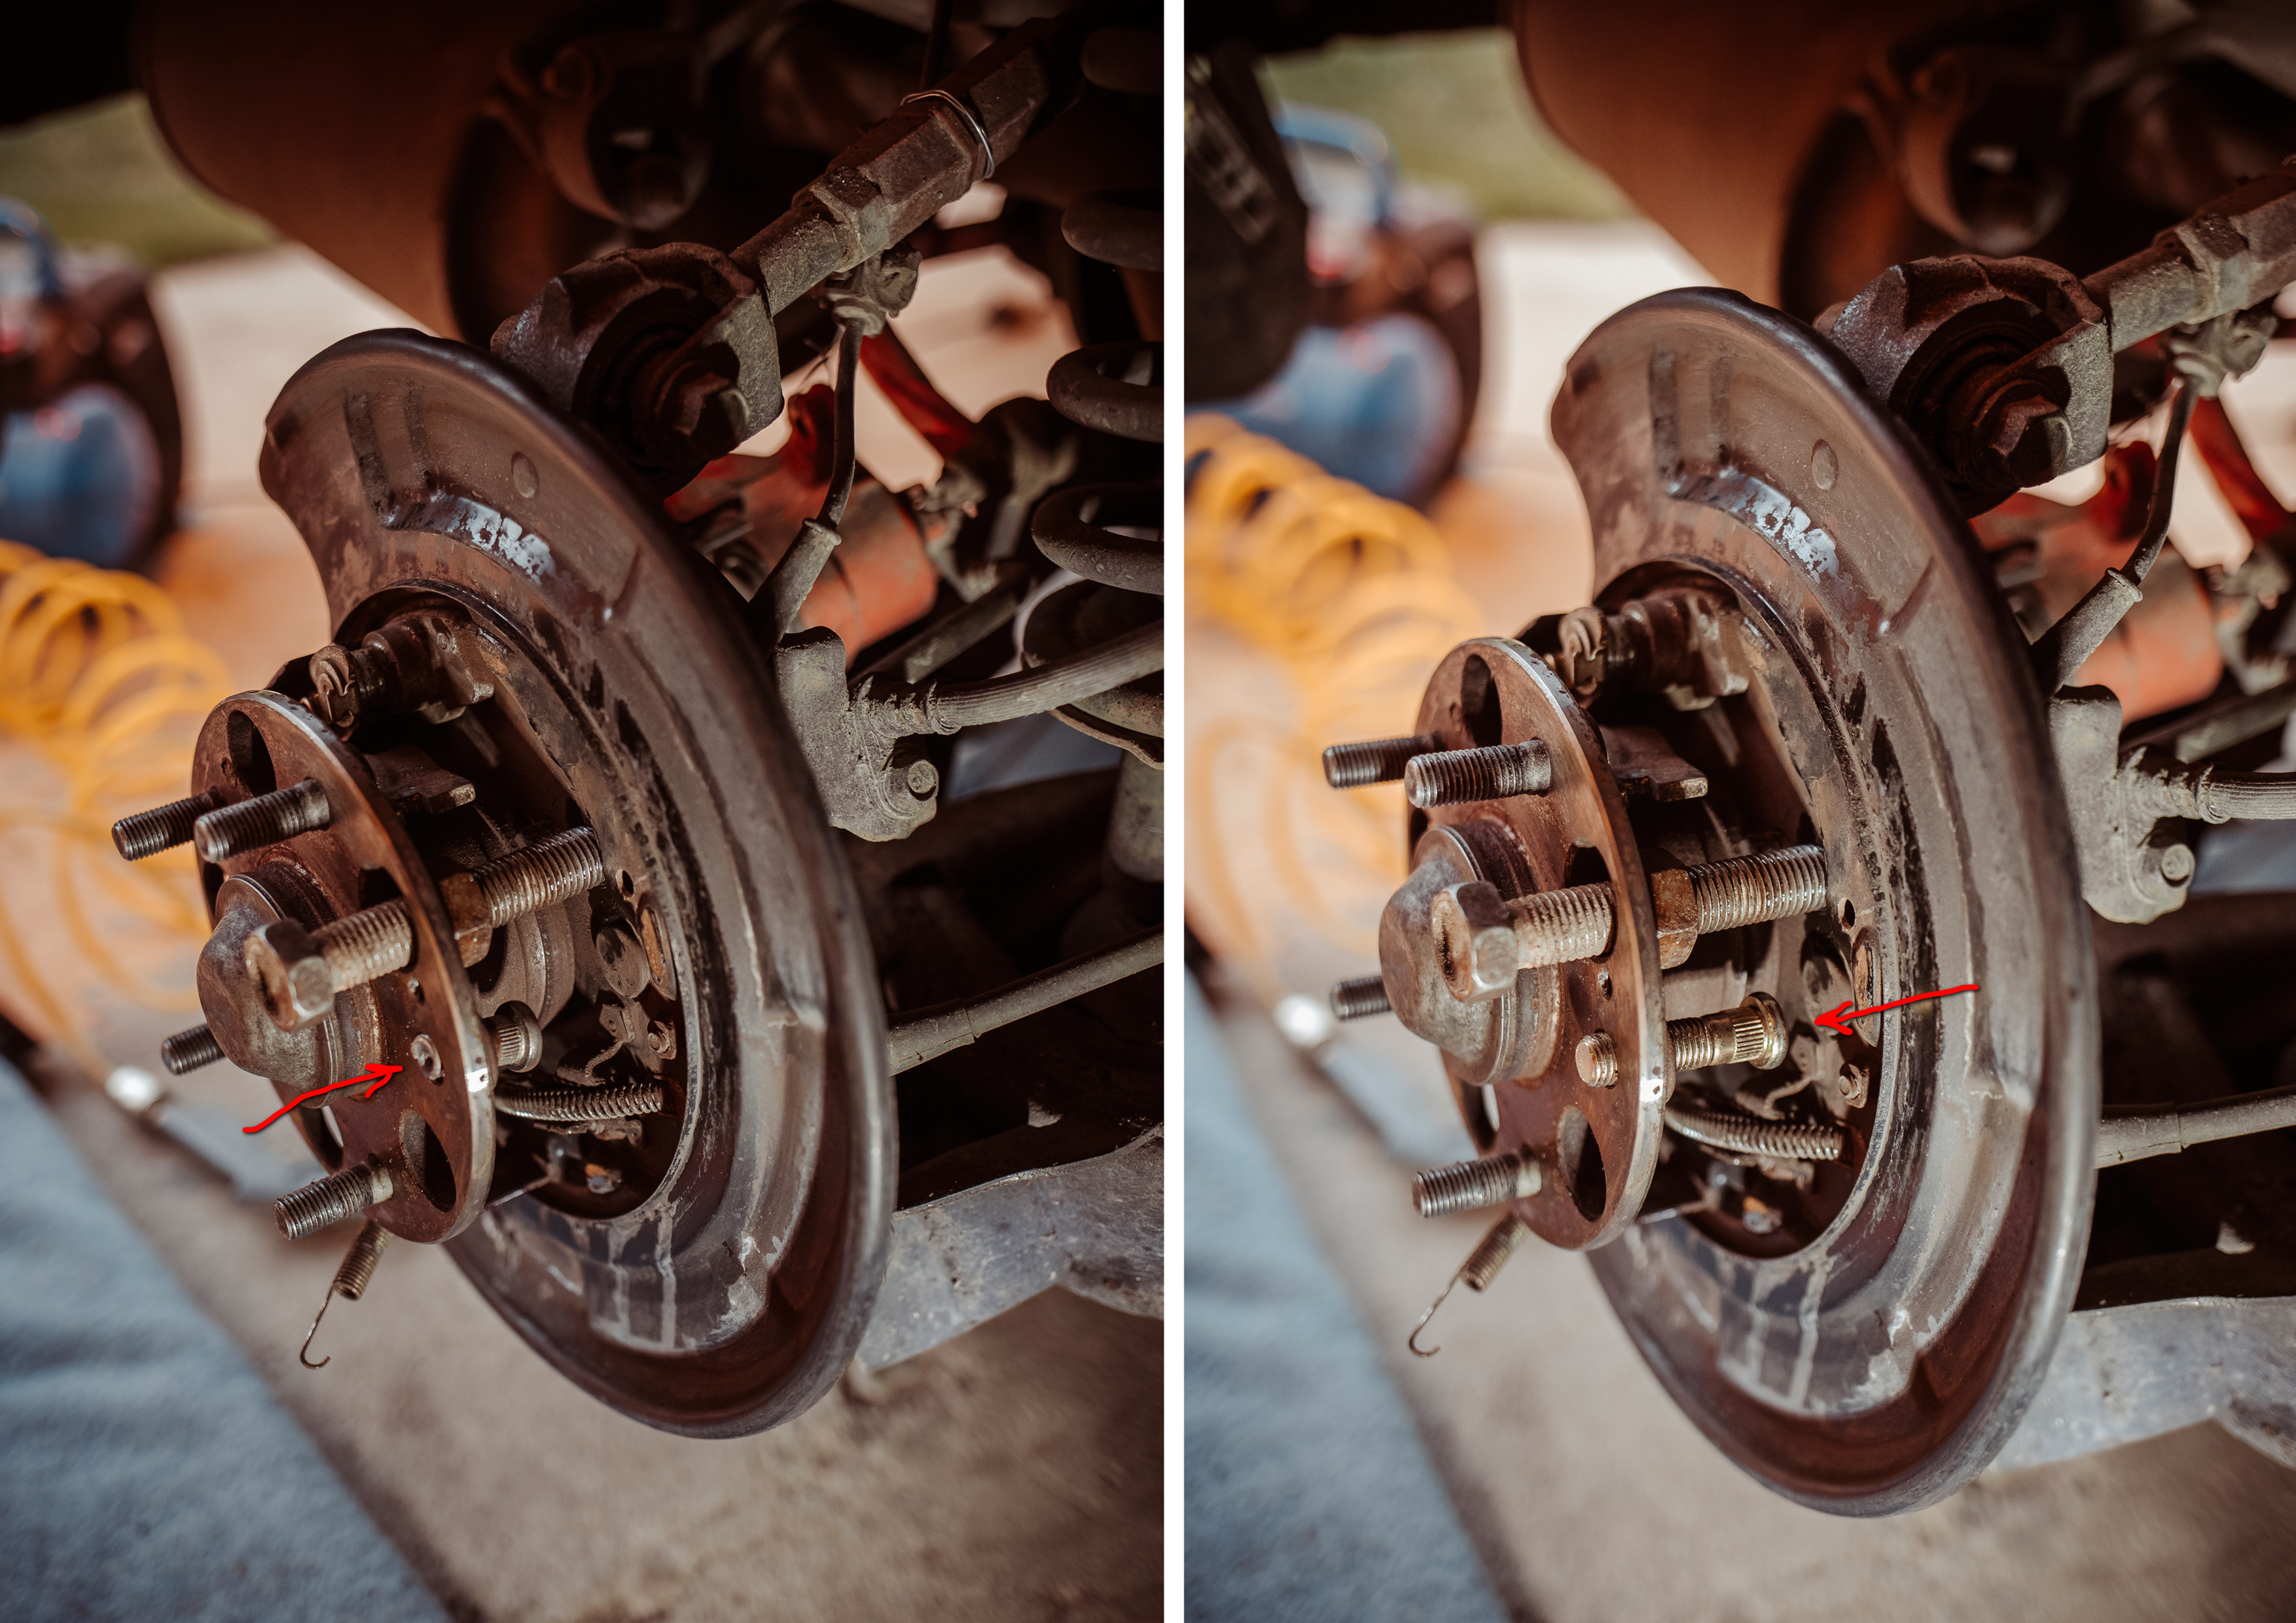
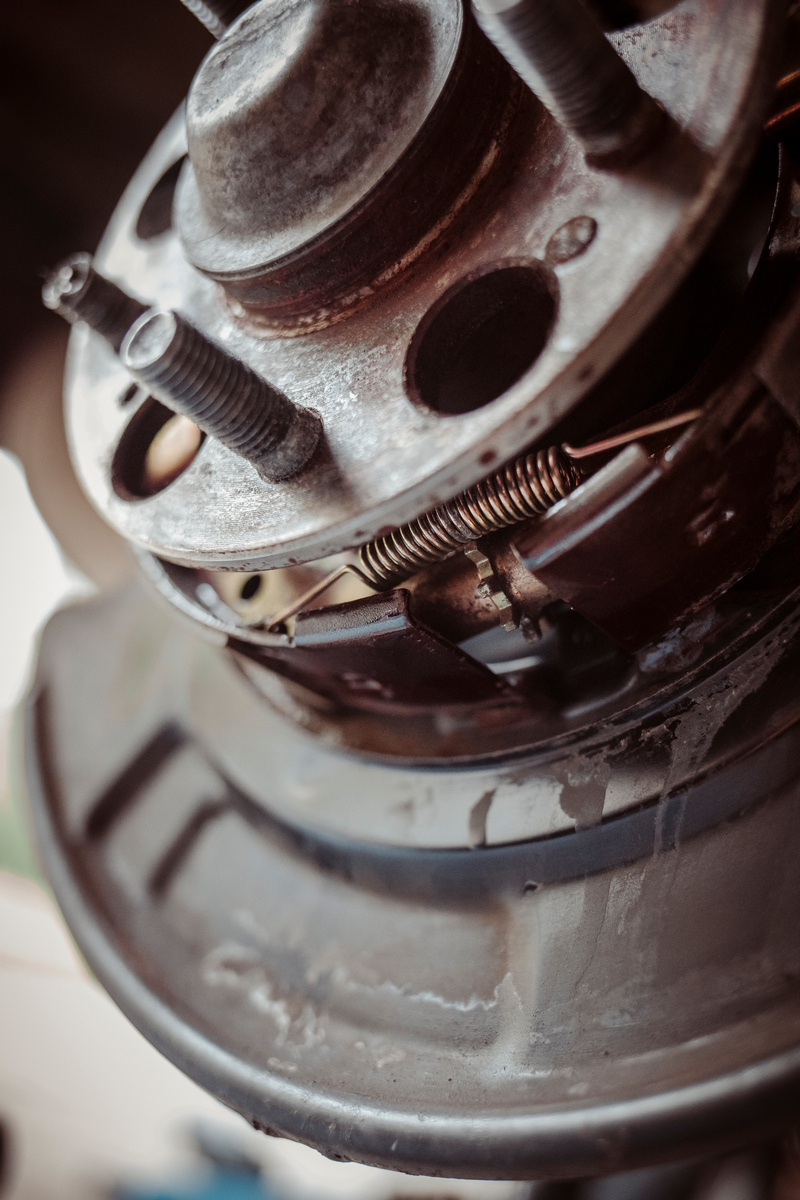
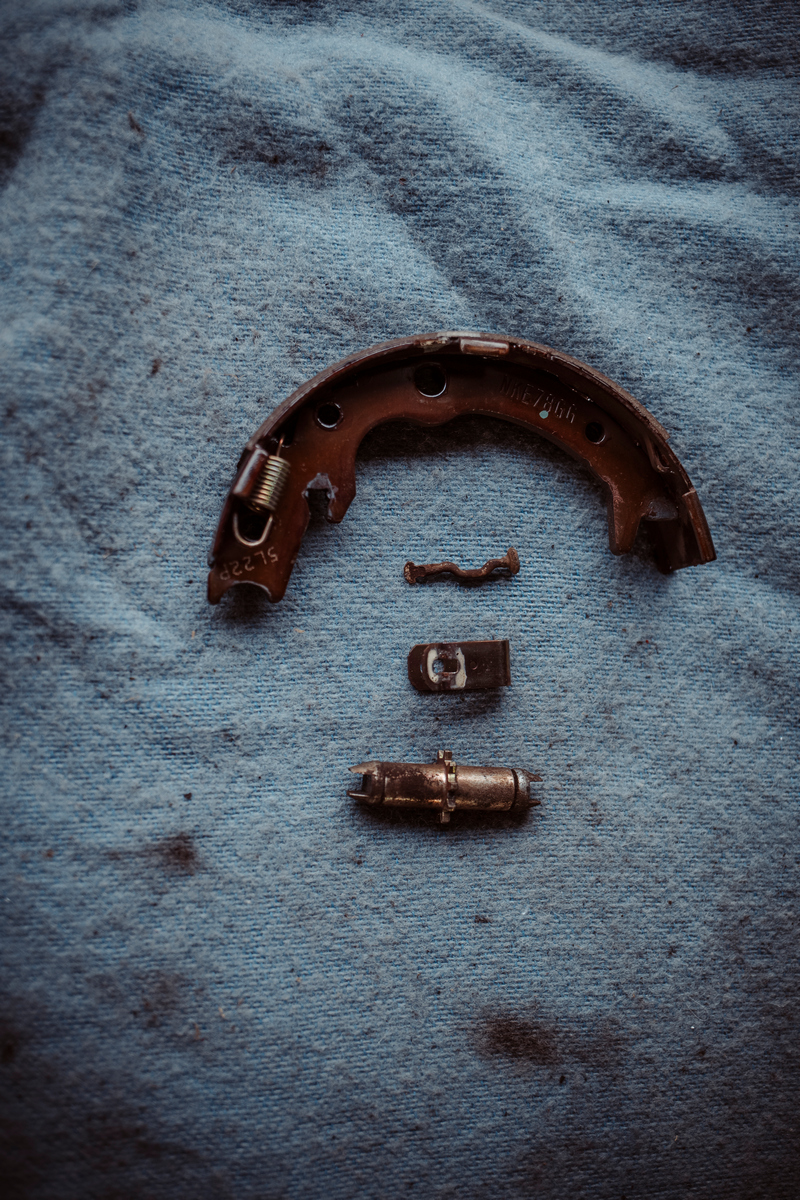
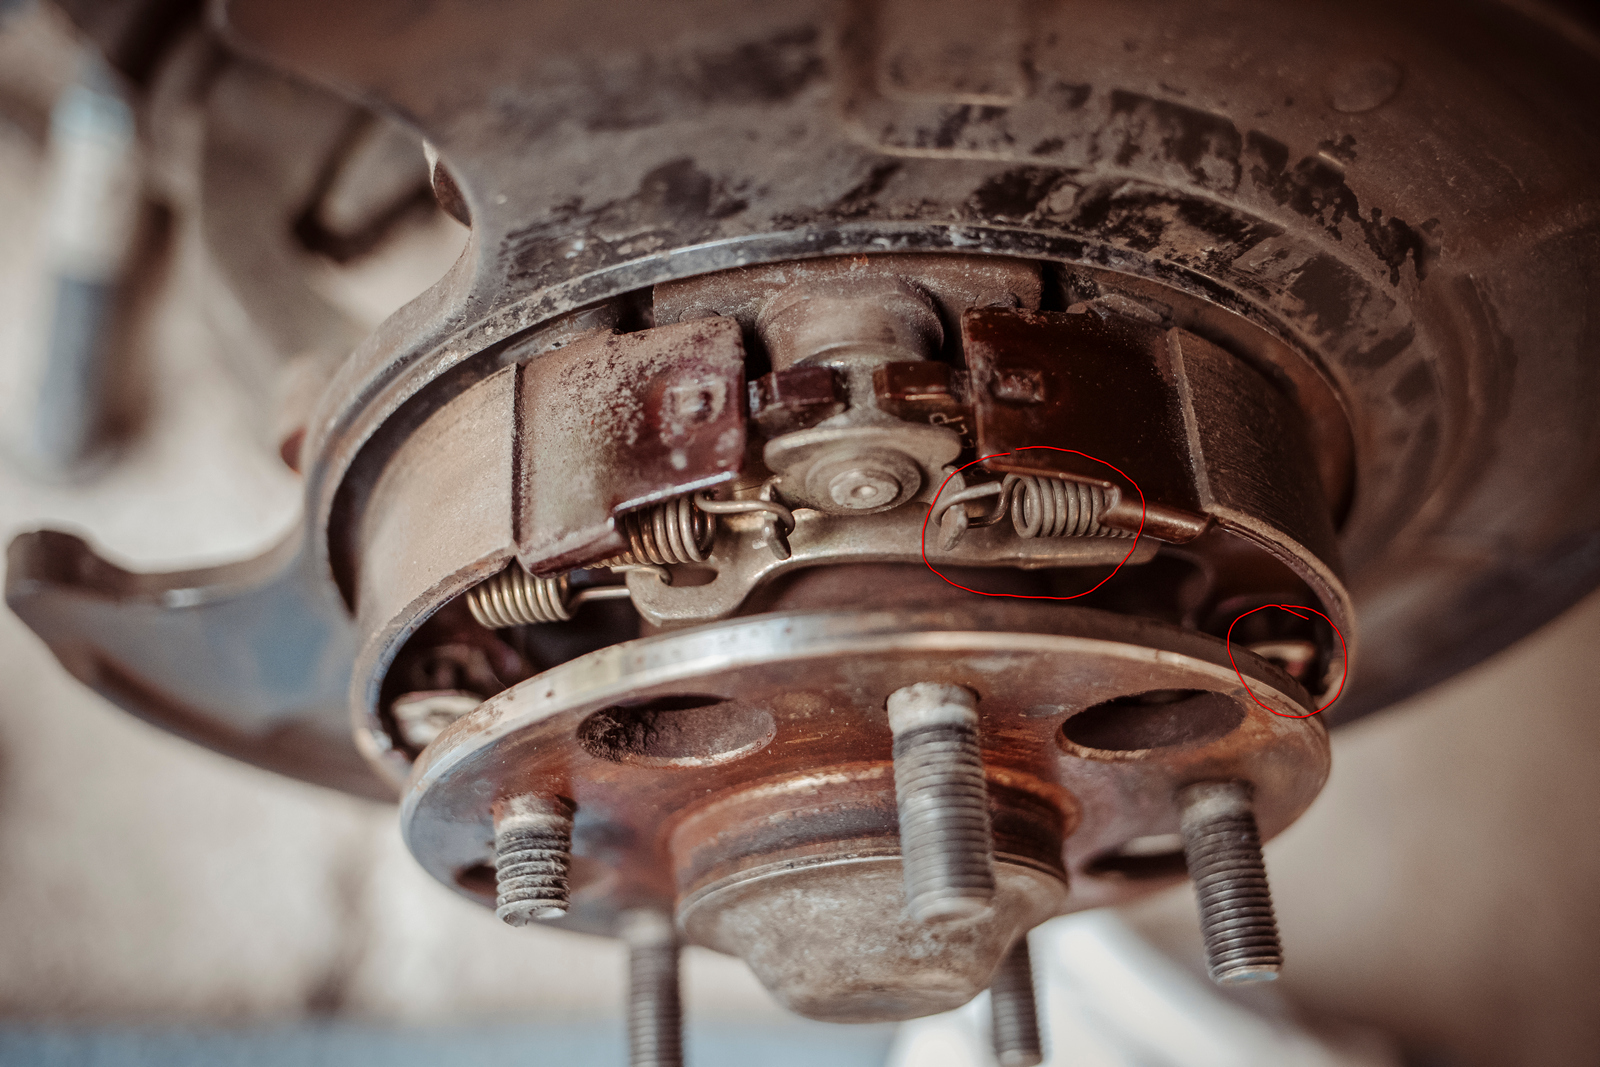
Now the fiddly part, we have to take off the hand brake shoes to make room for the old stud to be hammered out and the new one put in. It is enough to take only one shoe off, best the one without the hand-brake Bowden cable attached to it - less work, in this case the left one. Its held by two springs a short one on the top and a long one down and a pin in the middle. I have used longnose sharp pair of pliers to unhook the springs and a flat screwdriver with normal pliers to undo the middle pin. All went surprisingly very easy. Try not to mess up the star wheel hand brake cable adjuster too much. Also at this stage is the right time to thoroughly clean the whole hand brake assembly, caliper and the rotor. 
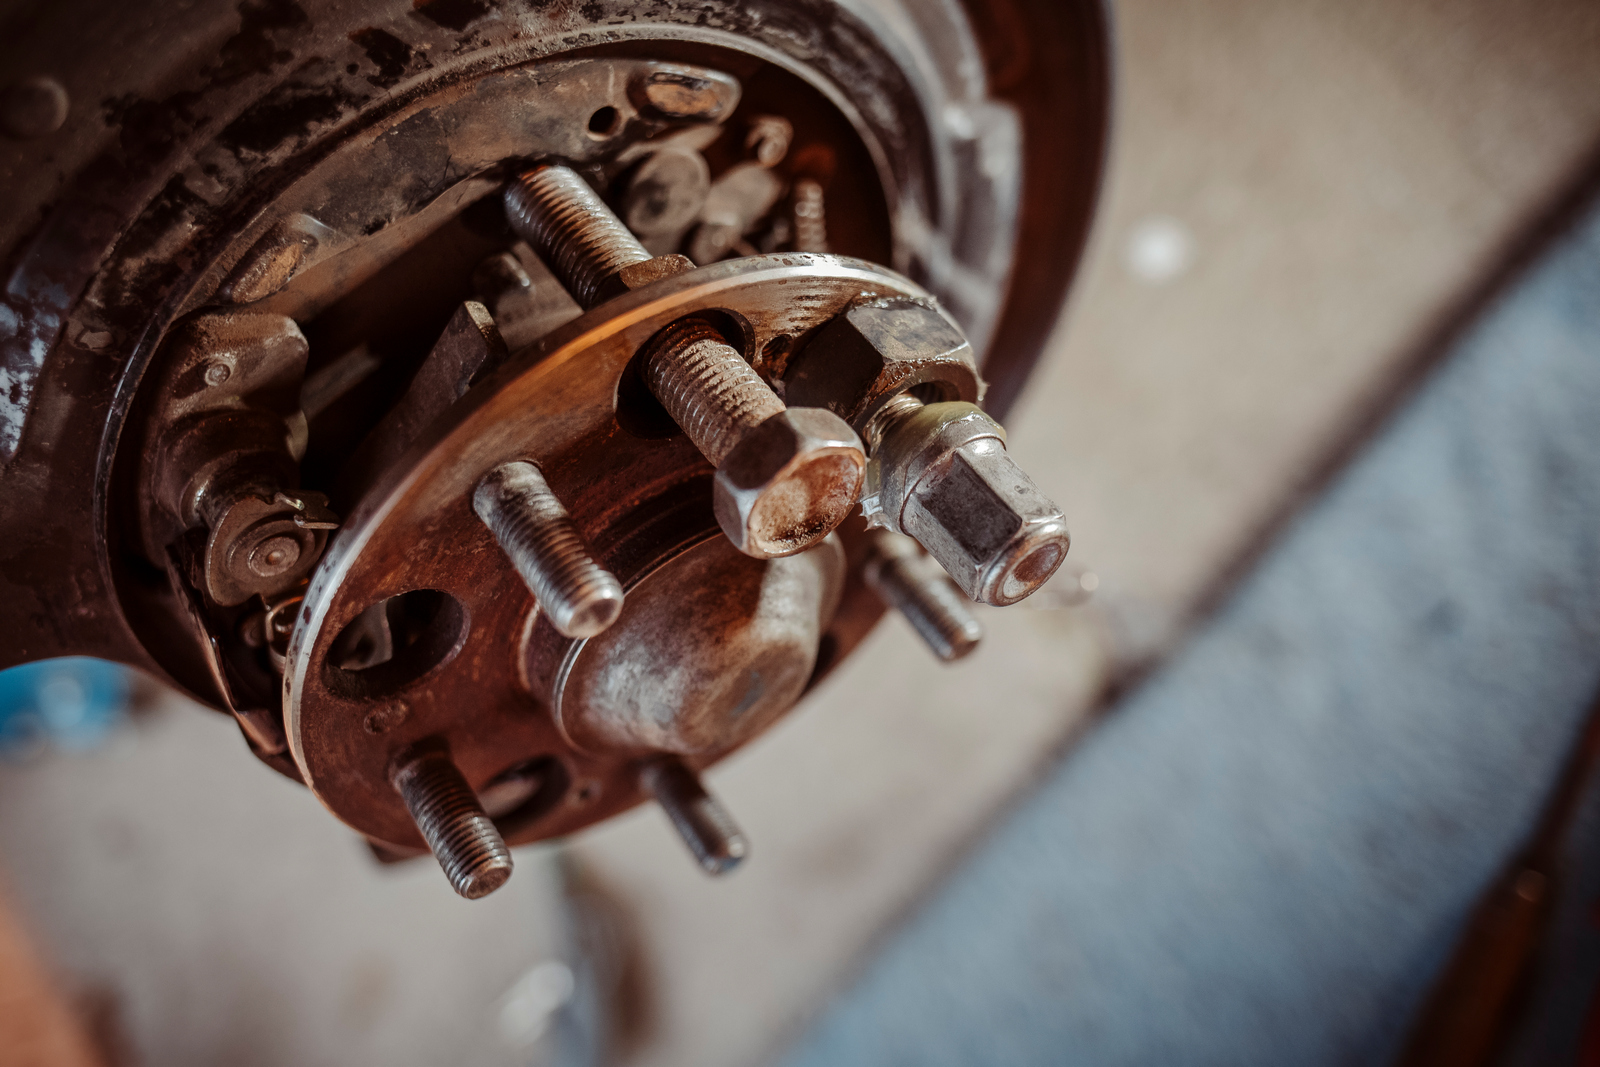
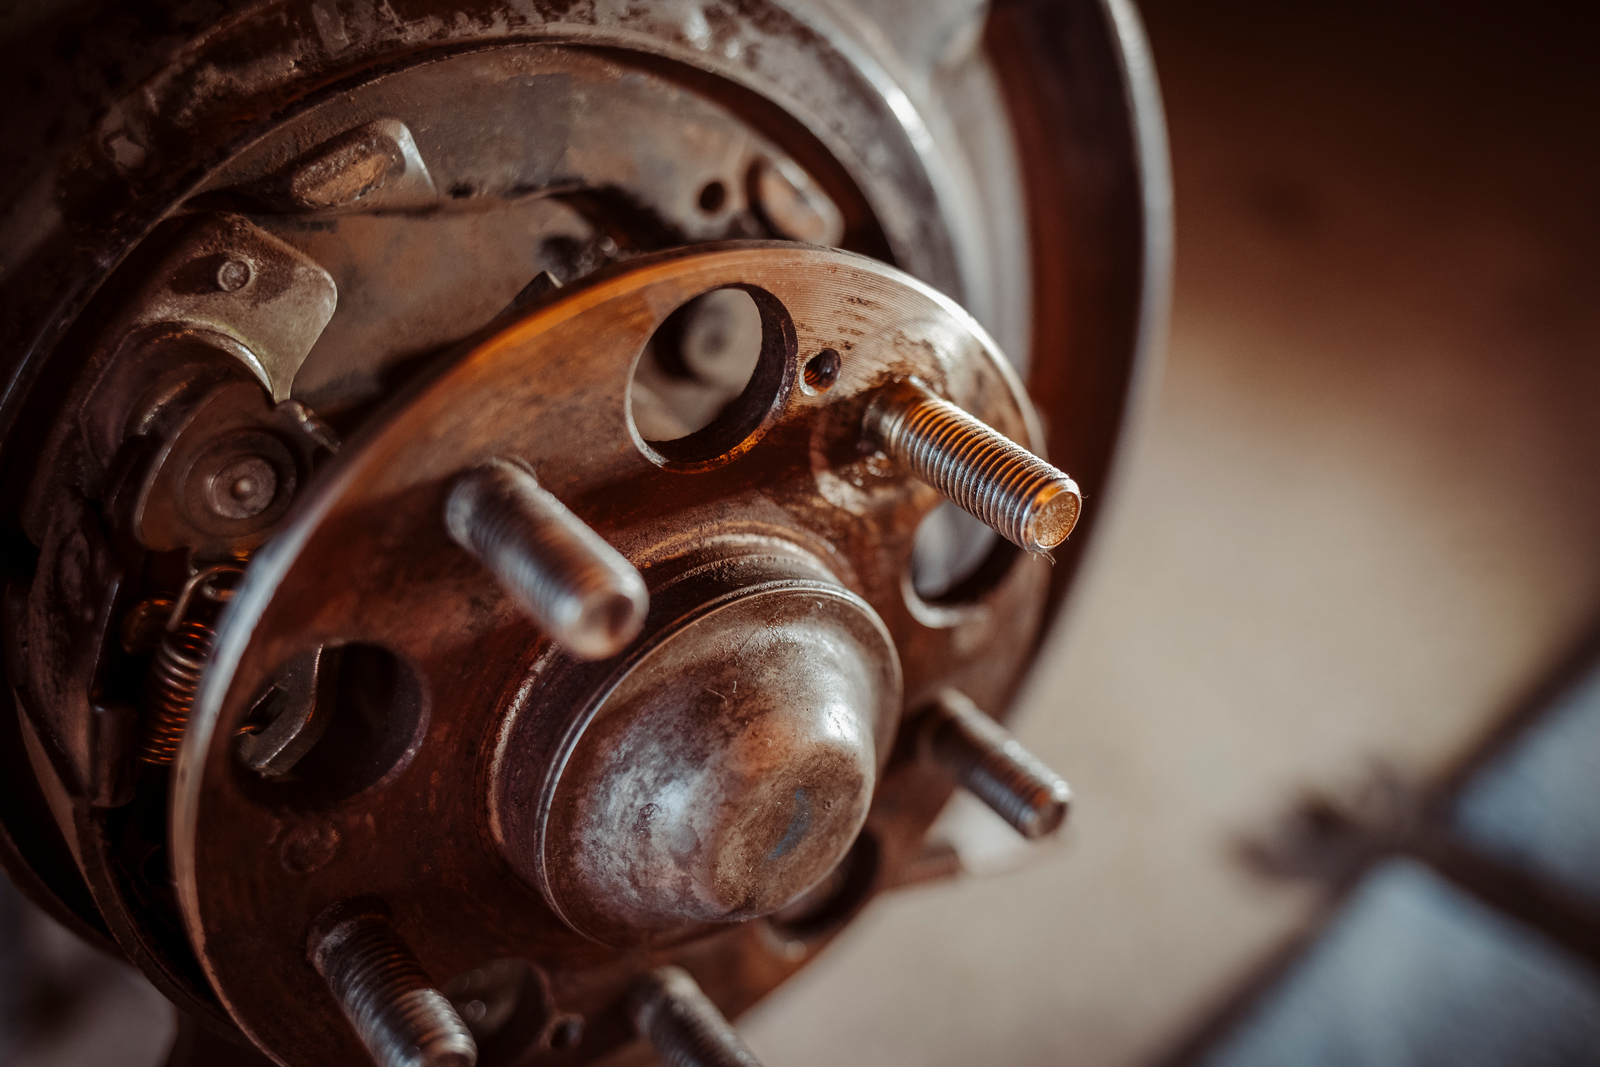
When all was clean and  free, I have supported the hub to protect the bearing, using a 16mm bolt and nut /24mm socket/  and than hammered the stud remains out. No need to go mad a few rather gentle knocks and off it went like a milk tooth. First I was afraid if there will be enough room to stick the new stud in, thankfully there is plenty of space to drive a 40-45mm long studs in. So no need for the stud-head grinding off or ABS shields ripping and bending as many YT vids suggests, confirmed they fits seamlessly in. I have used this one: 60L4001-OYO. /give or take 3€ per piece/ It is proximately 5mm longer than the original stud, which is fine or even better. 
Once I pushed the new stud through the hub, I put on it a big nut and tightened it in with a power wrench using one of the regular weel nuts. Its good to lub the big nut, the cone of the wheel nut and the head of the stud. It took only several seconds, and again no need for a super powerful wrench, my little 12v  battery one was more than enough. I was very happy how easy and straight forward job it was. Wish all would be like this. 
To assemble it all back, adjust the hand brake, put the caliper and the wheel back on was an another hour, but again nothing complicated, almost the same procedure like at the beginning in reverse order. I m gonna write an another post about the handbrake itself and its adjusting.
Aprl 2024

Battery replacement  @280K

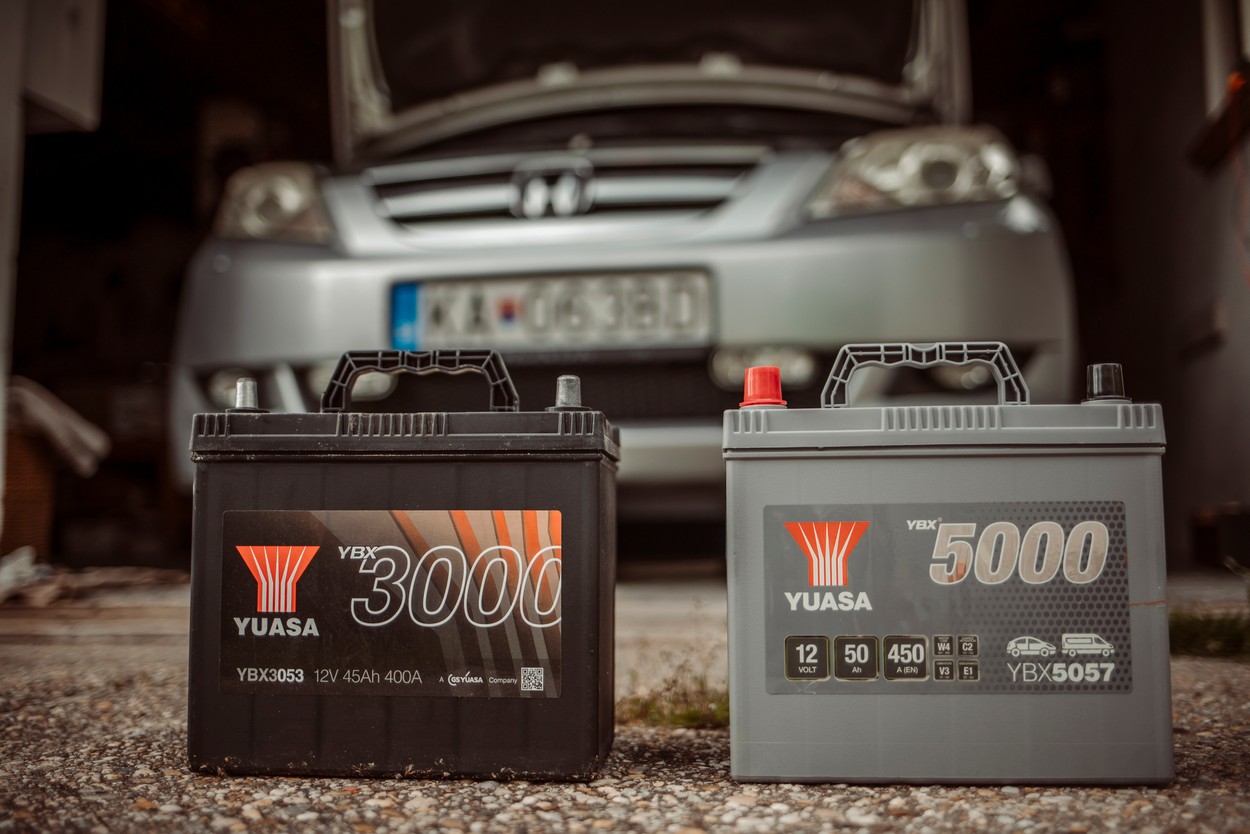
When I bought the car I have installed a new Yuasa 3000-3053 45Ah 400A battery straight away.

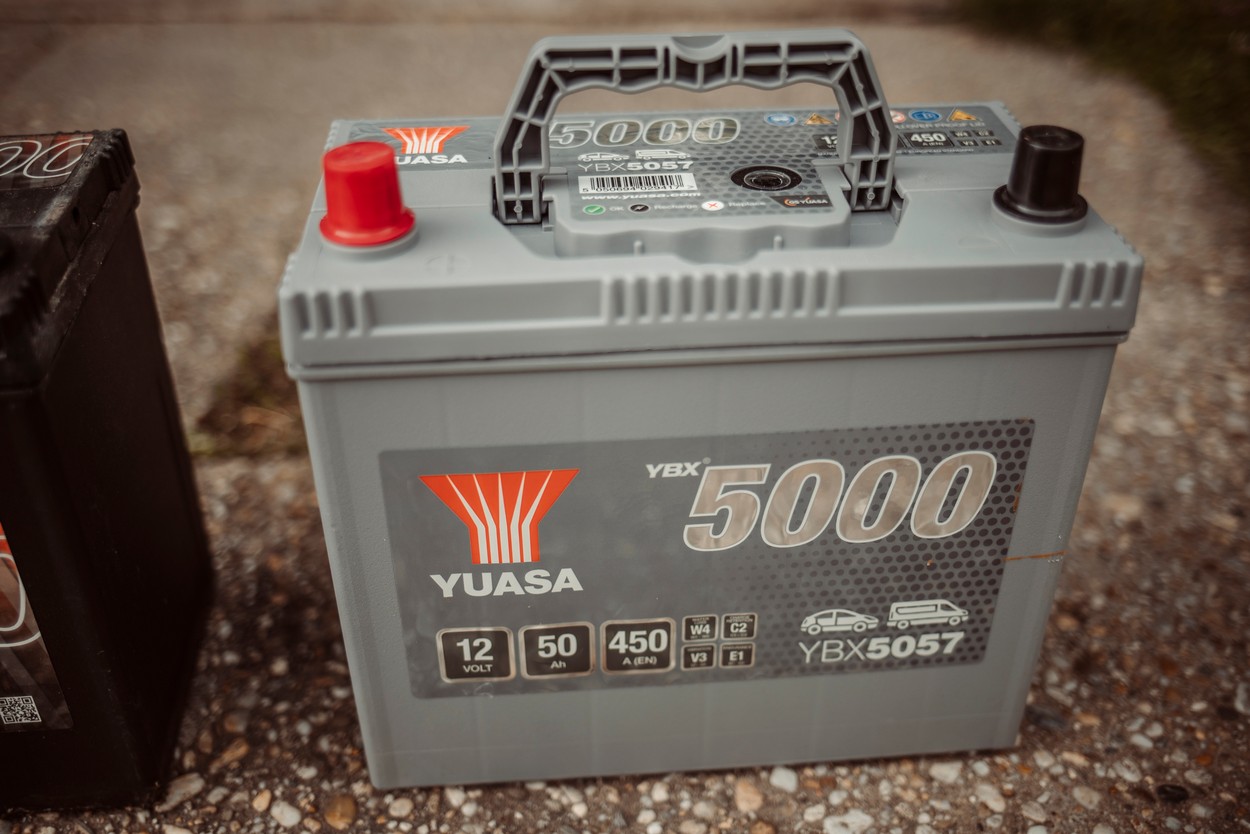
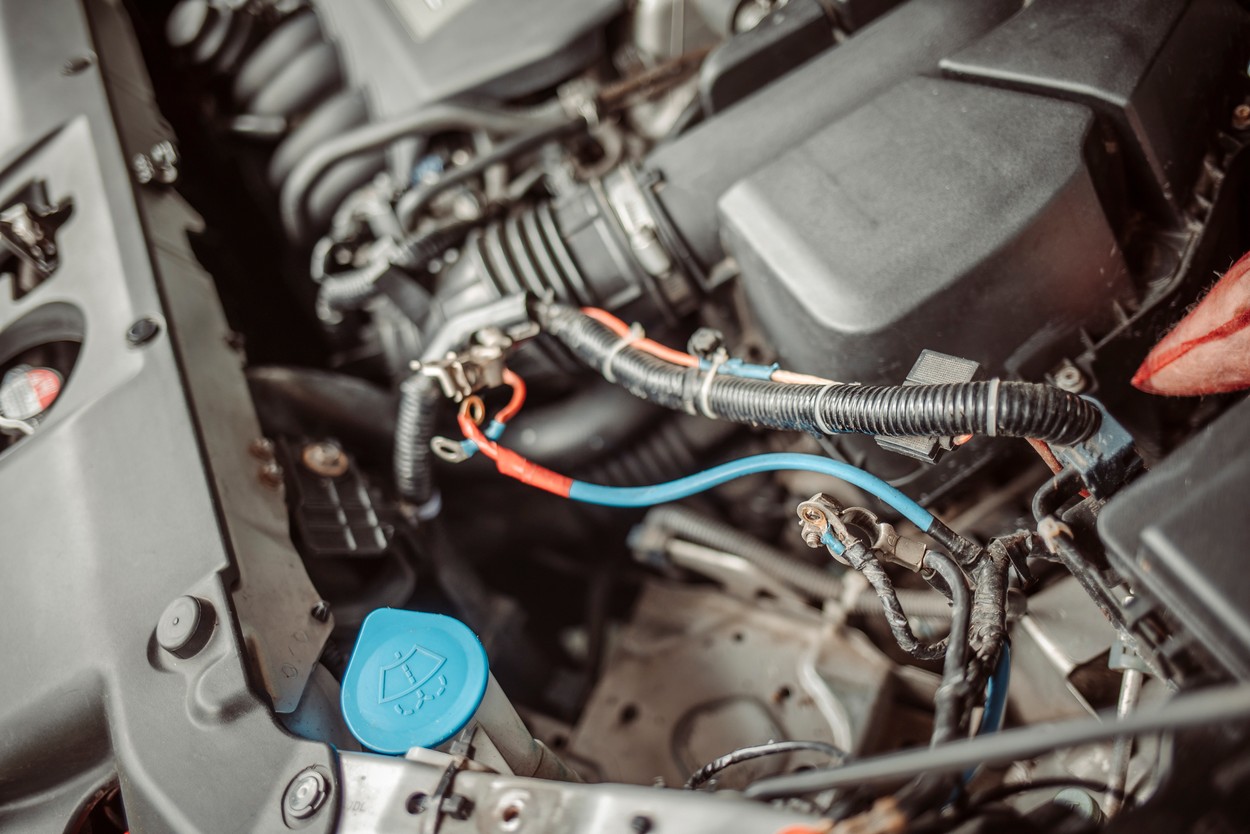
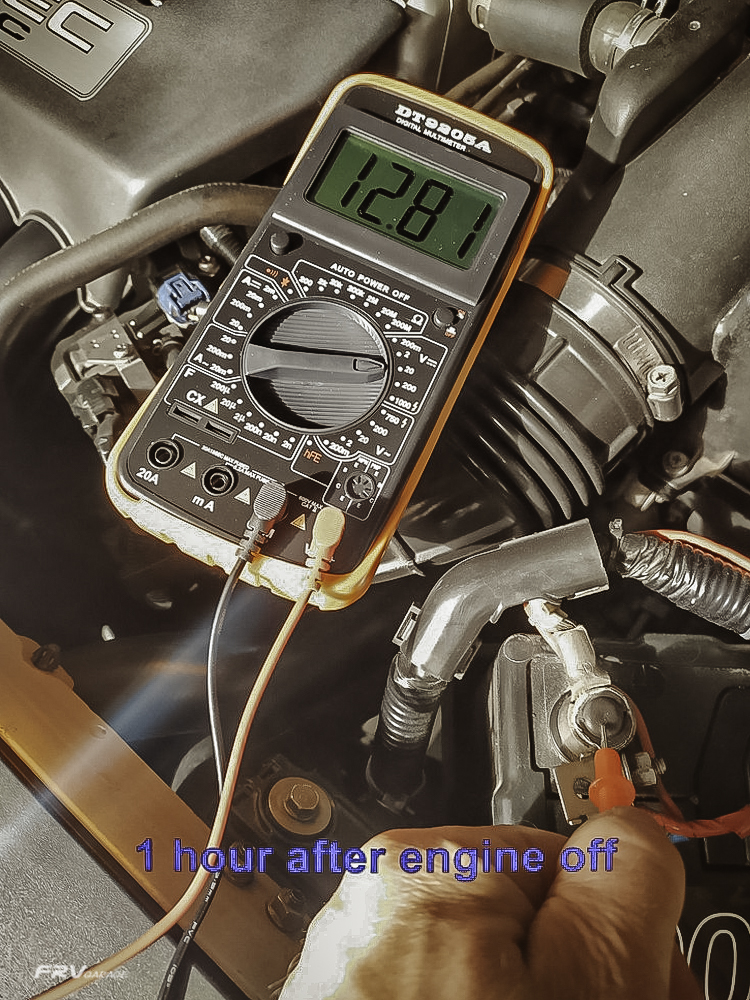
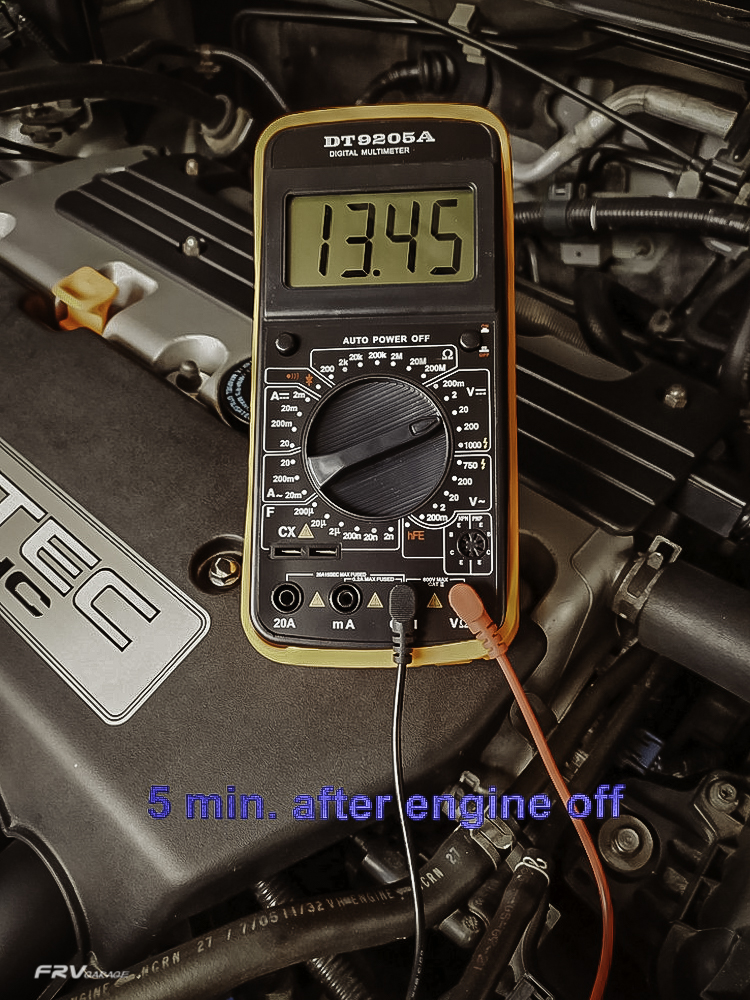
It has been  /and still is/ a great battery for all that time /2017-2024/ and always fired the engine off, regardless the temperature. This spring, I moved it into our summer soft-top, so the FR-V got a new one. I have picked up again Yuasa but this time 5000-5057 50Ah 450A. It is a level higher up battery with guaranteed 5000 starts. Starting current is 450A and capacity 50Ah, that is ok with the installed alternator and the whole system. Dimensions are exactly the same.  Price paid delivered 65€.The work is not difficult at all and also the FR-V factory stereo don't require the pin to wake up afterwards. Disconnect first the minus terminal than the plus. Its also a good opportunity to clean up the battery box and the space around.
Feb 2024

Cabin filter and Reversing lights  @277K

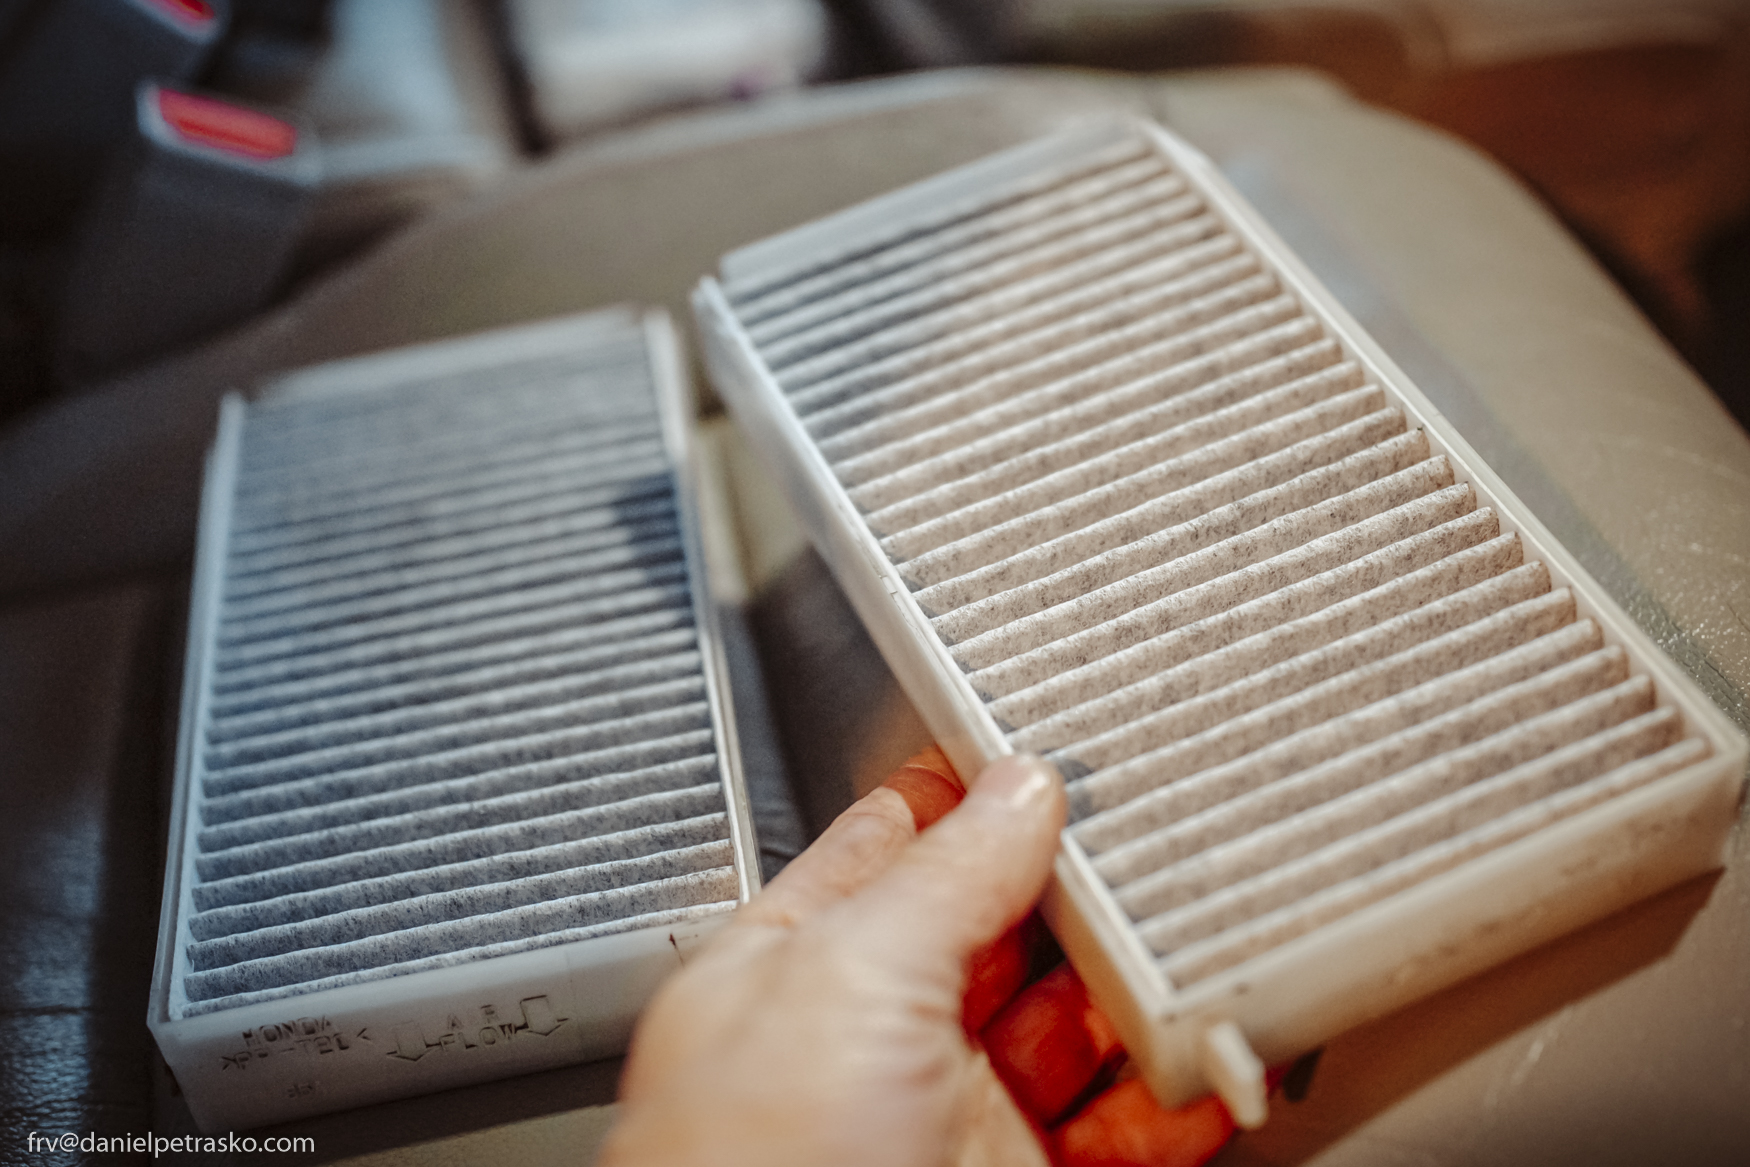
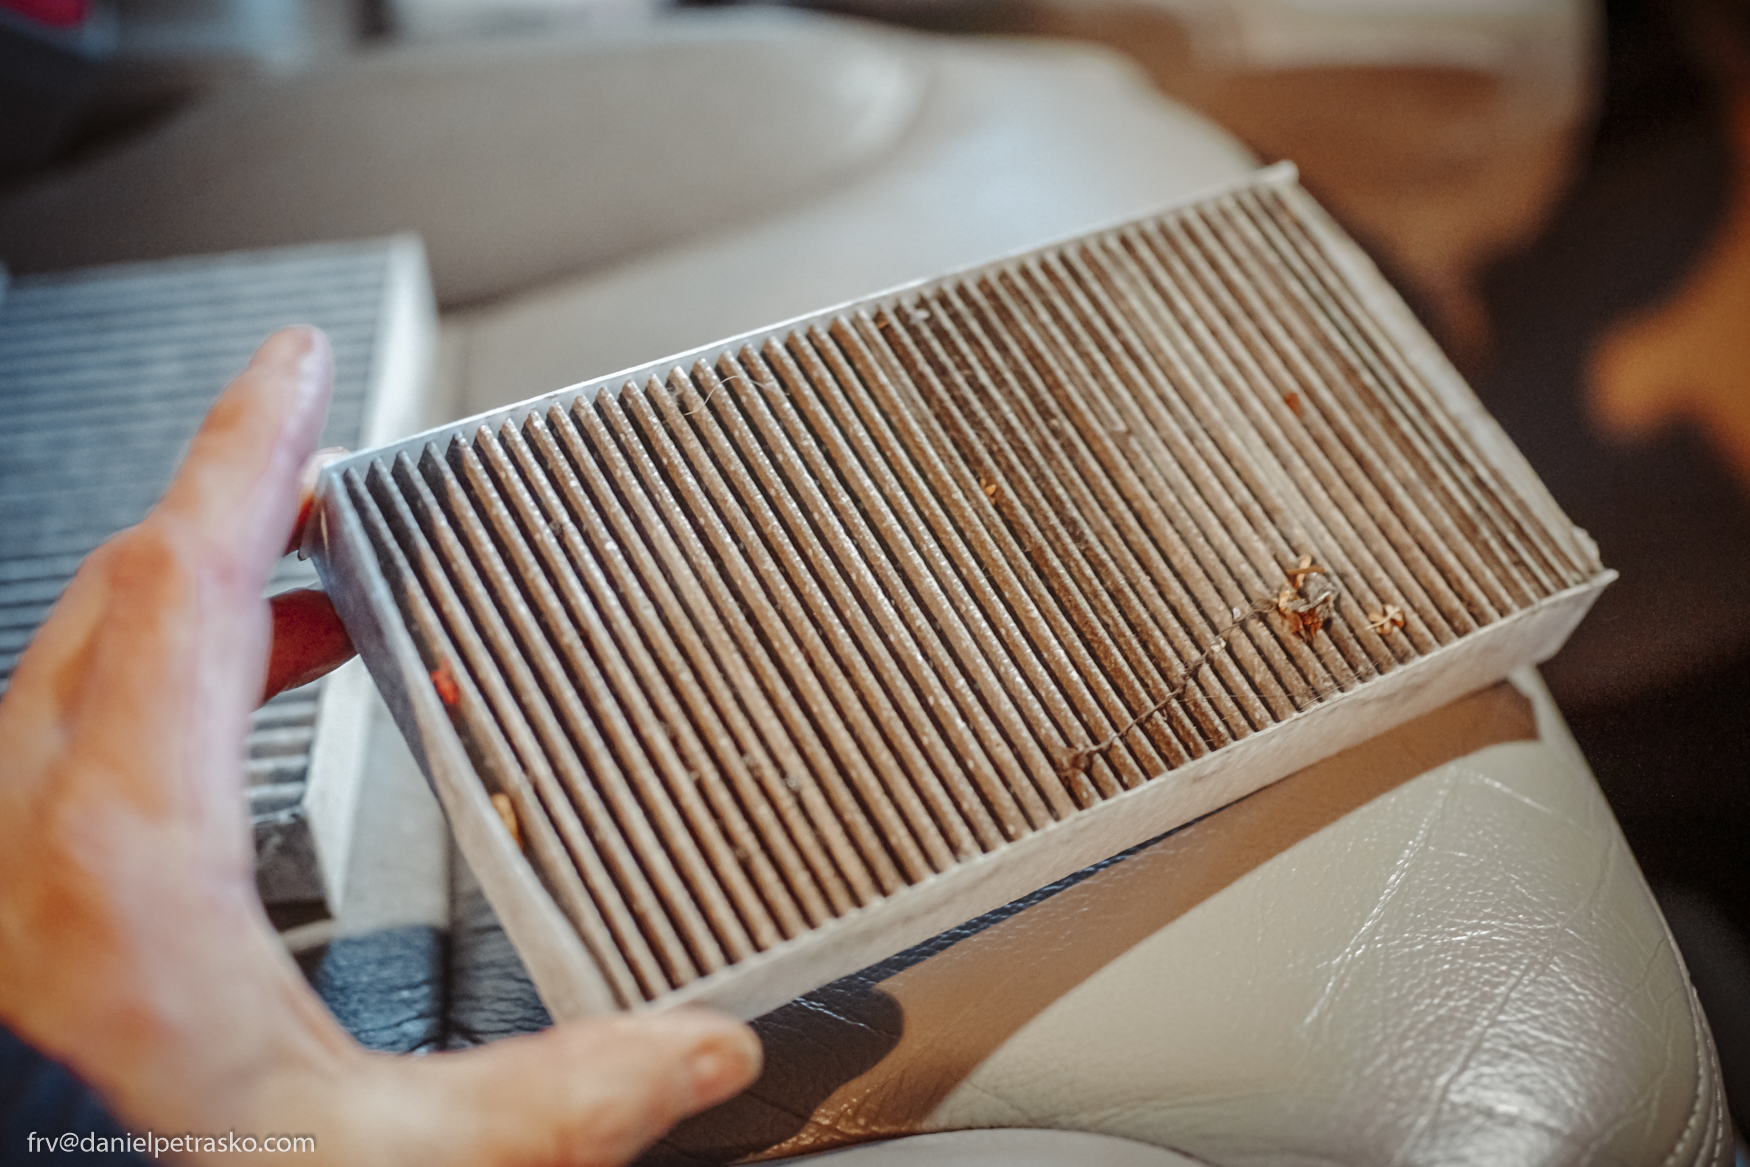
A cabin or pollen filter is one those that don't get tackled very often. Its task is to clean the air entering through the air conditioning and heating from dust, fine particles, allergens, and to eliminate odors. I have done mine when purchased the car almost 100K Km ago. It was a cheaper paper filter by BluePrint. This time I have PURFLUX brand with an inner carbon layer AHC220-2  /18€/. It also fits to CRV II, Civic IV and to Honda Stream. On the first glance the old filter looks of a better quality, it has more ribs and thus filtrating material. Also it fits tighter to the holders. But the Purflux is made off firmer filtrating material. 
Cabin filter for Honda FR-V 2.0 2006-9 where is cabin filter on Honda FR-V 2006
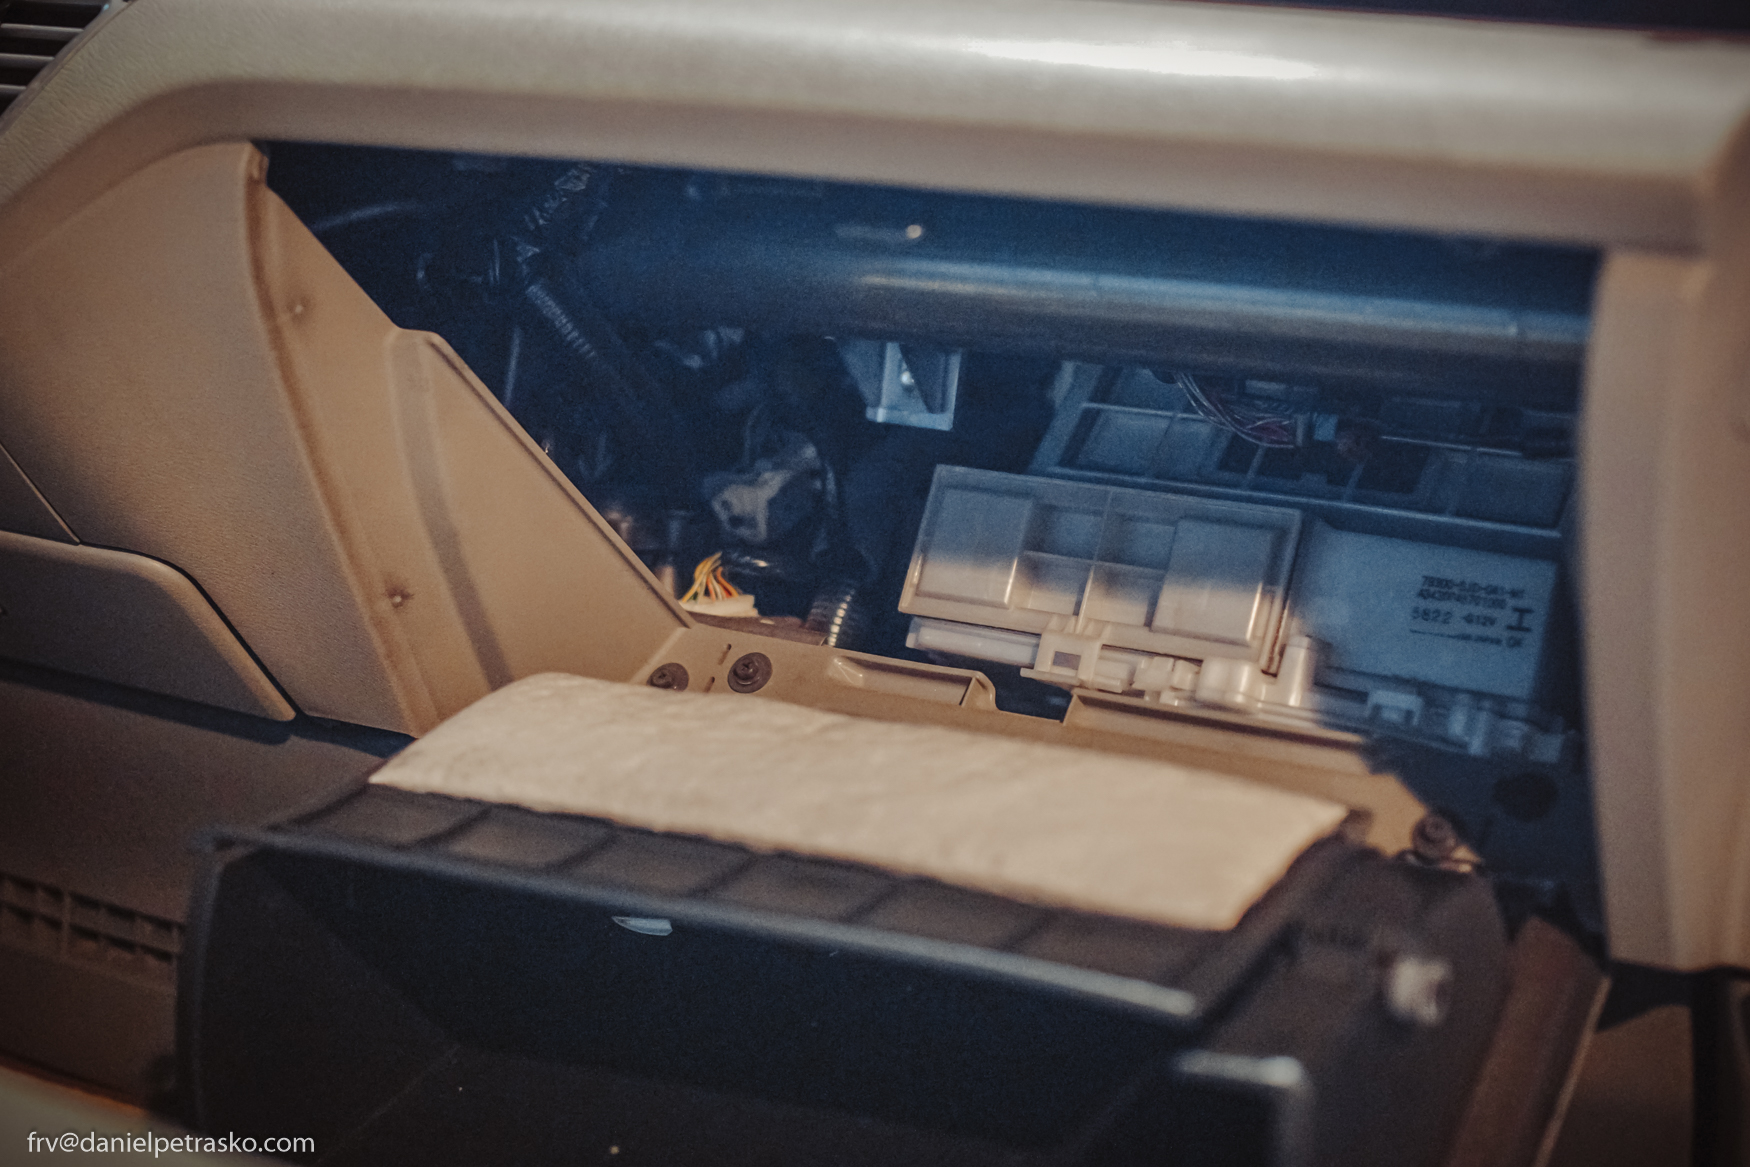
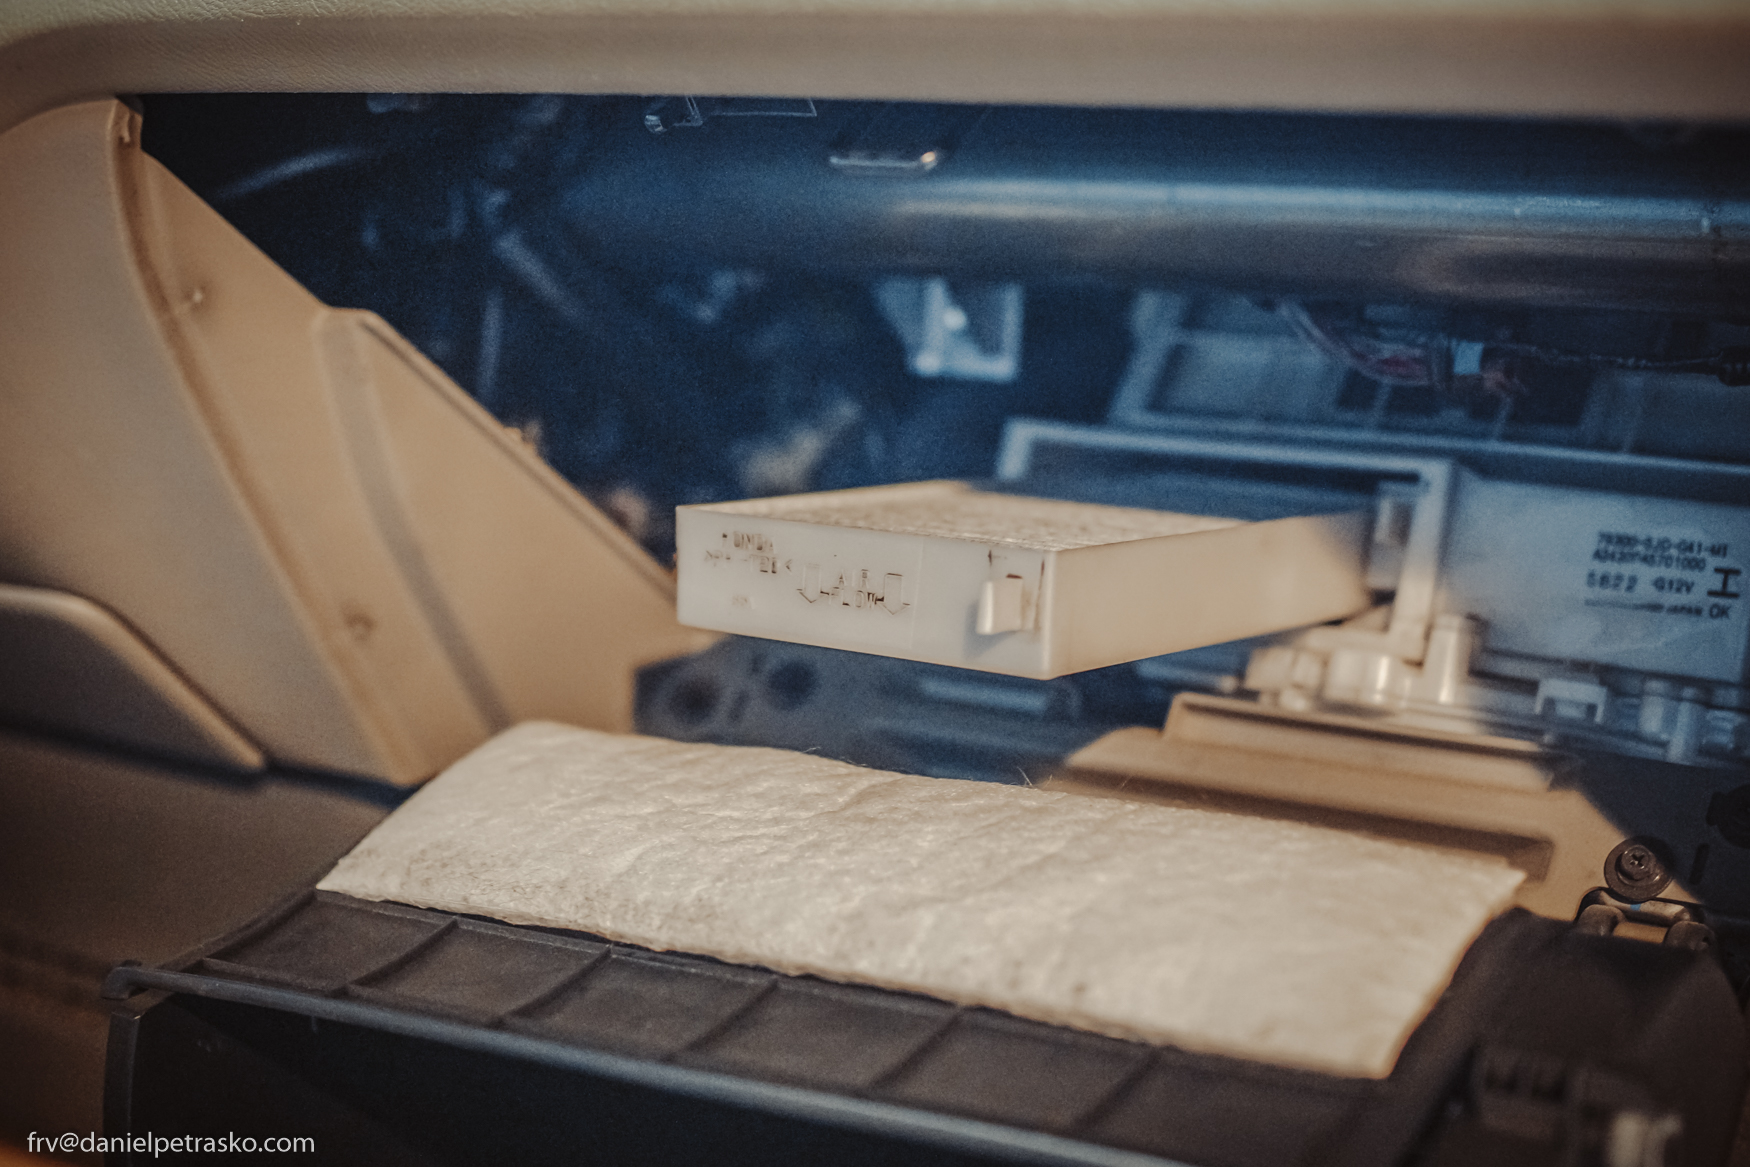
The filter is located behind the glove box, to get the access to it, the box top catchers got to be released by pressing them in and the whole box flips down. The filter chamber has a little door through the cartridges are replaced. It has two of them going in next to each other held in two frames. On each filter cartridge and the frame is an arrow indicating the air flow and it got to be inserted that way. All together up to 15 min. job. Recommended service interval is about 1-1,5 year or 20-25K Km.  

Reversing lights 

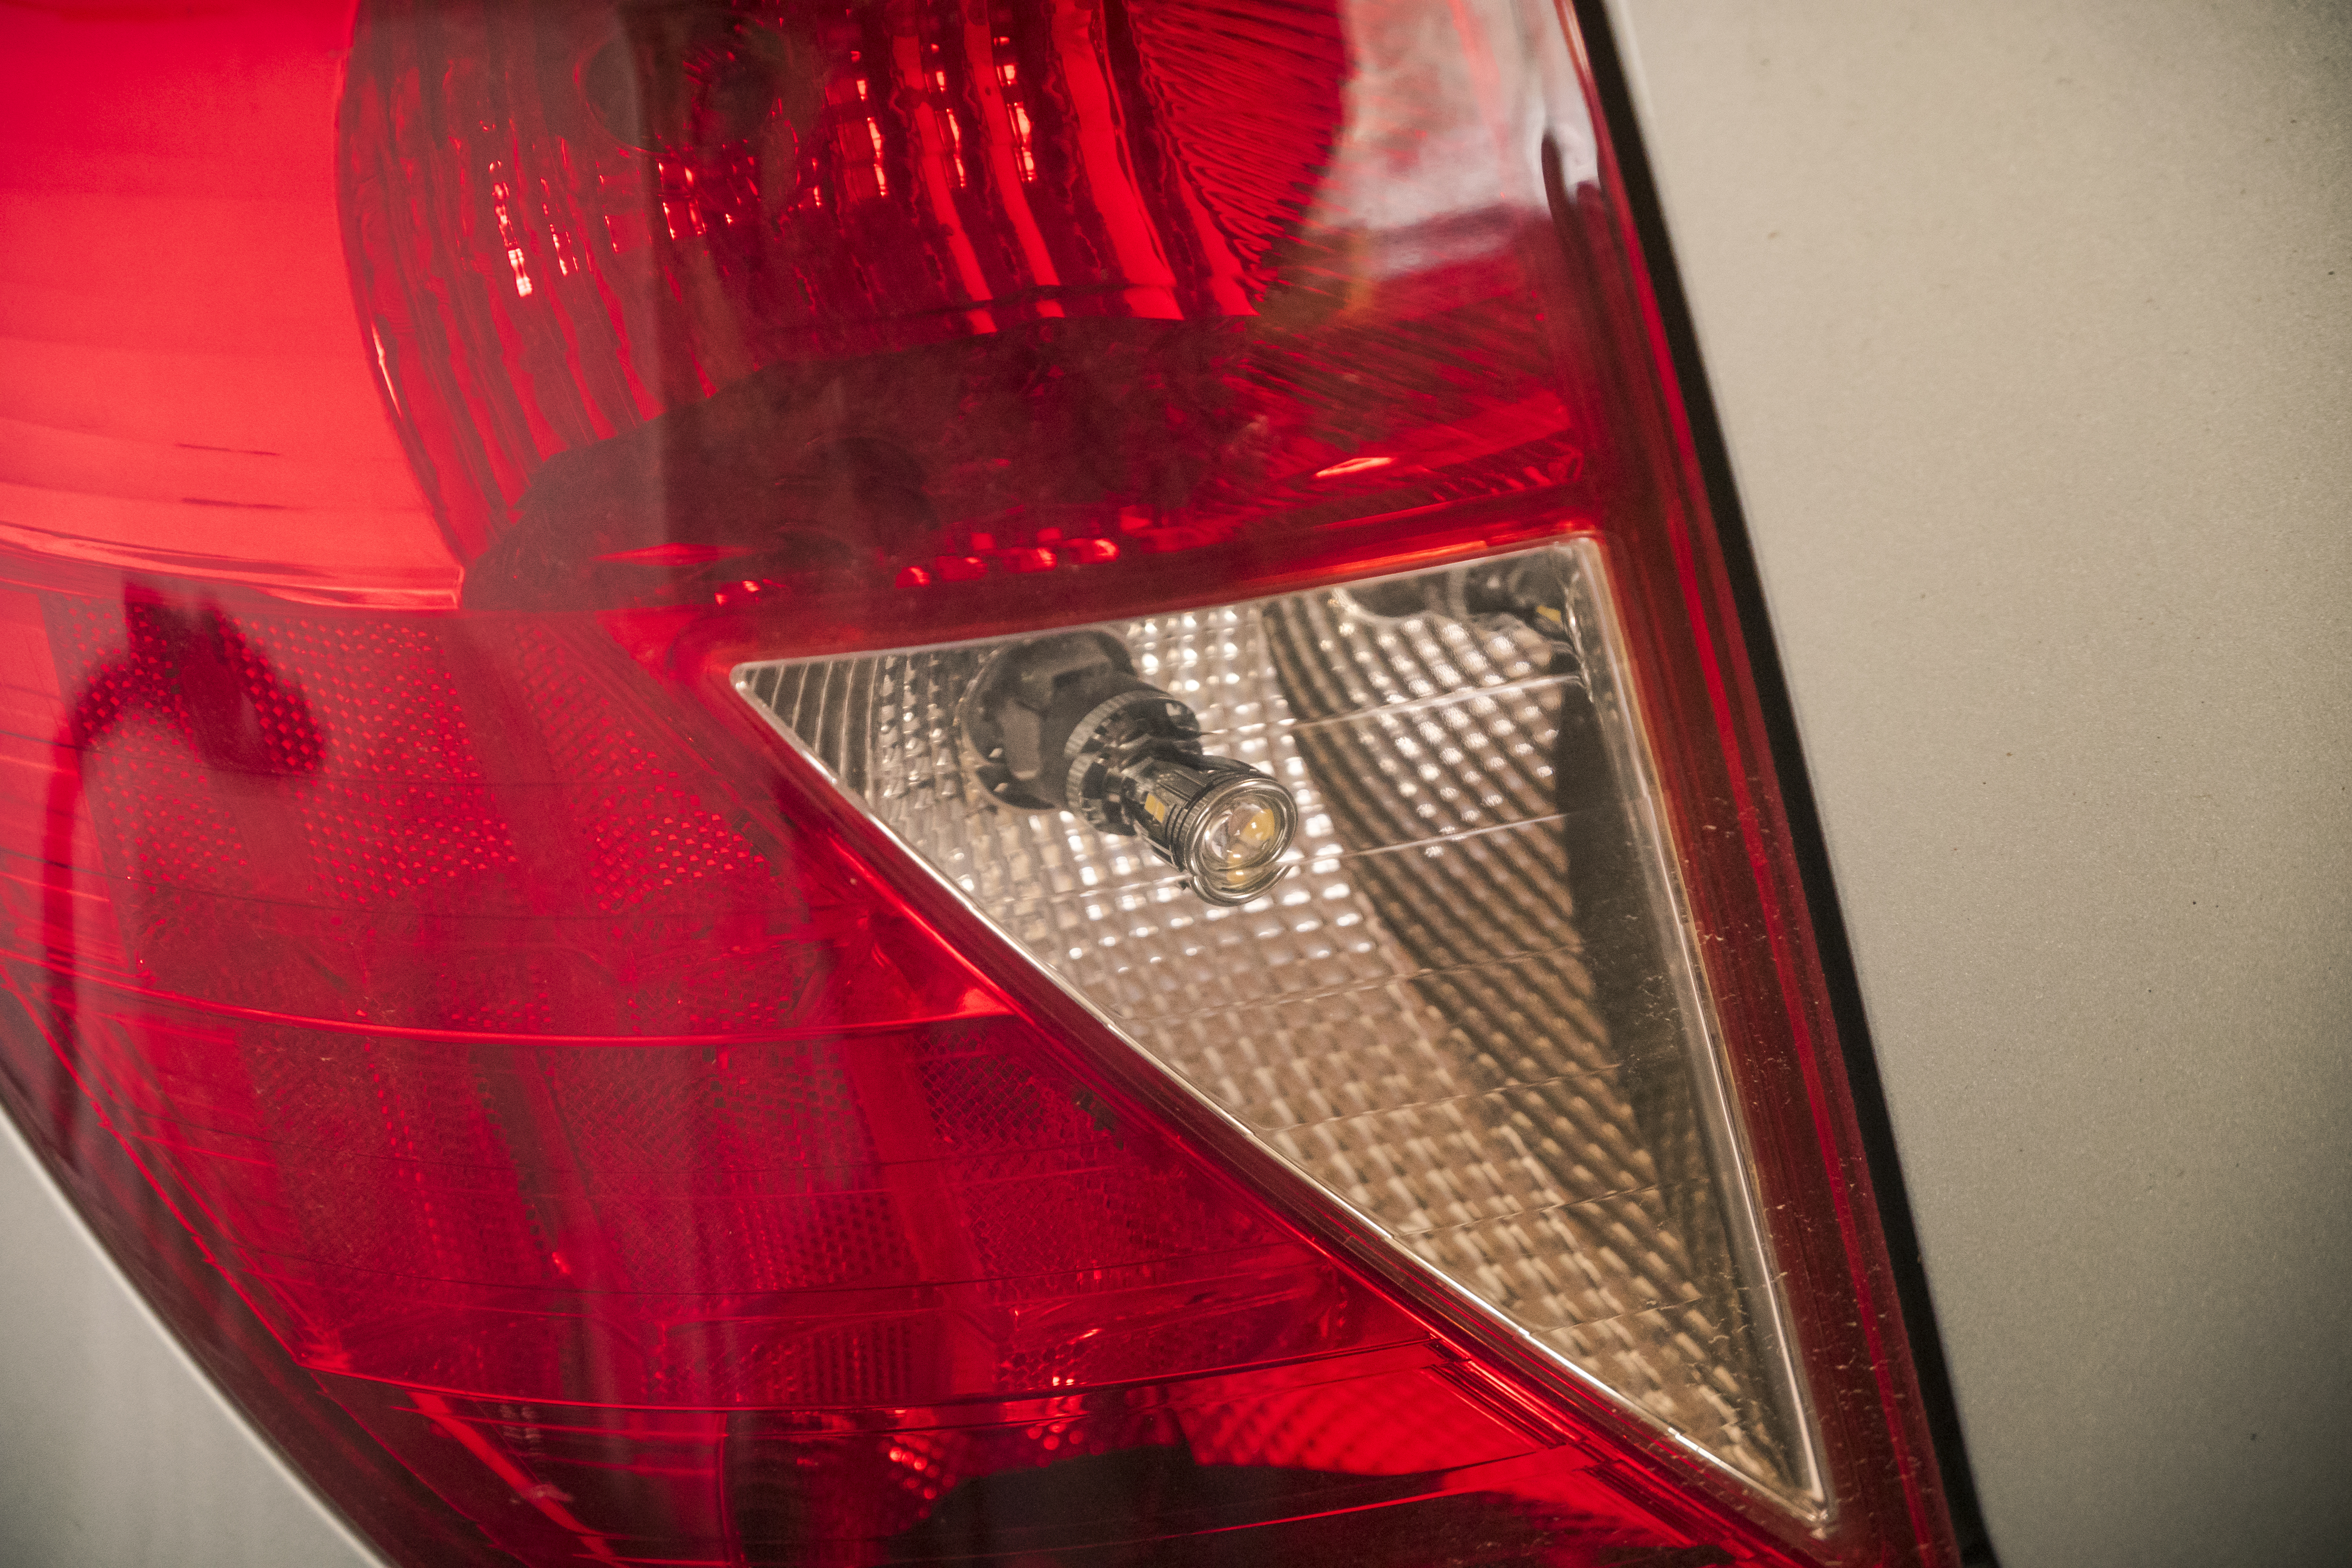
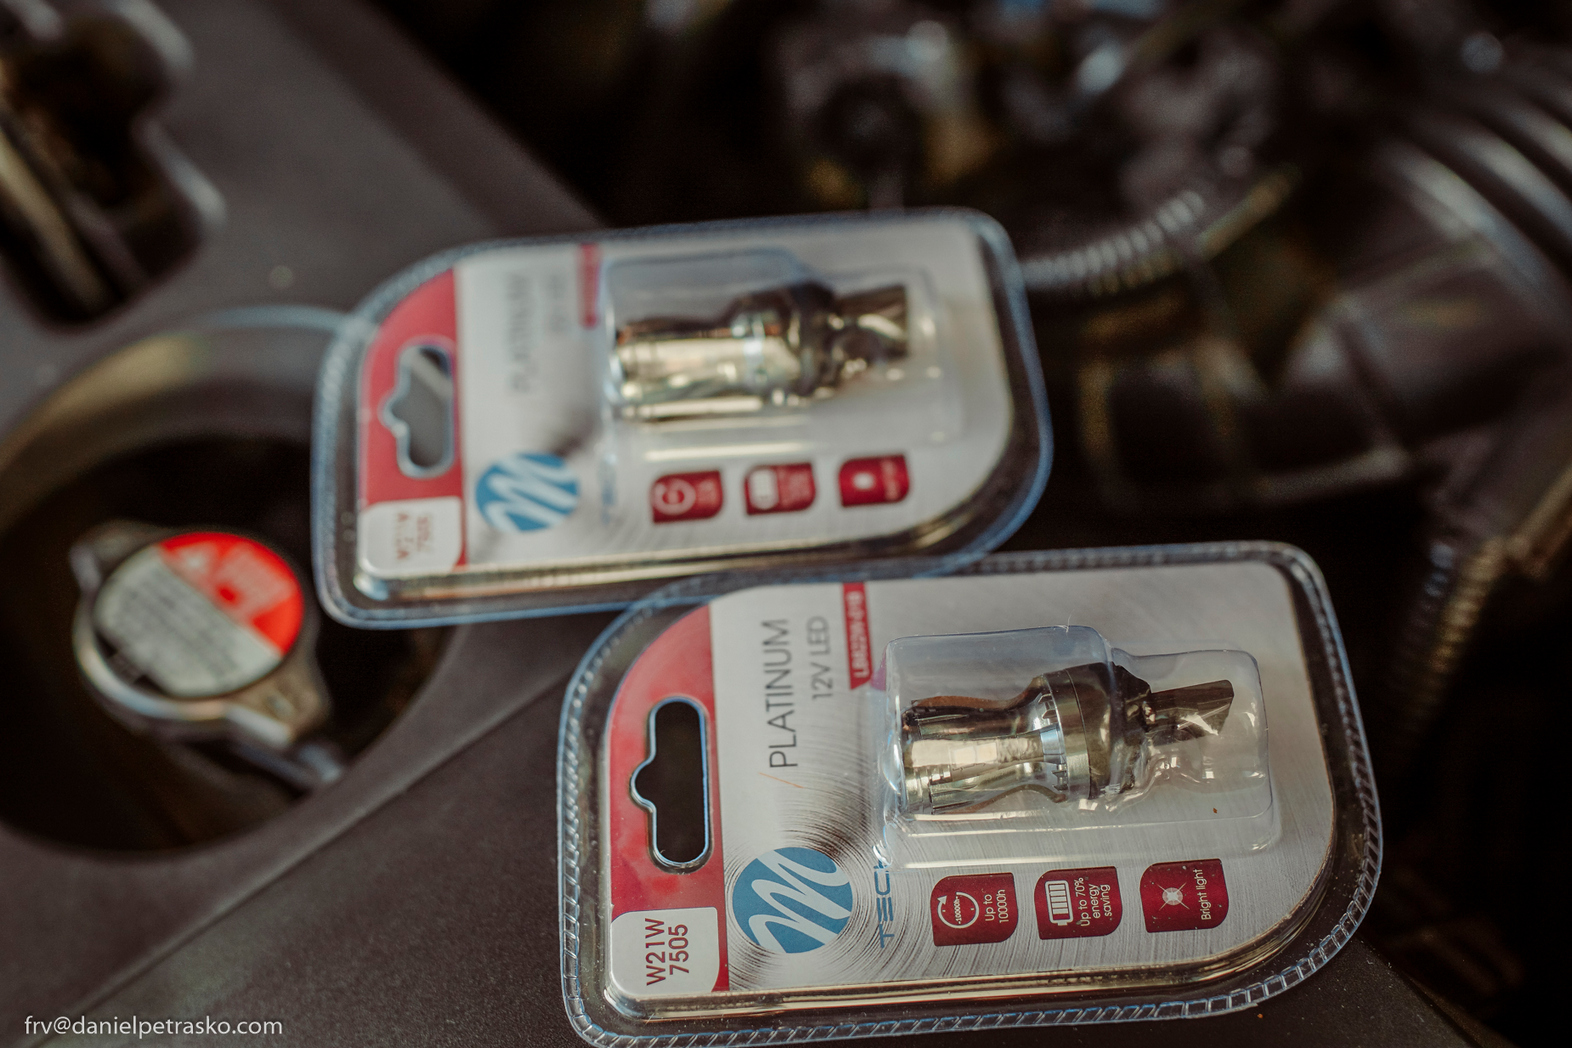
Being manufactured in 2005-09 Honda FR-V obviously uses everywhere old halogen lightbulbs /except the xenon headlights for some models/. The reversing lights T20 W21 are not an exception.  I have replaced them for LED bulbs namely Platinum 14x2835SMD Canbus with 14 Osram SMDs. While having consumption only 3,3 W the luminance and brightness is at least 2x grater than the halogen counterparts. Light temperature is round 5000-6000K.
Nov 2023

Oil, Oil, Oil  @275K

It is half of November and the temperatures in the morning dropped down to 0°C and soon even lower. This makes me wonder if there is a better option than the 5w30 I run at the moment, especially now when most of my rides are short ones round the chimney. The logic tells mi that 0w30 or 0w40 might better for the winter. I'll give it a try, but a few thoughts first.
My current Valvoline 5w30 - A3,B3,SL viscosity grade if absolutely fine and within the manufacturer recommendations for this engine working in a mild European climate, excellent for lubricating, cooling, cleaning and an overall engine protection. The service interval I stuck to /regardless the long life bollocks on the tin/  is 5 - 8K Km according to how hard I was driving. The engine oil consumption is unmeasurable during that interval.
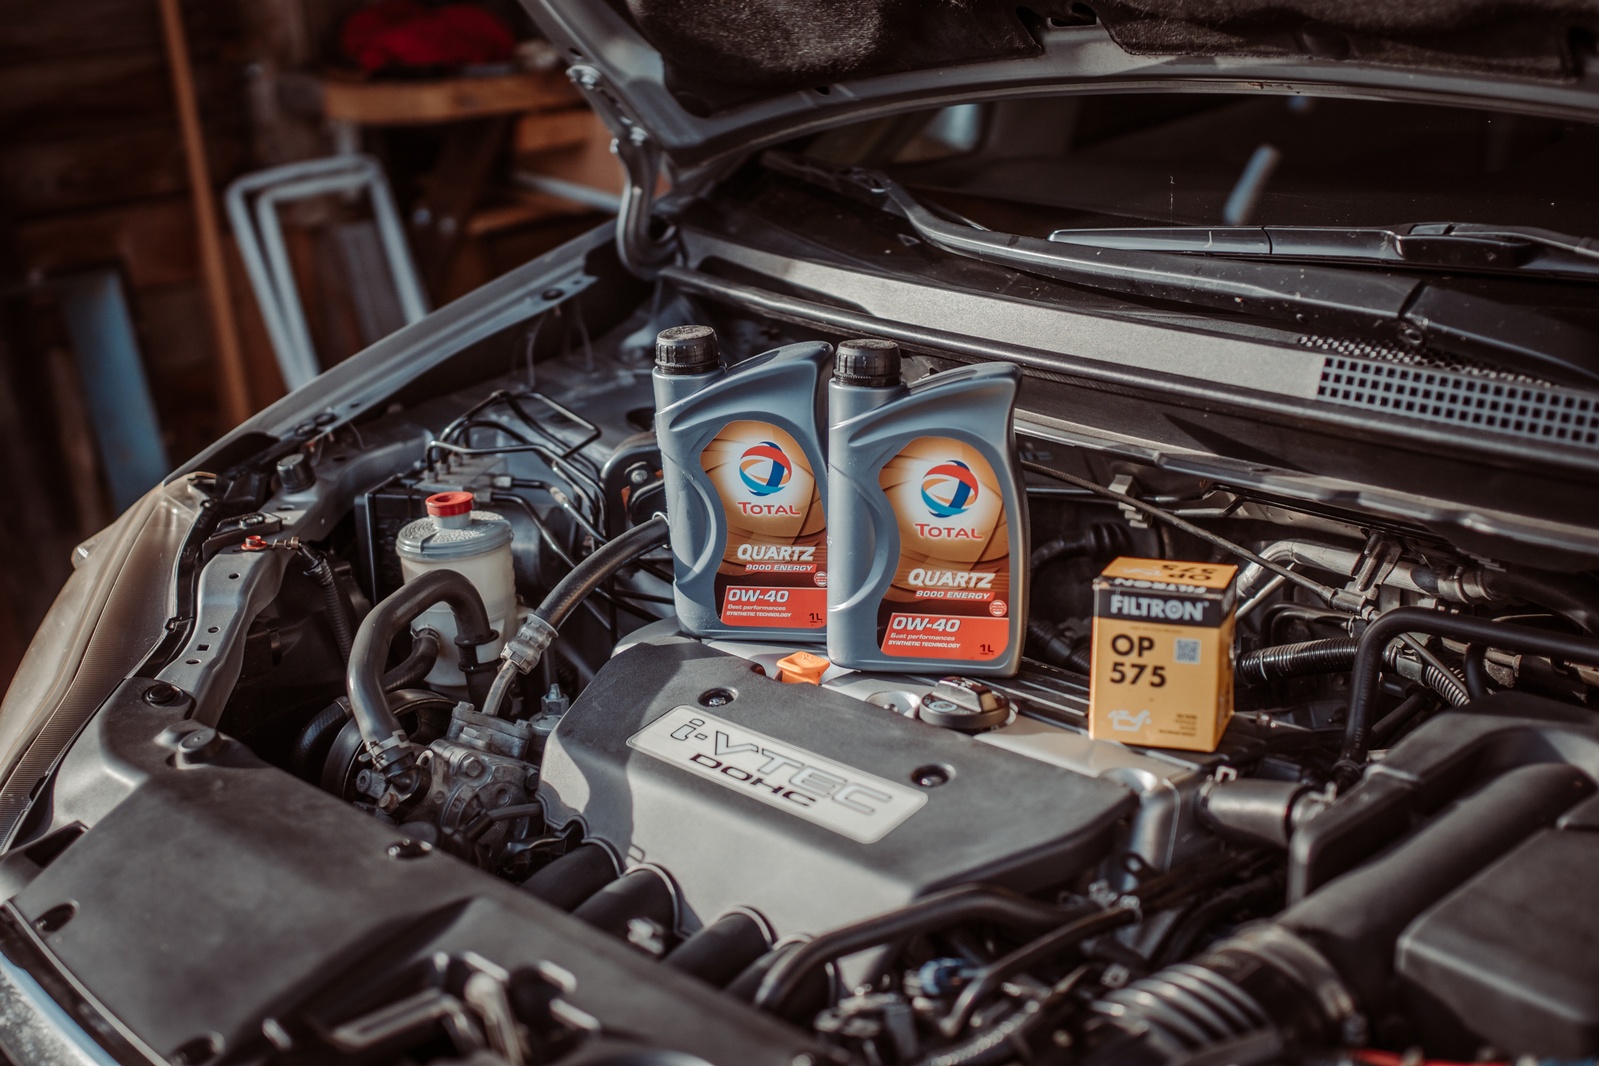
The fact that the engine holds well, the actual morning temperatures and nature of my rides made me to try out a 0w oil. I opted for 0w40, rather than 0w30 or 0w20 that I believe are also recommended. The idea behind is a faster and easier lubricating at the start up, and possibly firmer oil film at the operating temperatures. Of course the oil filter has a reverse membrane so not the whole oil fill drops right down to the sump, but anyway for the whole winter season it might save several seconds if not minutes running dry-isch. I ordered 5 liters of Total Quartz Energy 9000 0W-40  A3 - SN - VW 502.
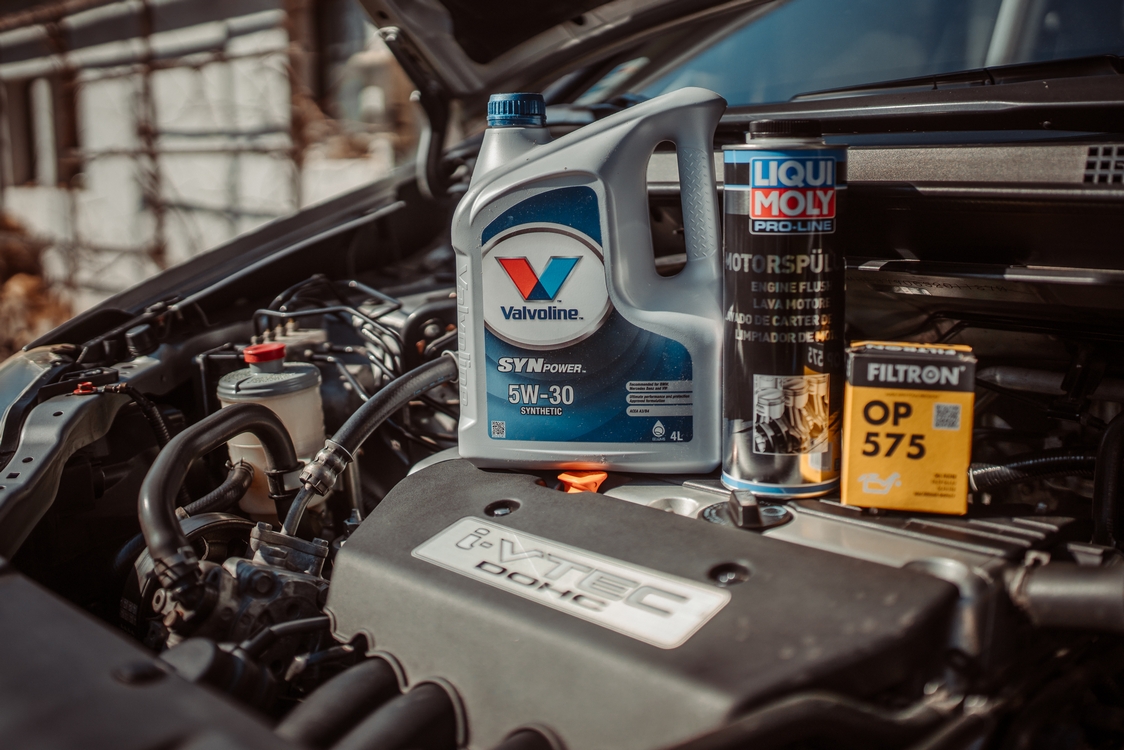
I also got used to perform an eigne flush, not with every oil change but now when changing the brand and grade it makes sense. I know there is going on lot for talks against it... anyway I bought a 1Lbottle of LIQUI MOLY 2425 Engine flush and 8 liters of cheap 5w30 - Fanfaro Korean cars 7614, 2 cheaper oil filters - Filtron OP575 + one "proper" one Purflux 154-RBA-F01, and a new magnetic drain bolt. All together with the new 0w40 Total oil up to 100€.  By the time of doing this the bolt has not arrive yet thus I reused my old one with a new washer.
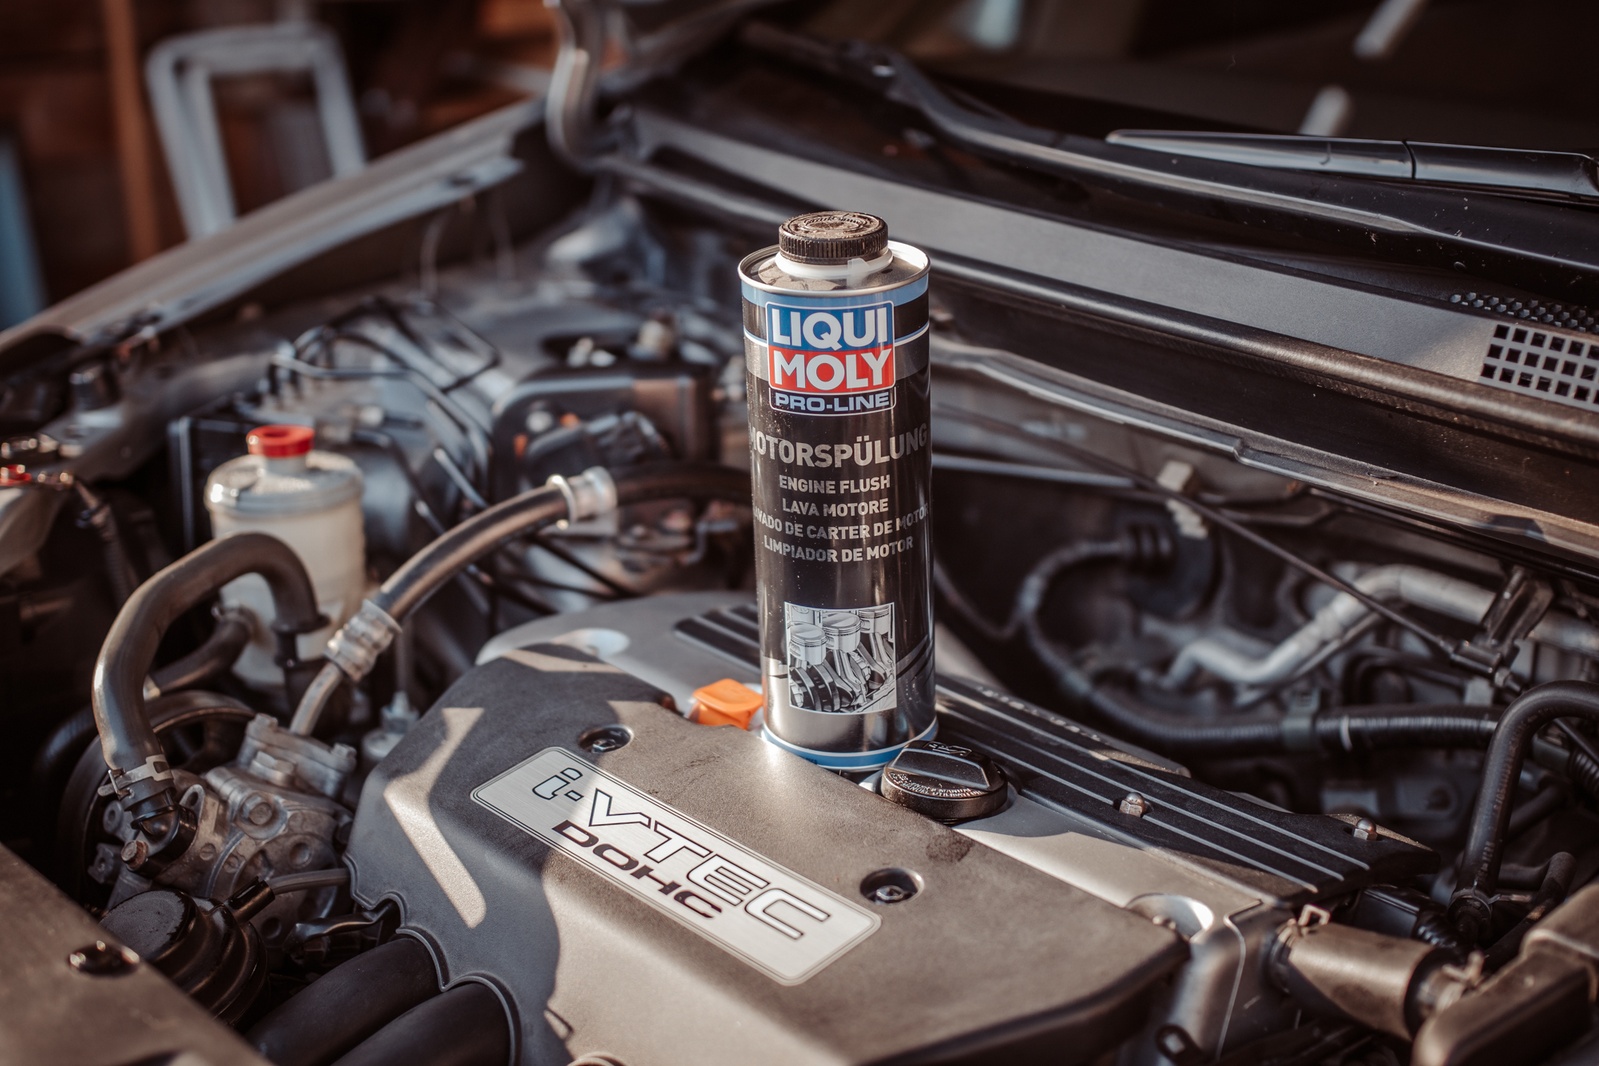
Ok, let us set to work, I have wormed up the car, jacked up the front to fit under and dropped the old Valvoline 5w30 out  /with the nose slightly up it leaks out better/. The old oil wasn't terrible but neither clean to my perspective, many tells me that its still fine / probably is / and could had been there longer... Than I replaced the filter and poured in 4 liters of fresh Fanfaro 5w30 followed by 3-4 dcl of Liqui Moly engine flush, I had allowed 5 min idling to warm the oil up prior applying the cleaner. Than let the mixture idle for another 10 min. and drained it out. Now it was well thinner than the old oil and colour-wise pretty much the same. Replaced the filter again and poured in another 4 liters of that Fanfaro oil to perform a final flush out. Actually the Fanfaro is a quite good oil, fulfilling the recommendation and the motor would be very likely happy with it. I made a short 10-15 min. ride round and drained it out again. This time it was apparently cleaner, somewhere in the middle between the old oil and a brand new one. Again a new filter in, now the Purflux 154-RBA-F01 with zig-zag plies, btw Purflux makes filters for Honda and my new oil fill - the Total Quartz Energy 9000 0W-40.
Immediately I have noticed a deferent sound of the oil flow dripping down to the sump when filling. I presume it was due to the tinner viscosity of 0w40, or perhaps a bit down to the cleaning too. Other thing that noticeable got improved and pleased me more, was the engine idle sound and its smoothness. I mean this always improves after an oil change but this time it felt a deal better. Again not sure whether because of the detergent, double oil change or would it be a placebo effect? 
A brief oil terminology:  the first number followed by W "5W" "0W" is the winter viscosity, the lower number the less viscous, less thick oil is thus more suitable for the winter season. The second number "30" "40" is the hot viscosity at the engine operating temperature, the higher the number is the stronger more resistant to thinning and thermal breakdown the oil film is, resulting to less wear and tear. We don't have to go right to the extreme temperatures, the 0w40 even at -20C +35C that occurs here, should offer a hair better results then the5w30. 
Nov 2023

Routine check and servicing  @260K

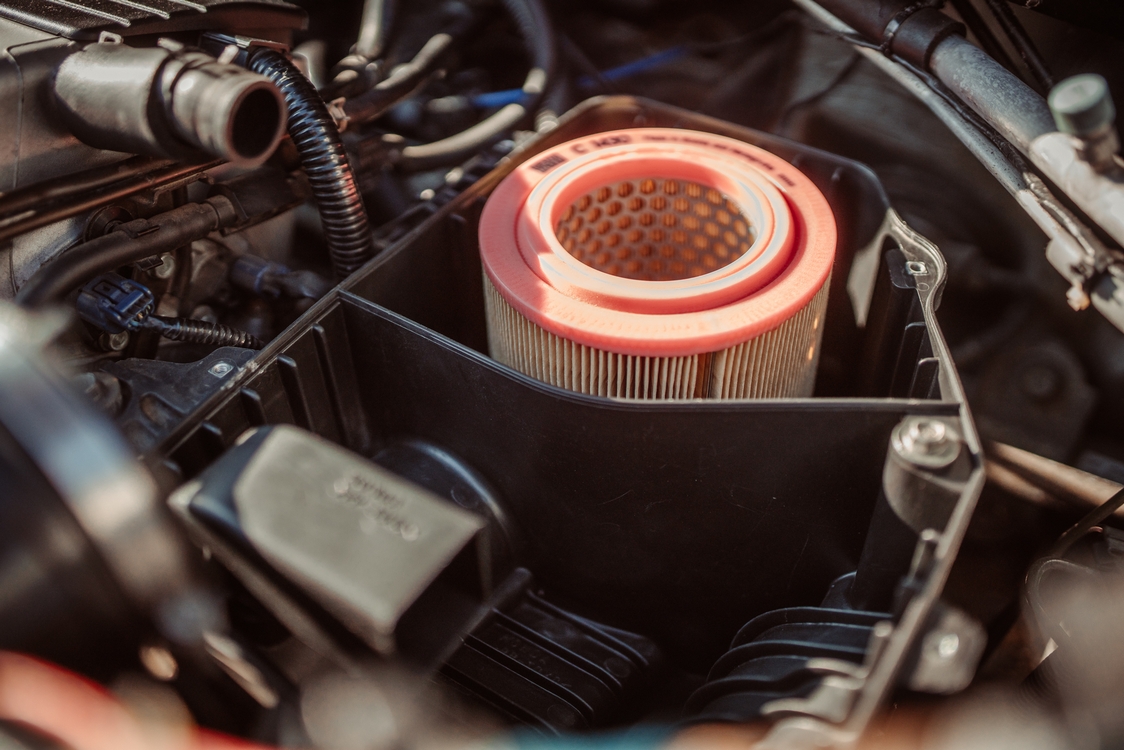
Another routine servicing  containing the oil change, air filter, TB cleaning and this time I added the VTC Oil Control Valve.

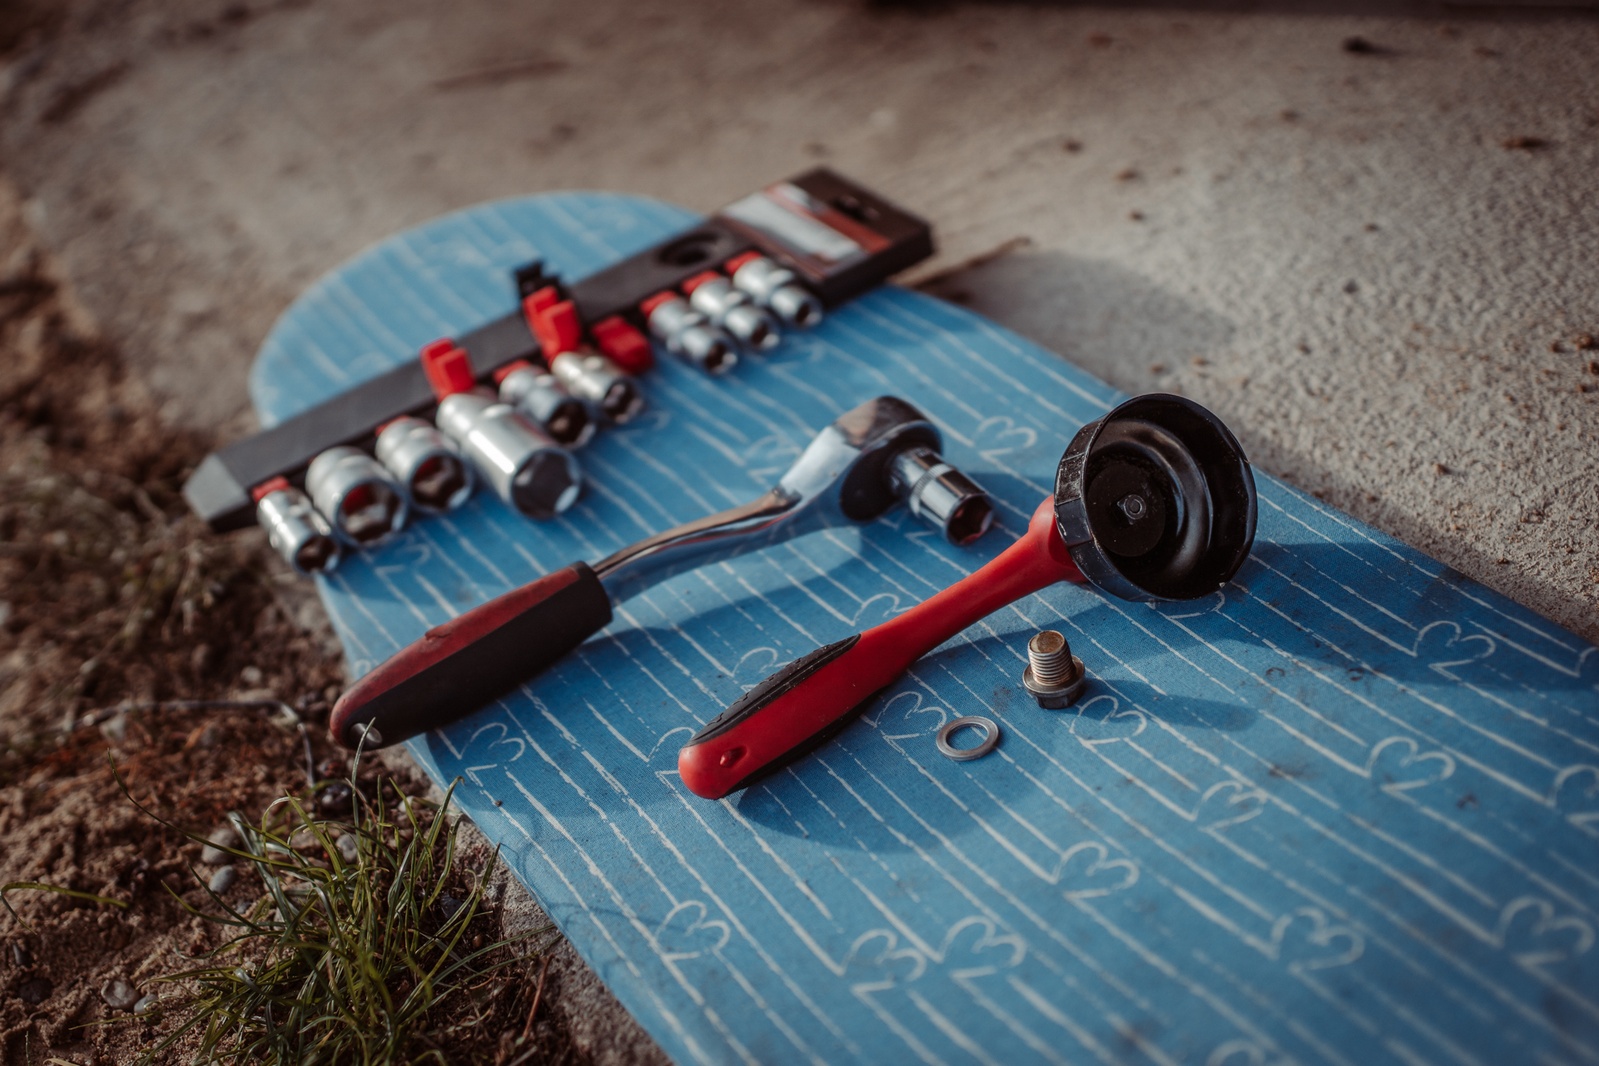
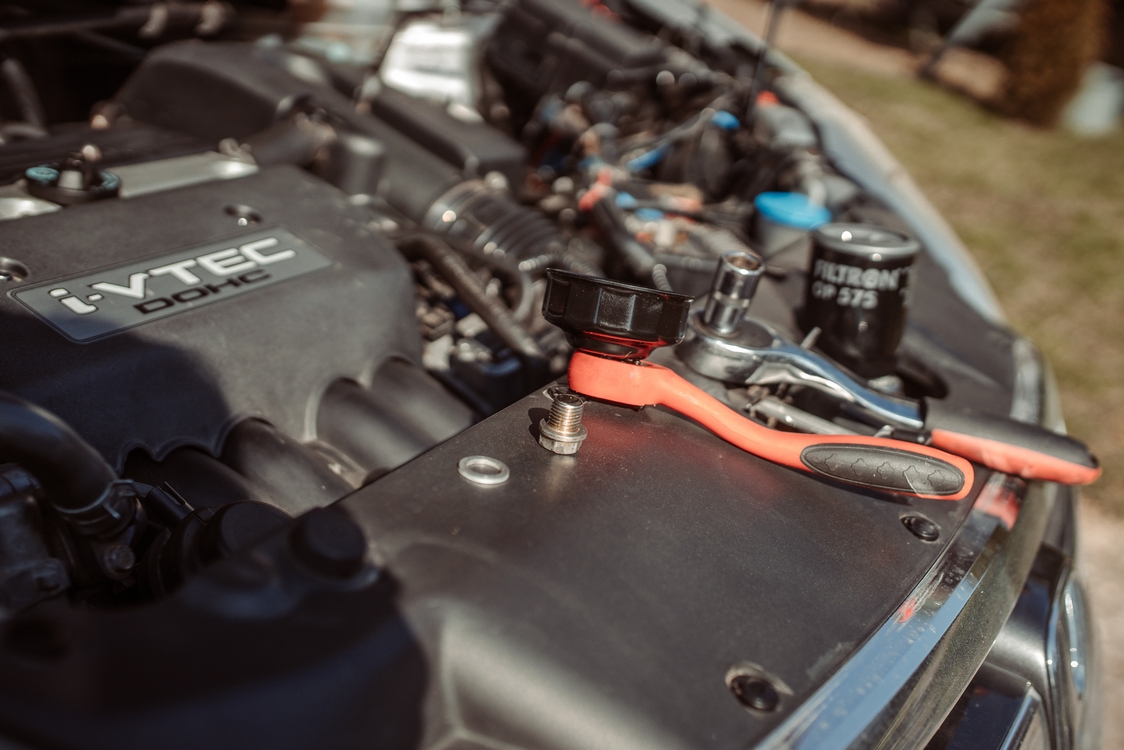
All of the work is pretty simple and straightforward. Tools and parts: 16mm socket to drain the oil, 10mm socket to remove the VTC, 8mm socket to remove the air box top, oil filter removal tool, TB cleaner, new oil, filters, rags.  A compressor with an air gun, a hoover and a small mirror comes handy. 
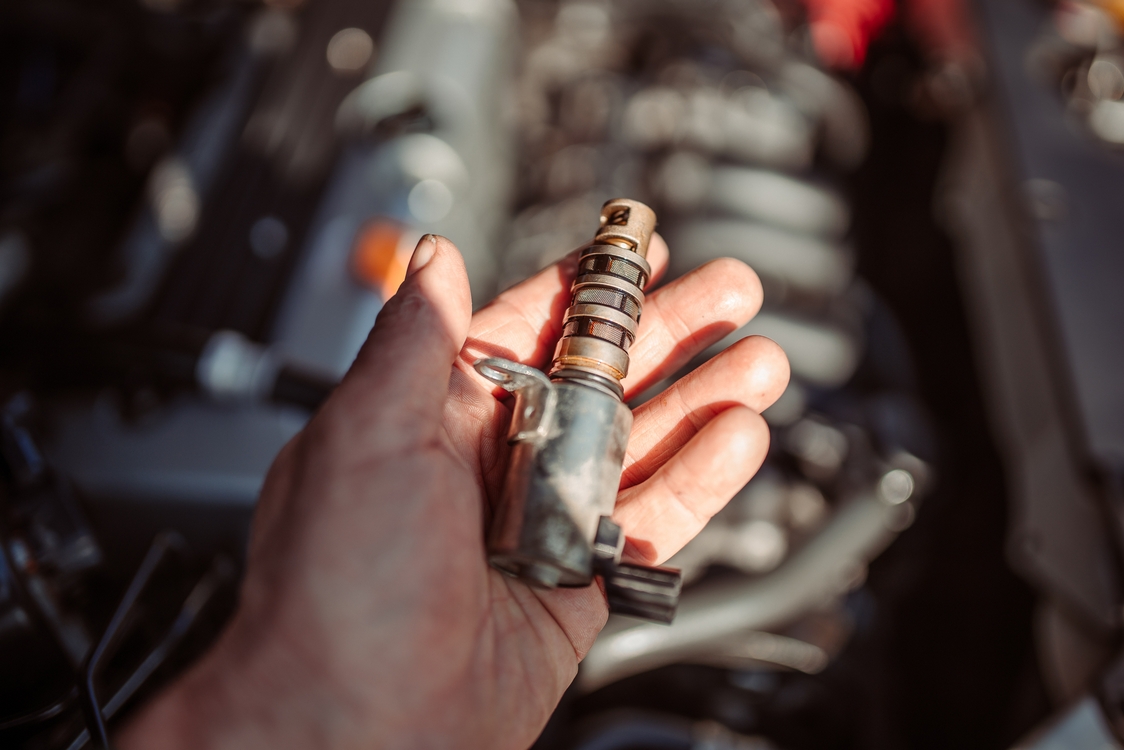
Prior the oil drain I use this Liqui Moly Motor cleaner to thin out the old oil. It leaks out better and perhaps does some cleaning. The OCV /oil control valve/ removing is an easy task. It is held by one M6. Easy to take out but a bit tricky when putting back to line up both holes - the opening on the valve with the thread in the engine head. I used a small mirror. To clean it I used the TB cleaner and air gun. The O-ring was fine didn't need to be replaced. The OCV has also a strainer, will clean it some another time /it's located on the front of the block behind the PS pump/.
The TB was fine and quite clean so I only cleaned it on the engine without removing it. I lifted the butterfly and wiped it out with a wet rag as far as I could reached. There was only a very fine layer of residue on the bottom side. The last thing was to blow and hoover out the air box and wipe out the air elbow. 

All it took up to 3 hours. Having have anew oil fill can be definitely heard and felt. It is such a rewording job. 

Jun 2023

Brake time  @253K

It has been about 2 years I had the calipers opened and cleaned.

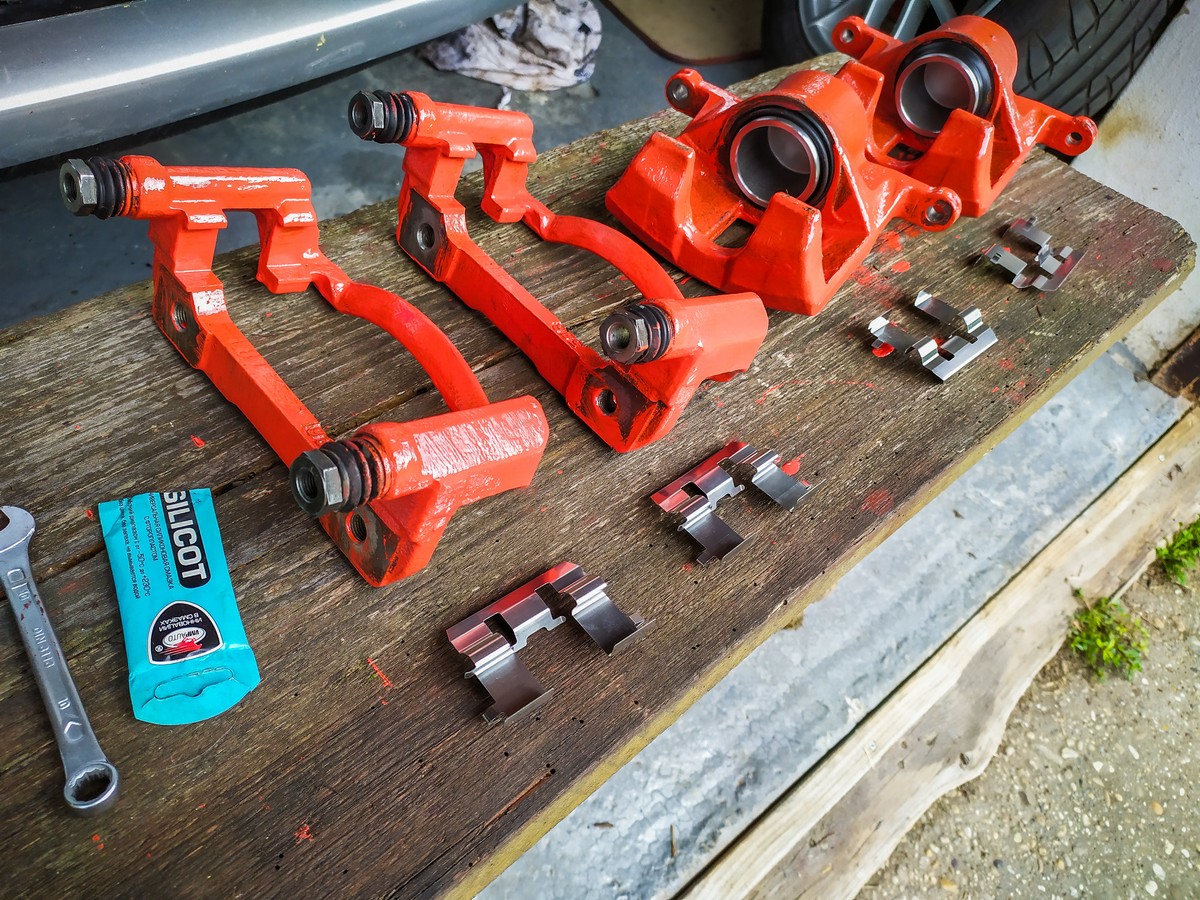
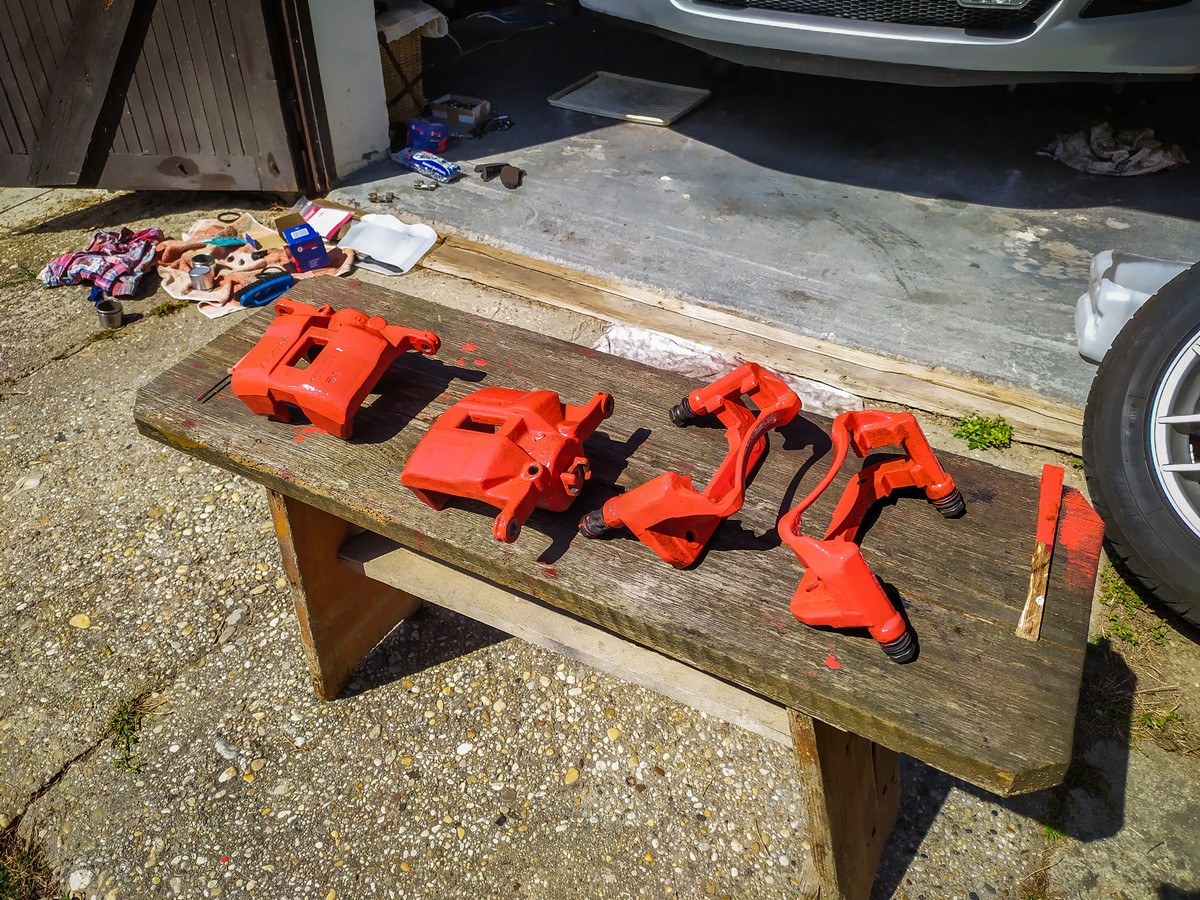
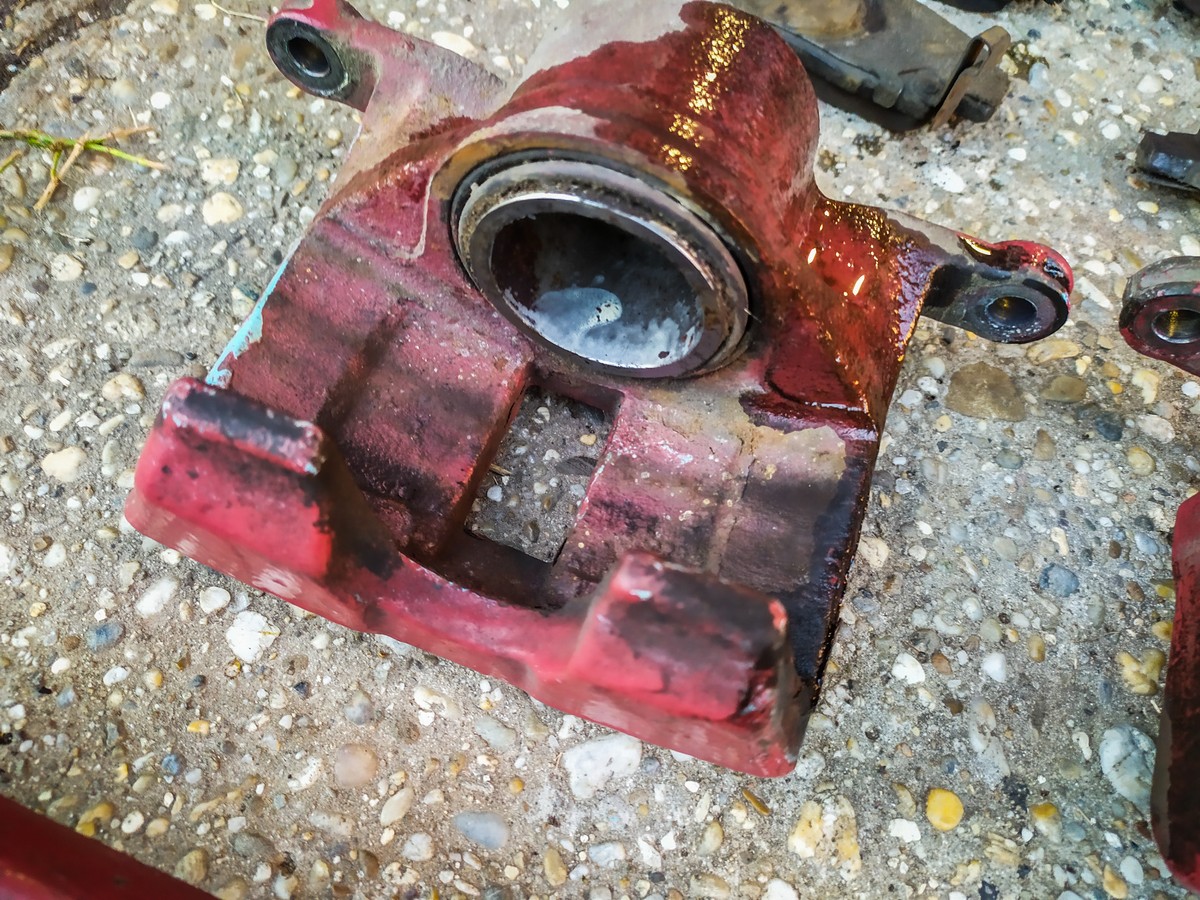
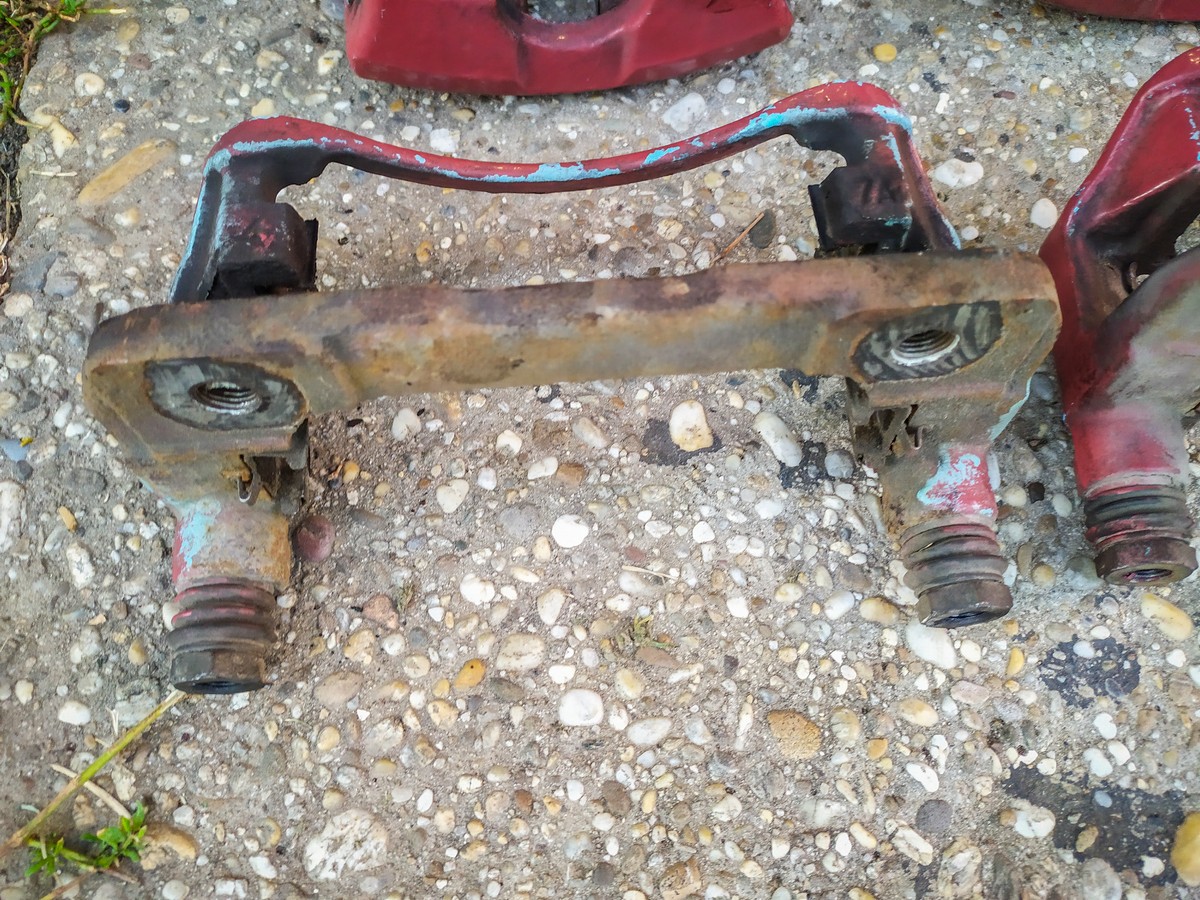
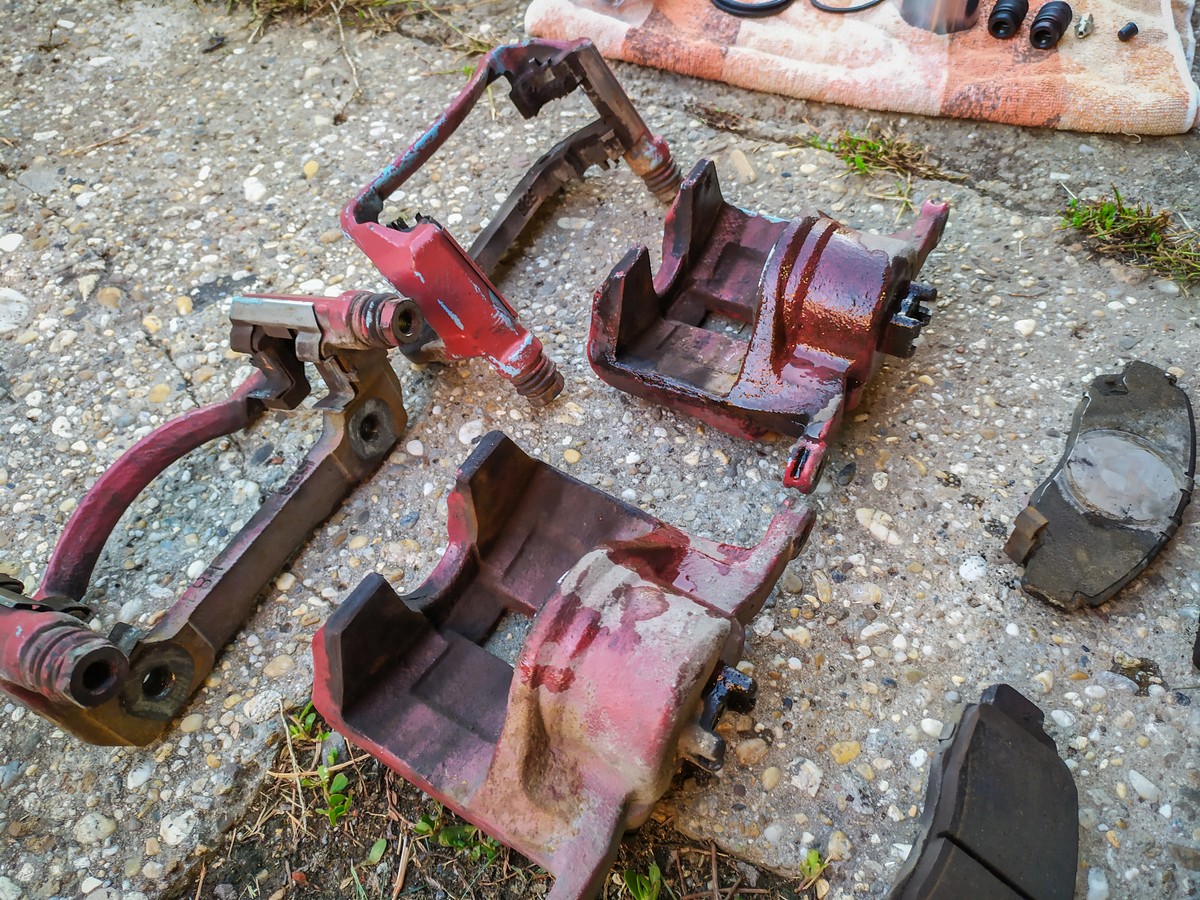
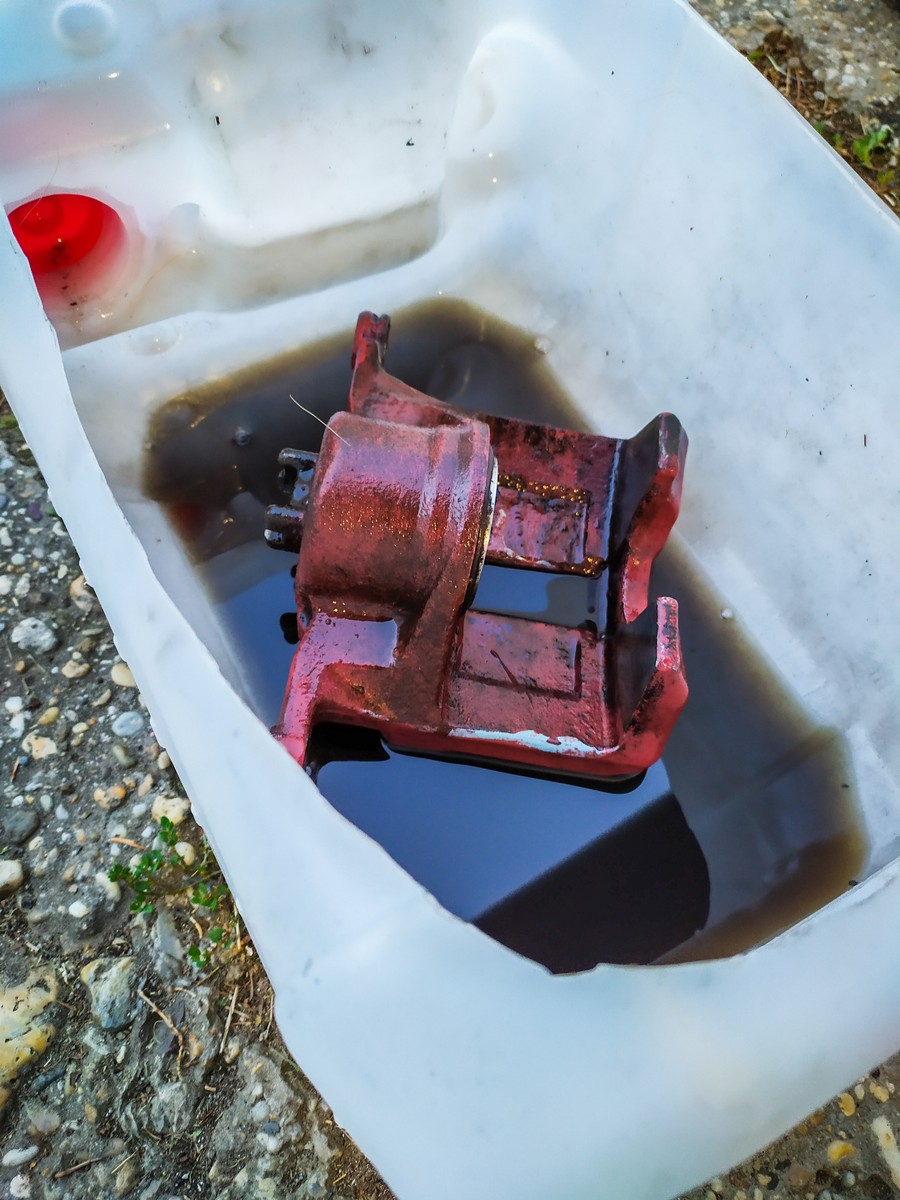
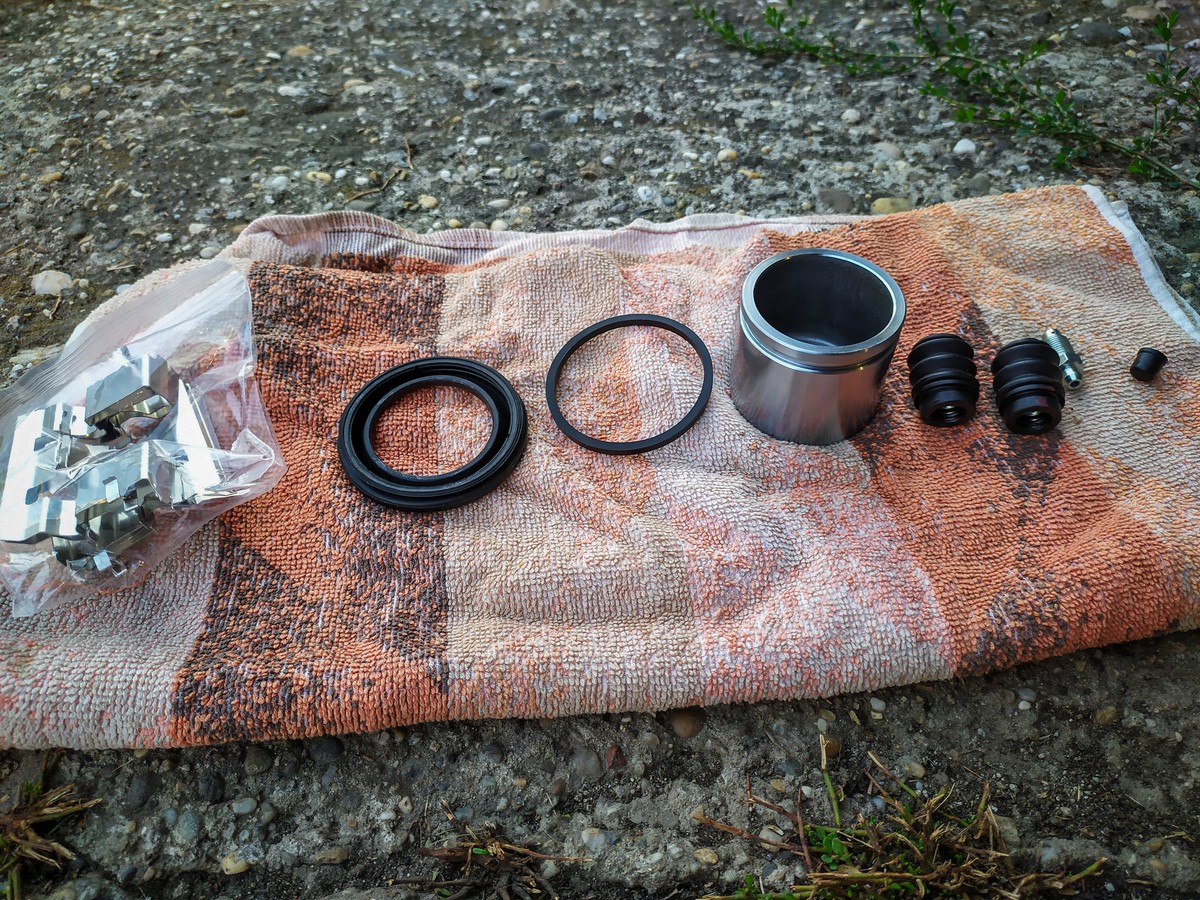
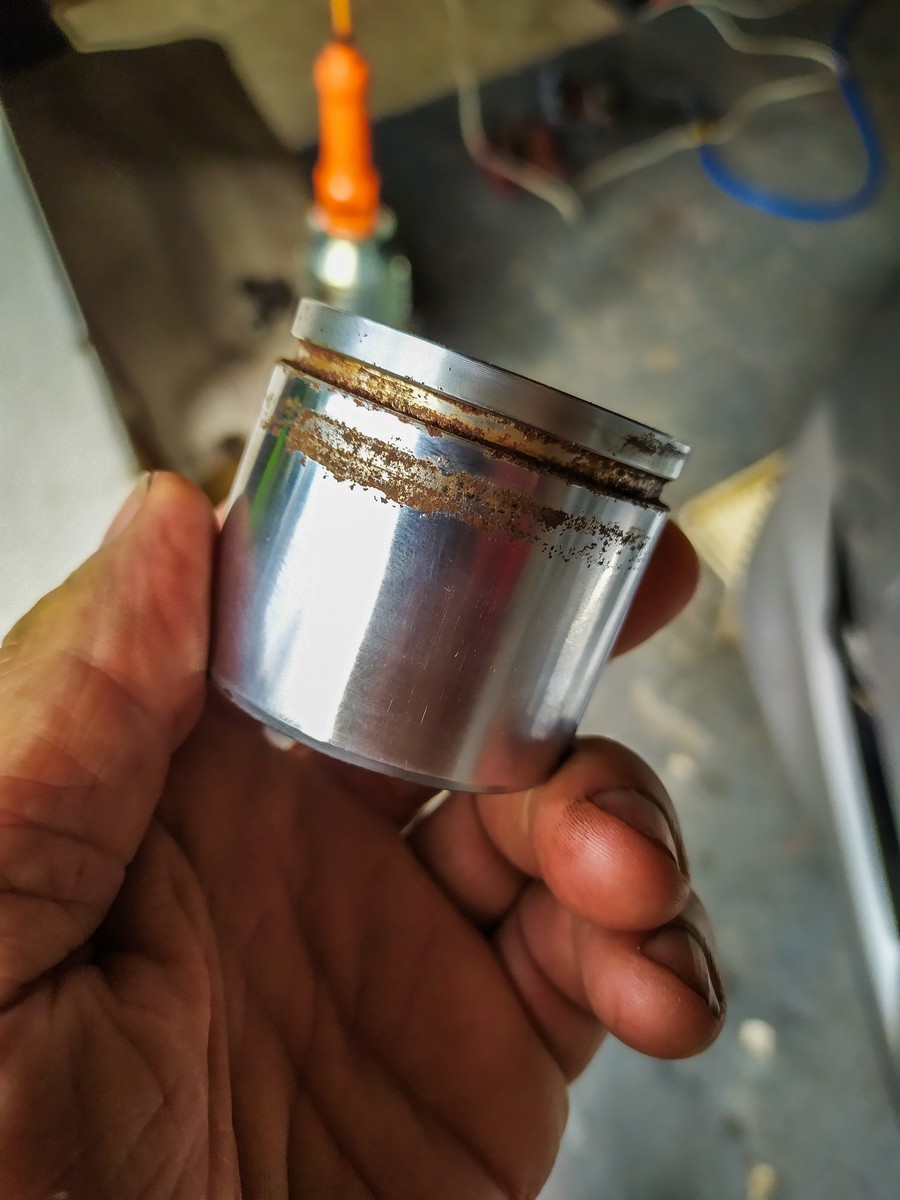
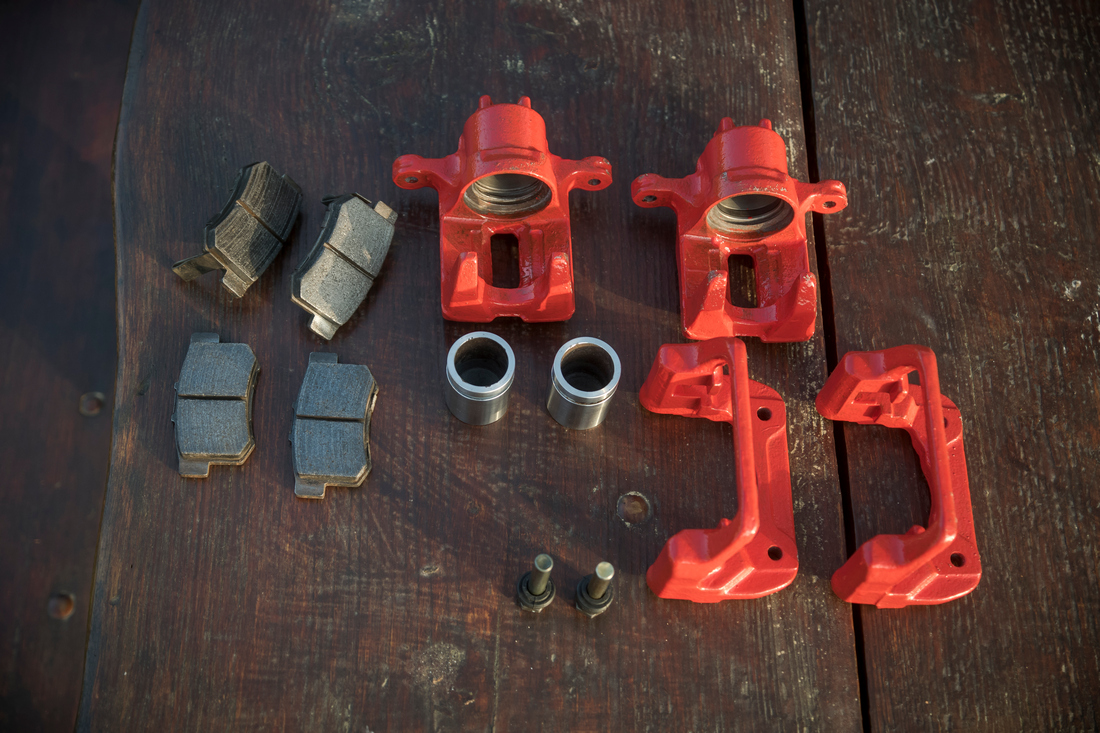
Last time at 180K Km I have only cleaned them and reused the same pistons, they had some corrosion on but nothing terrible. Very fine wet sand-down did the job. This time its full /home/ restoration - containing a mechanical overall cleaning, a new surface coating and all the inner parts - seals, pins, shims and the pistons.
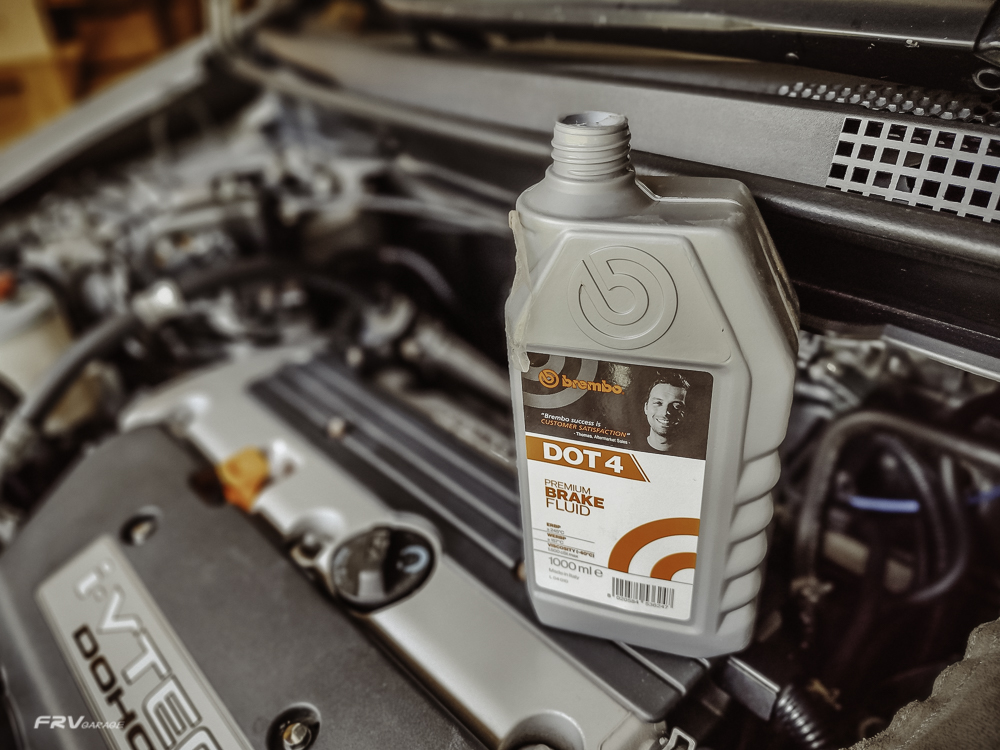
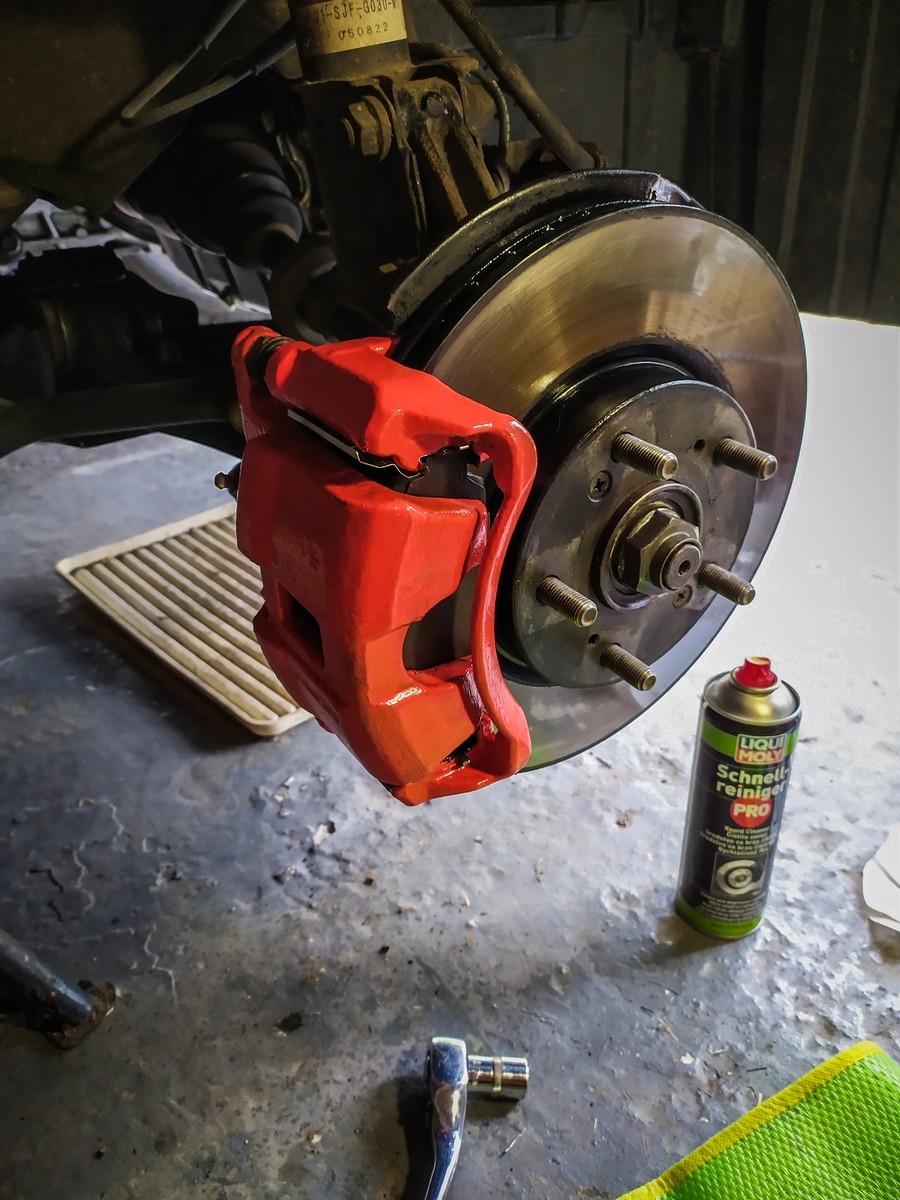
To undo the calipers is a very easy job, it's held by two 14mm socket size bolts /another 19mm fork spanner is needed to secure the pins/. The Caliper Holder - Bracket has two 17mm bolts.  The brake tube holder is also 14mm socket, tape the end of pipe and bend it upwards. The pipe housing uses 2 crush washers. Like the last time I have also got a bottle of DOT4 low viscosity fluid ti top up afterwards.
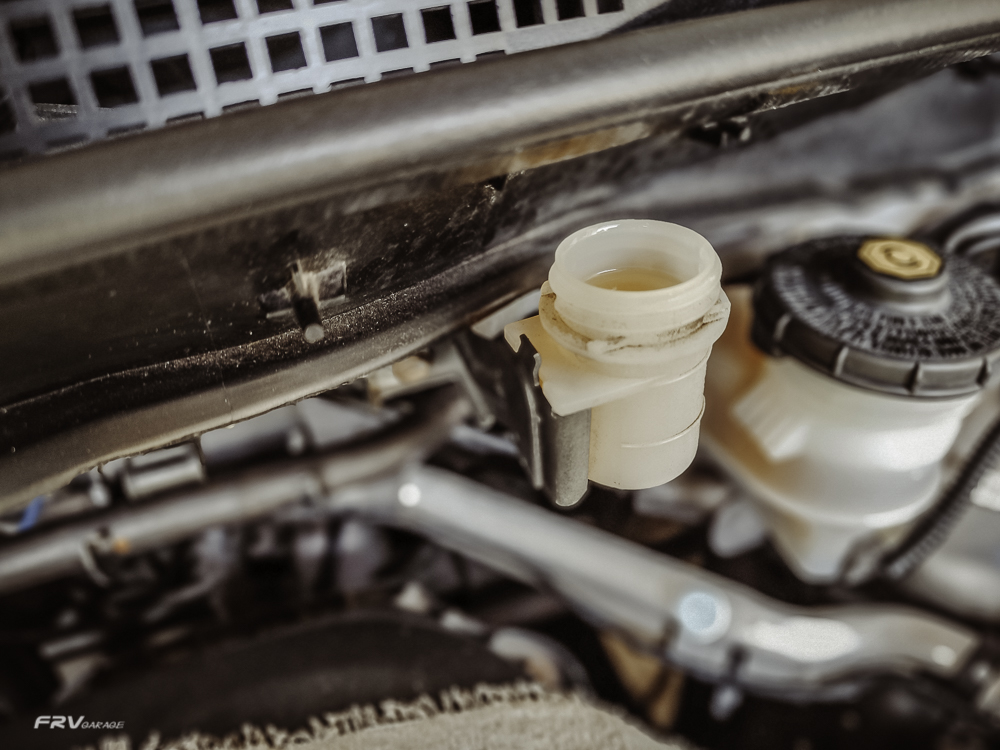
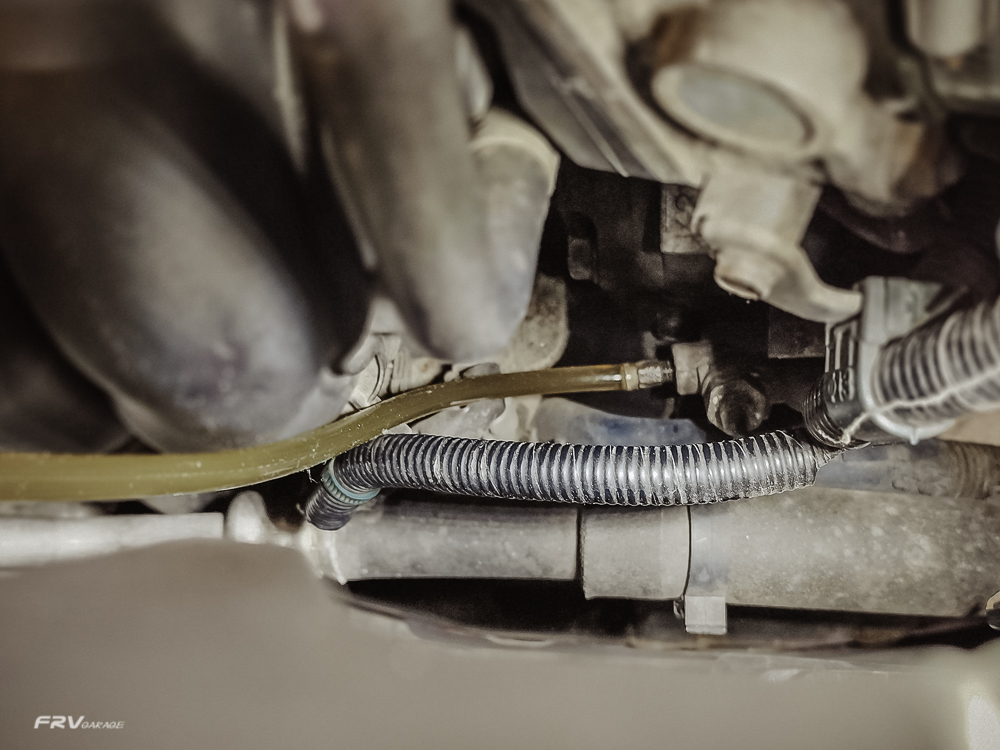
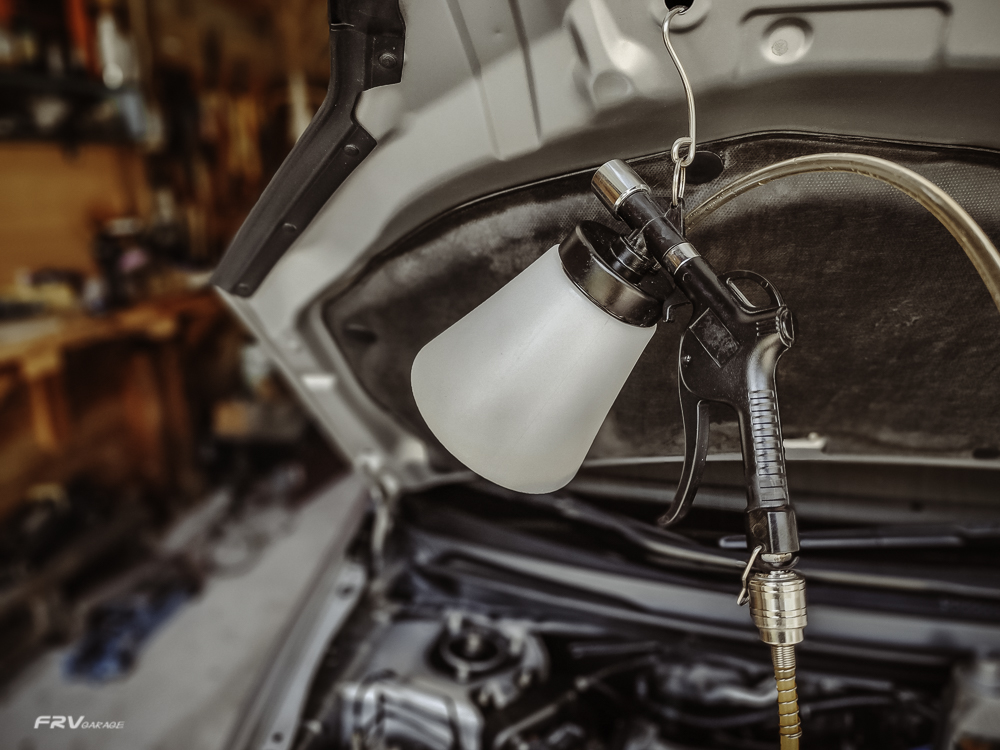
It took me good day of work to restore them into the almost as a new state.  Mechanically rubbing down and cleaning the calipers to the bear metal was the most unpleasing part, but the most tricky bit is to insert the dusters. The pads and the rotors were fine round 60% of their life span so no additional spending here. The final caliper coating is now of lighter tint. It is a synthetic paint with a hardener. For the bleeding I have a compressor with a bleeding kit, so it's a simple one man procedure - can't recommend enough. The whole job, all 4 wheels costed round 50-60€. The rear axle comes up later in a month. 
Another 350 Km made after the brake restoration done, all is fine and well, the braking effect feels stronger and starts up faster, the pedal is firmer. But will have to bleed it again - after the rear axle is done.

Rear brakes 

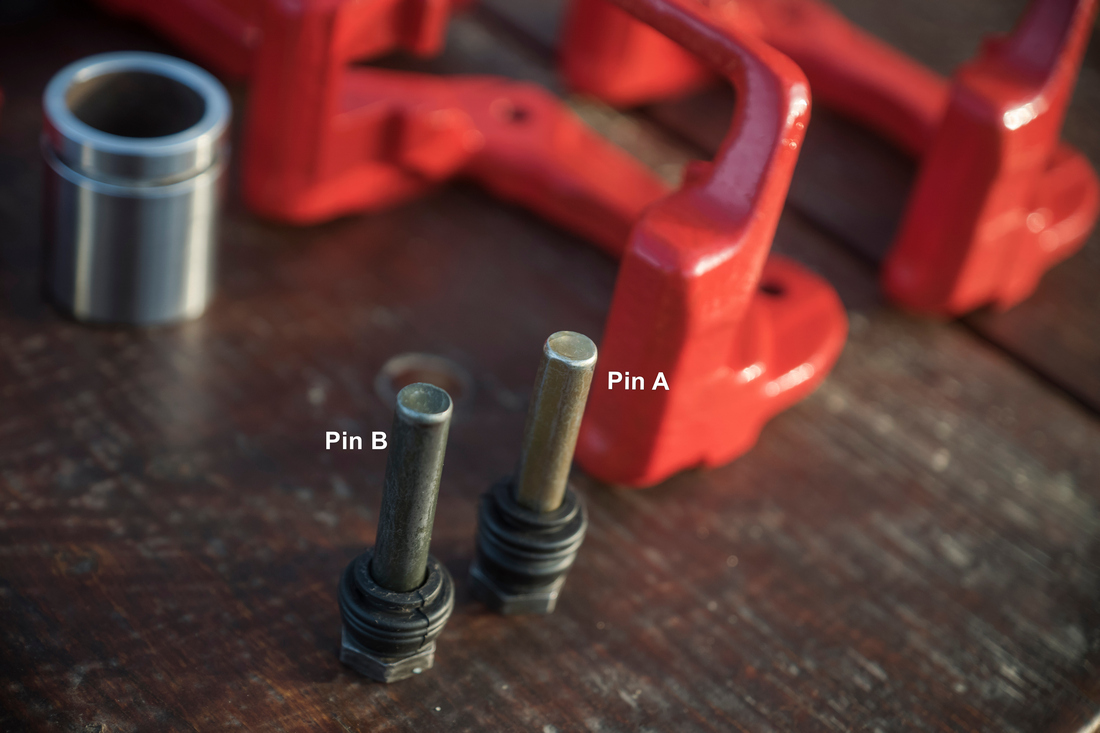
Same procedure as with the front brakes. The pistons were fine so I have reused them. And again to stick them back in is a fiddly work. An important note - the caliper uses two types of pins. One is round, Honda terms it type B, and the other one has flat sides - type A. They got to be put in a correct way. The Pin A  goes up, Pin B down. 

Air filter @250K

Again very simple and self-explaining task.

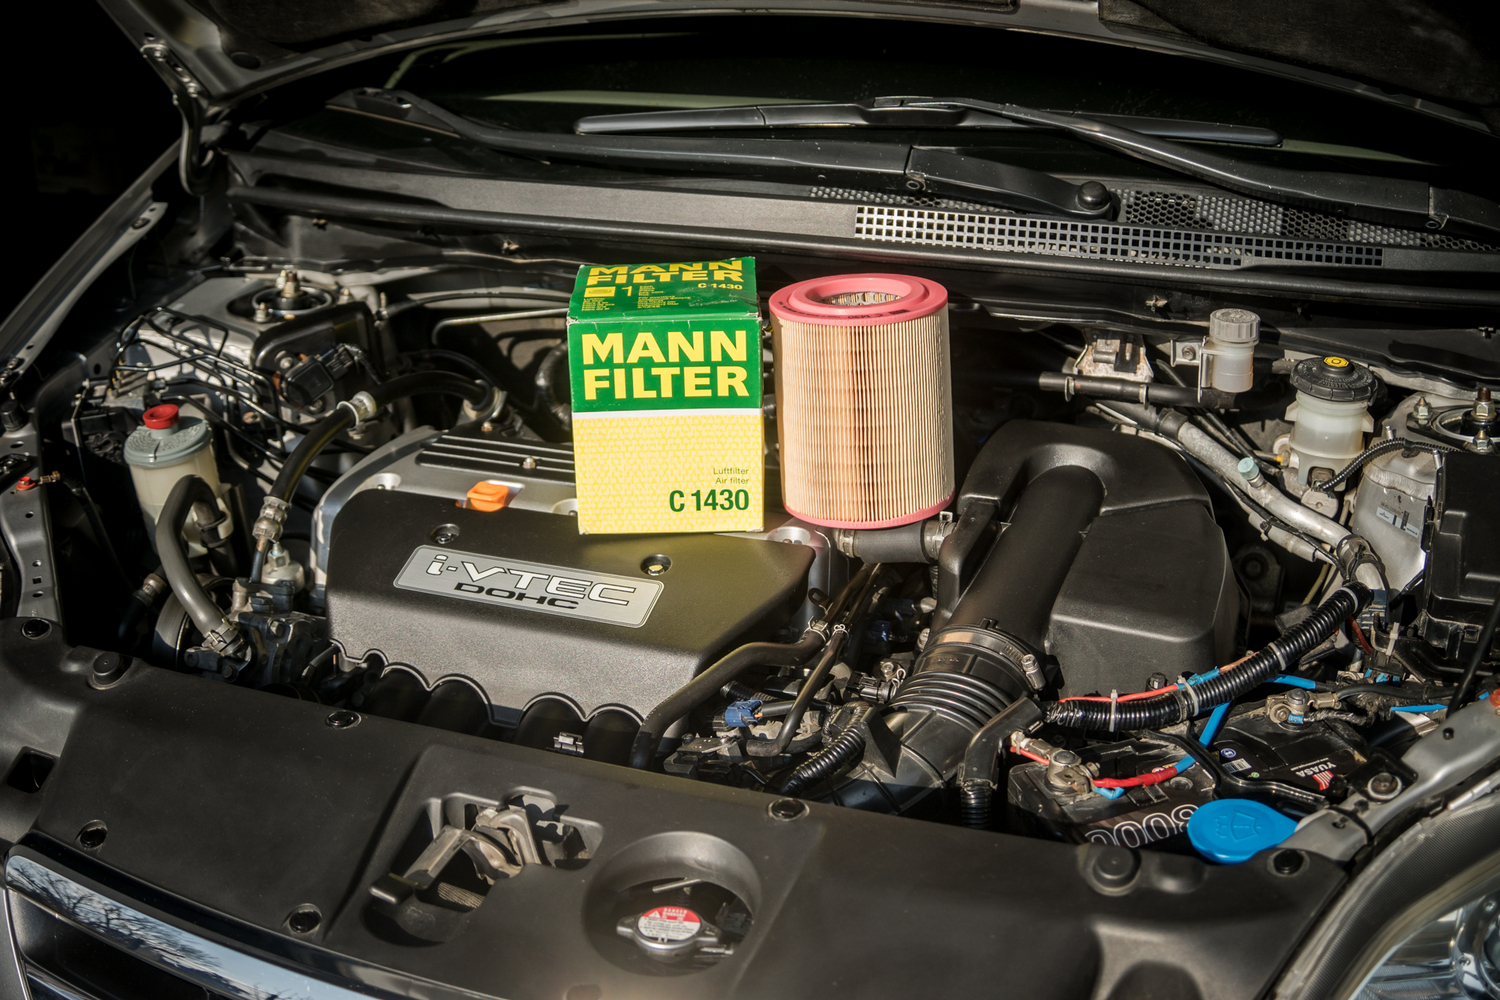
The service interval varies, driving in a polluted city obviously shorten it. I tend to stick to 15K Km interval. I use a Mann filter C1430 or Purflux A1392. Both well-established brands with good quality products on the par with OEM stuff for a 1/2 price. A few times in its lifespan I air-gun the filter and change its position in the airbox.  Airbox cover holds five M4 bolts with a comfortable access and a TB air pipe that's got to be pulled off. Watch the air temp sensor and wiring. Once opened its a good idea to hoover all the dead insect, leaves and wipe out the dust. Now comes the question an original air box with proper filter vs CAI /cold air intake/. To me, if done professionally with quality parts and correct maintenance it might bring some HP on the top /in conjunction with another tuning/ but otherwise it's only a good chance to damage the engine, because most of the "tuners" bin the airbox and replace it with a pathetic like KN looking nonsense nothing to do with CAI. Same "cool effect" like a waste pipe instead of exhaust or the beyond a measure lowered shocks.
Gear-box oil replacement  @240K

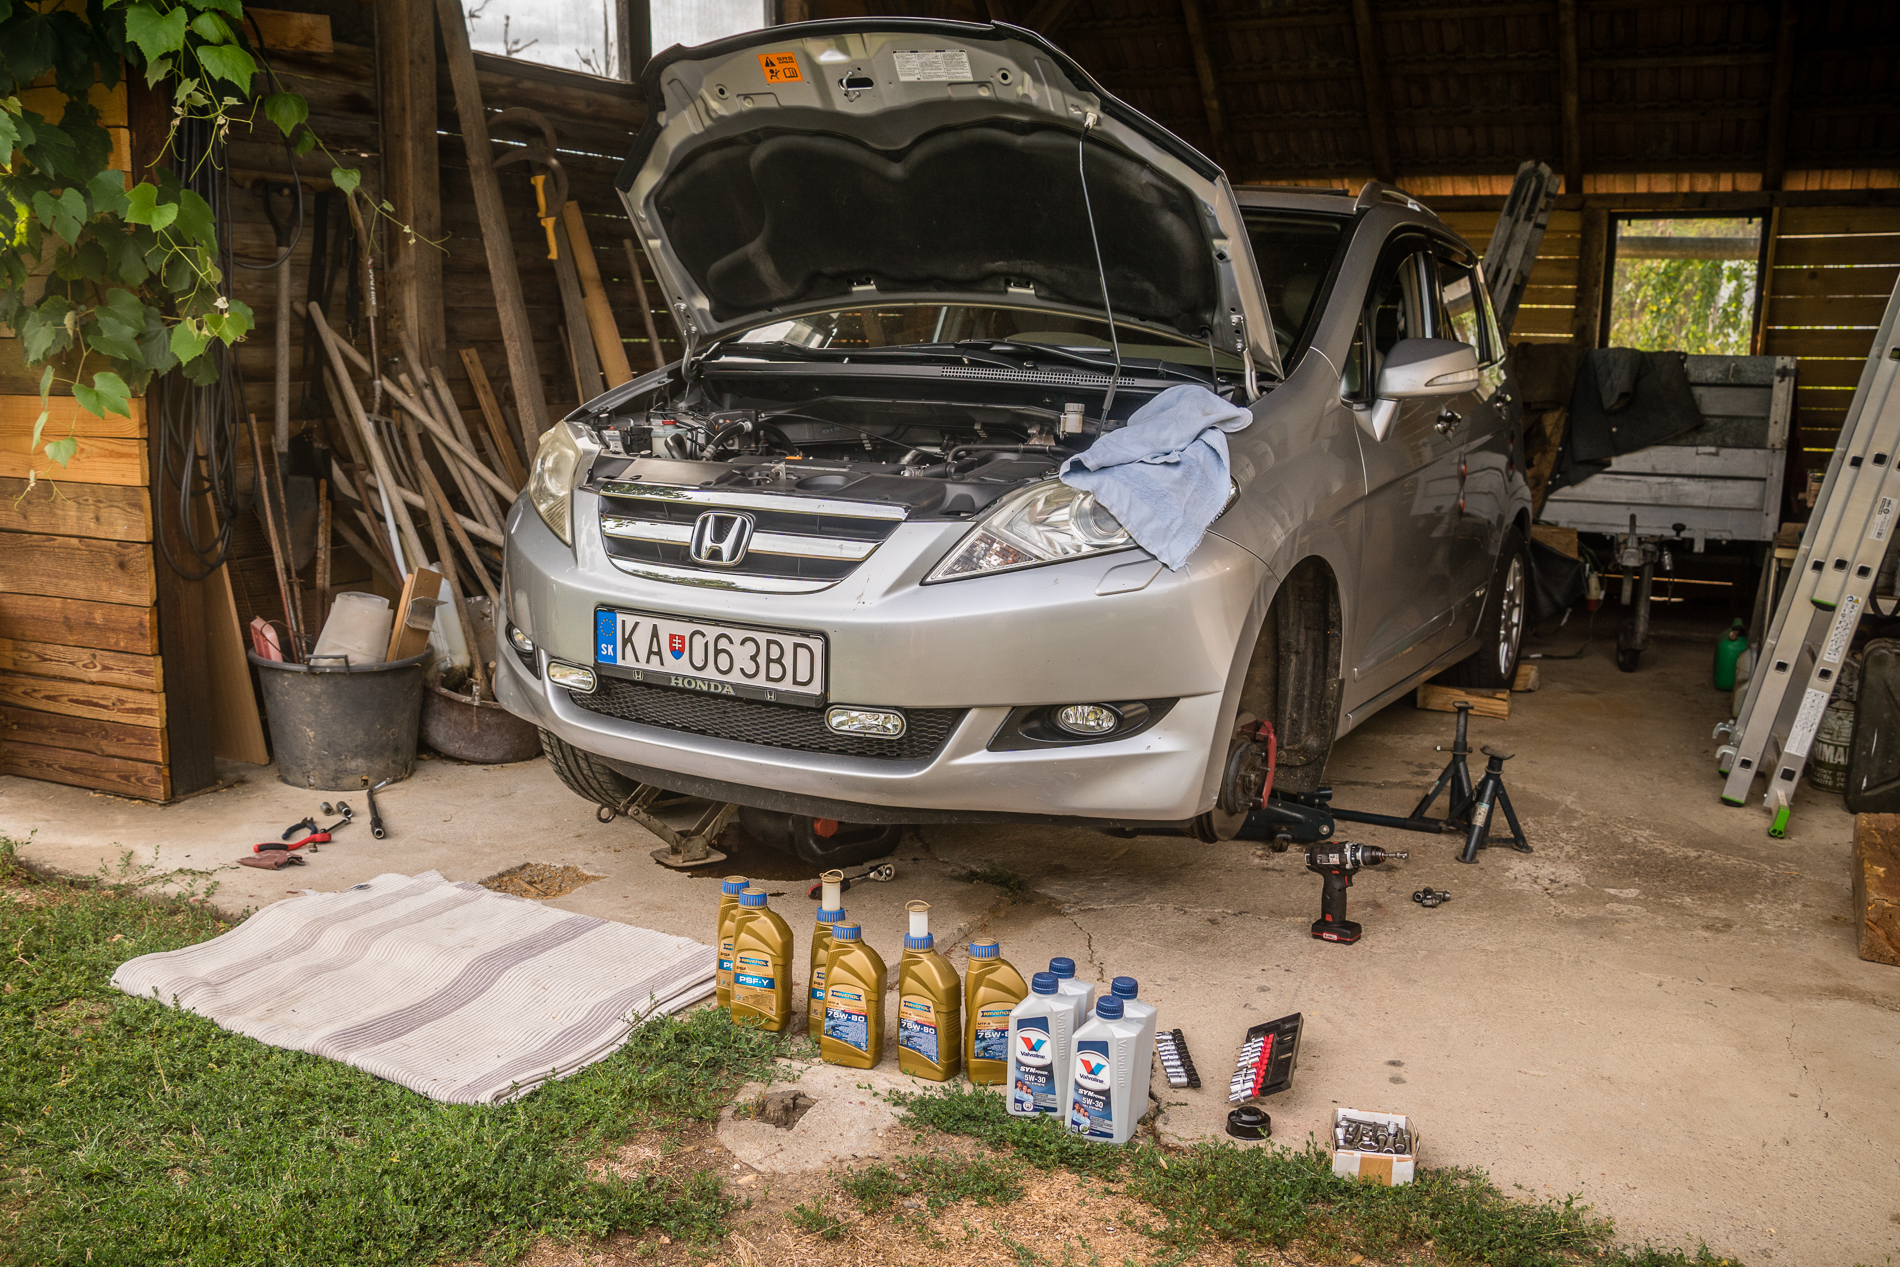
When I bought the FR-V, I have changed the fluids including the MTF, since that the car has done another circa75K Km so its the highest time to repeat it. Here in Slovakia the original Honda MTF costs about 25€/lit. The full fill is 2,2 lit but for a normal old out-new in servis, 2 bottles are enough. With the new crush washers or drain plugs if necessarily, you come up to 55€ for the job. 

As the fuel and oil price gone really high, this time I decided to use Ravenol MTF. 

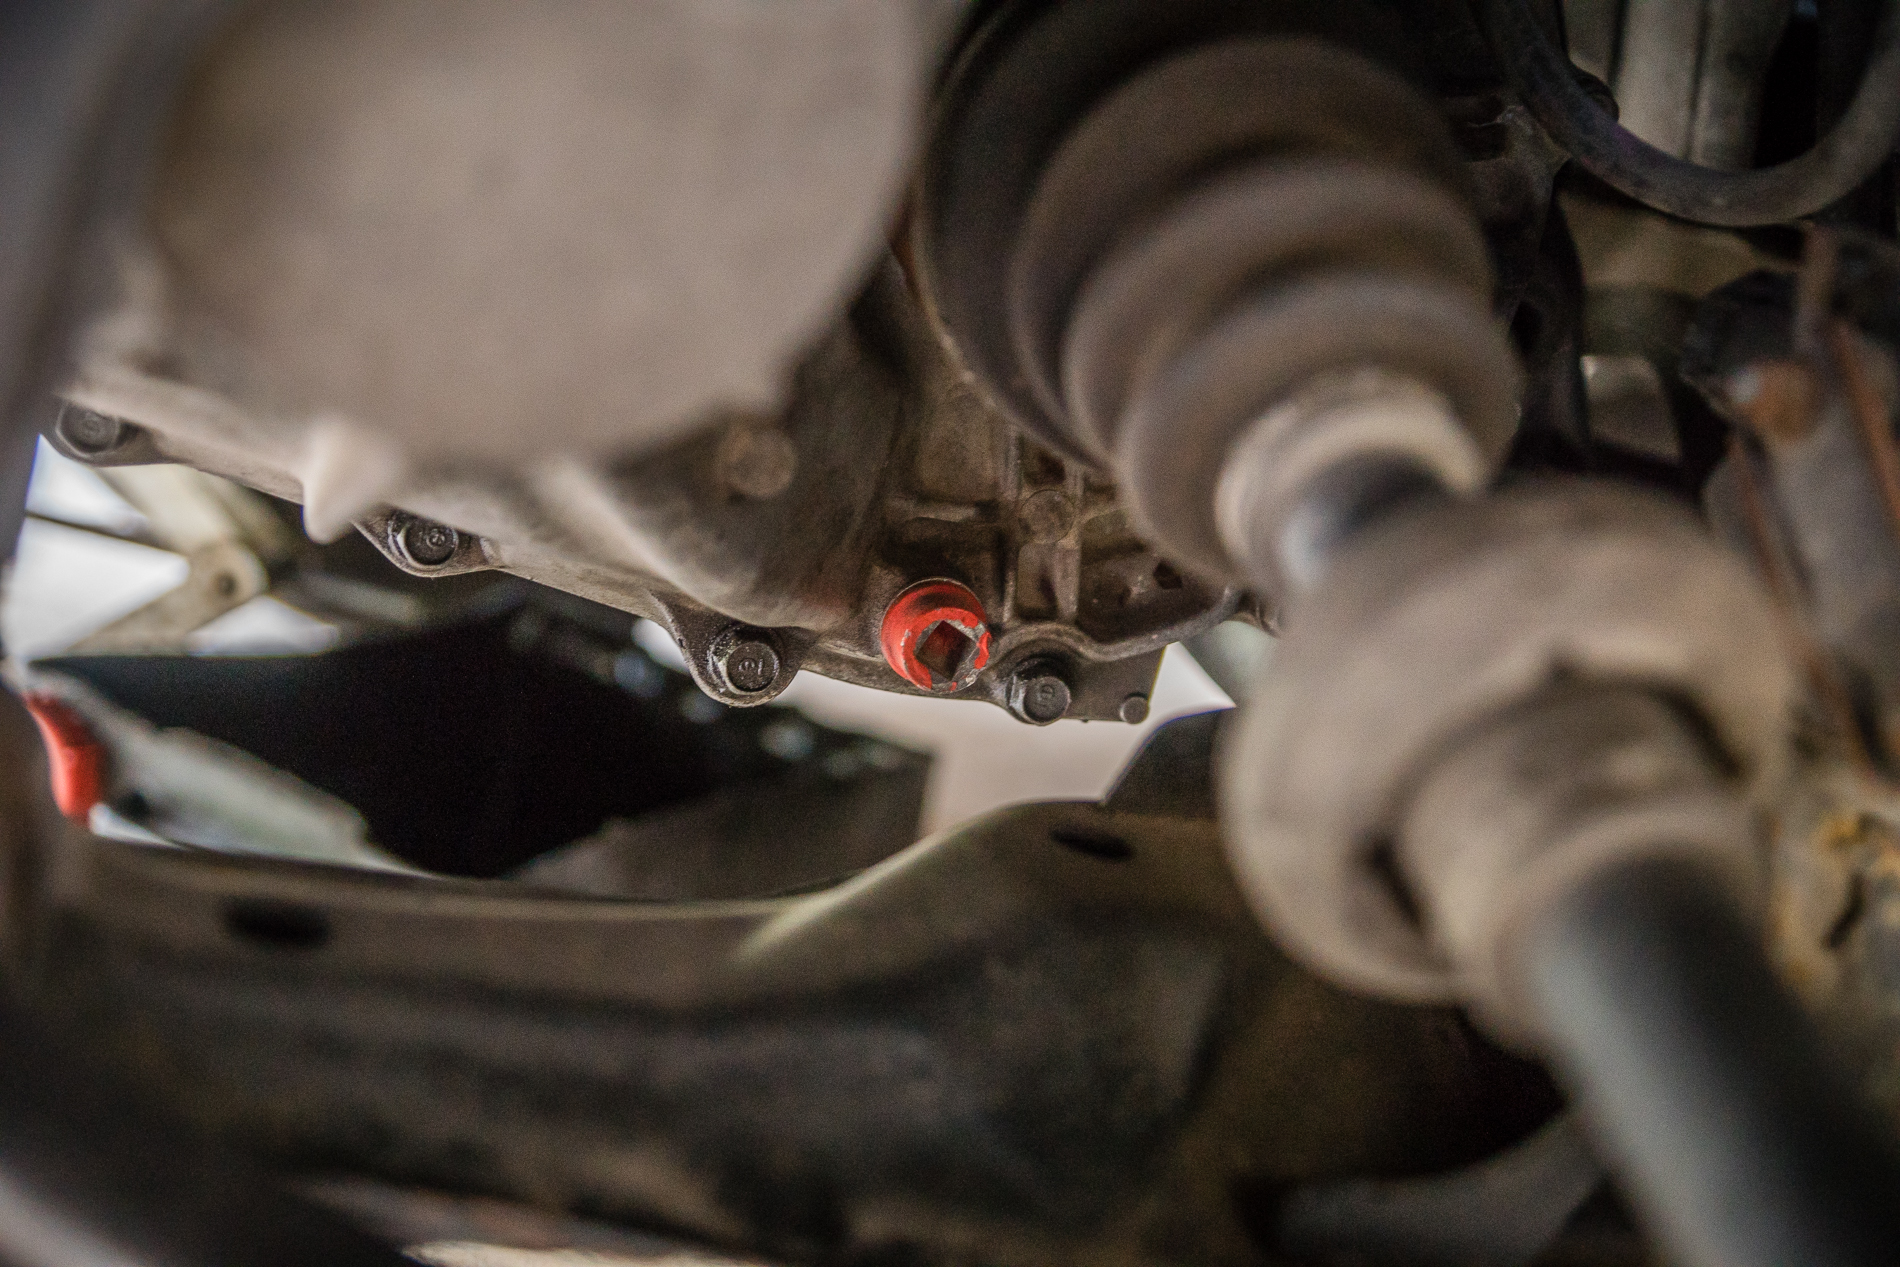
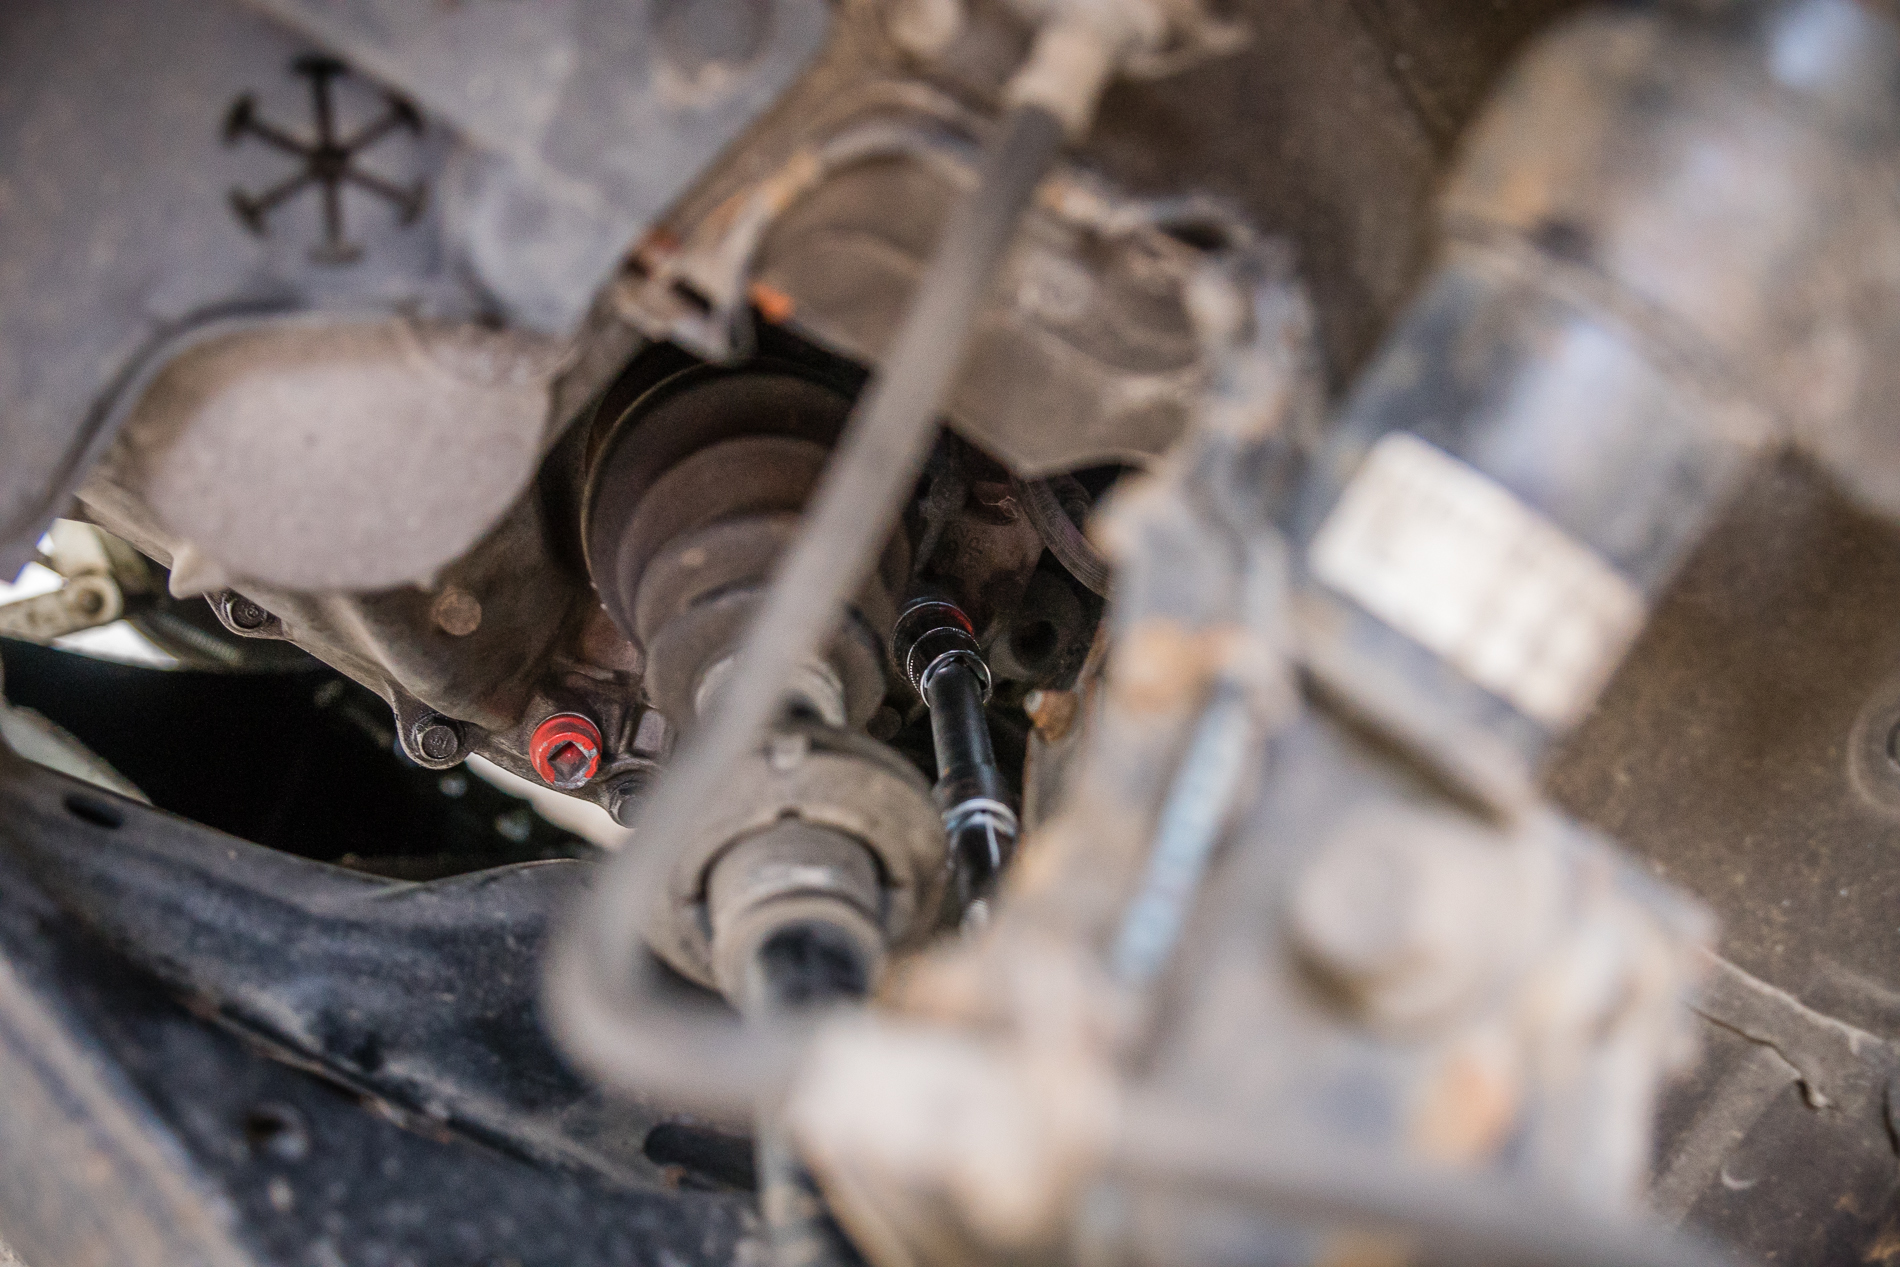
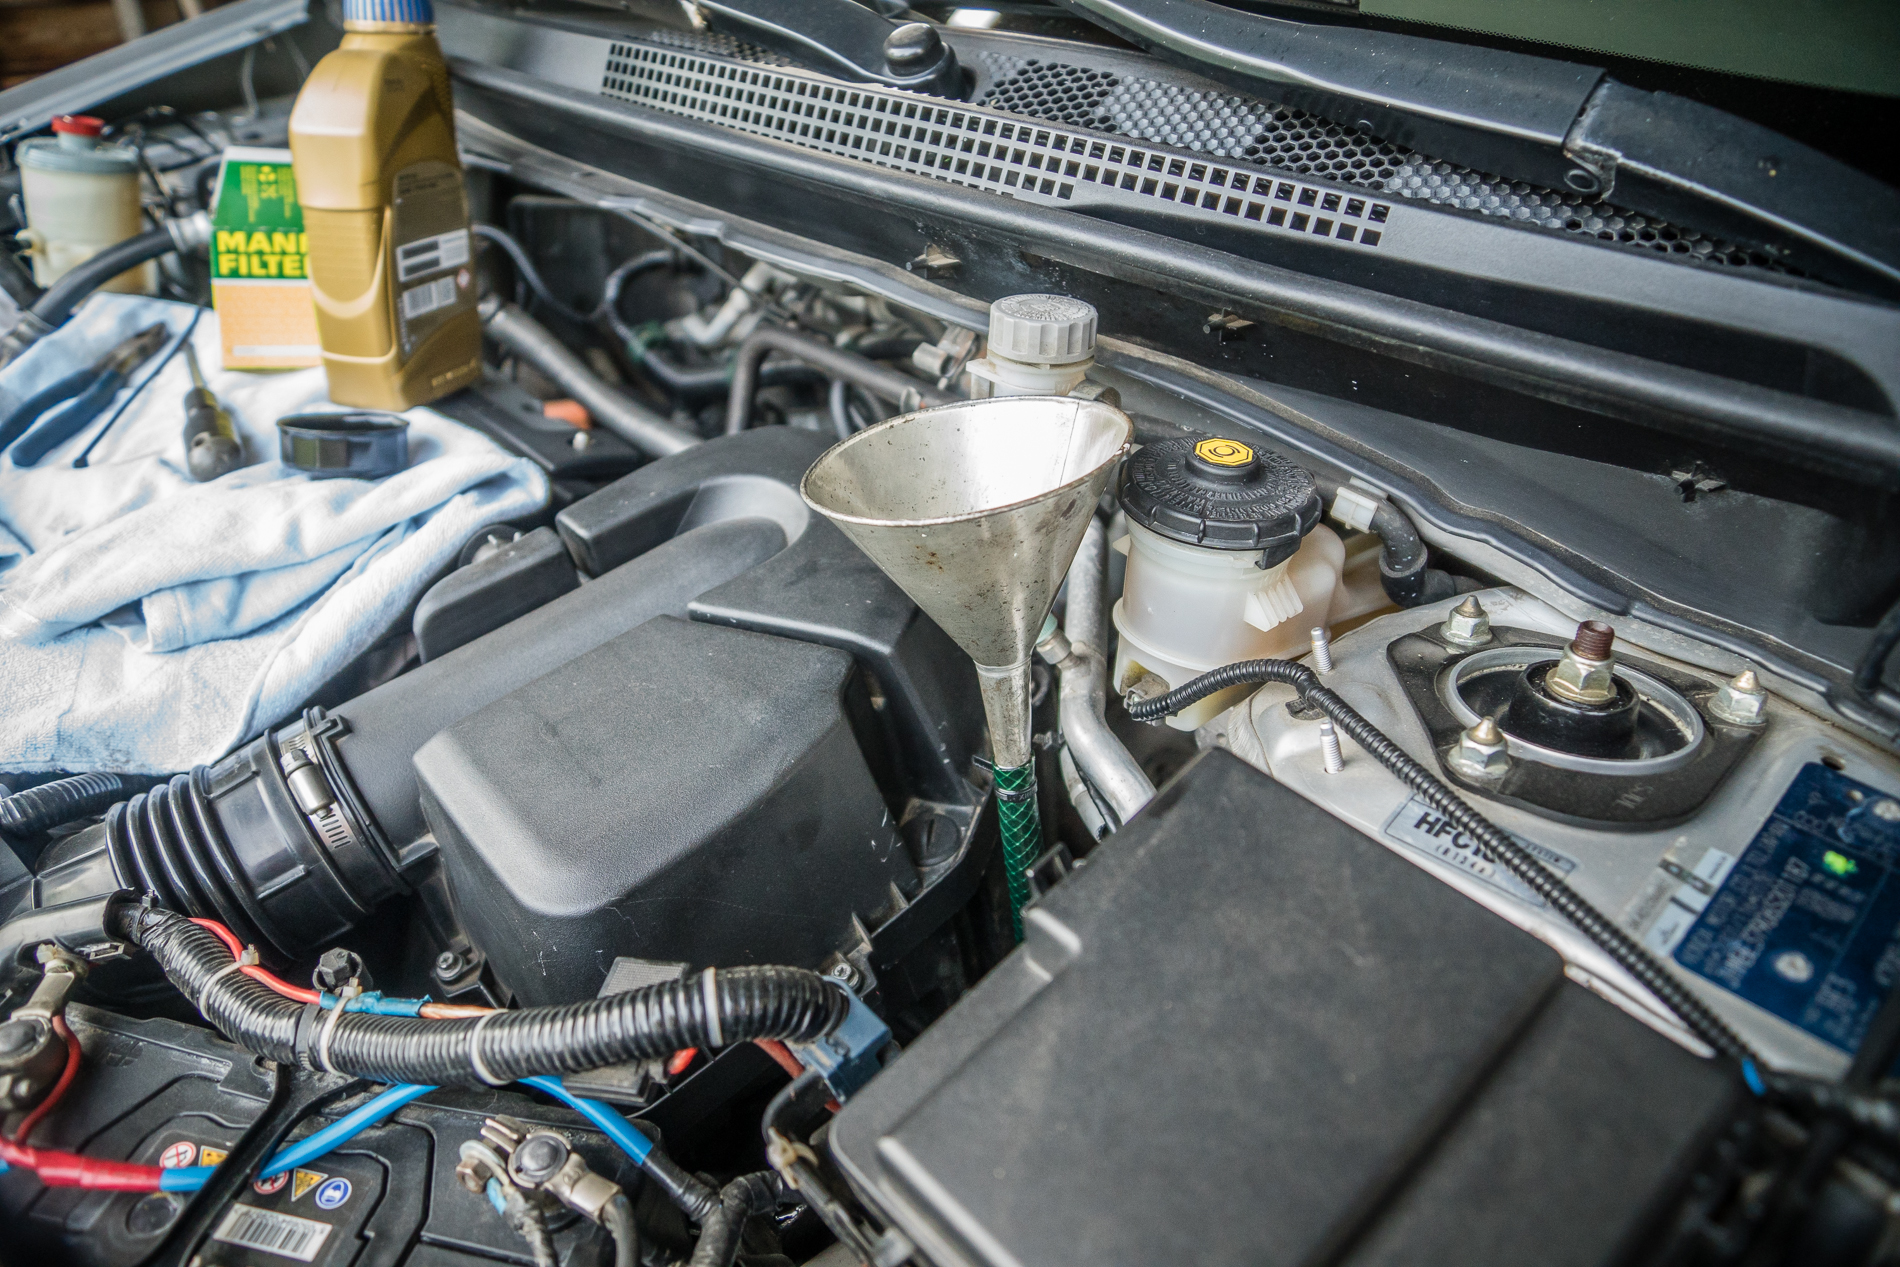
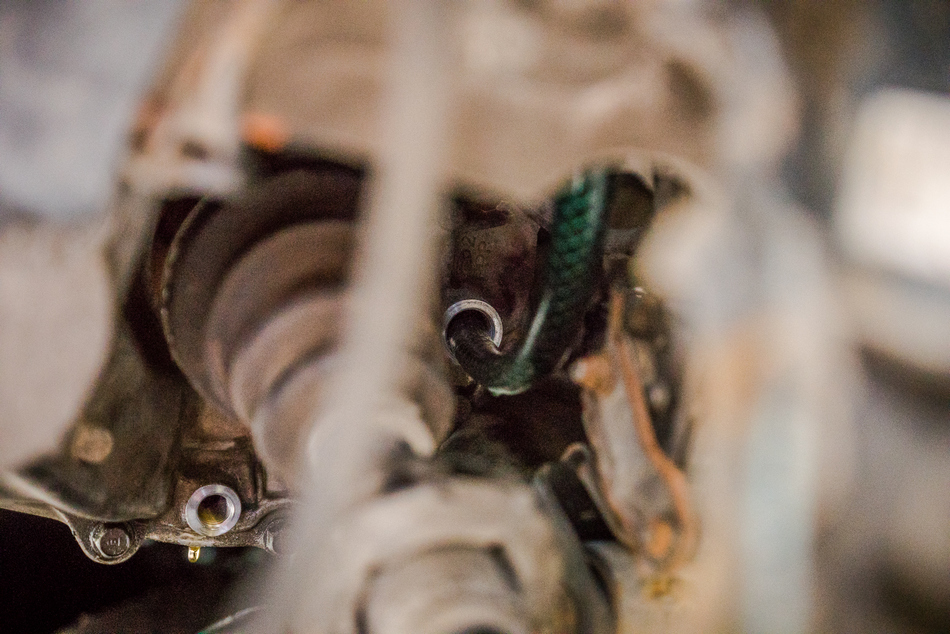
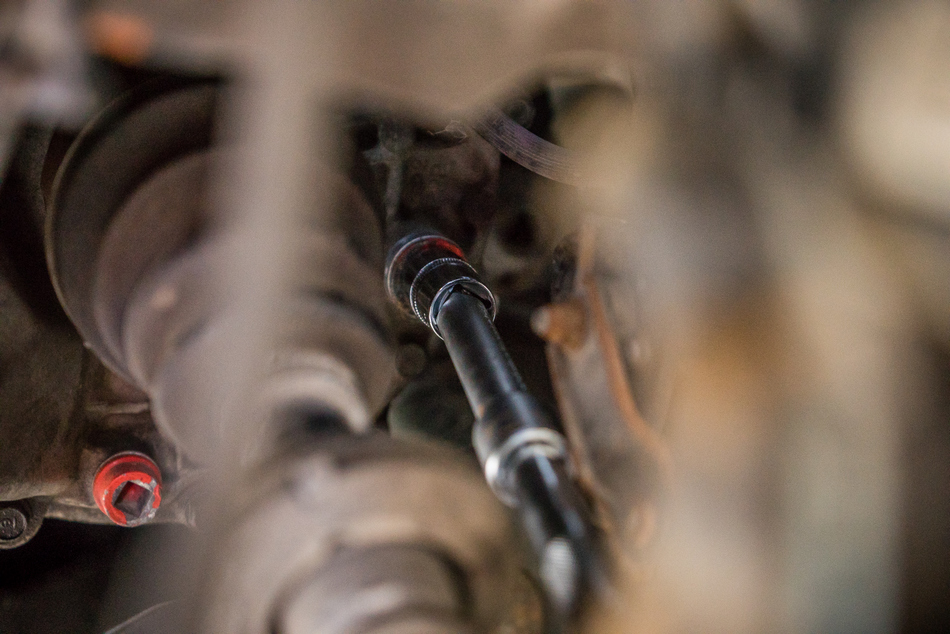
I already got Ravenol PSF in the power steering system and all works fine, to my subjective feeling even quieter or more softly than the original Honda PSF. So I got 3 lit of Ravenol MTF-2 ,that declares to have the Honda MTF specs, for about 9€ per liter did a bit of flush and the new fill. For better access I took off the L wheel.  The top opening - 17mm socket - is the filling and control one, the bottom drain one - 3/8 ratchet. The old oil was fine at the firs glance only slightly brownish, but was much thicker that causes harder shifting and wear. 
The filling is easy with a half of meter pipe and a funnel stuck through the engine up. Once it starts to seep out round the pipe its full.  It takes 1,7-2 lit depends on how well it's been drained. A drain bolt with a magnet is my next upgrade to this job.

Minor interior improvements @230K 

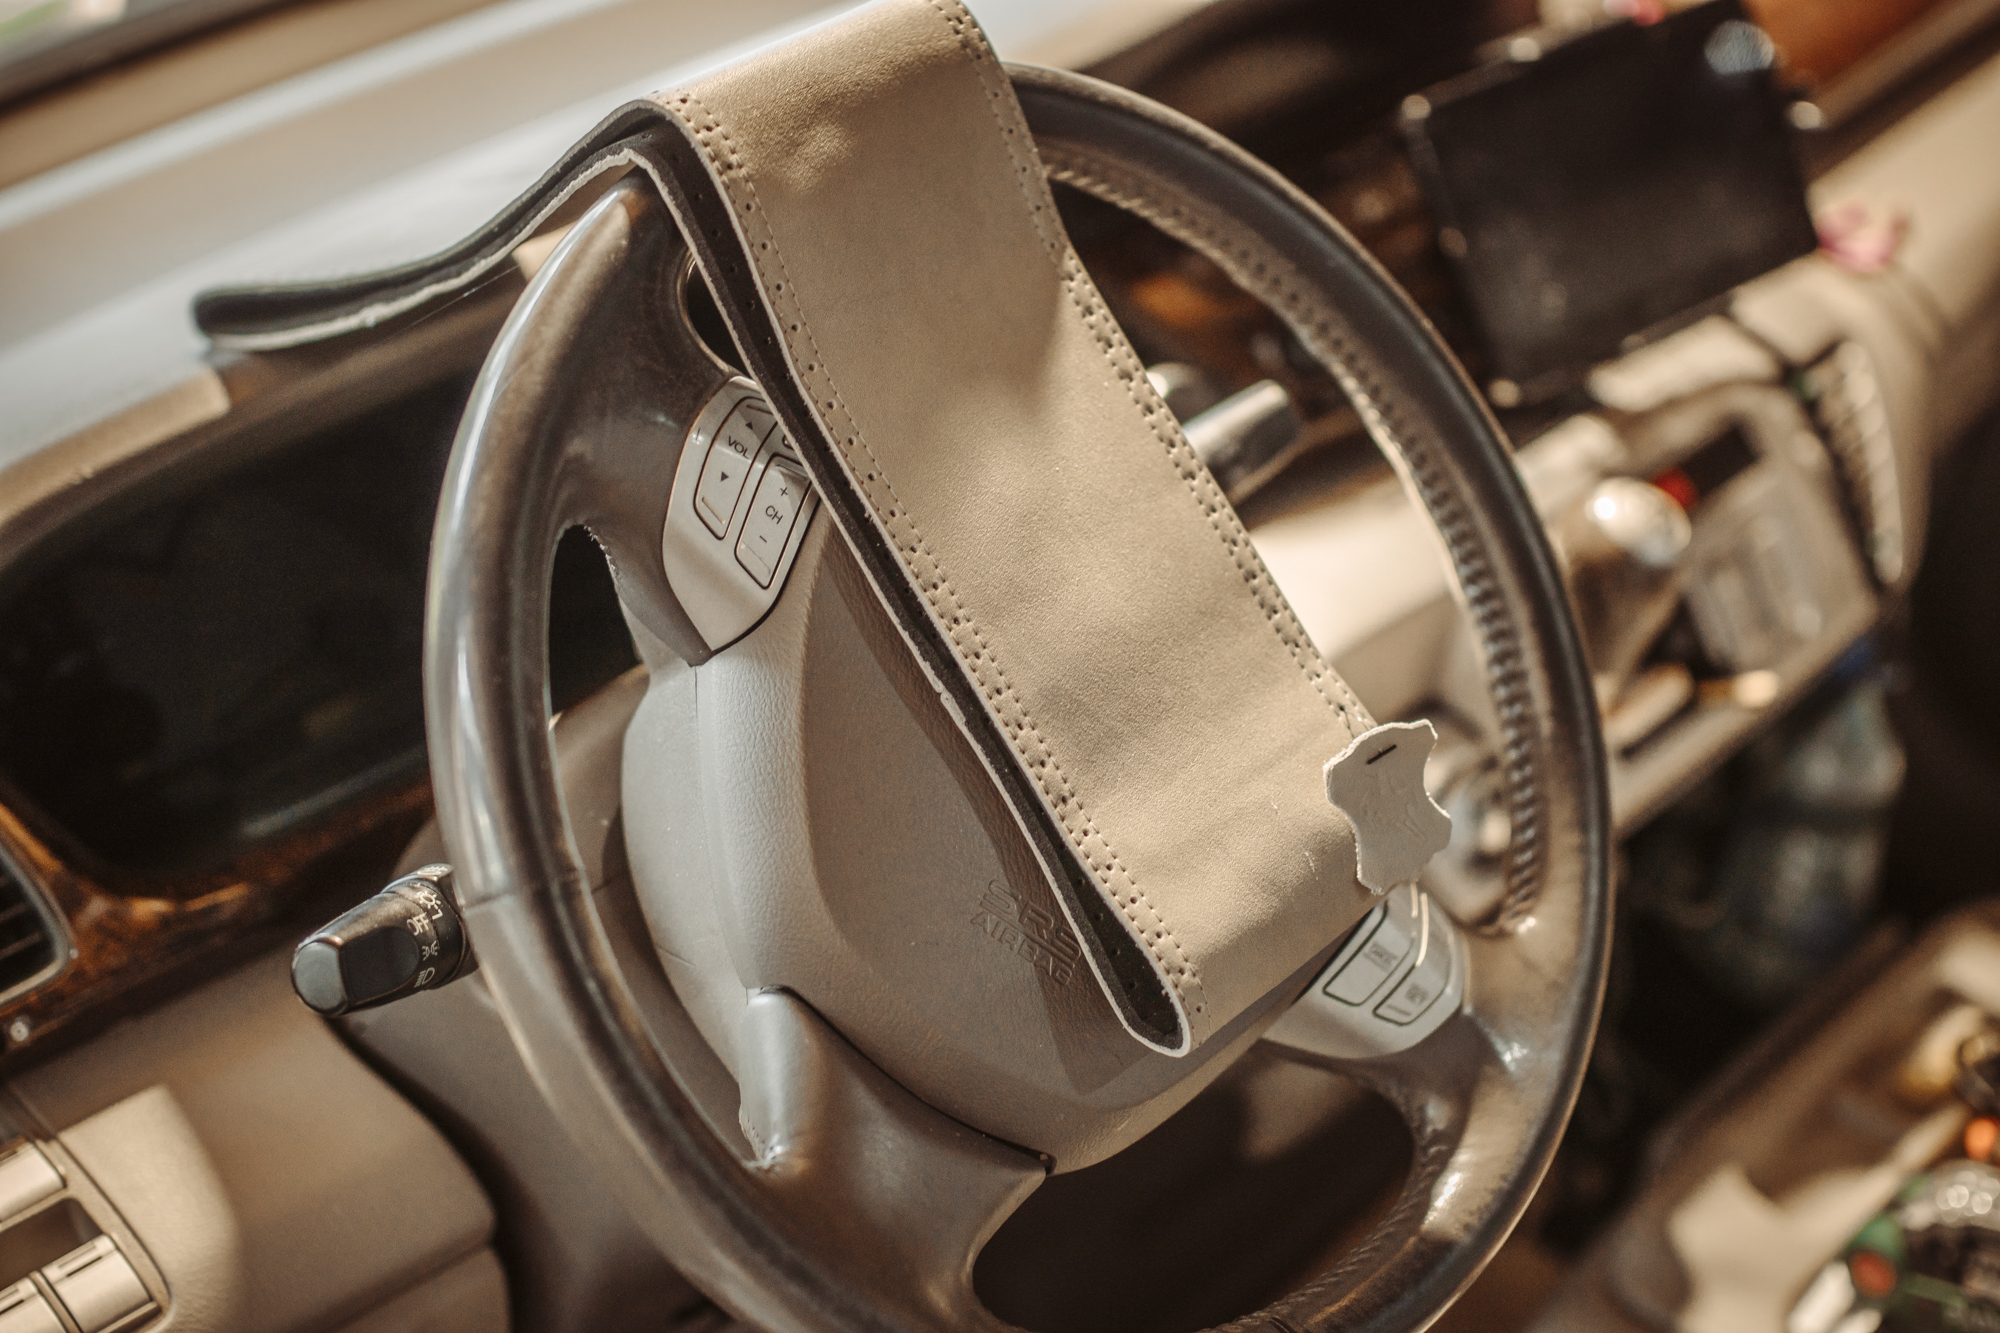
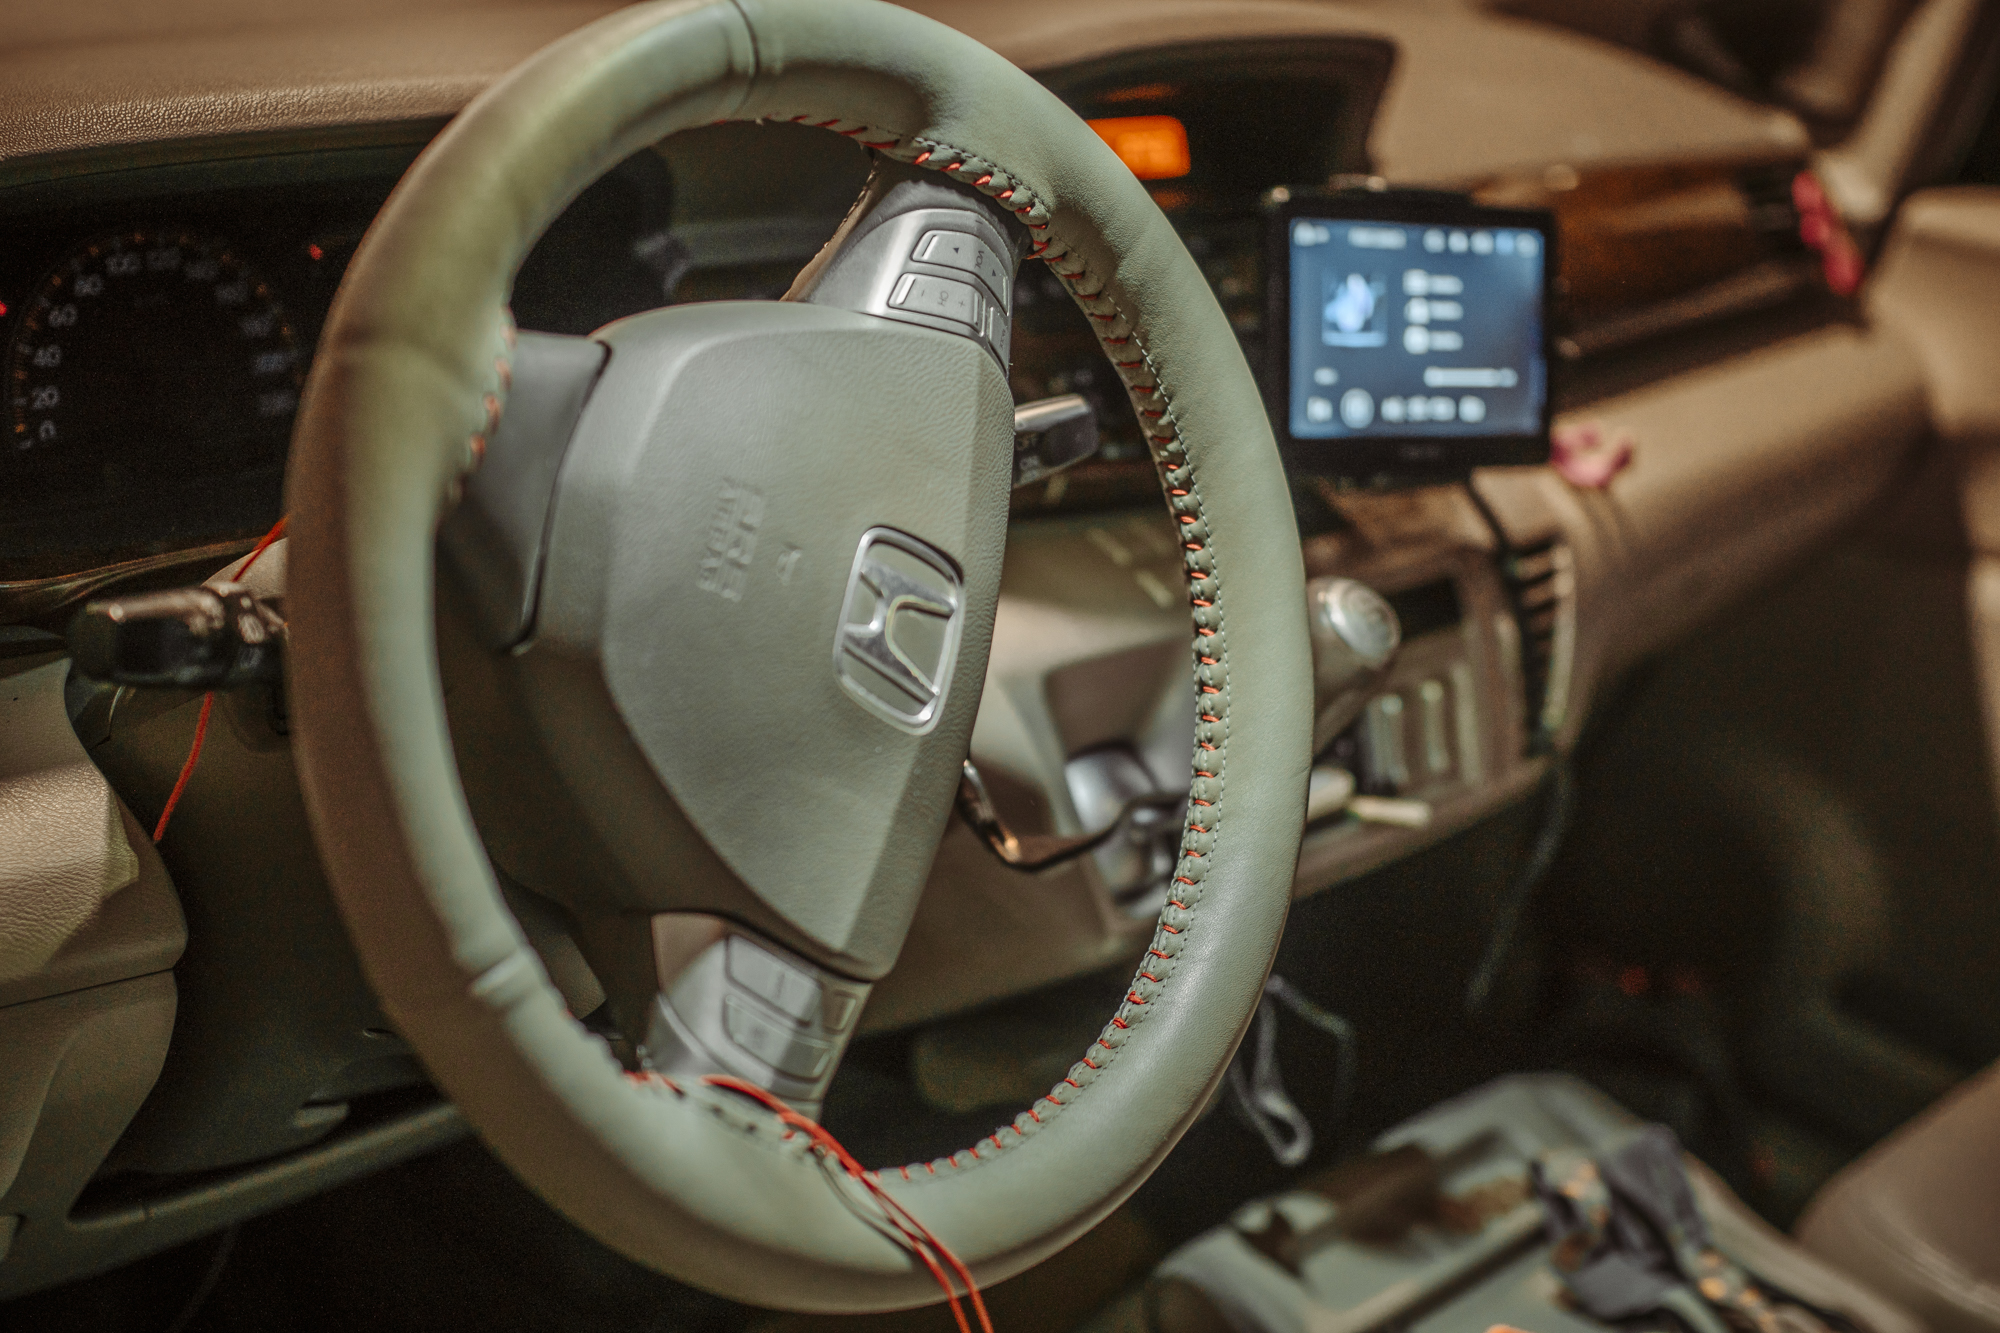
The steering wheel original artificial leather was getting somehow shabby.

I bought the Maria Cavallo genuine leather cover in grey shade with red stitching twine. Originally it came with a grey. White, like on the chairs would be probably better as I find oud later. The wheel is now a bit thicker, bit softer and very pleasant to hold. By no means a professional upholstery but for a fraction of their price plus no need to disassemble the wheel. Took about 2 hours to put on. Now is end of September, I'll see what it does in the hot summer. The Maria Cavallo upholstery products ain´t the cheapest but of very high standard. /costs round 45€/
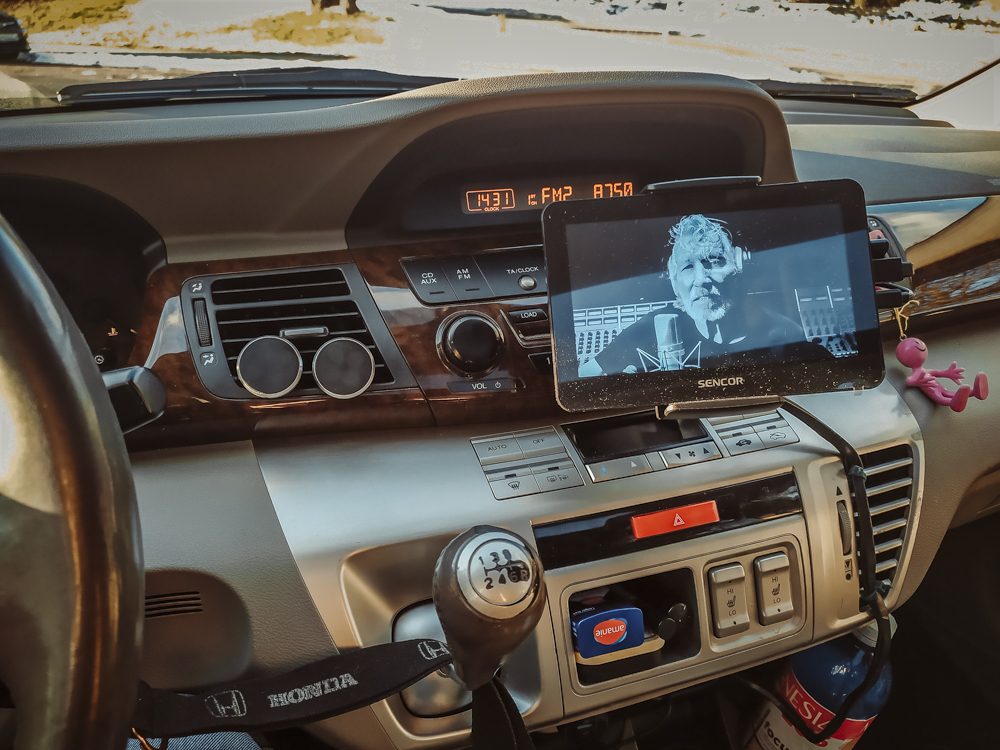
I do like the original FR-V dashboard and I would prefer to keep it that way, but since the CD changer is at the moment /and looks like permanently/ jammed, I decided to add a CarPlay tablet - FM transmitter. By only adding a tablet, I don't have to remove the old stereo, that I still use for listening to the radio. The tablet costed under 100€ which is less than the Honda dashboard adapter needed to accommodate an android radio that is another 400-500€ /talking about a proper stereo not an aliex clone/. So this 8" HD tablet  /I believe by Sencor/ is planted to the CD slot and provides all the apps like sat-nav, media players, all google thingies, plus the reverse cam monitoring and of course hands free calling. Everything what you got in the cell phone. 

Headlamps bulbs replacement @220K 

The headlights on a FRV ain't the best.

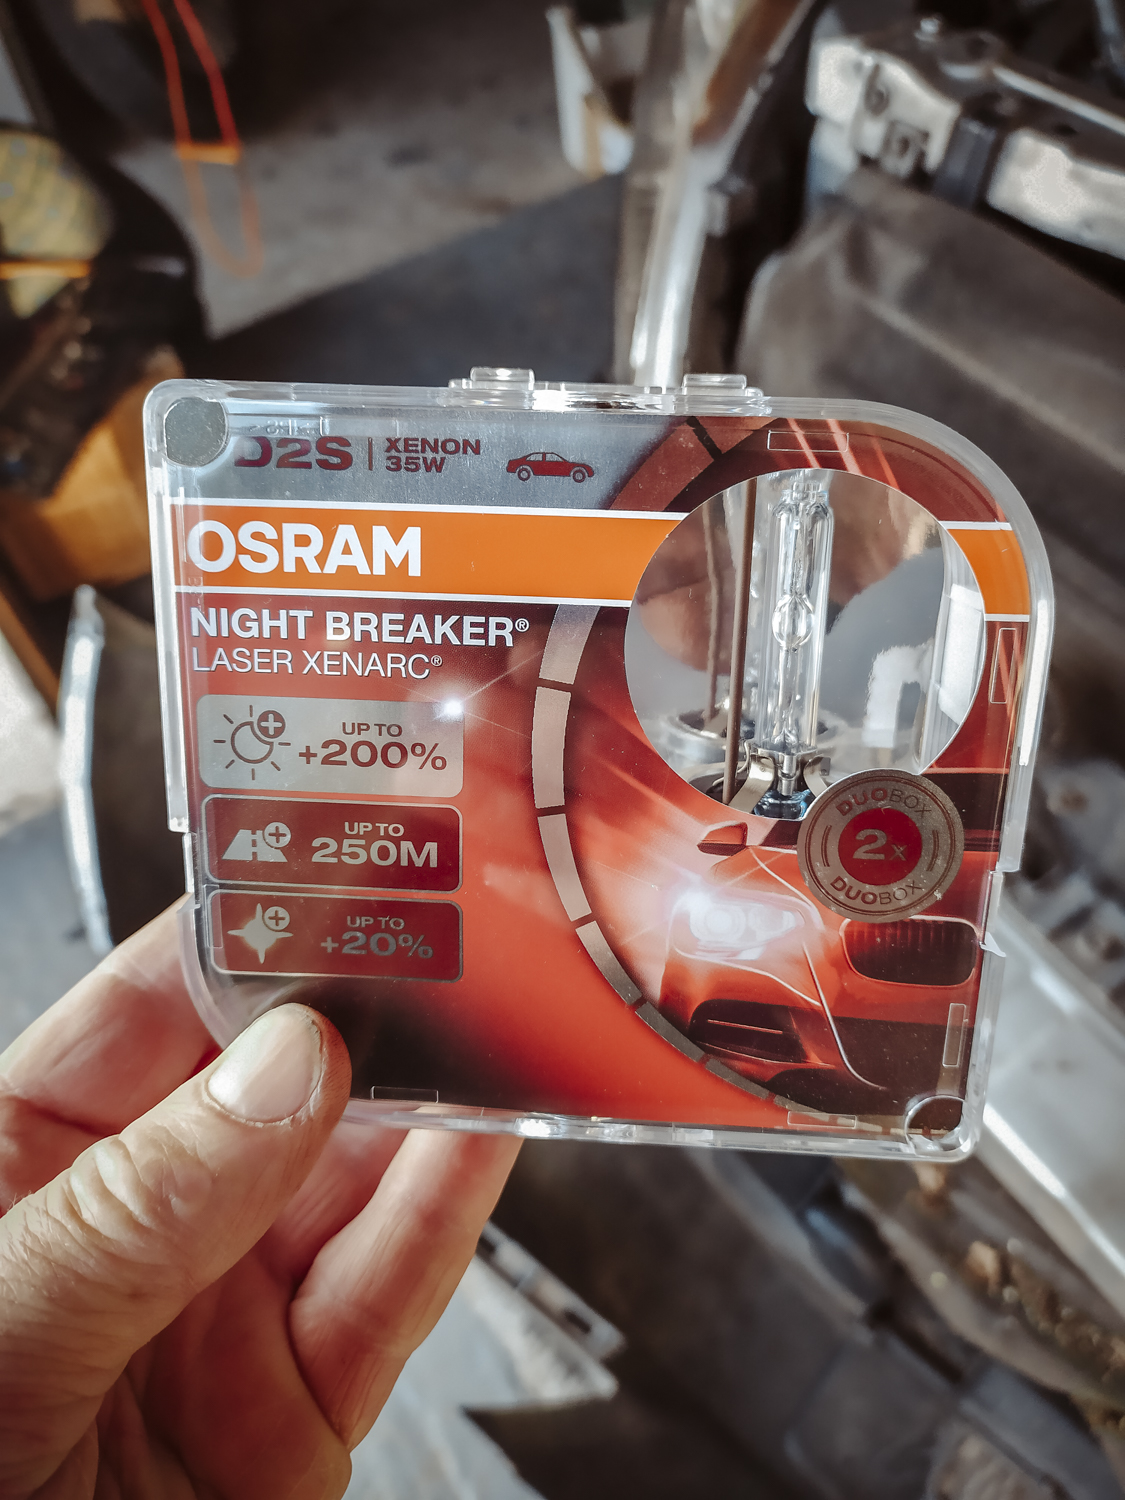
HID /Xenon/ headlights with D2S bulbs are ok-ish, but often due to its age and older technology not very bright. On the other hand, the normal halogen lights are even worse but has got a big advantage - an easy manual up-down positioning. The automatic leveling associated with HID /or LED/ headlights is often a week point of the system. 
Honda FR-V - FRV Garage
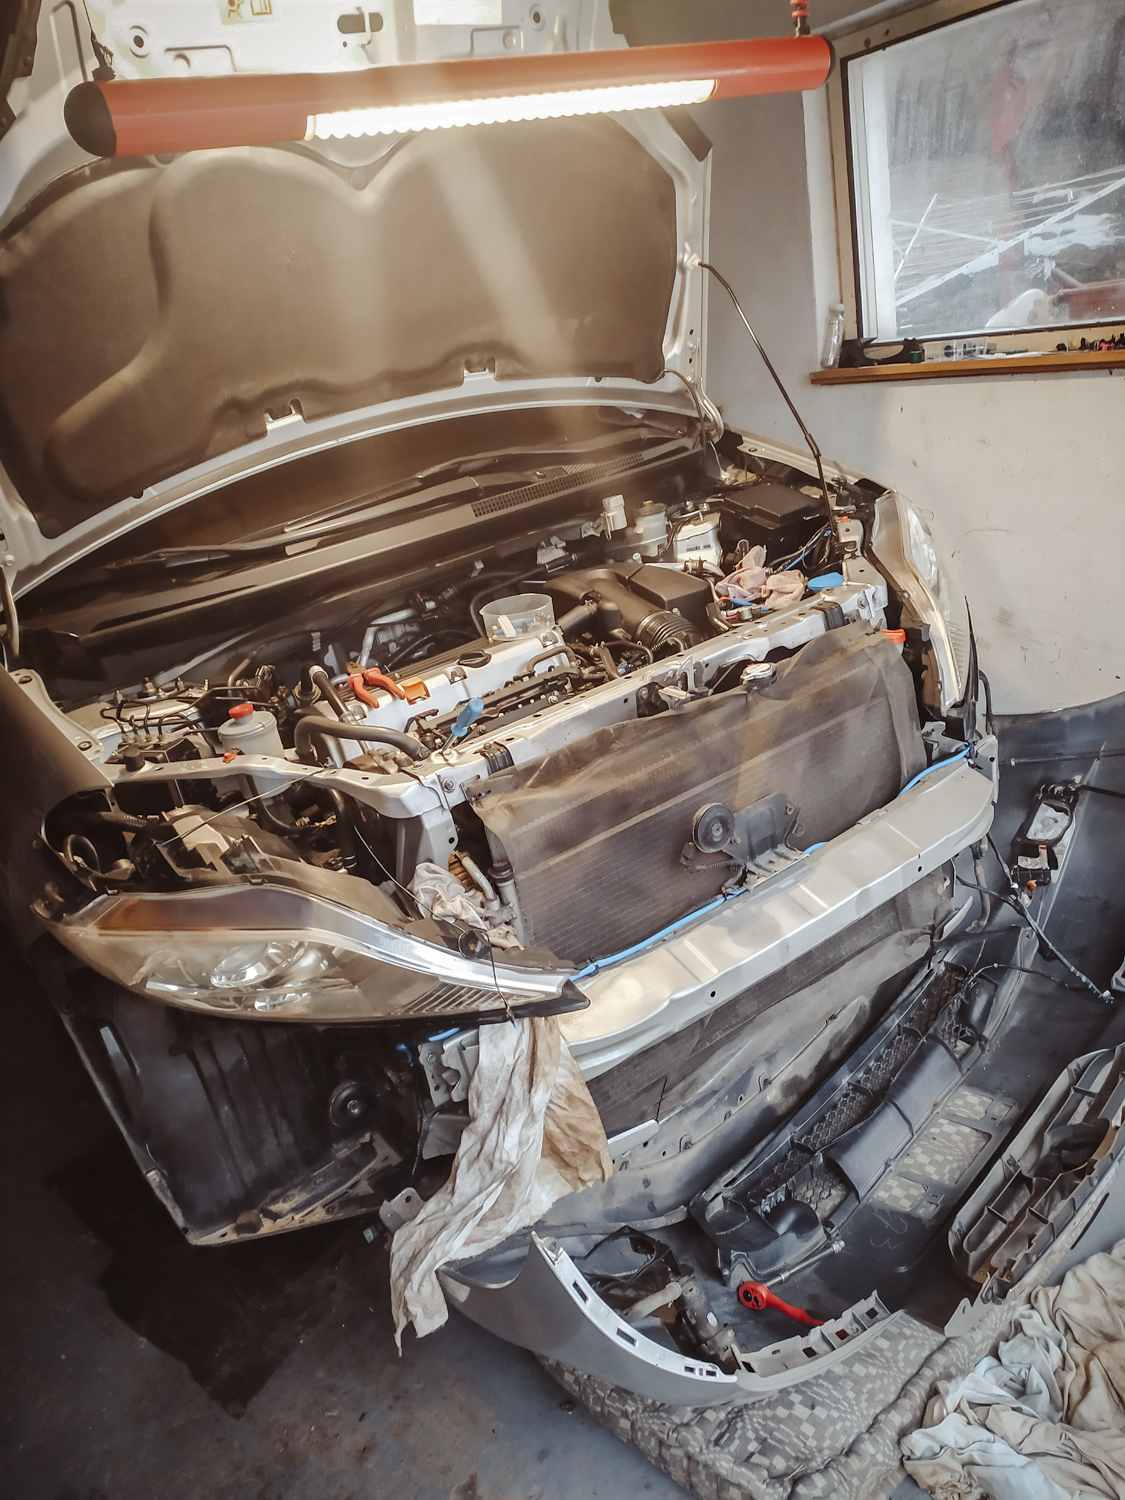
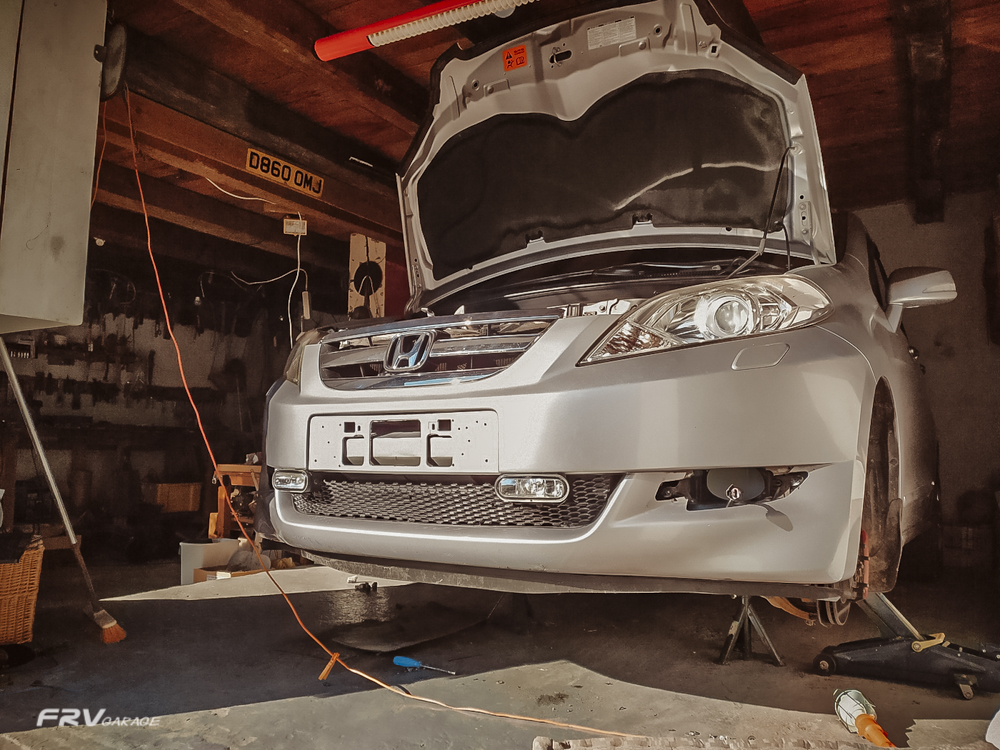
The actual work of D2S bulbs replacing is not difficult but for me was time consuming, because I decided to take the bumper off, but somebody with very skiny, small hands and lot of patience could manage without it. First of all I had to say there was nothing wrong with mine units or the bulbs, they just weren't bright enough, especially the passing lights.
This bulbs replacement has partially improved that. I have bought I believe the strongest, legal D2S bulbs that were on the market in 2019 /pair round 100€/.
So the first step was to take down the front bumper, but as mentioned it was my way of doing it.
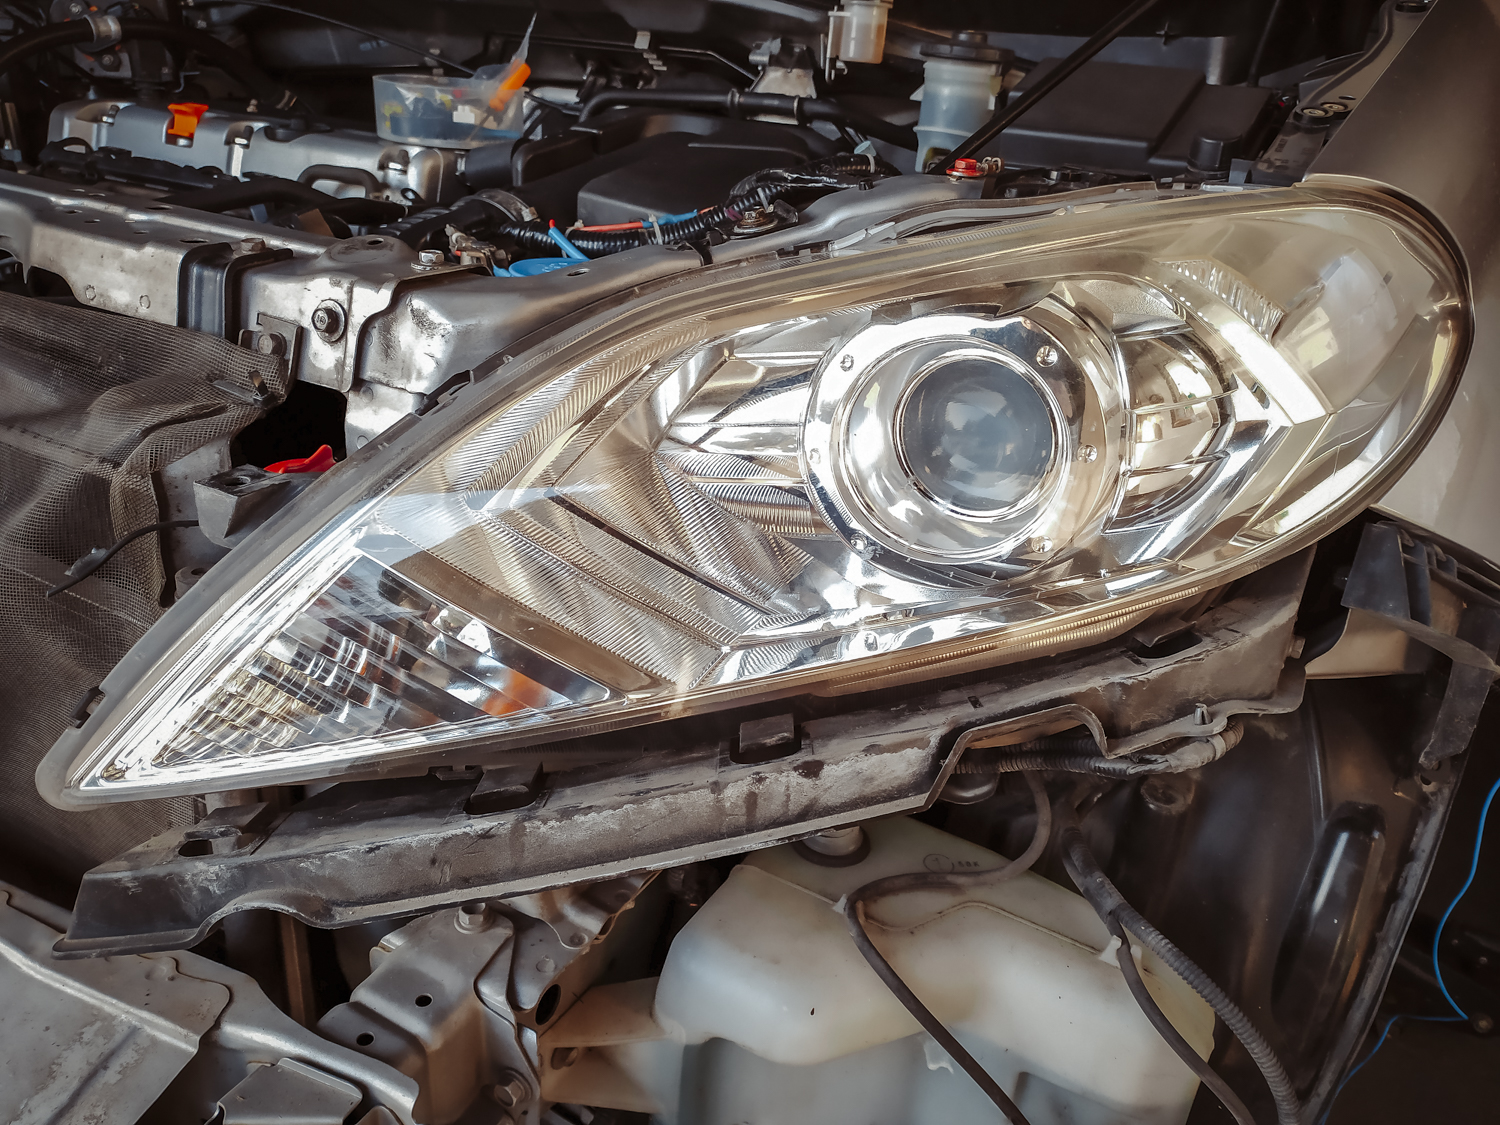
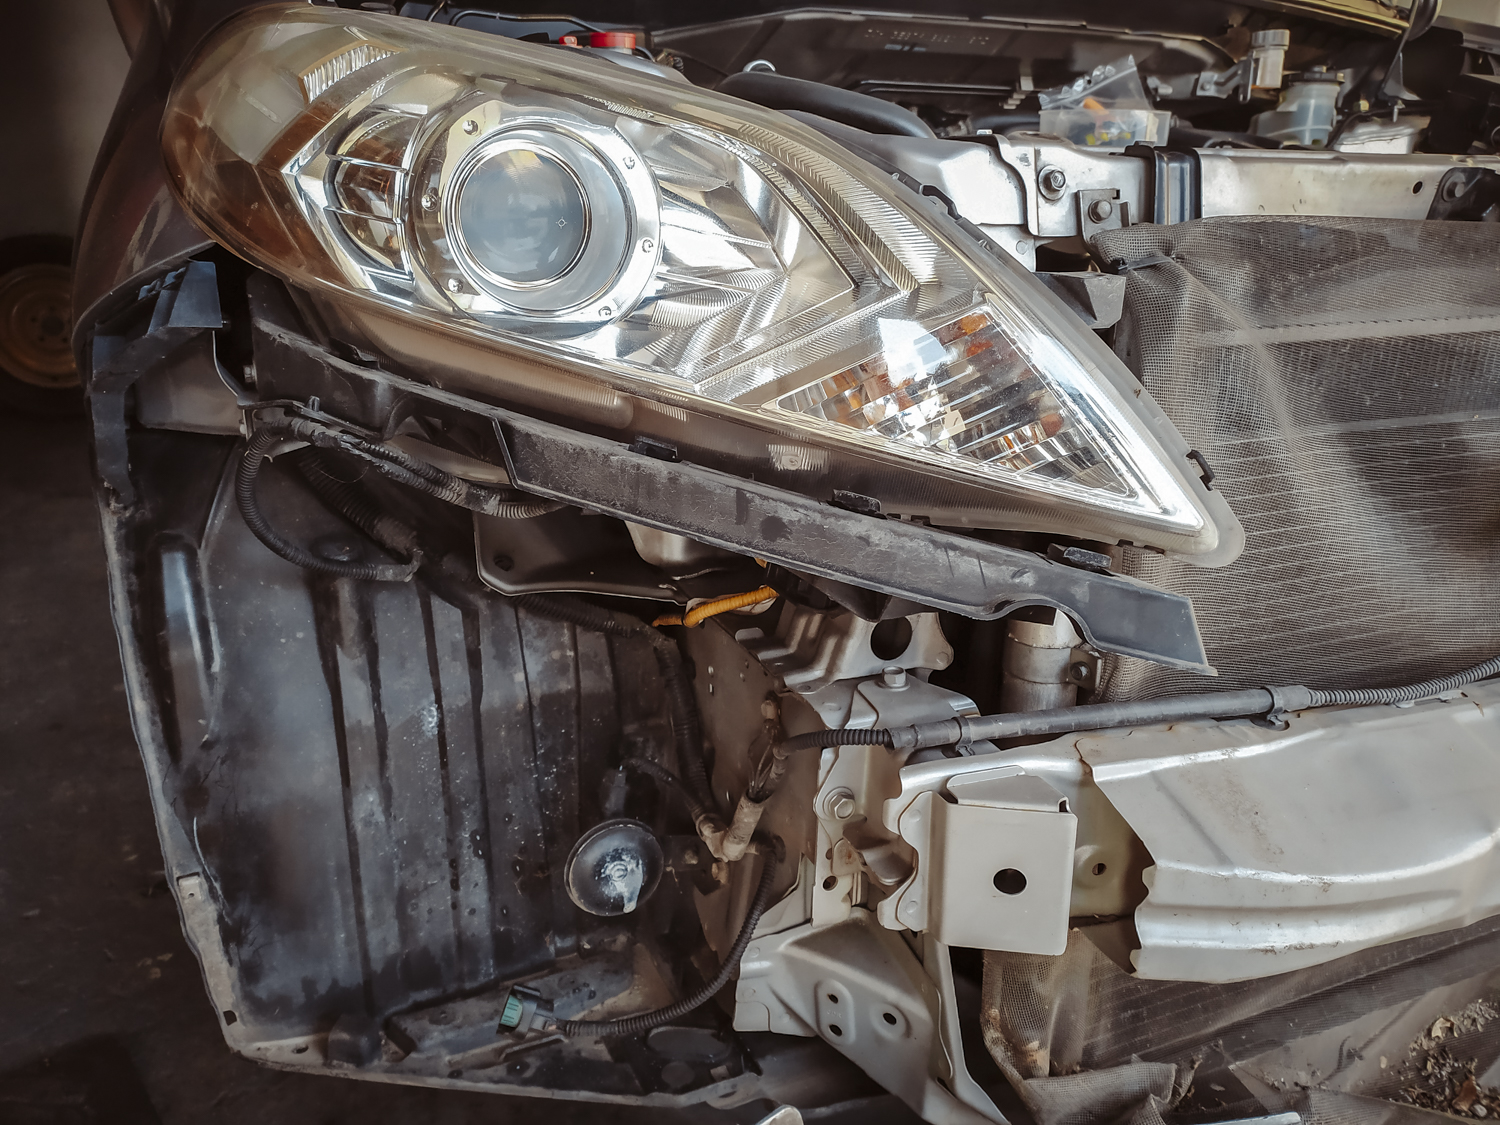
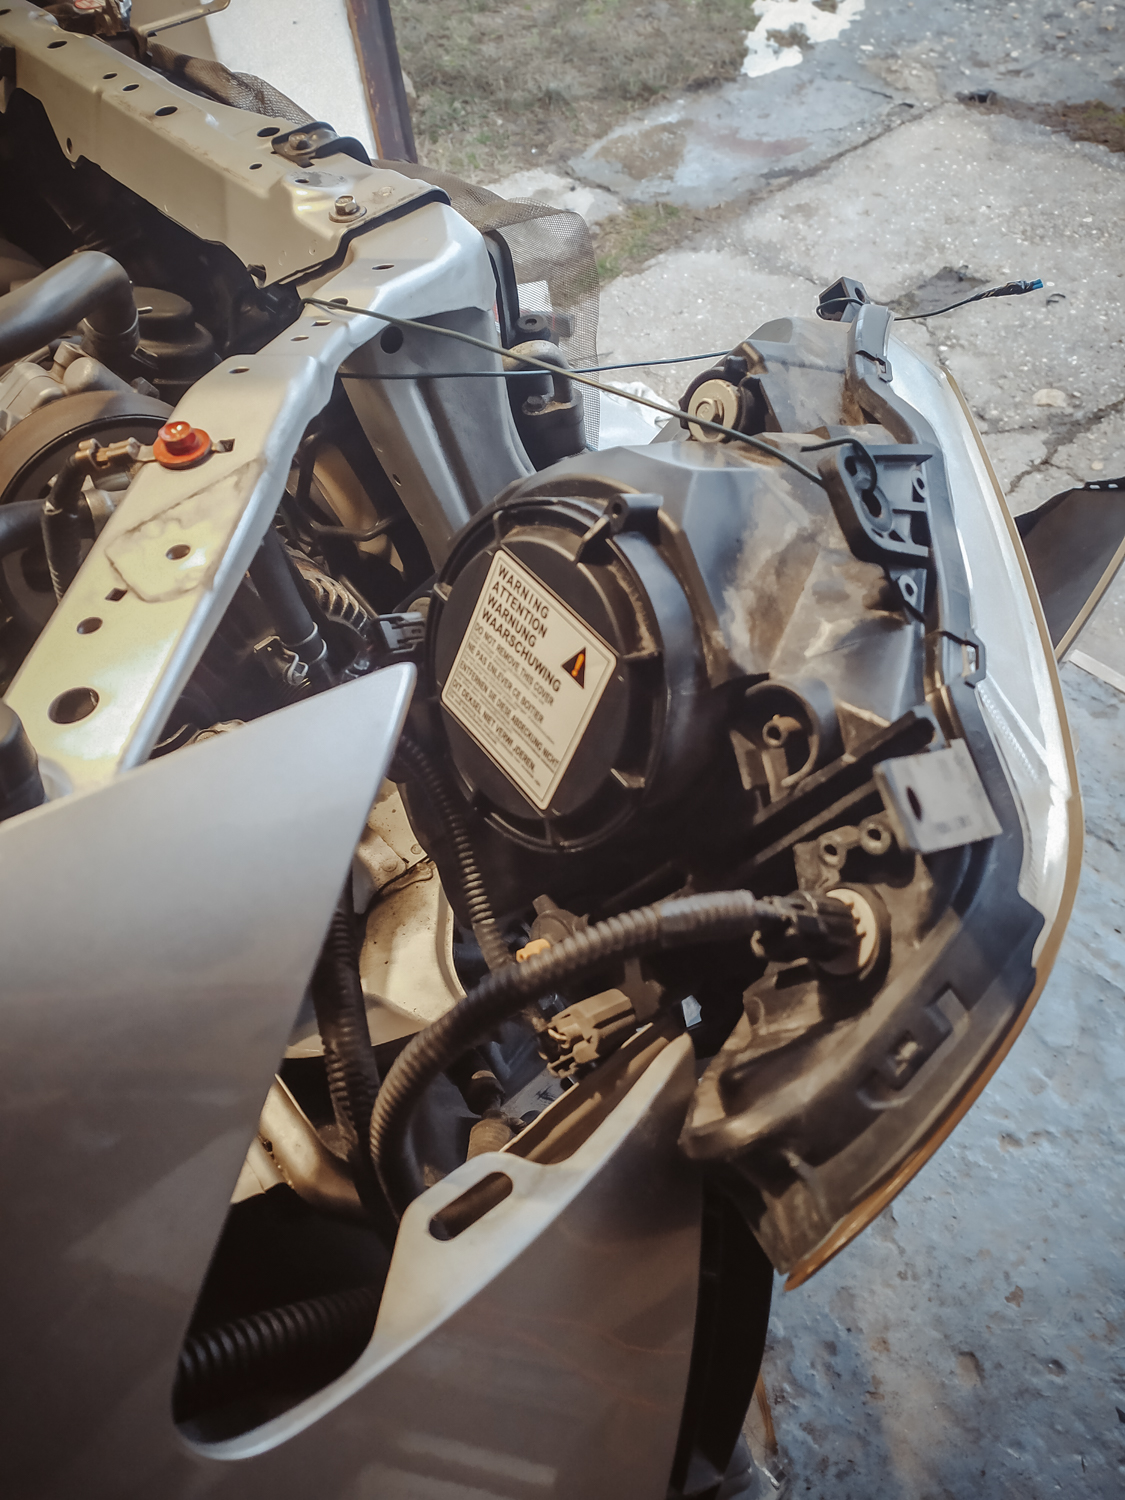
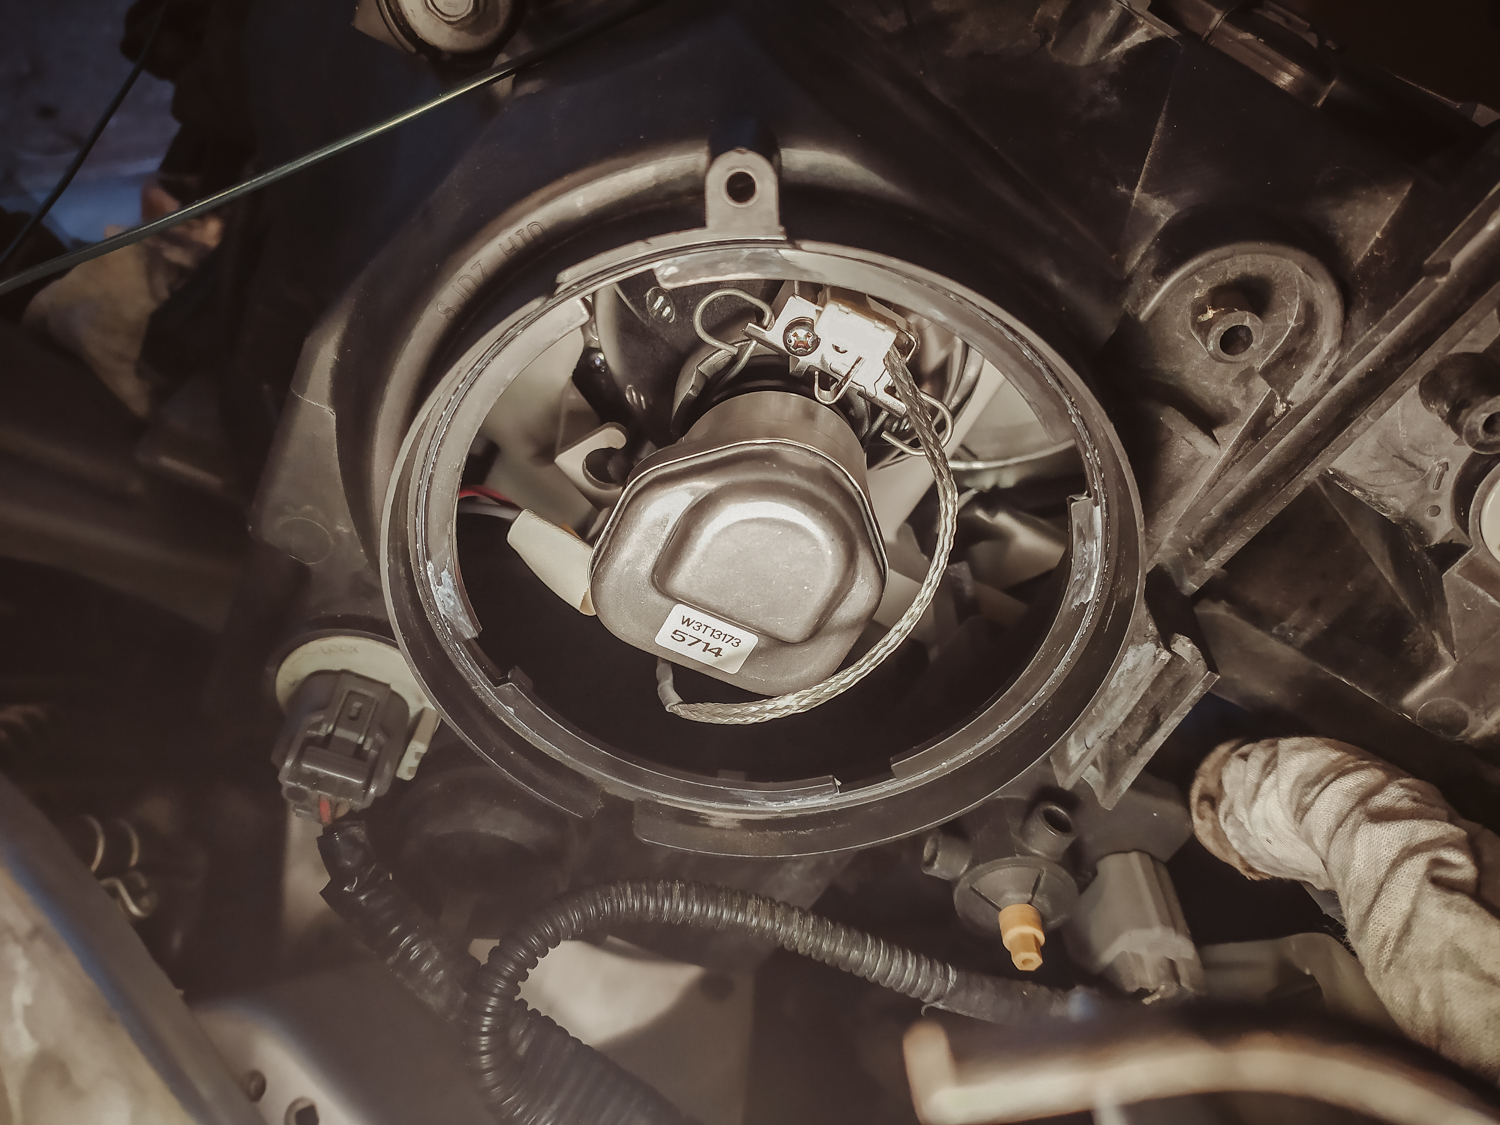
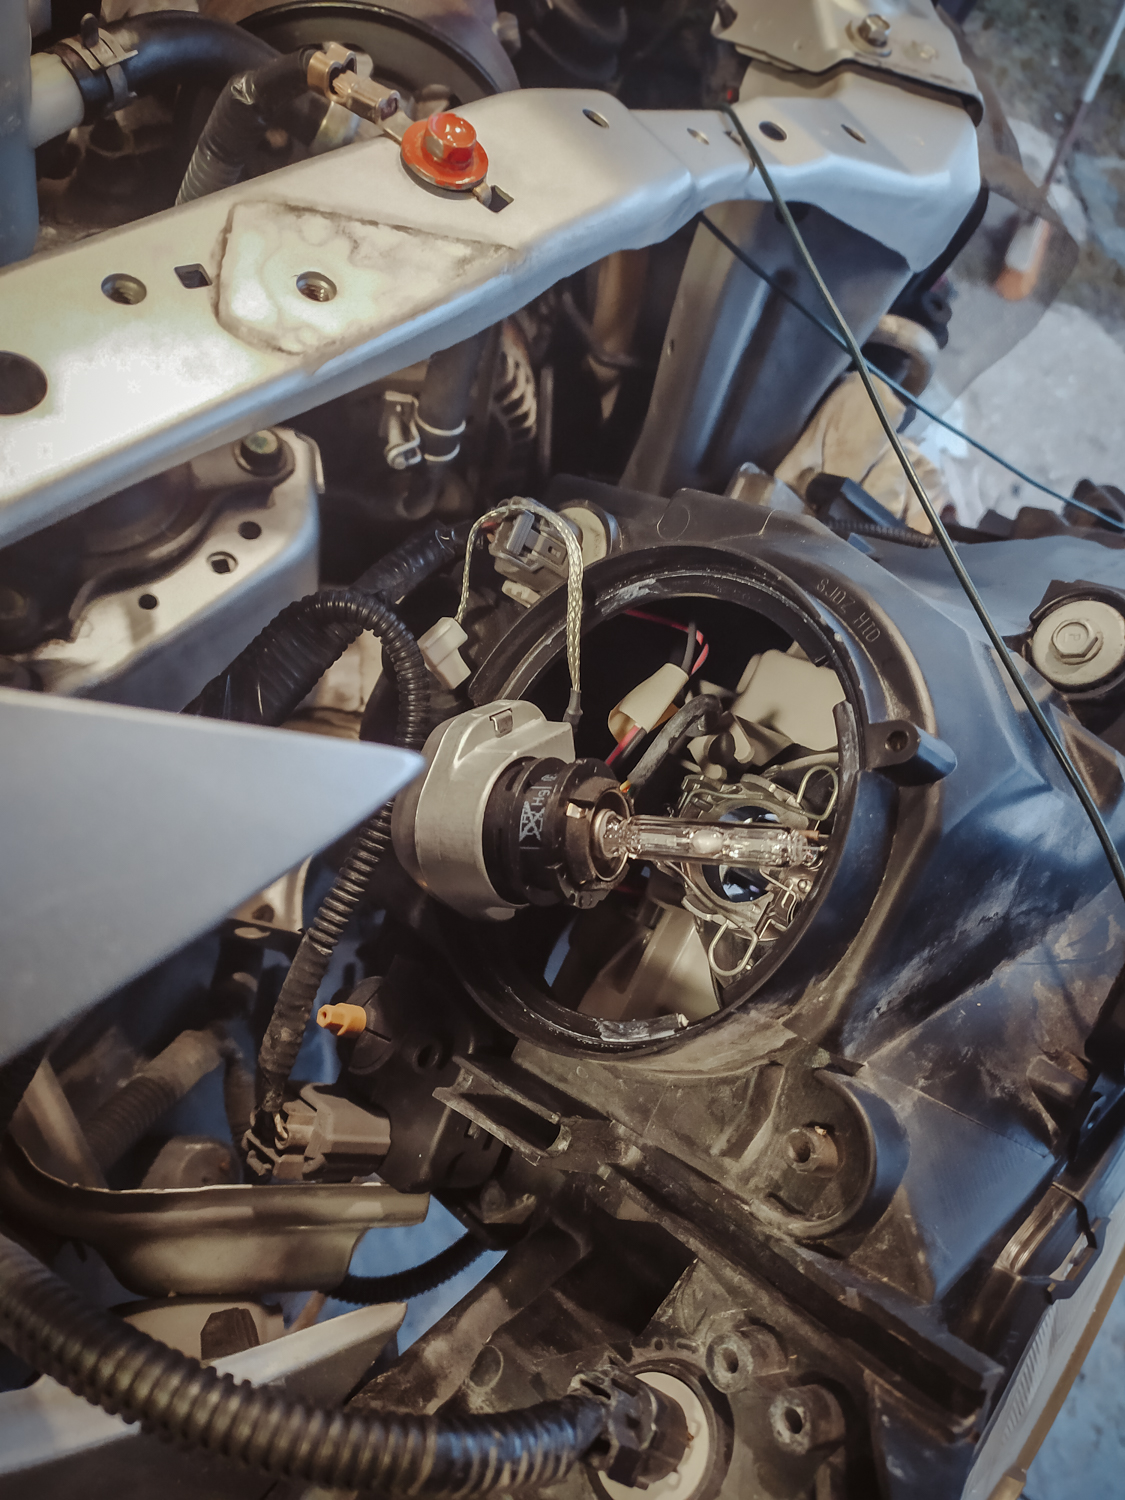
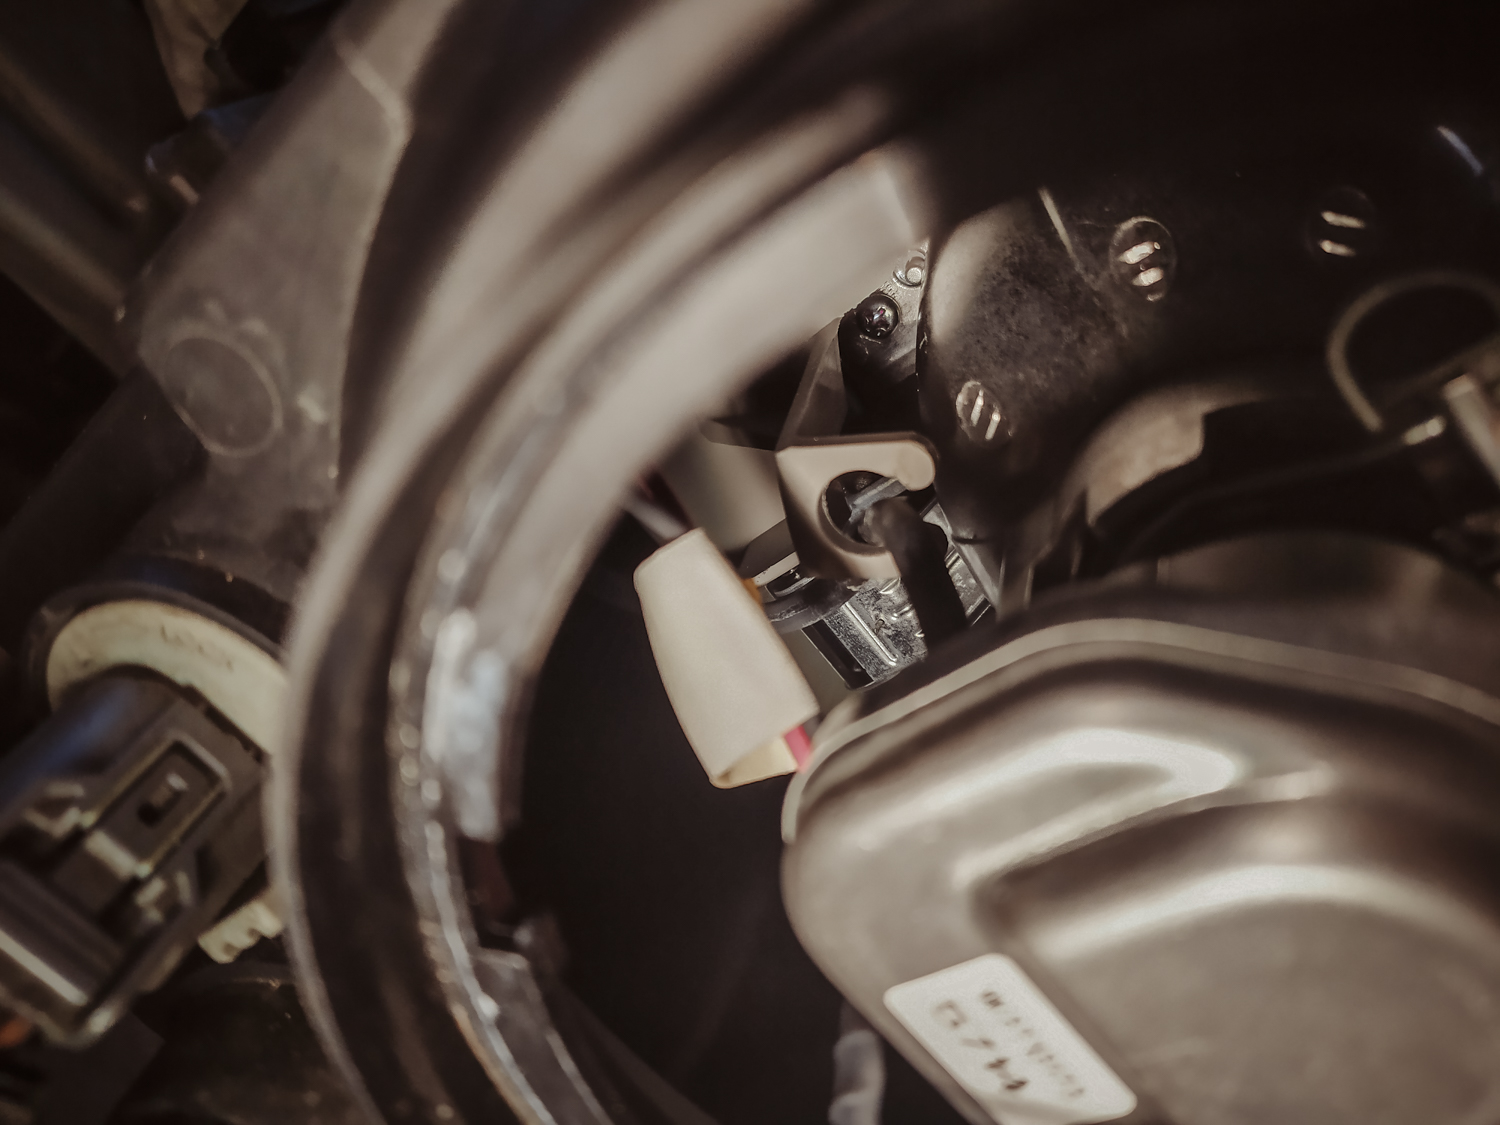
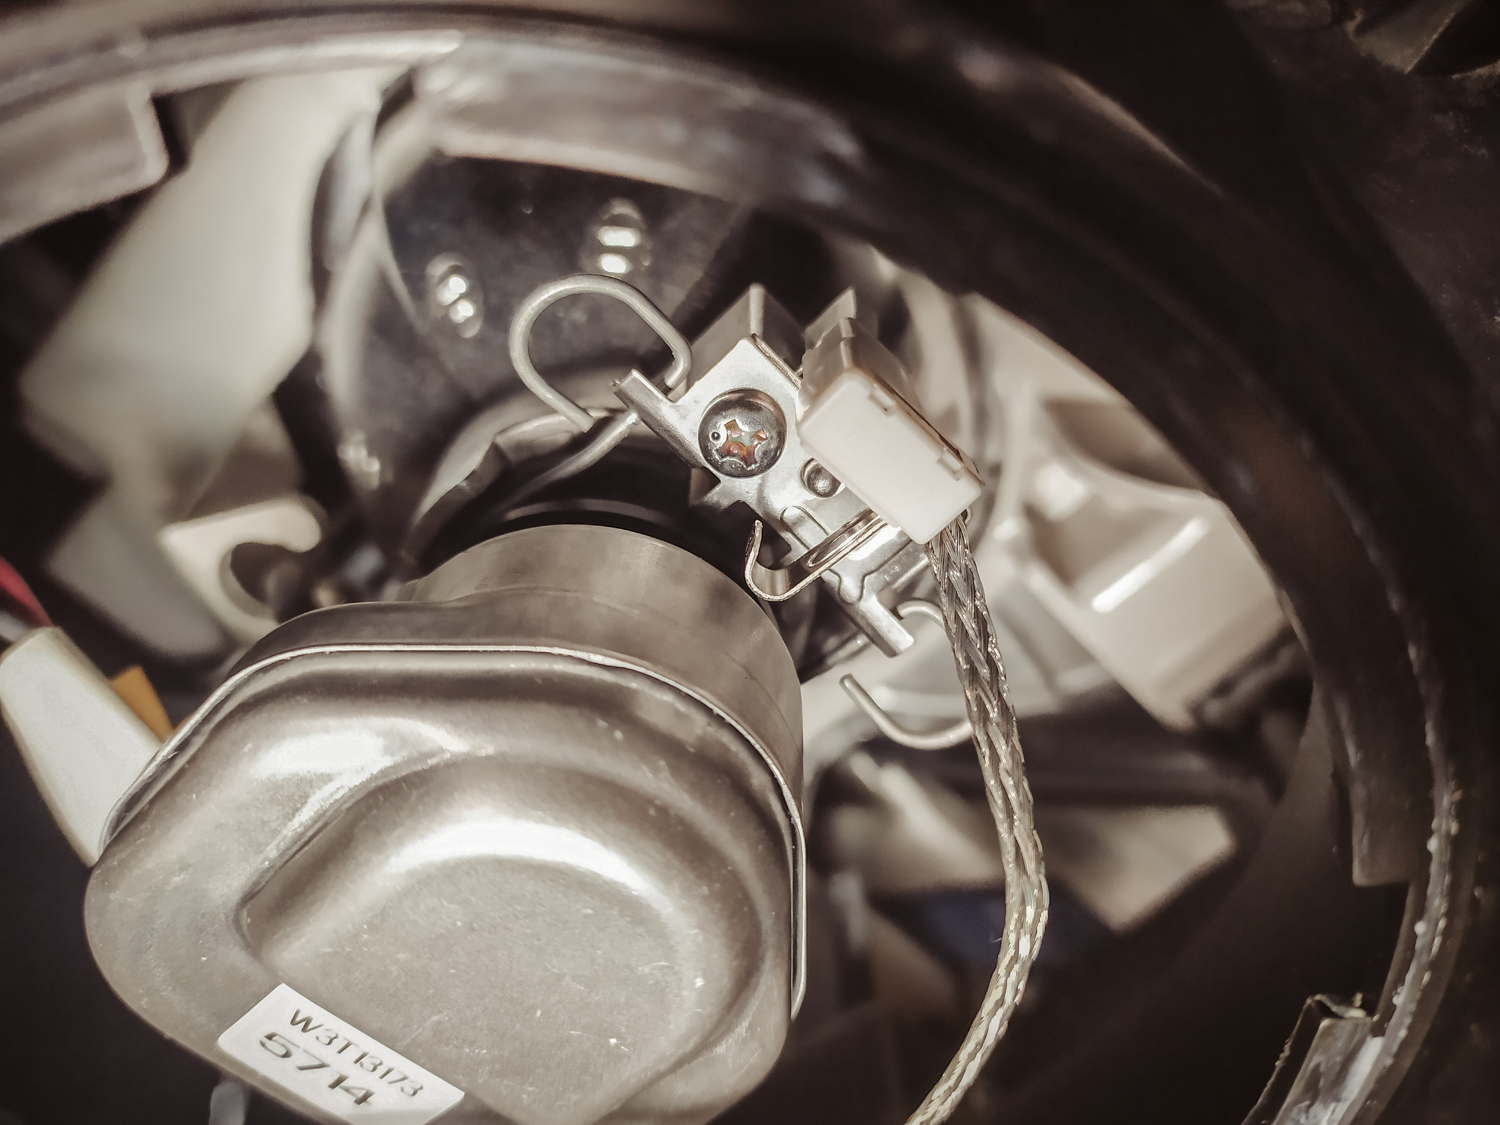
The lamps are held by four 10 mm bolts and the bulbs sockets are under screw-type lids secured by springy clamps /scroll the pictures/. They are also connected to the ignition boxes so the cable got to be unplugged first. Then the sockets with bulbs will be free to pull out after a half turn anticlockwise and the bulb can be changed. To put all back took me about 2-3 hours. 
After the HID bulbs replacement, the lights are definitely better but I had hoped for a superior performance. 

Perhaps LED conversion is the way to go. 
back

Fuel filter and pump check @210K

Honda K20a engine fuel filter service was about 2 hour job in my DIY conditions  / same or similar for other petrol Hondas - Accords, CRVs.../ The part no is 17708 SJF 003, I think I paid about 45€, of course for that price it came without the pump /another 70-100€/ so I needed to use the old one, that was anyway fit as fiddle. I also used the old O-rings, the top white part, the rubber seal and the big black nut.
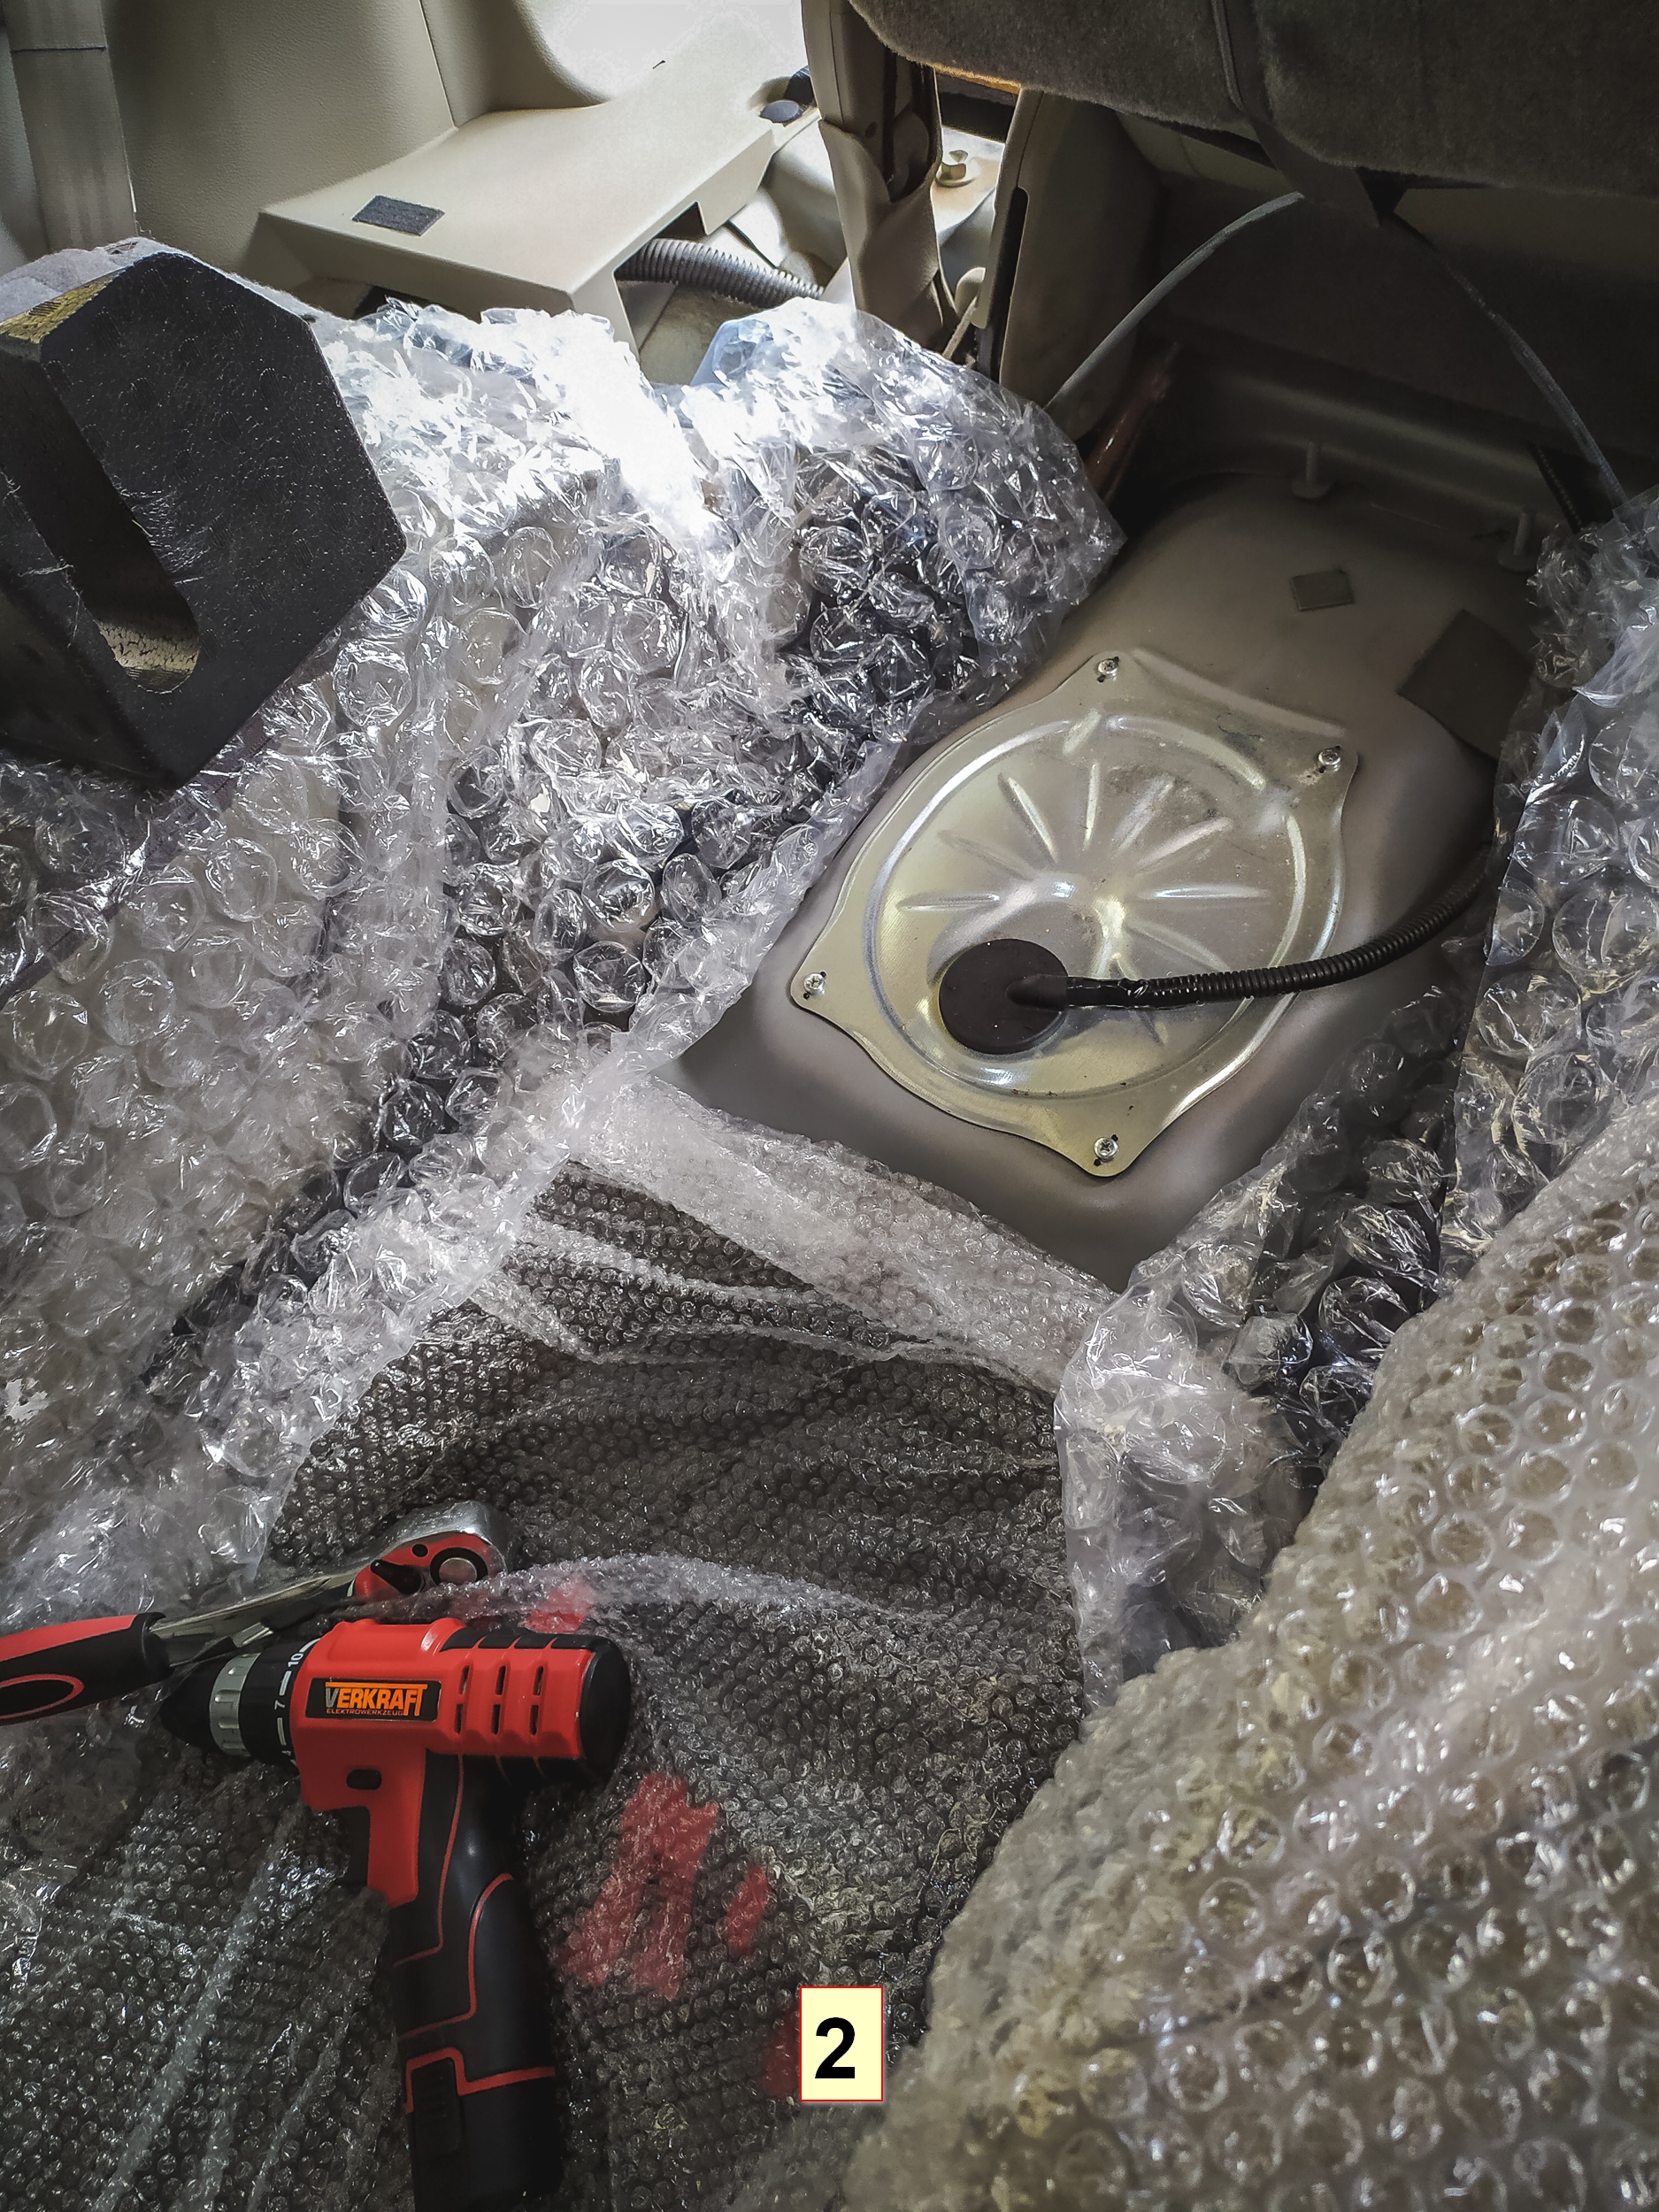
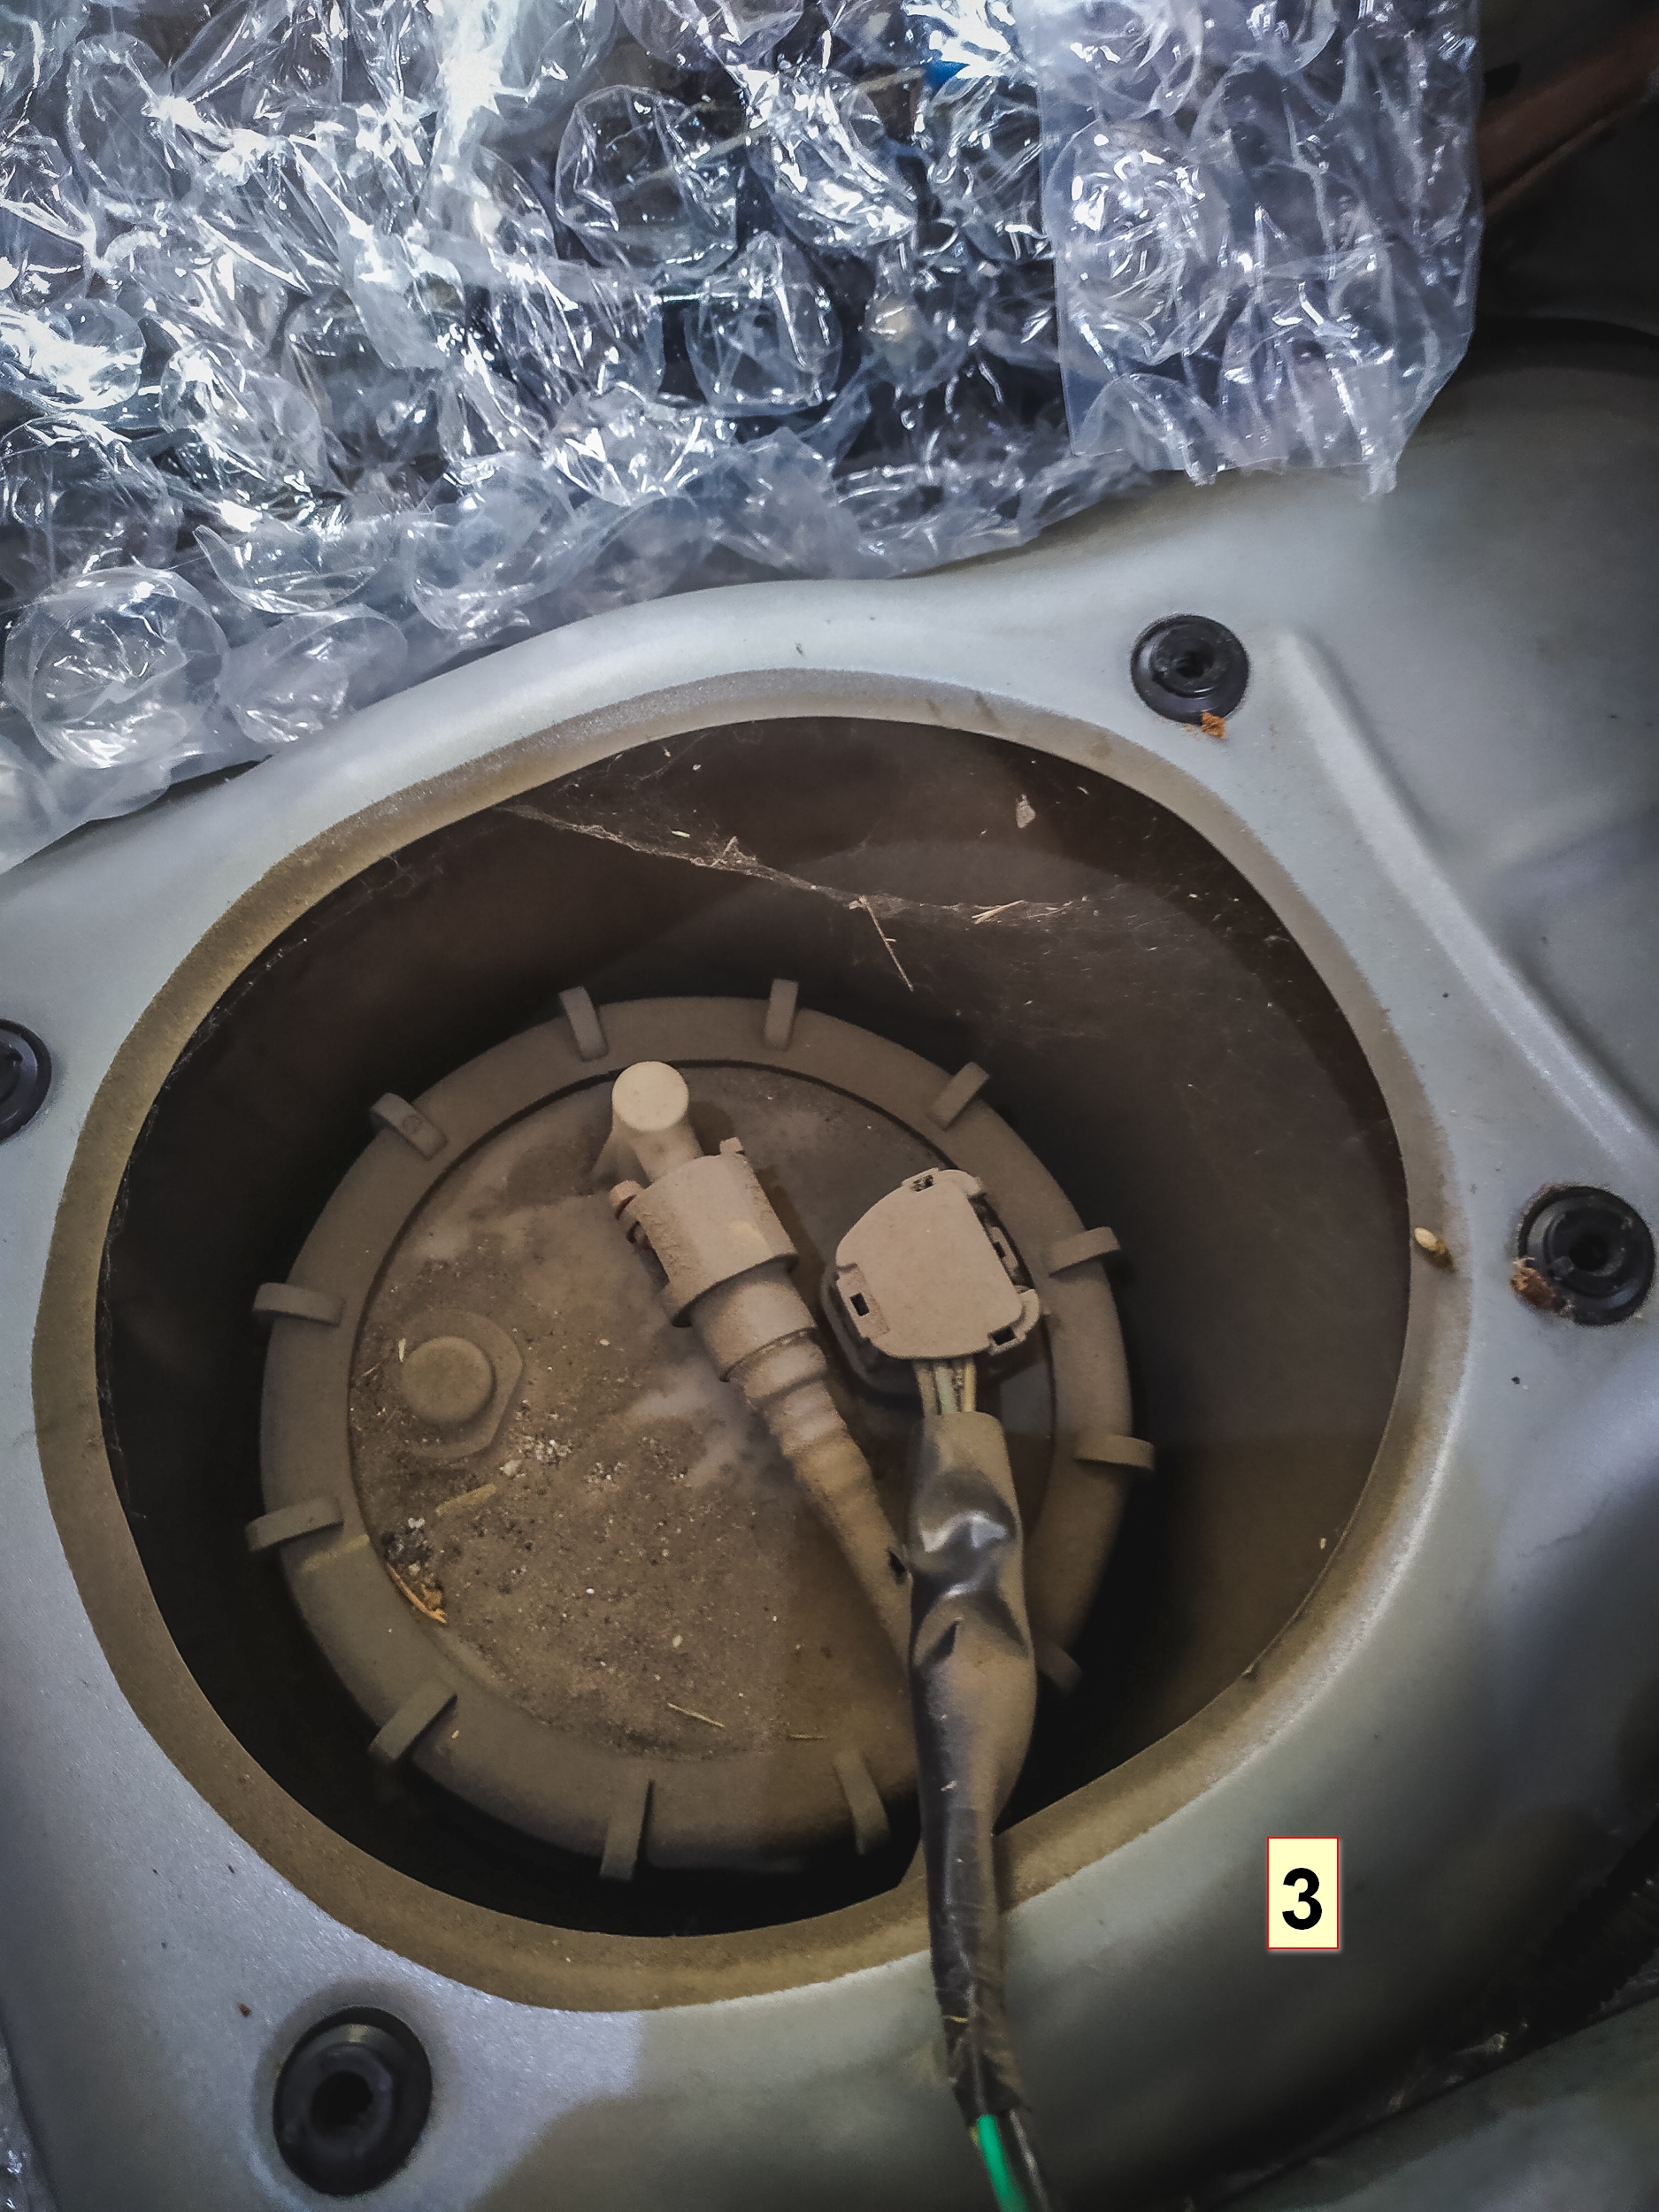
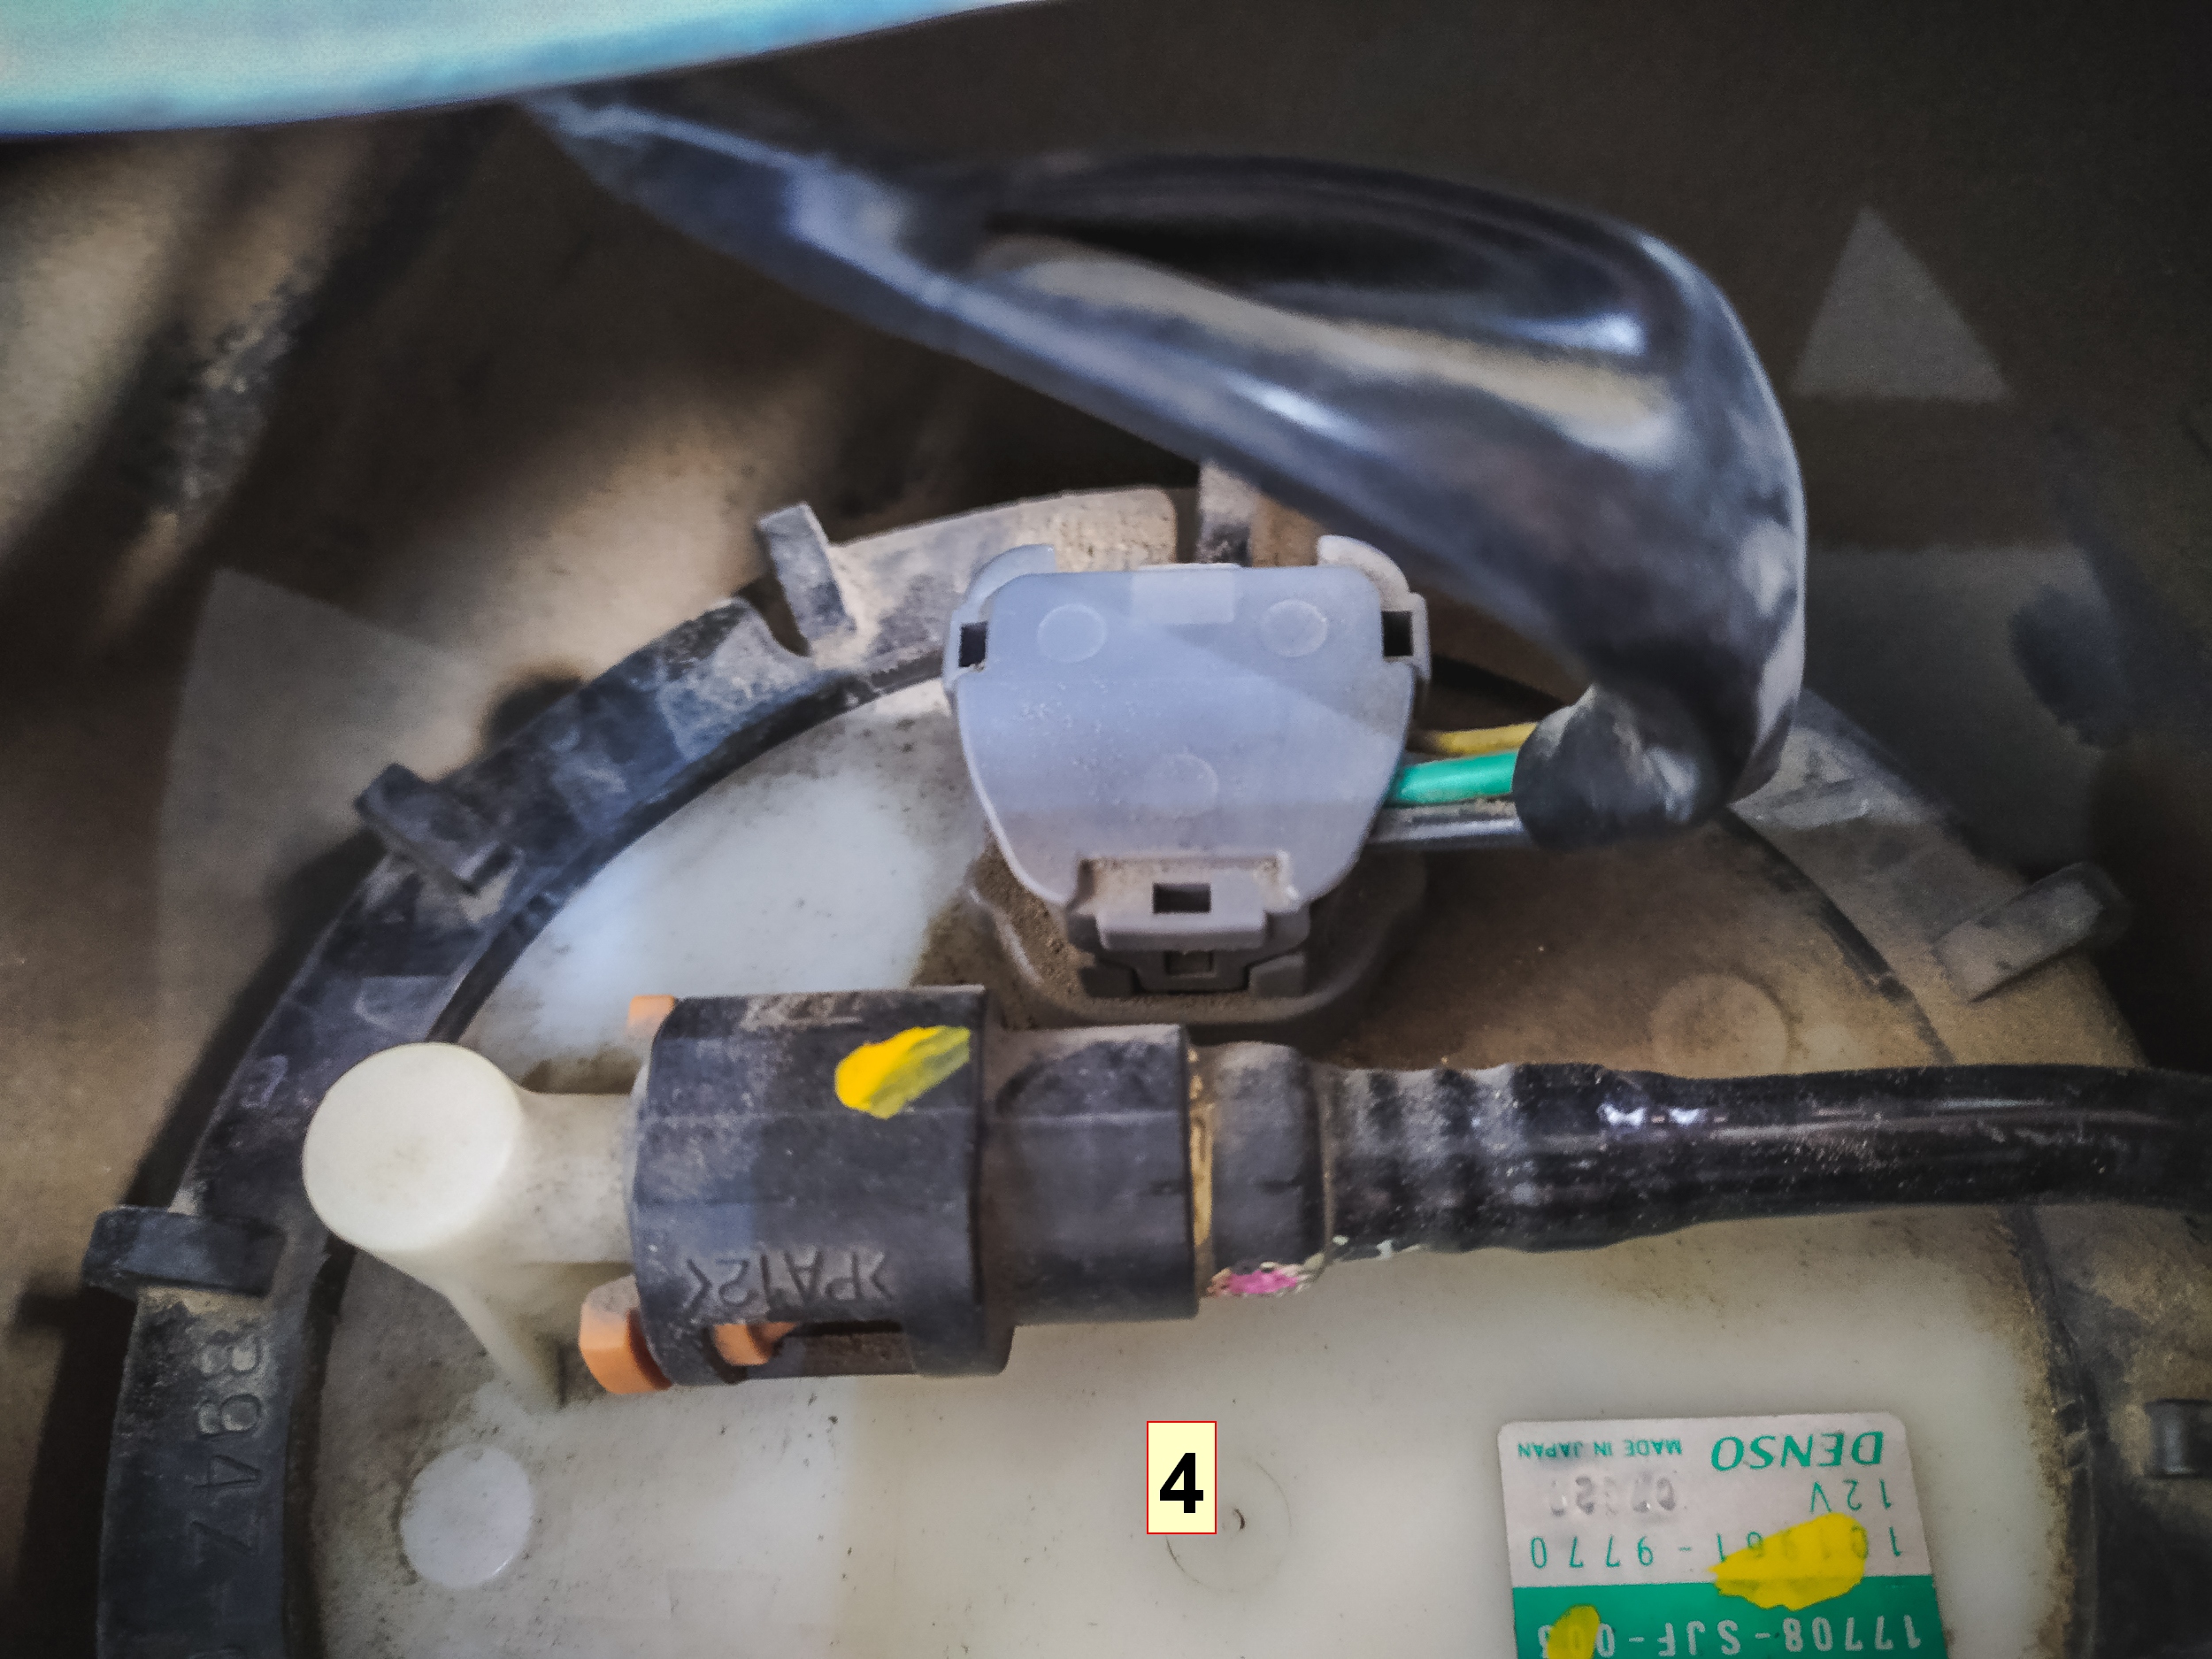
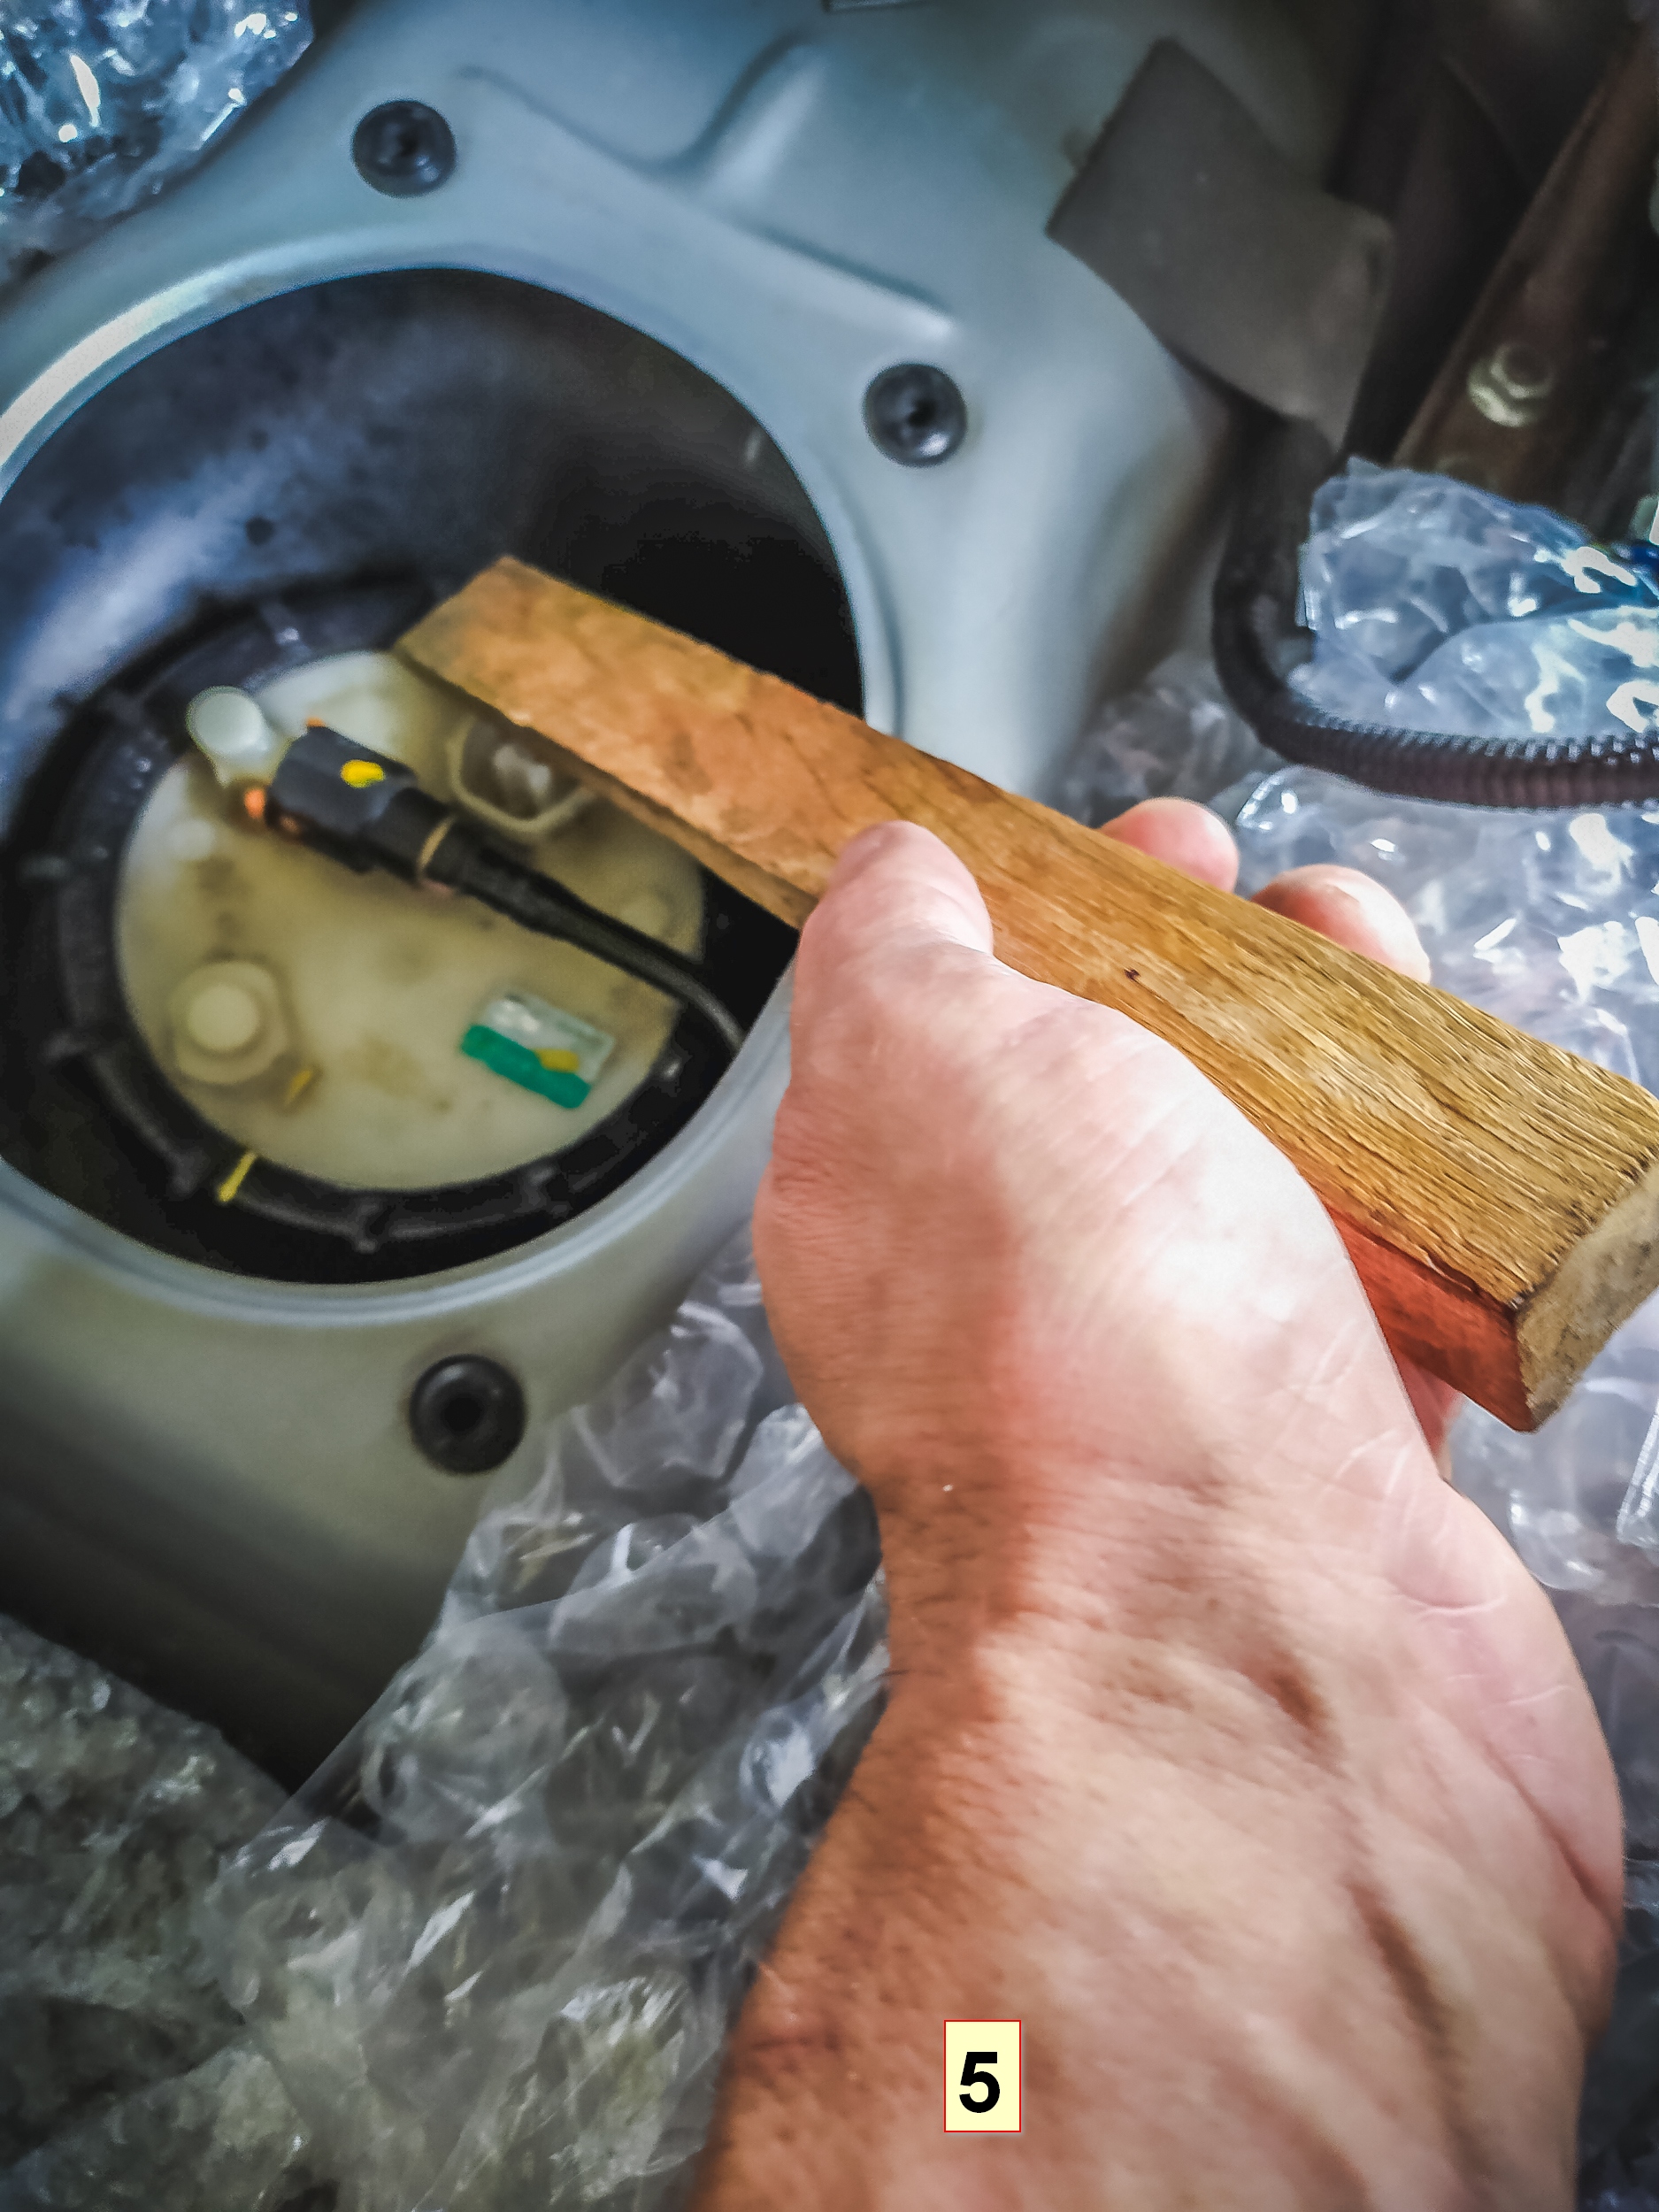
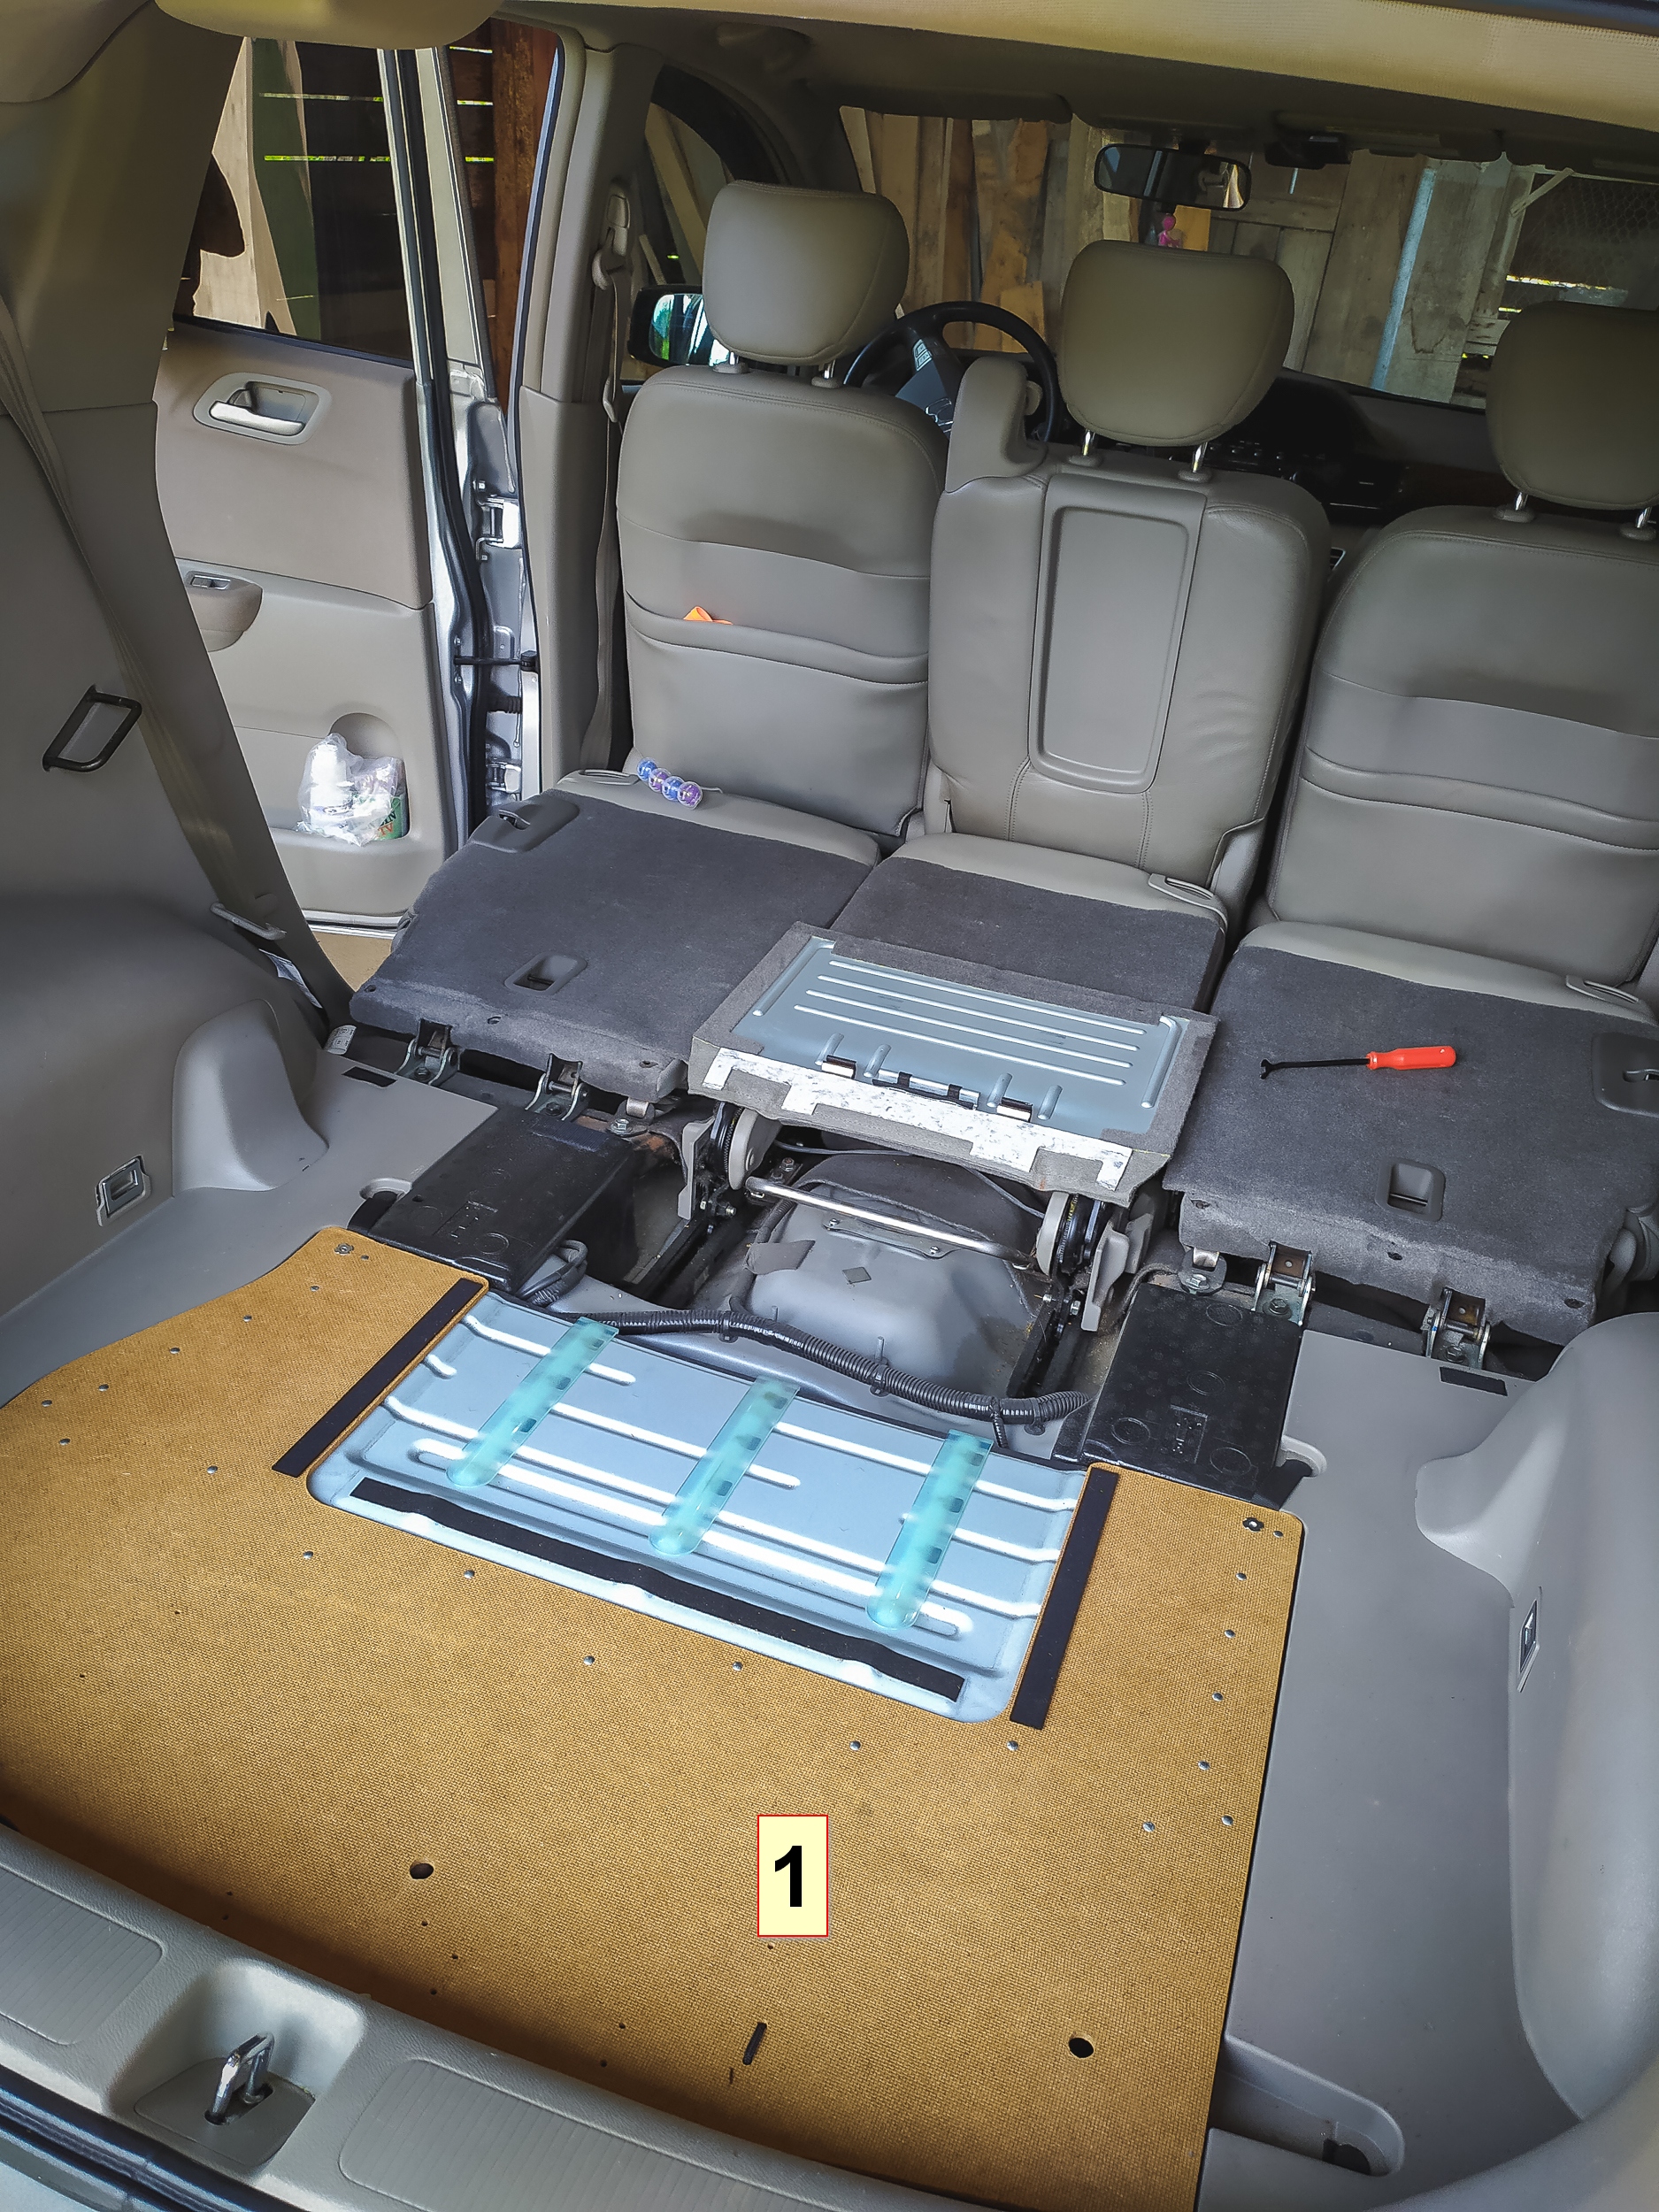
The filter is located under the rear middle seat. Use something to protect the interior in case of spillages and take off the lid. Pics 1-3. Mine filter never been done yet  /210K Km on the clock at the time of doing this/  According to some Japanese sources service interval is 60-70K Km. Disconnect the battery, than the fuel gauge connector, and fuel line - pic 4. Honda has got a special tool for undoing the top nut so do I - a piece of wood and a hammer - take a note of the yellow marks, you have to put it back exactly that way.
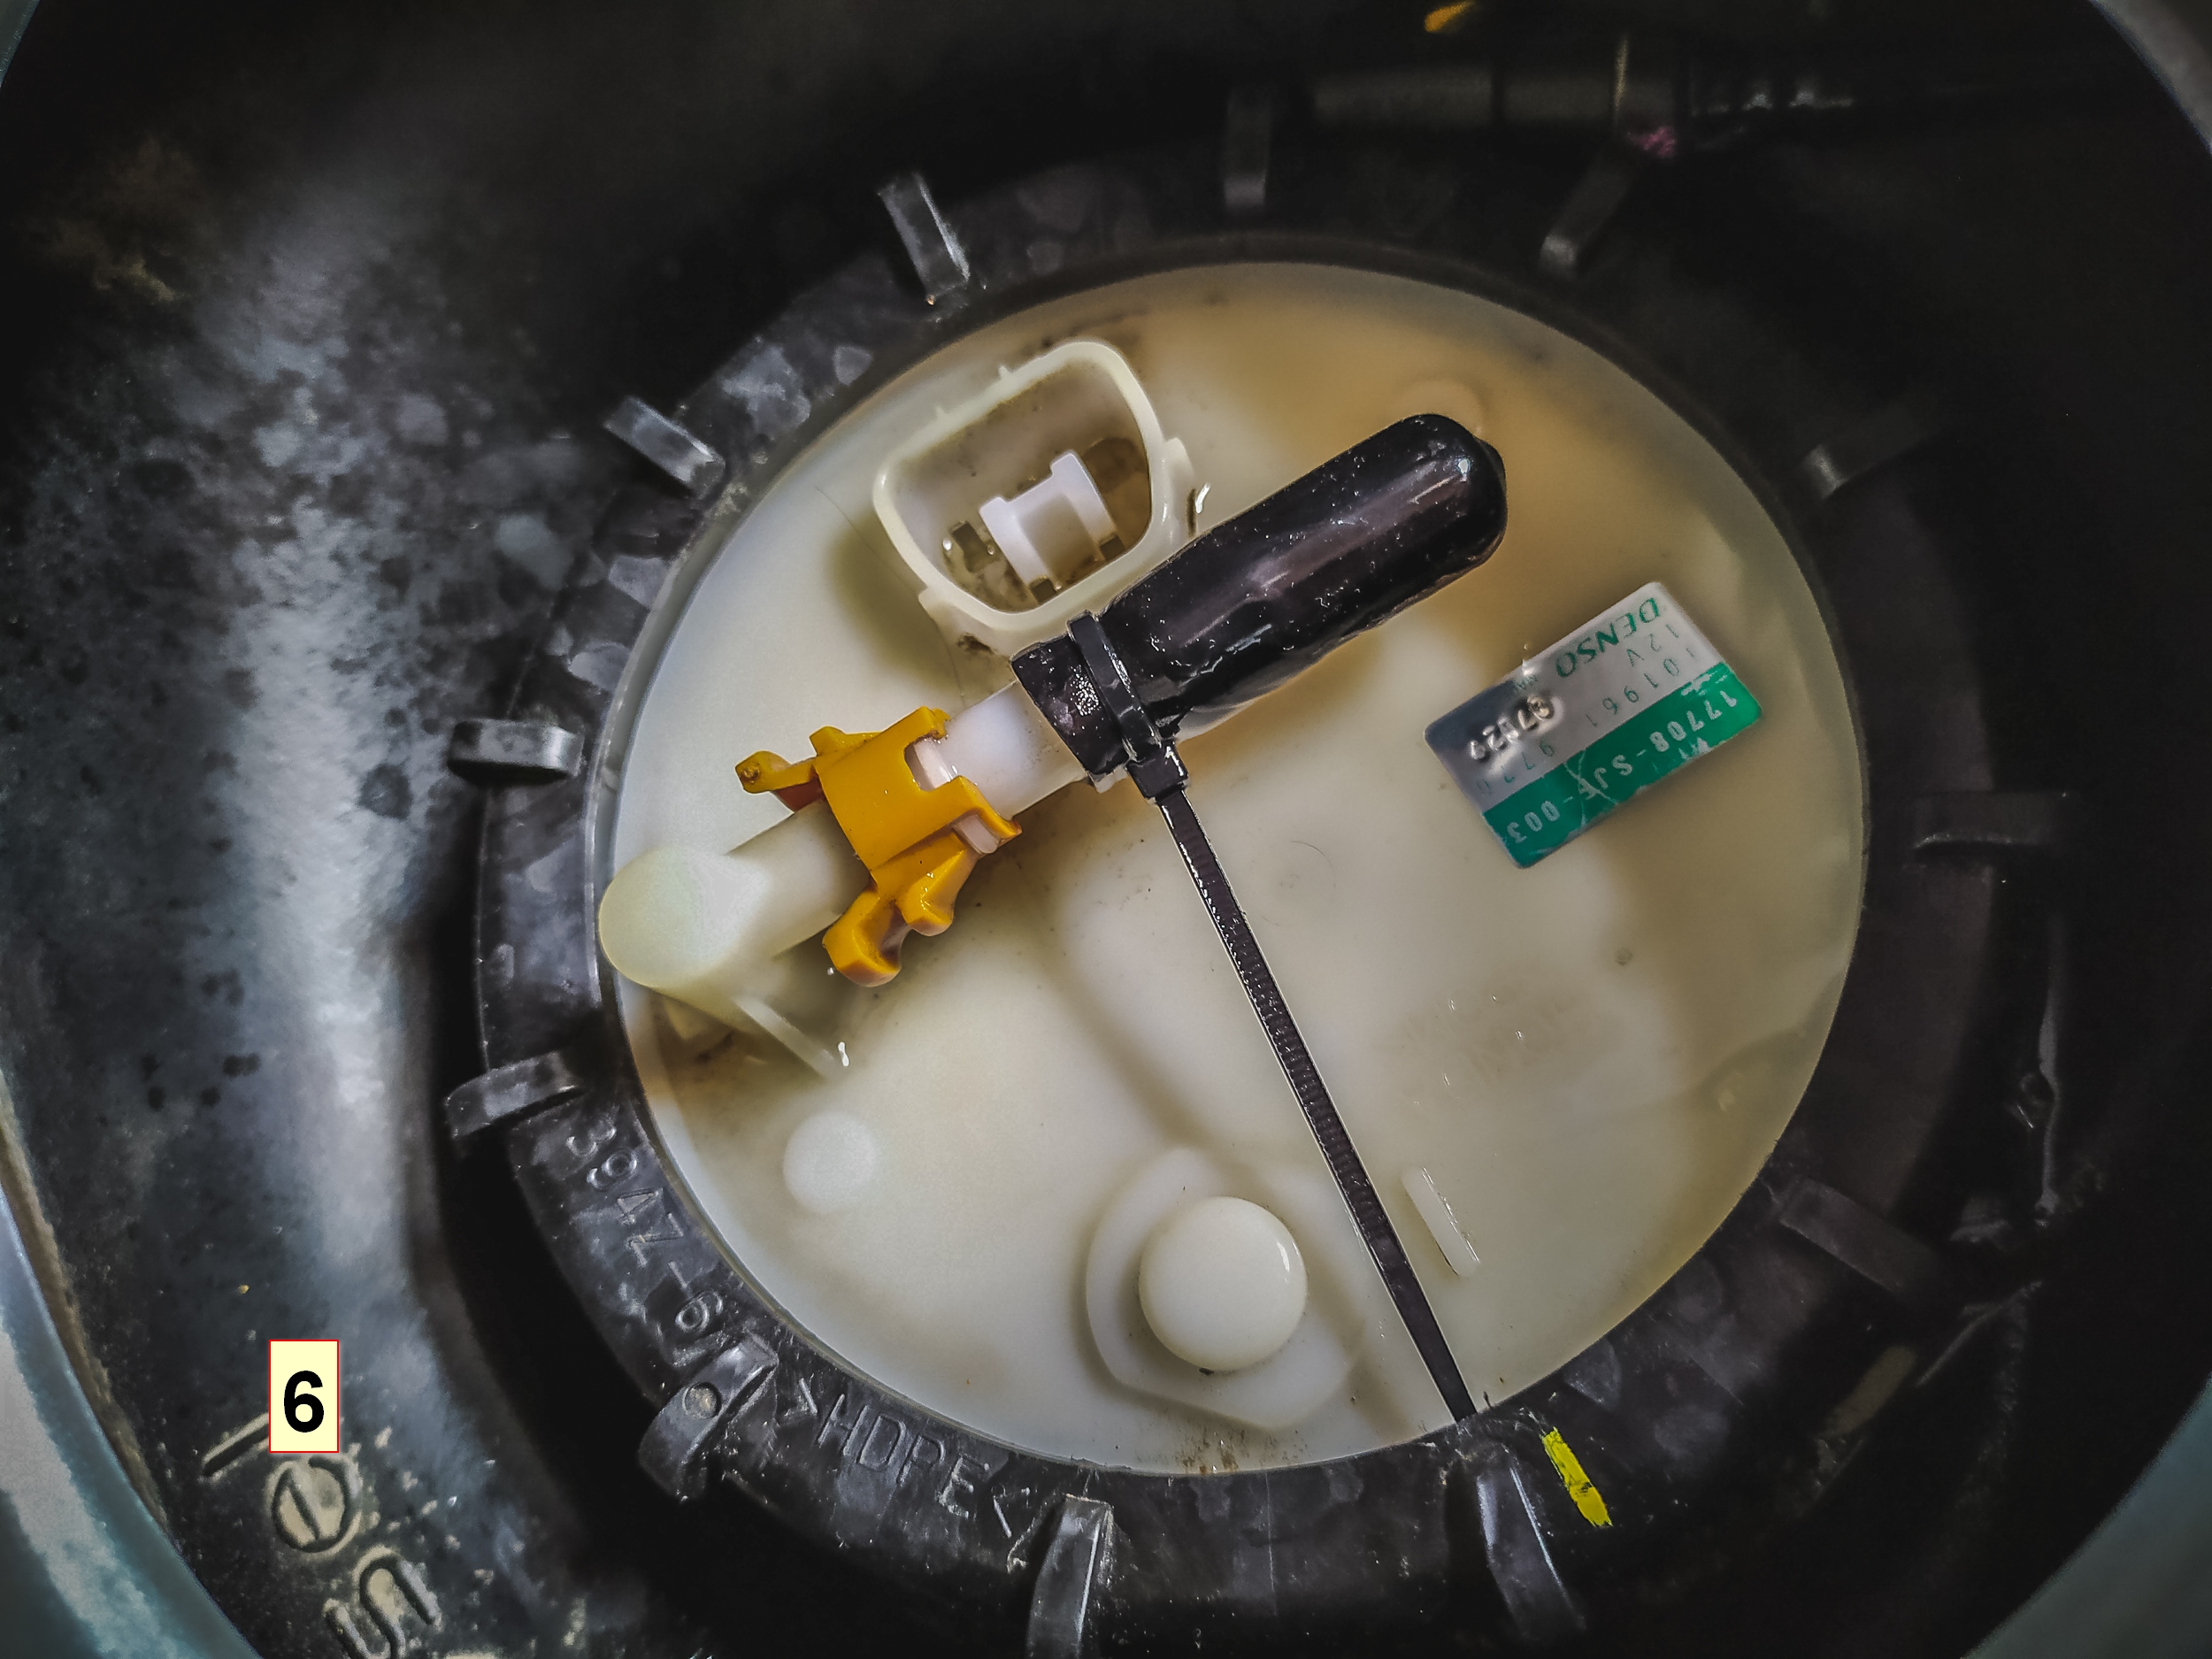
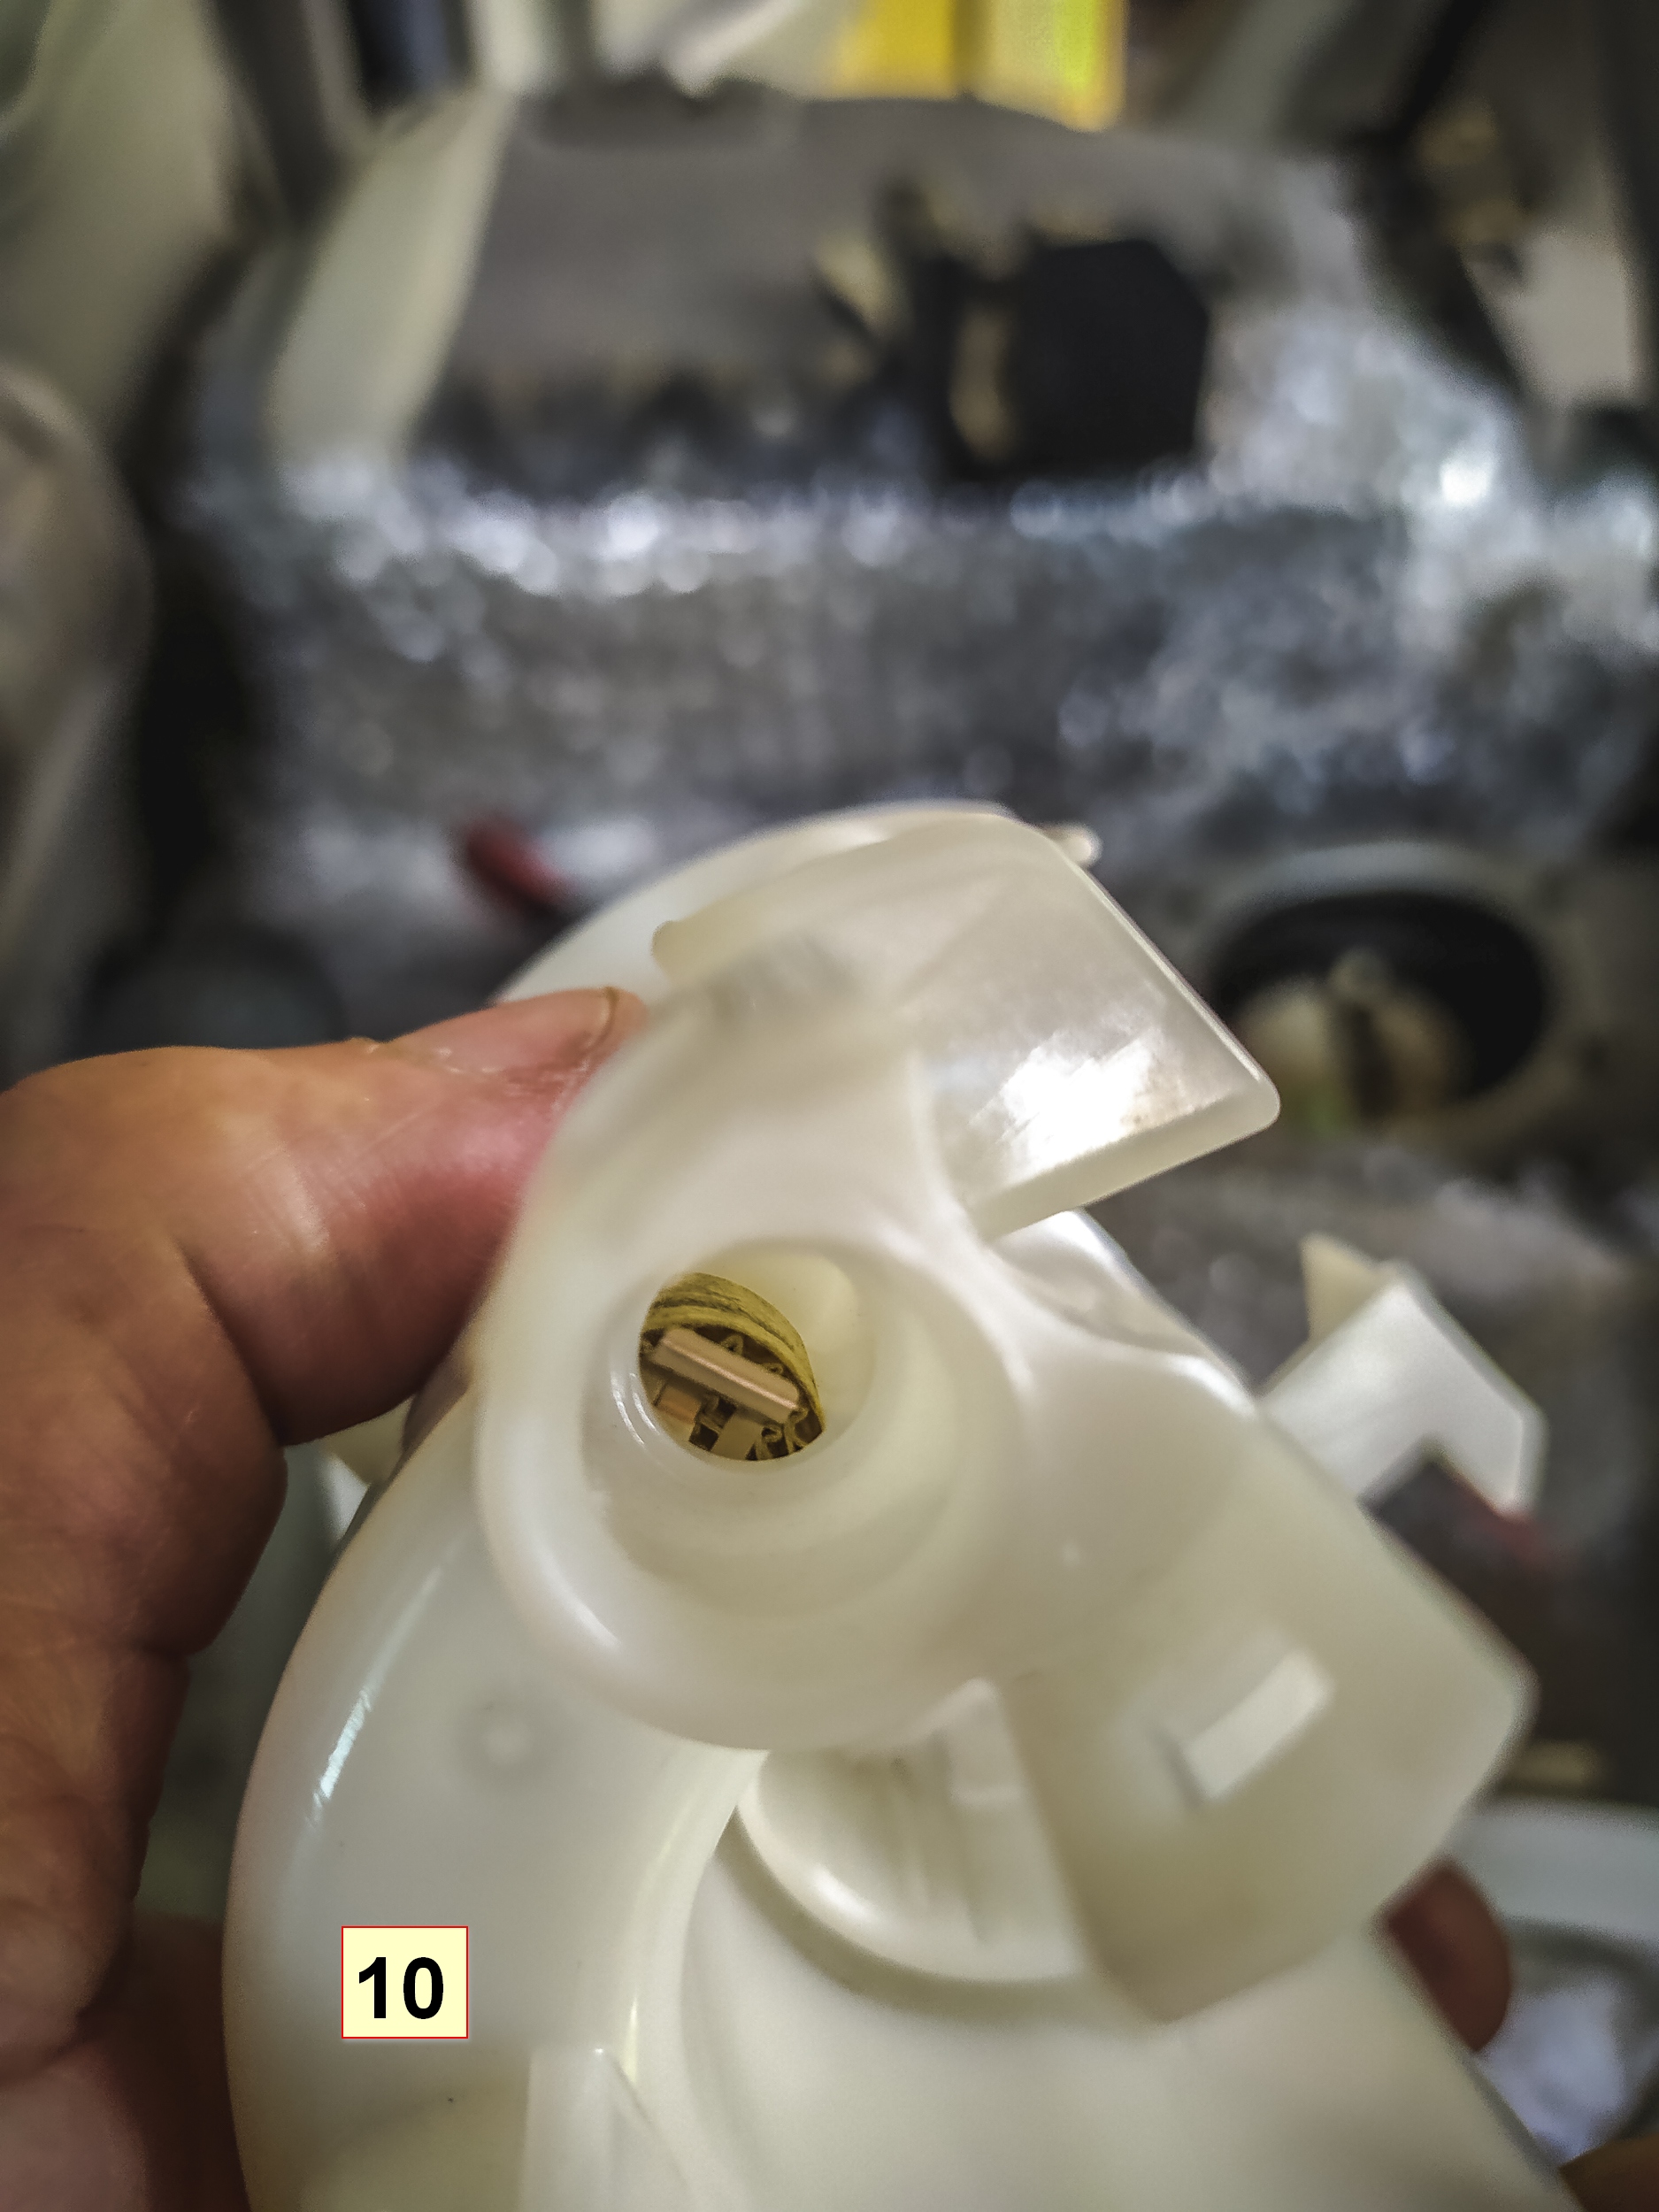
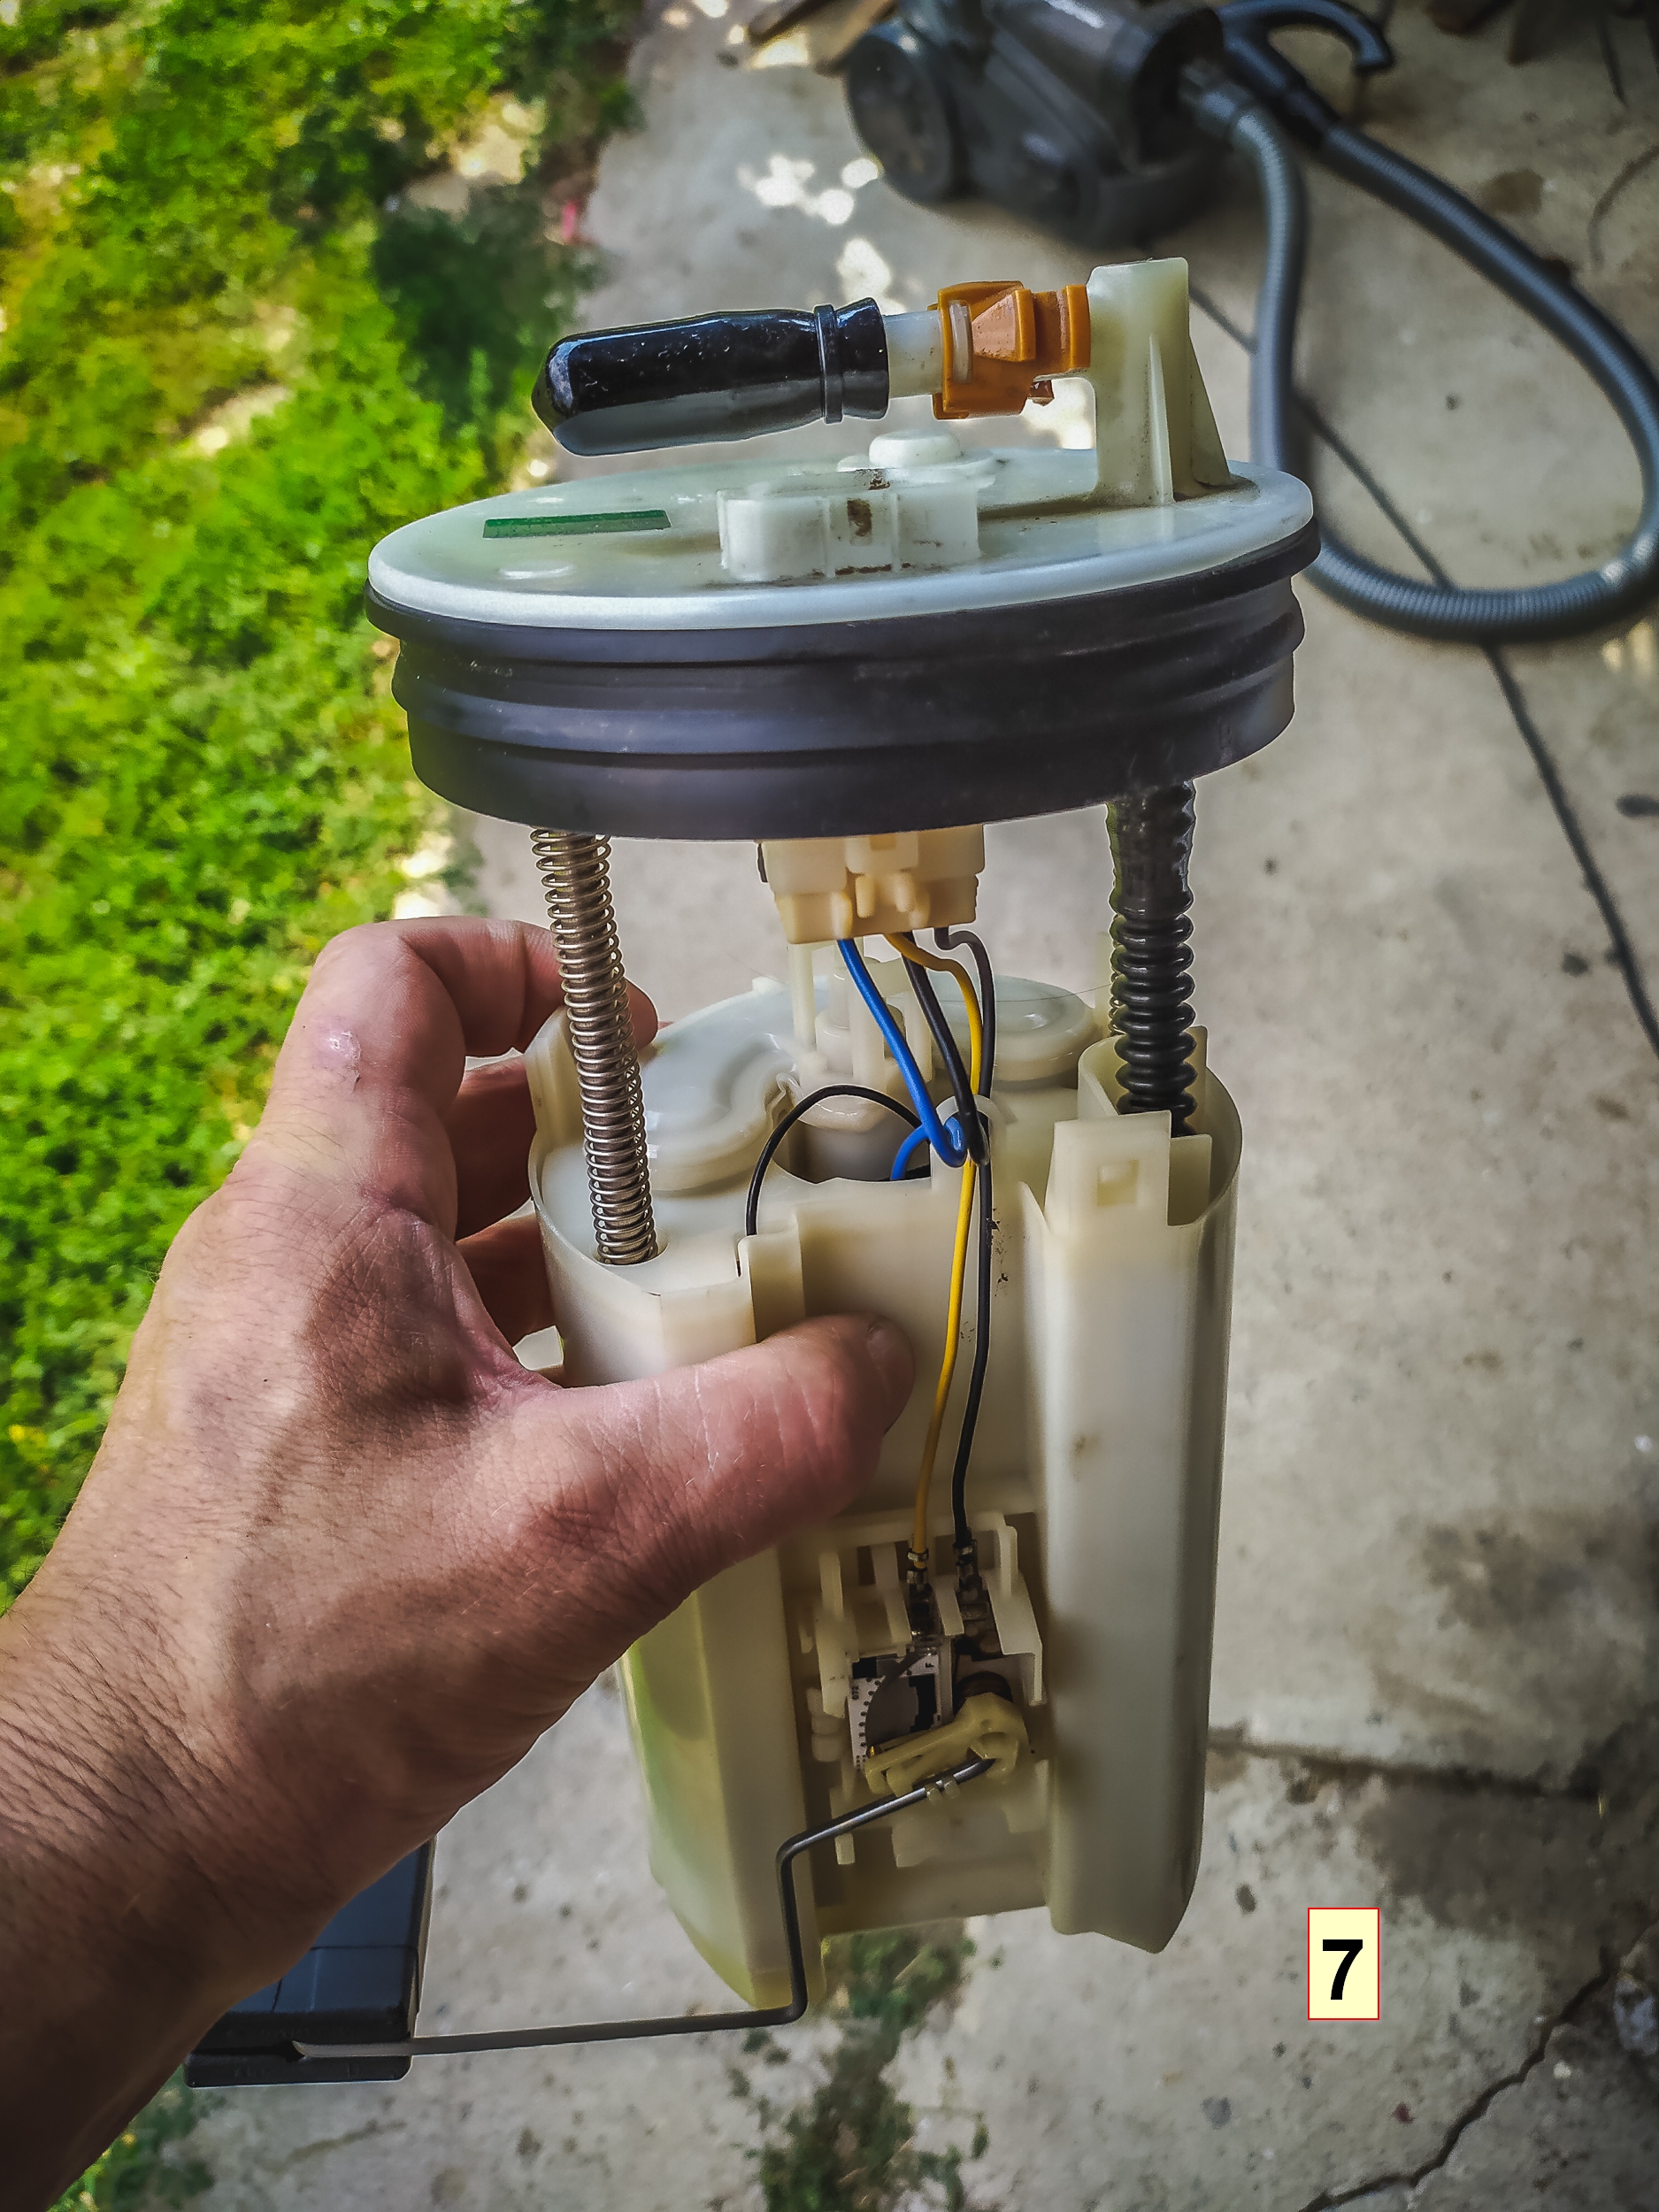
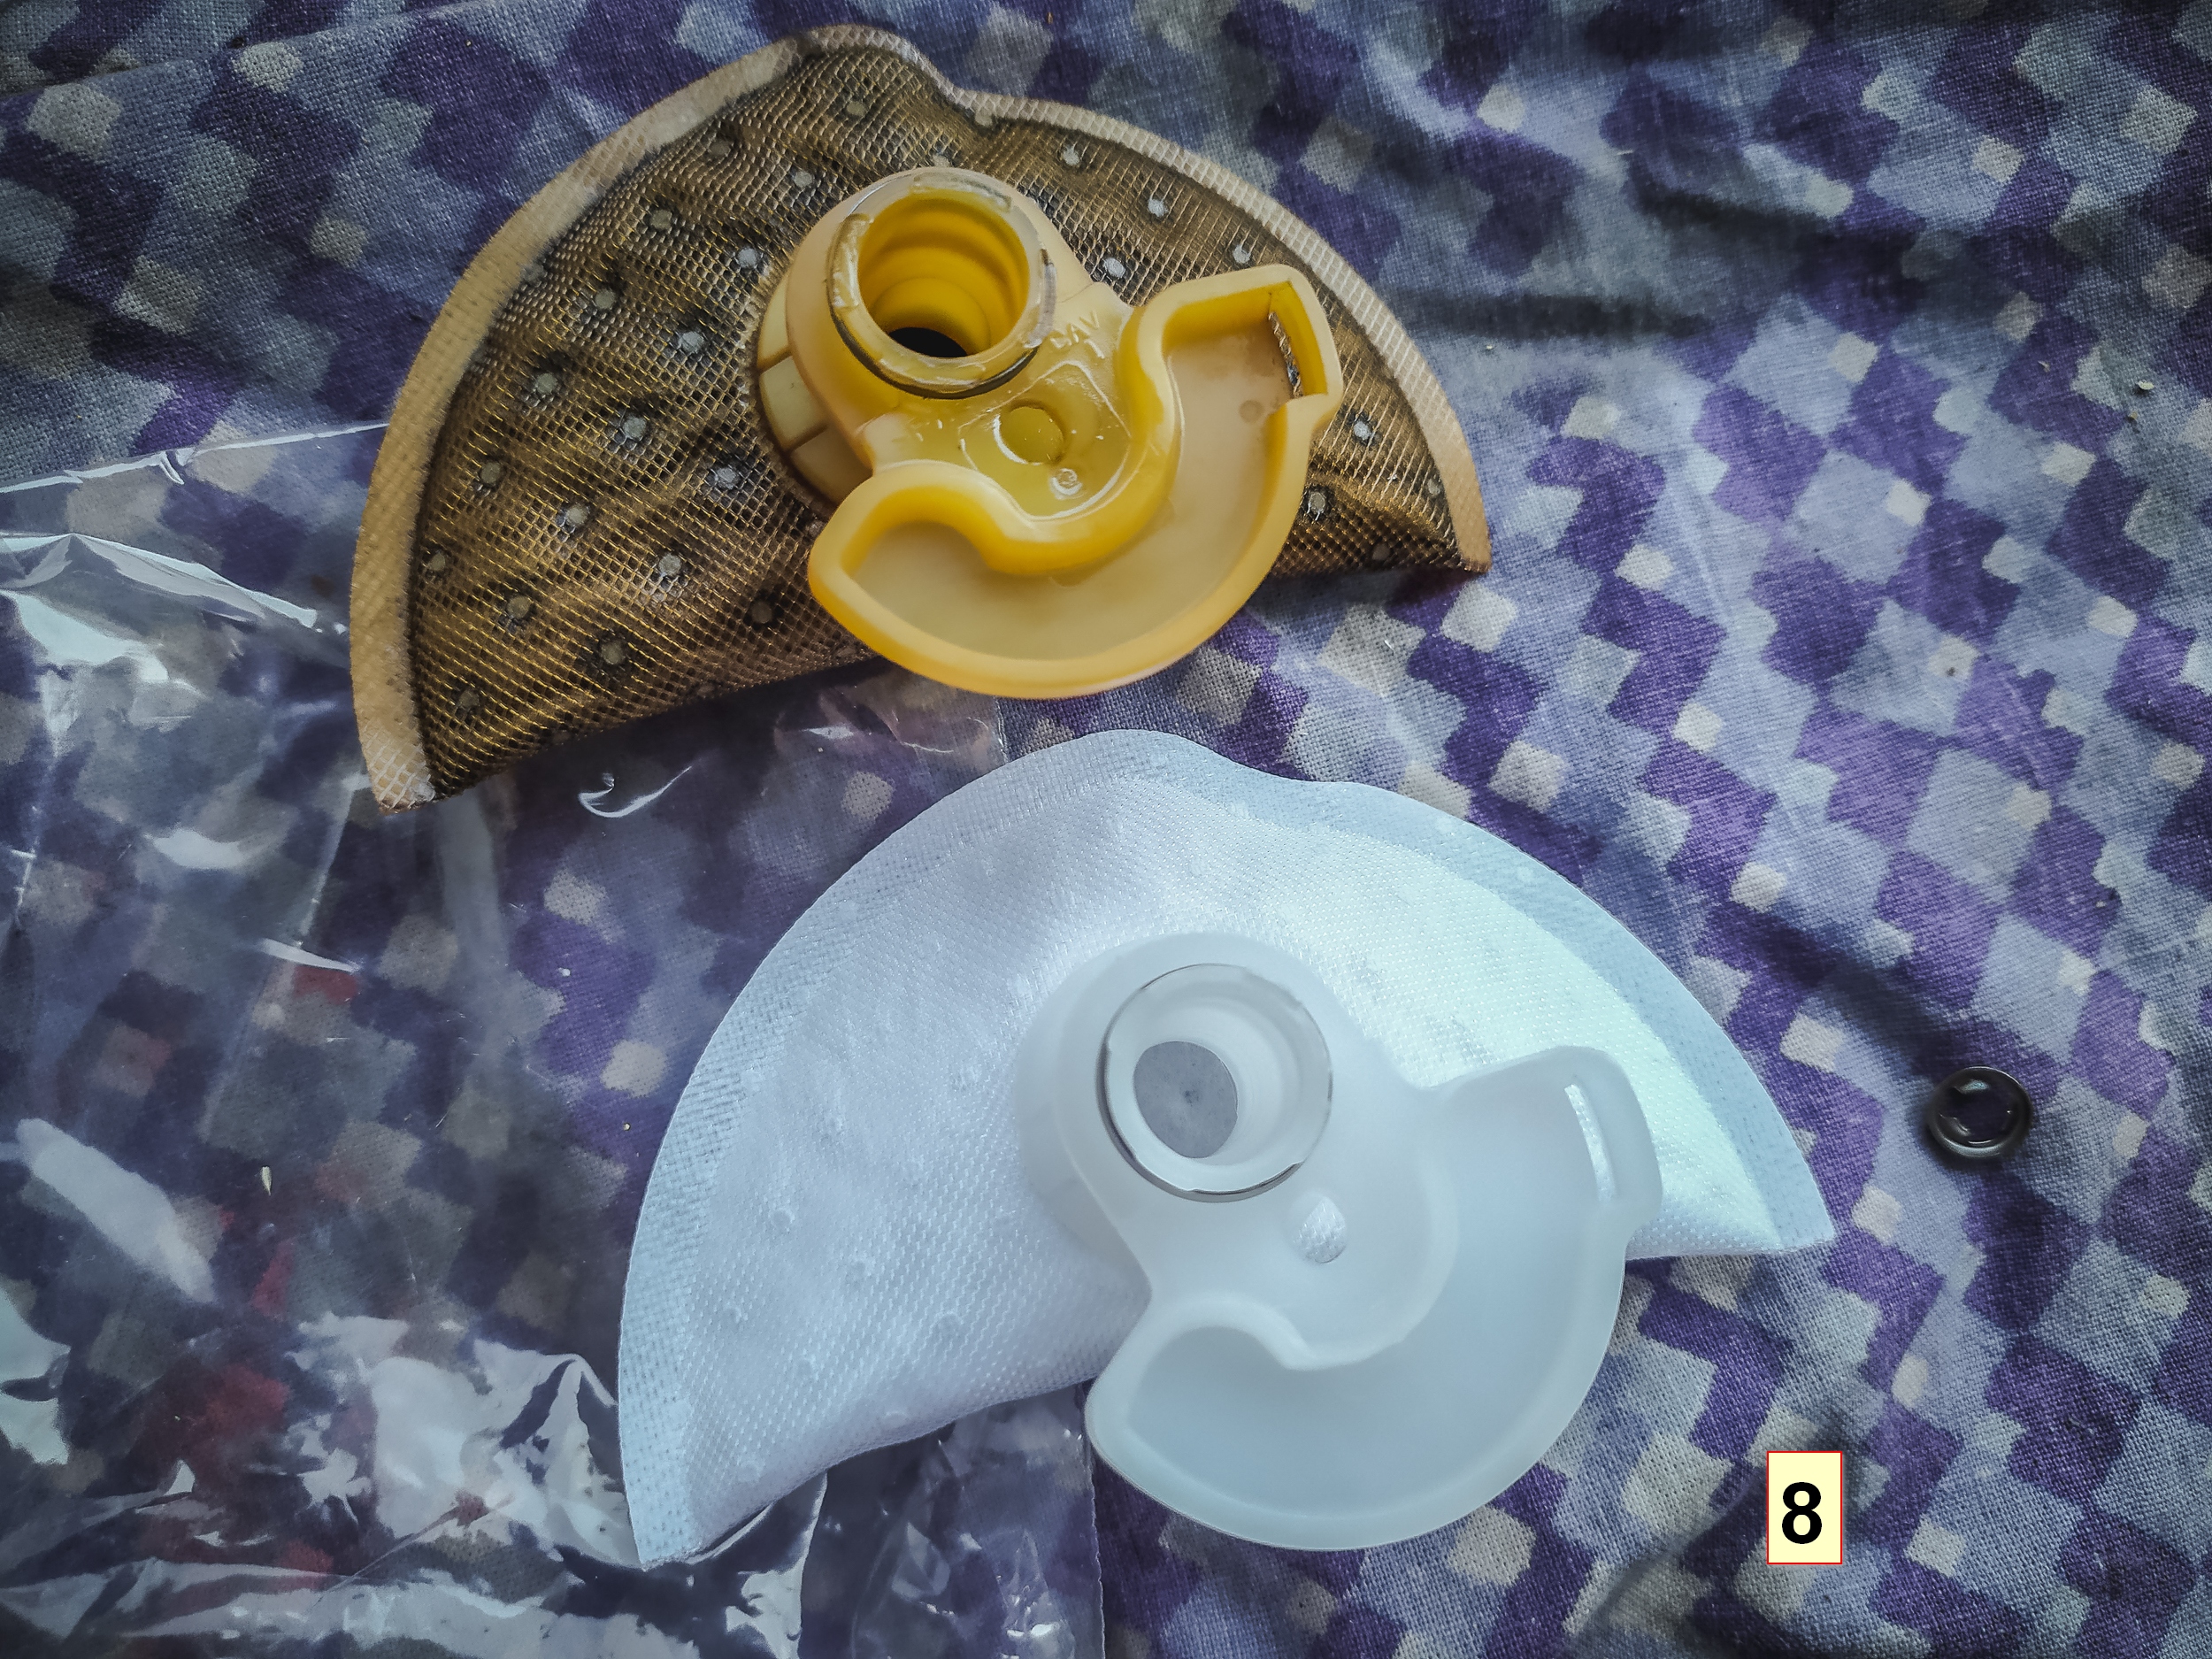
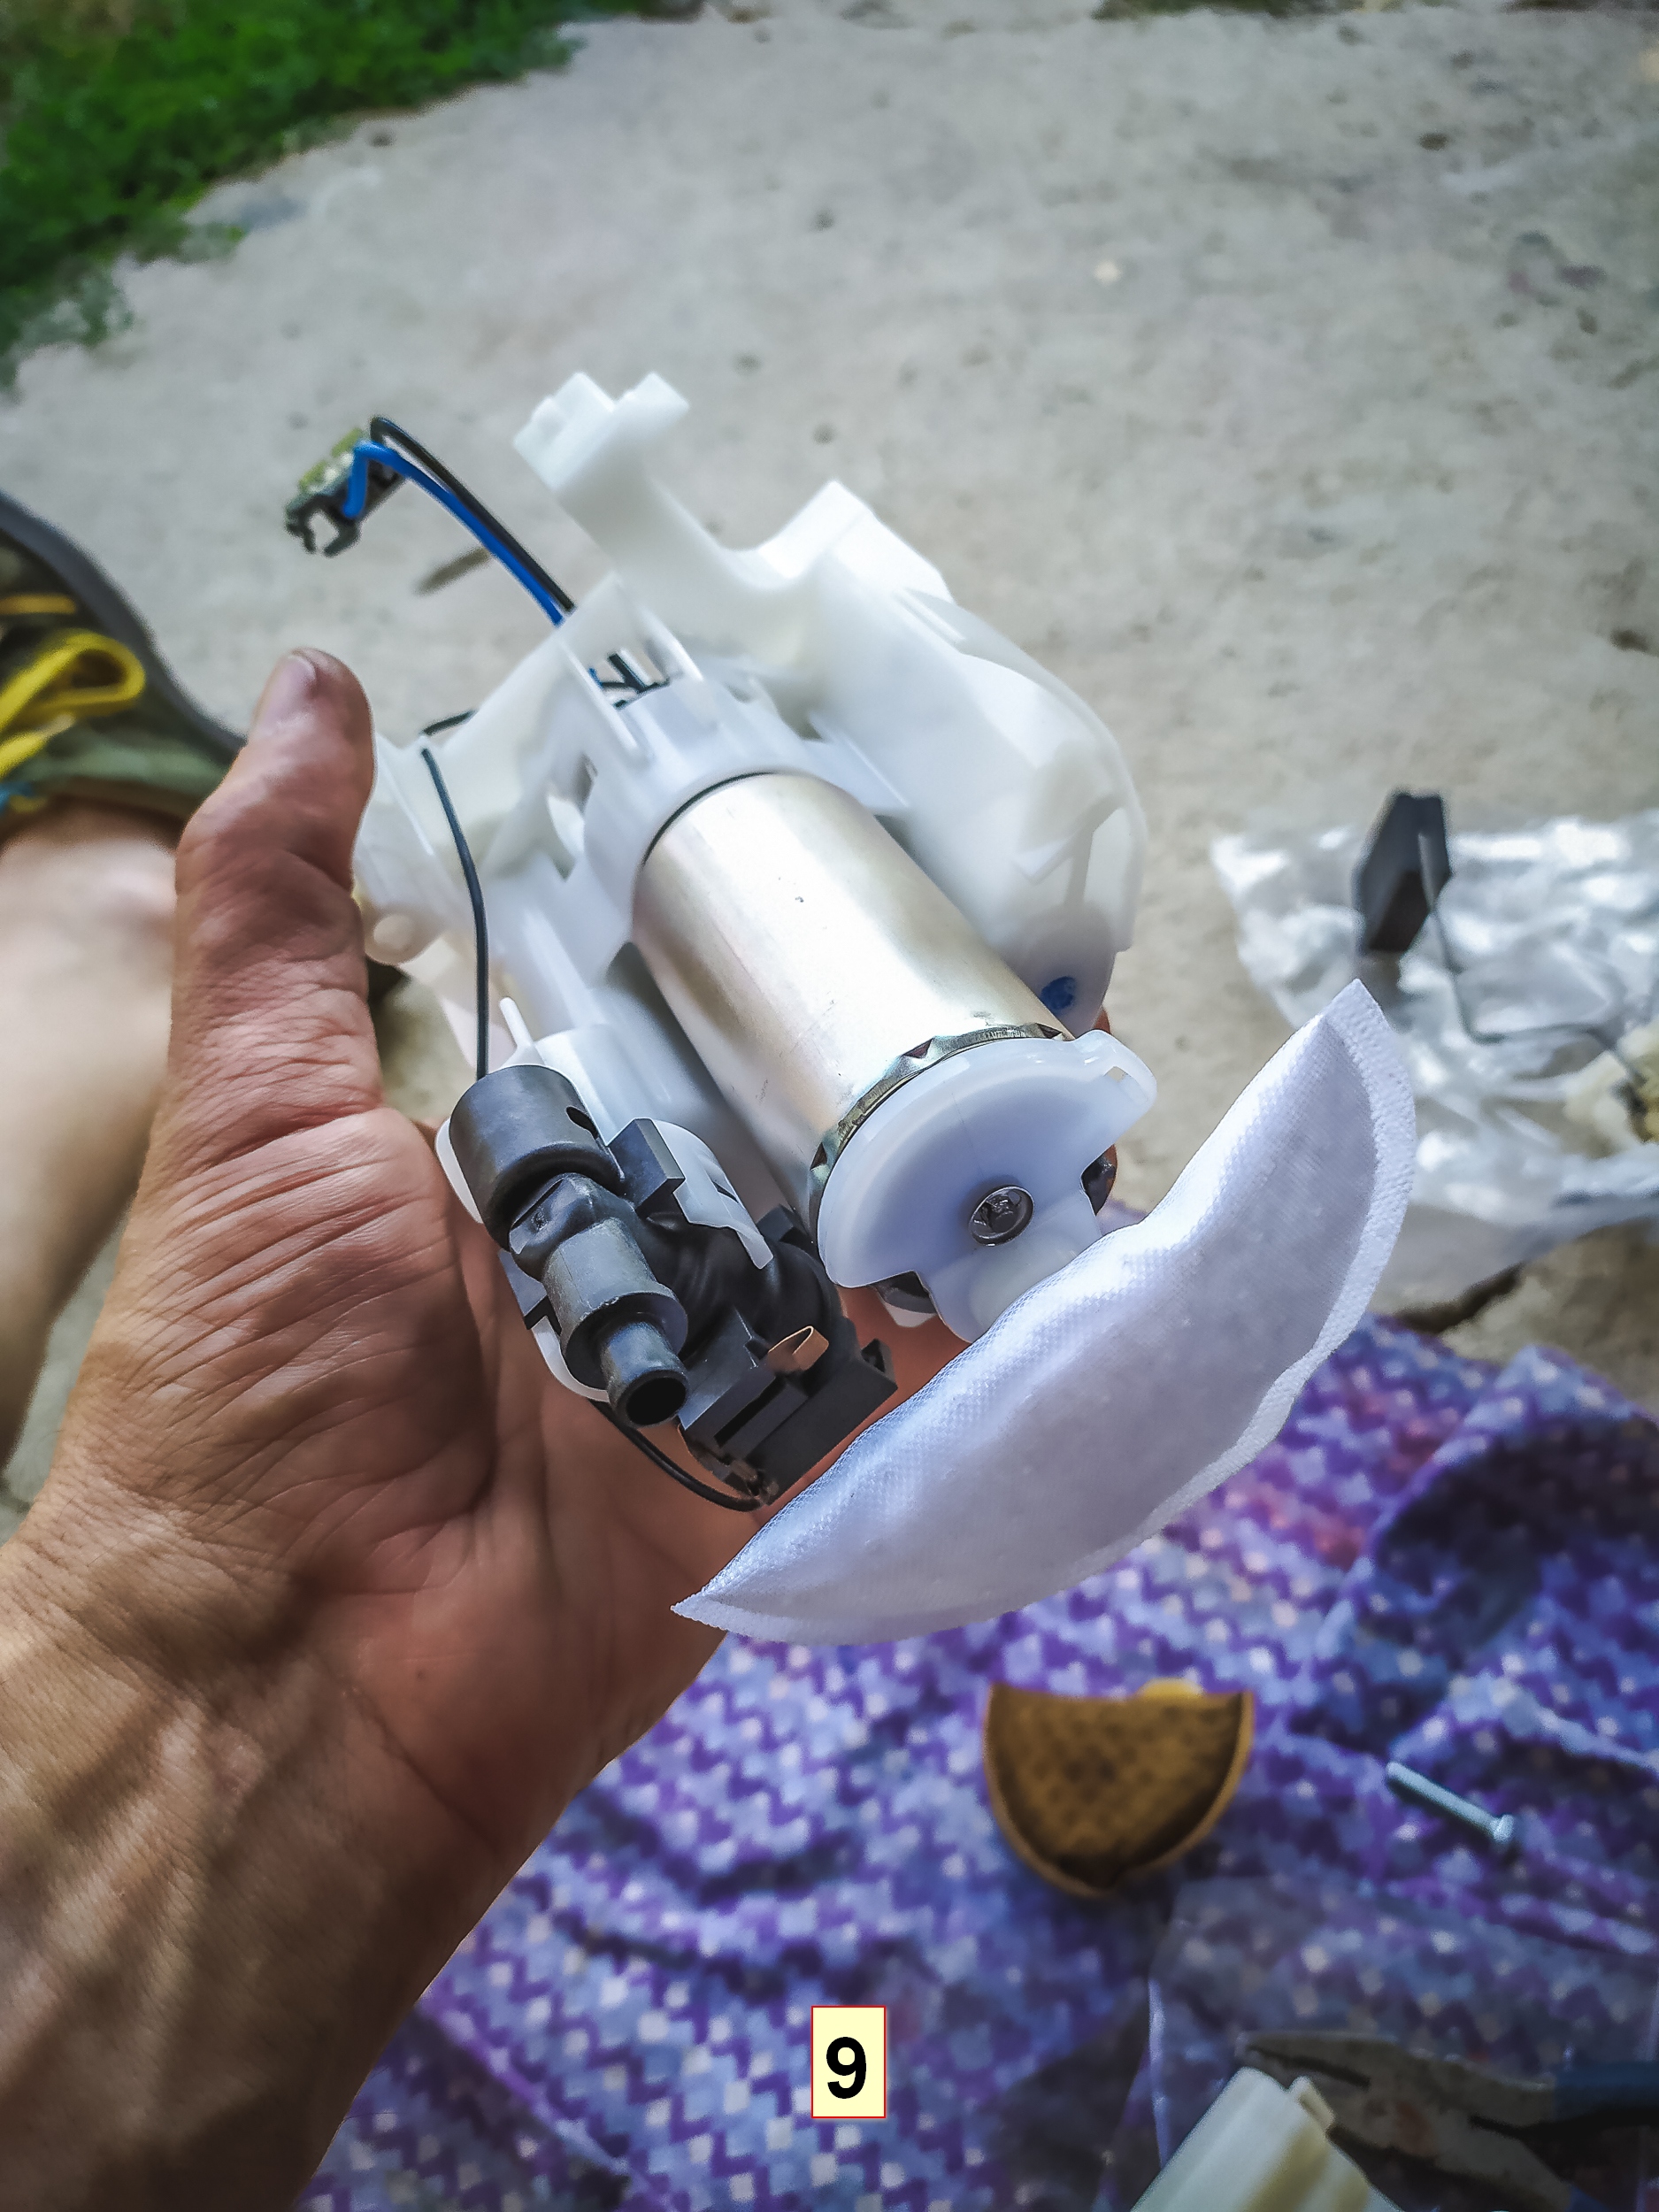
Once you take the fuel line off, the filter will start leaking until you undo the big black nut and release the pressure so plug it as fast as you can, having opened the fuel tank also helps - picture 6. The whole filter + pump out of the tank - pic. 7. Old and new pump shoe - I tried to mouth-blow through the old and new and it was a big deference. The whole pump assembly after the filter and shoe replacement. Pics. 8-9. Picture 10 shows the inner paper cartridge, that does the fine filtrating.
Put everything back in reverse order, connect the batt, prime 2-3x and start the engine. If all done well it starts straight away, than put the carpet and chairs back. After this I have perhaps noticed a hair better gas pedal response and maybe even power increase at the higher revs but no woohoo effect took place.  But I know the filter/pump is fresh and delivers.

Fog lights - DRL @200K

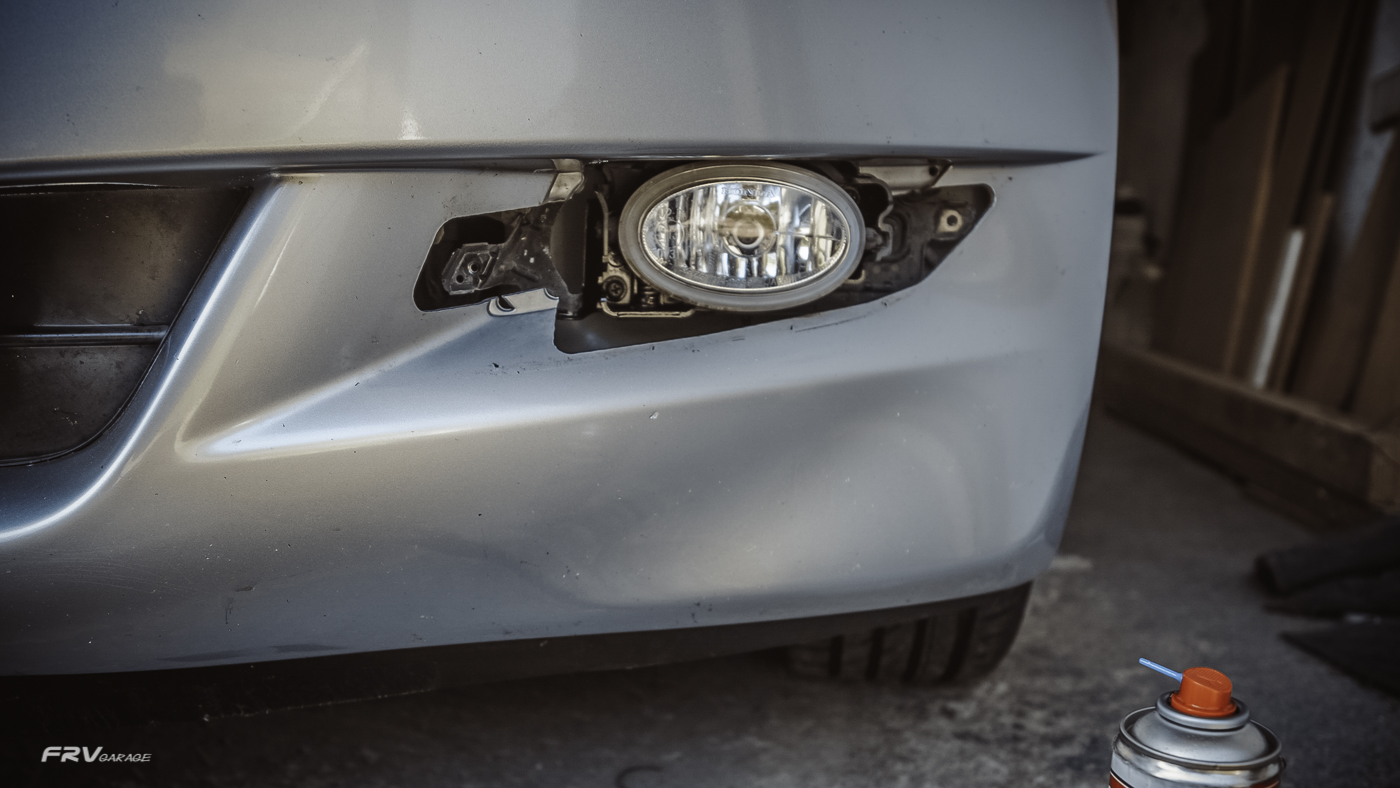
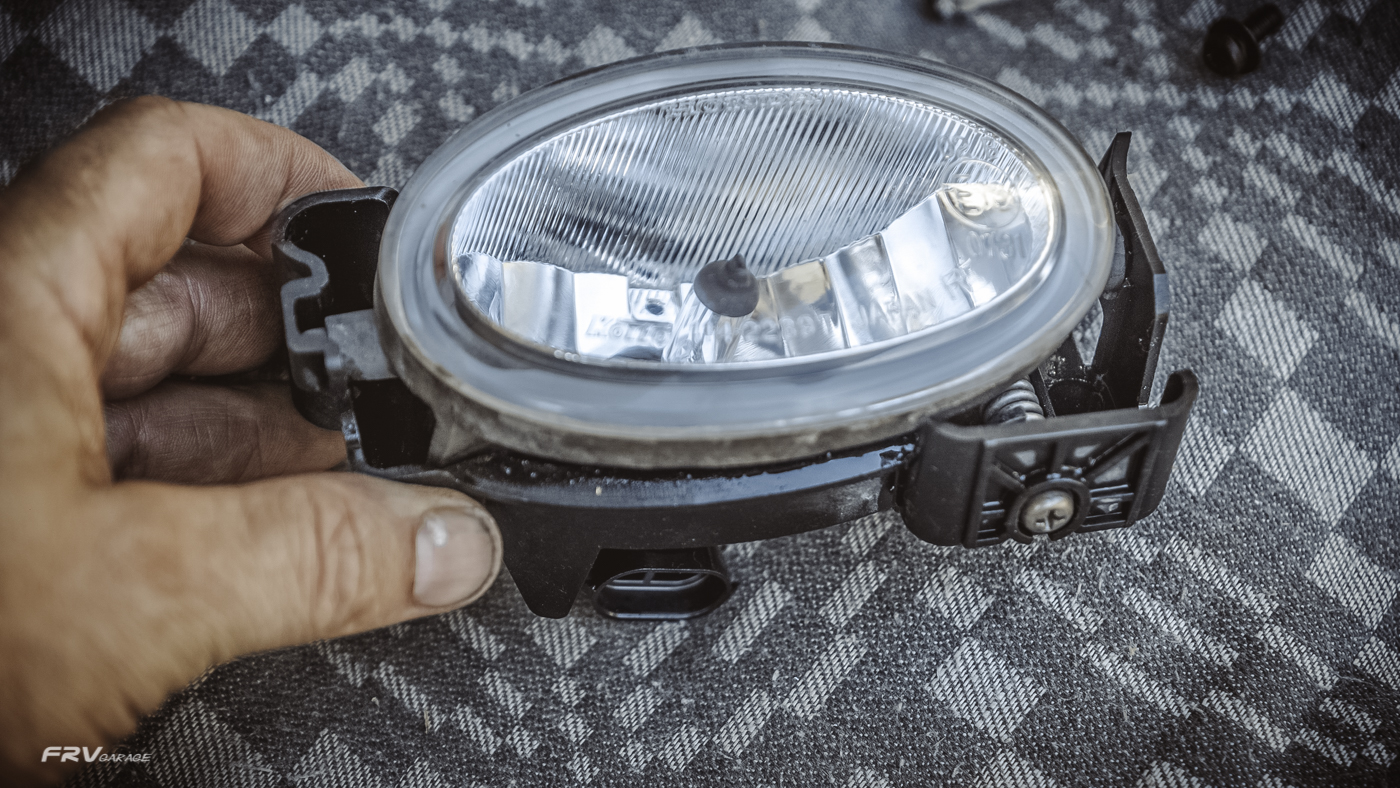
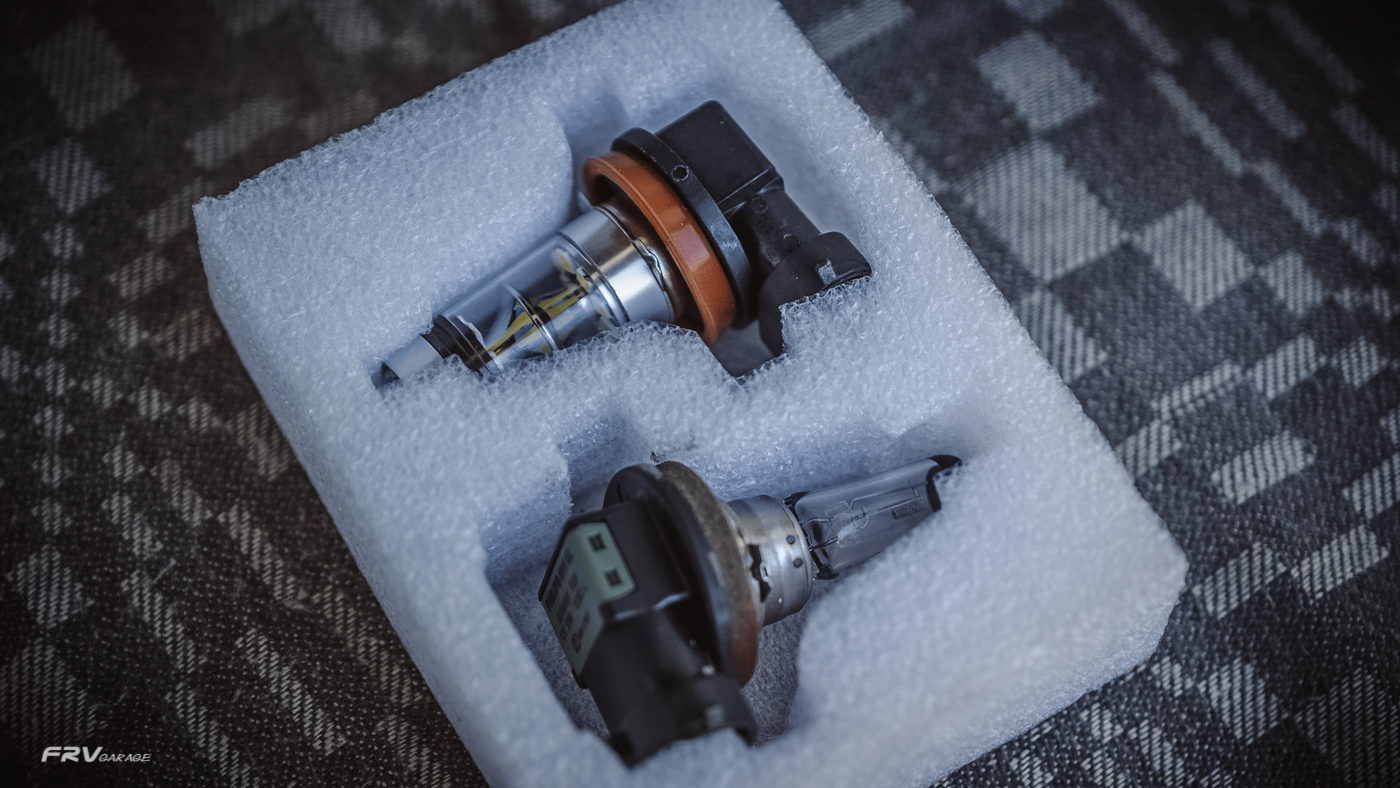
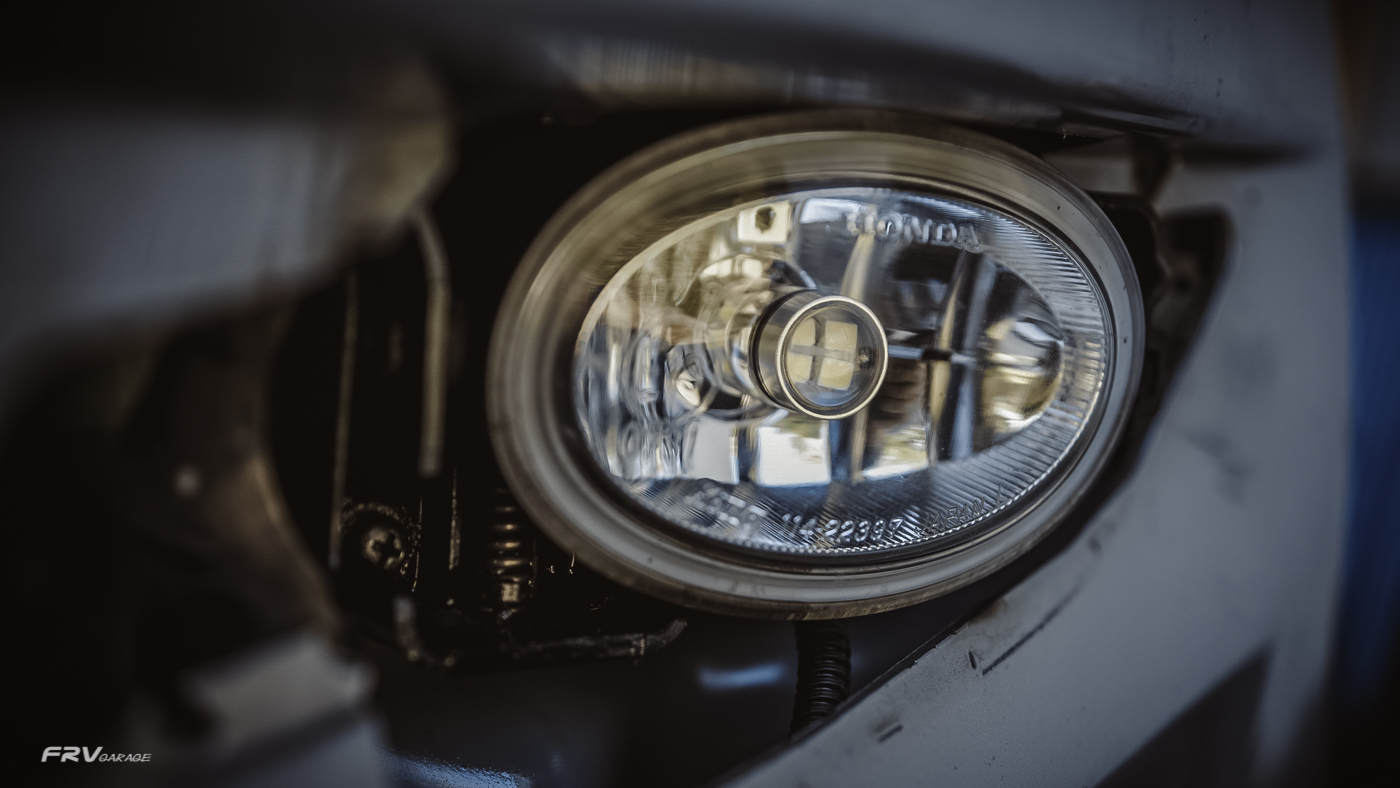
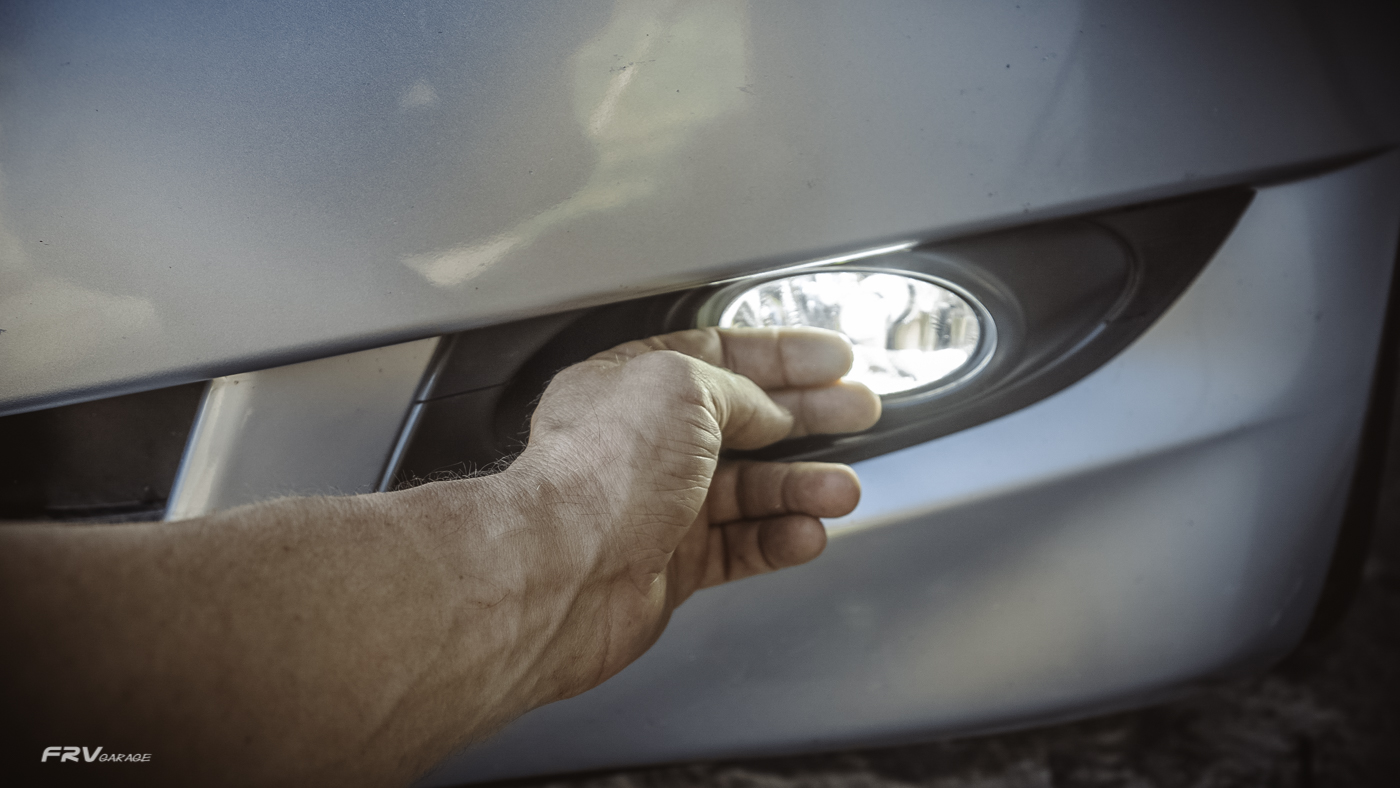
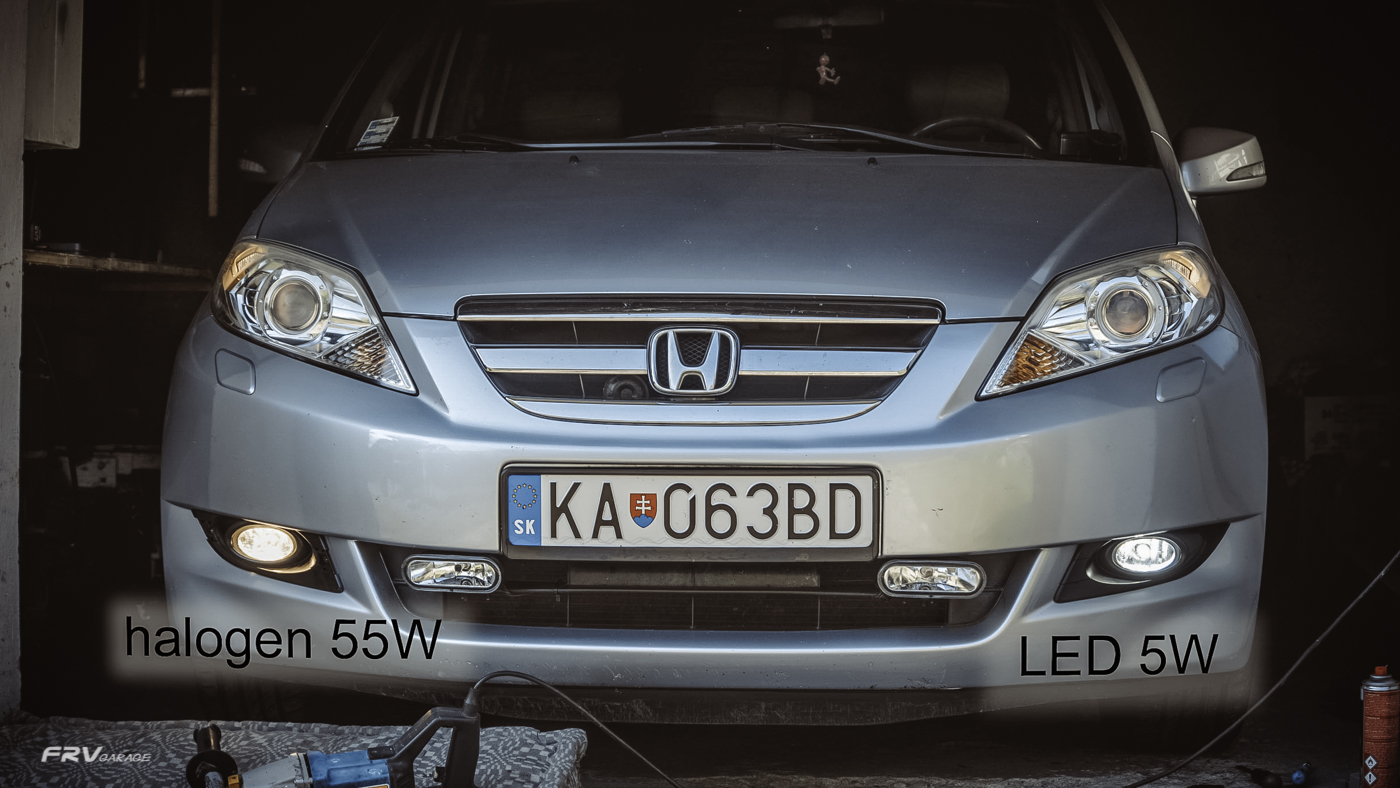
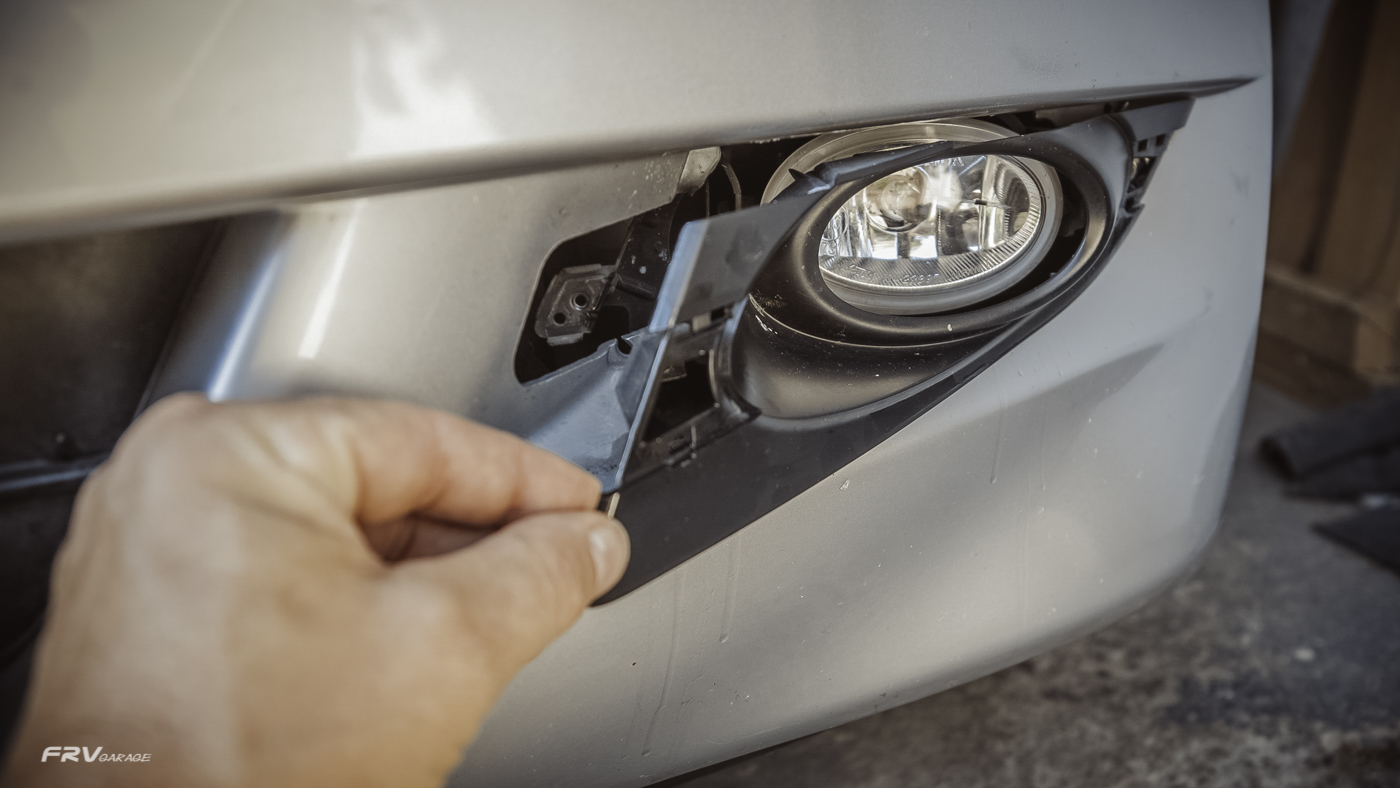
Since 2011 DRLs lights are mandatory in the EU. Vehicles produced before don't have to be retrofitted but they have to have headlights on instead, that is not an ideal. Honda FR-V is obviously not factory equipped with DRLs but has a pair of fog lights. I have decided change the bulbs and transformed them into a DRLs. Its not absolutely kosher but neither illegal. To make it totally legal and MOT proof, I also ordered a DRL unit   /has not arrived yet/  that will cut the fog-lights output to 35% and switches them on straight along with the engine, without having switching them on manually, and If you do so you put the normal fog lights on into their full power. 
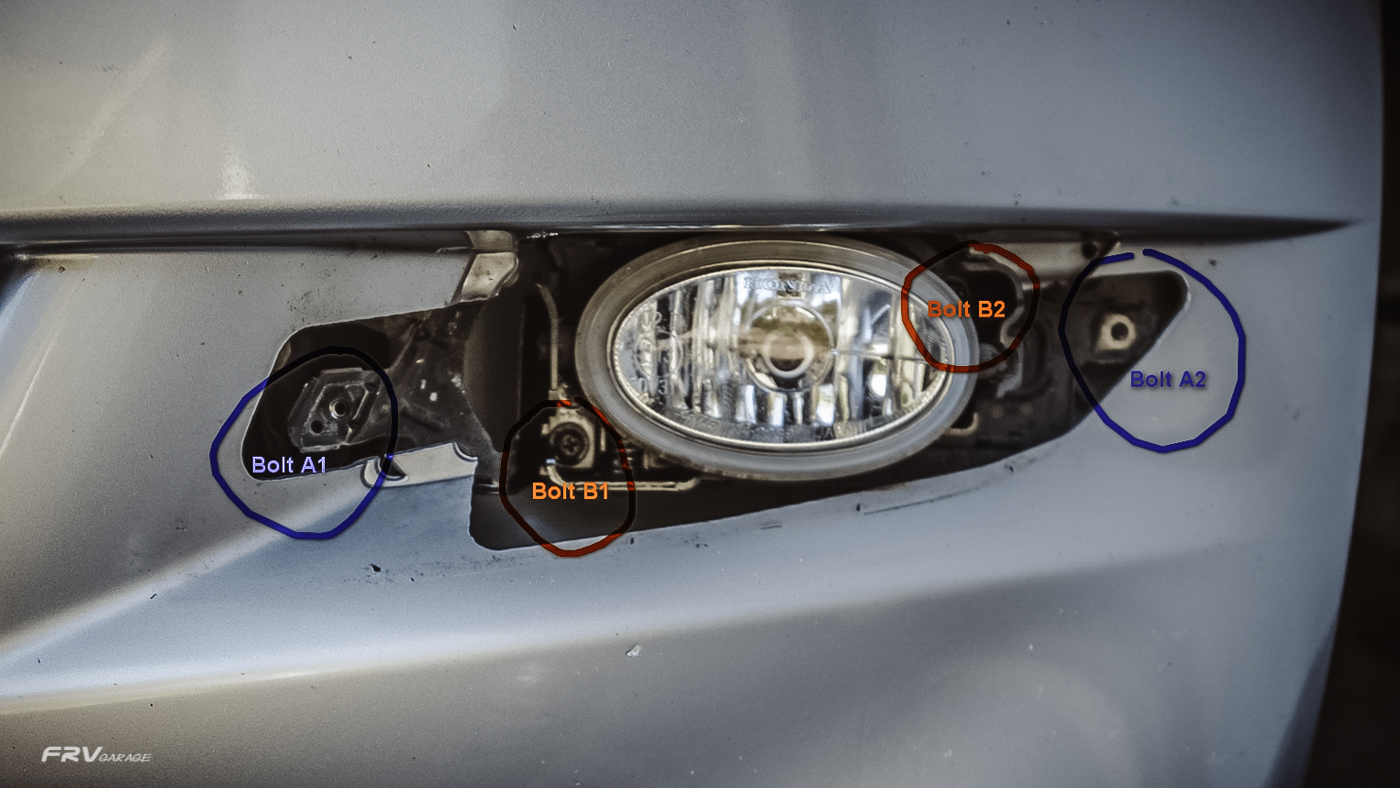
The original bulbs are 110 watts so a huge resources eater. The new LED bulbs only 10 watts, the luminosity is comparable if not better. To replace the bulbs the light bodies has to removed from the bumper. Under the black plastic grommet that is held by 2 screws are another two ones holding the light body in a metal backed that is bolted to the bumper. The backet itself doesn't have to be removed, only the front black cover /A1 and A2 screws/ and the light body /B1 and B2 screws/. 
Honda FR-V 2.0 - FRV Garage

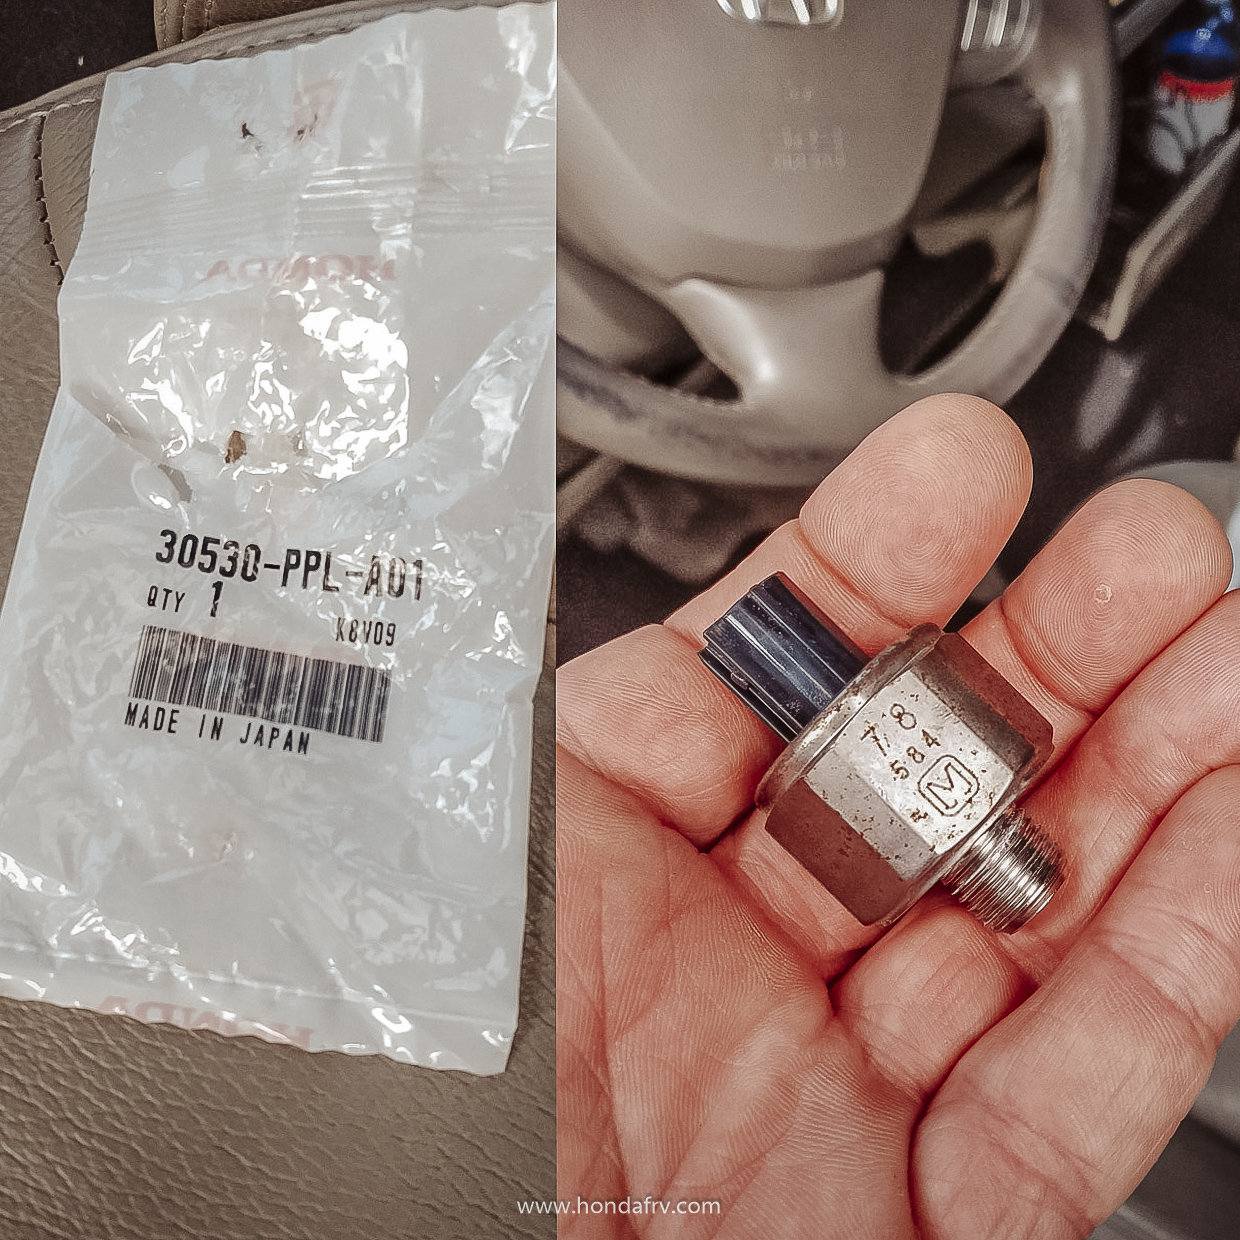
Knock sensor @197K 

Replaced at 197 500 Km - This happened while driving at a steady speed, suddenly I felt a little jerk and the check engine light came on. When I checked it with my lousy E-bay OBD scanner, I find out the knock sensor multifunction code P0325.  Ordered a new one from Honda /about 95€/ and replaced. Not difficult but terrible access from underneath. The sensor is located under the inlet manifold left off the starter. 27mm socket.
Spark plugs  @195K

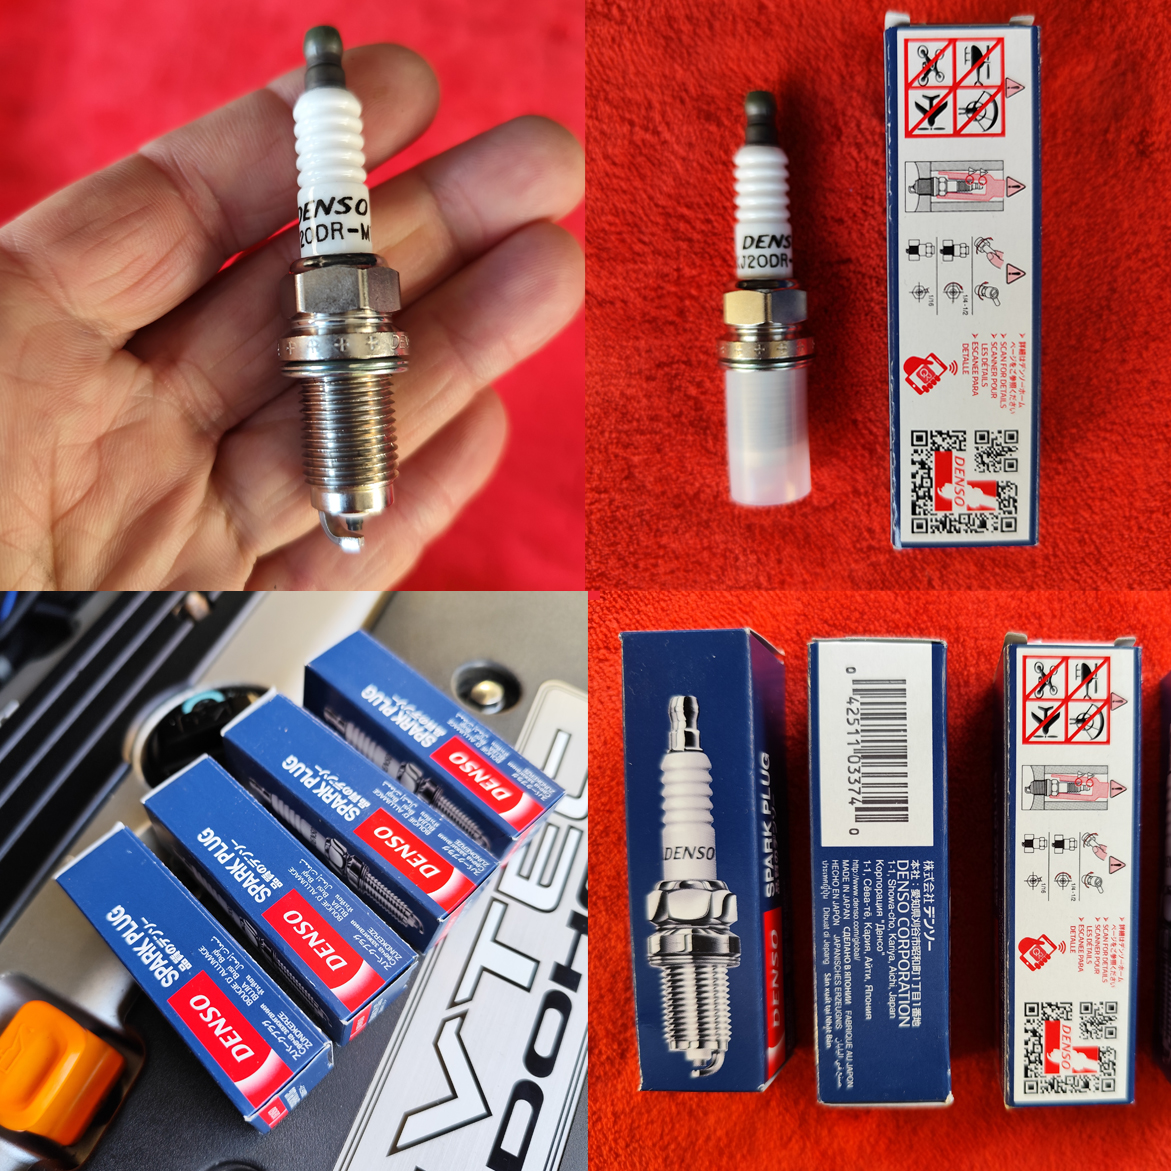
I run normal Denso KJ20DR M11 spark plugs with the service interval of 35000 Km or just before the MOT, what ever comes first.
To replace them takes a 10mm spanner for the coils and a 16mm spark plug spanner. The magnetic one is helpful.
The tightening torque is up to 25Nm. The engine should be cold opposite to the oil drain.
When all works fine the old spark plugs are of brownish color with healthy dry central tip and the ground electrode. The porcelain is slightly brownish too. Reading the sparkplugs tells you a lot about the engine. The job is pretty self-explaing and takes up to 1 hour in DIY conditions. No need to put the coils in the same order. FR-V doesn't call for iridium sparkplugs but can be used. 

Power Steering noise @190K 

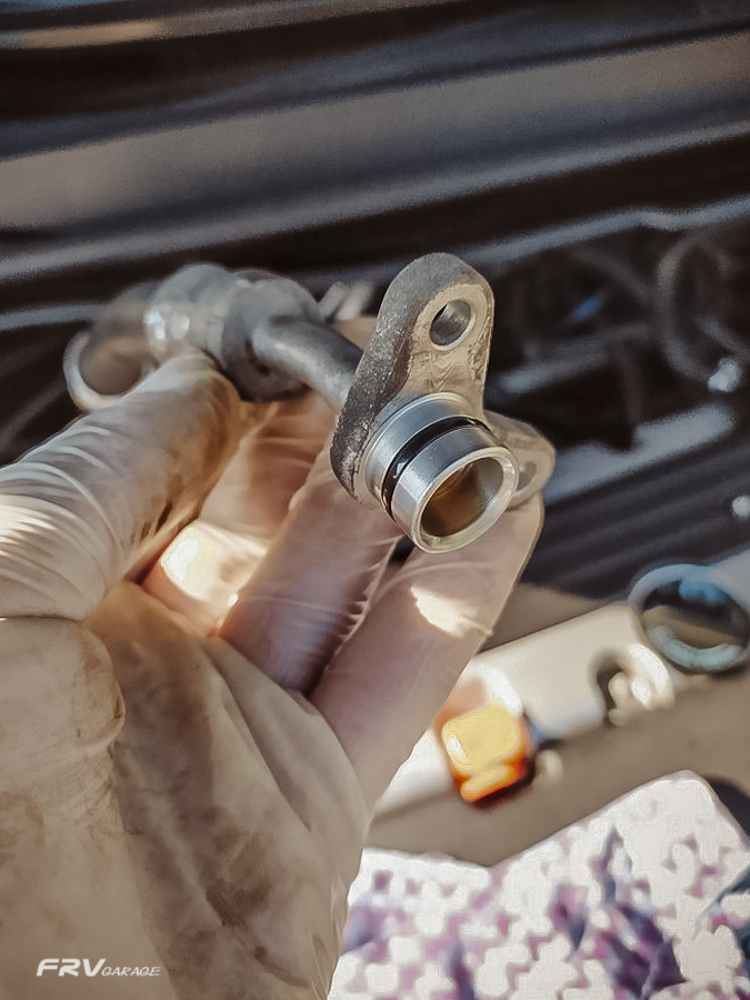
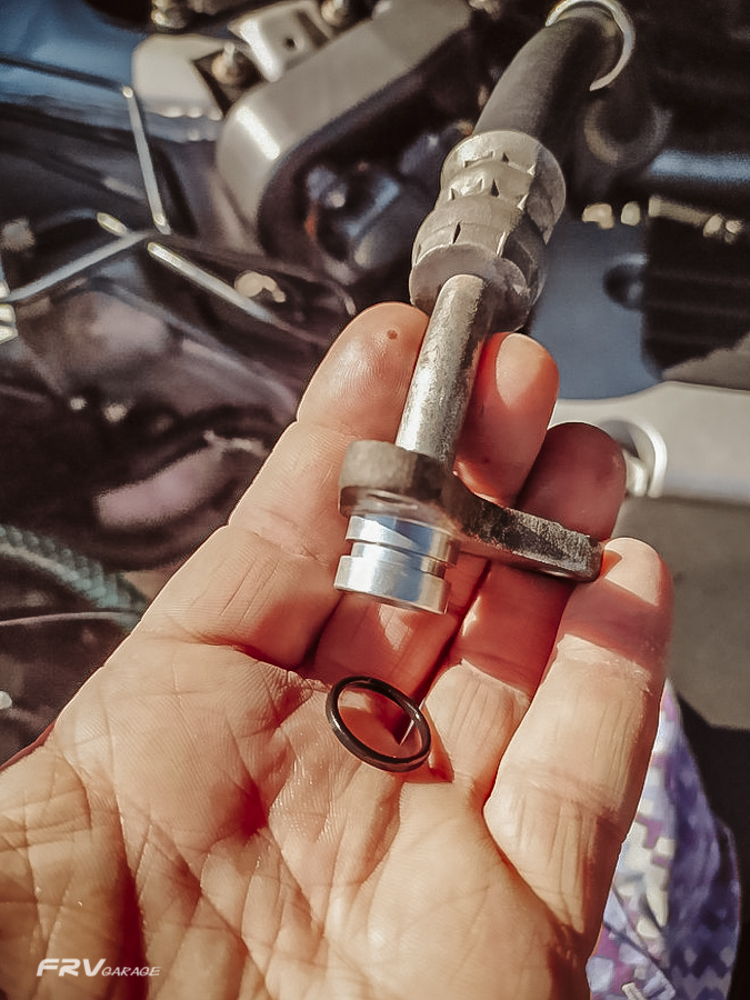
As most of the Honda FRV owners, the POWER STEERING whining noise drove me crazy. Especially sharp turnings at lower revs for example in a carpark, 90 dgr. bends were really noisy. First I had it done by a garage. For about 85€ they replaced the fluid but almost nothing got better /not sure if they did the O-rings/,  froth in reservoir remained, the oil color did not significantly improved nor the horrible sound disappear. 
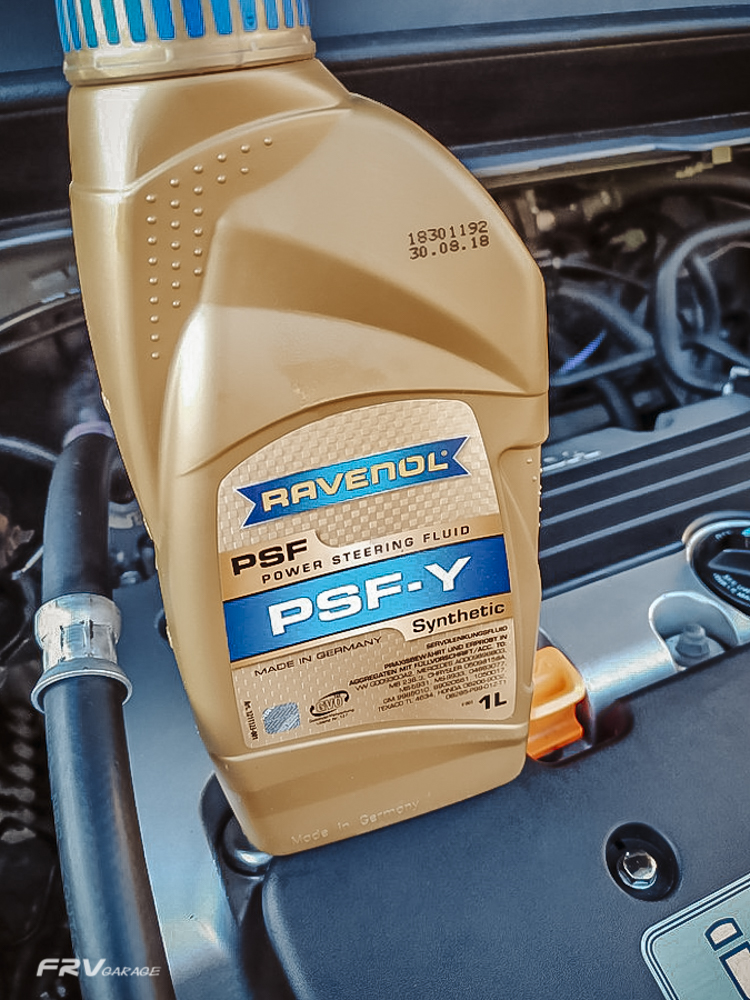
Learned my lesson and decided to do it myself. Bought 3 lit. of Ravenol PSF-Y  /8.50€ per liter, the Honda PSF is more than 20€ and not always available/,  and set of  O-rings for about 5€ directly from a Honda dealer  91345-RDA-A01 /orange color/.
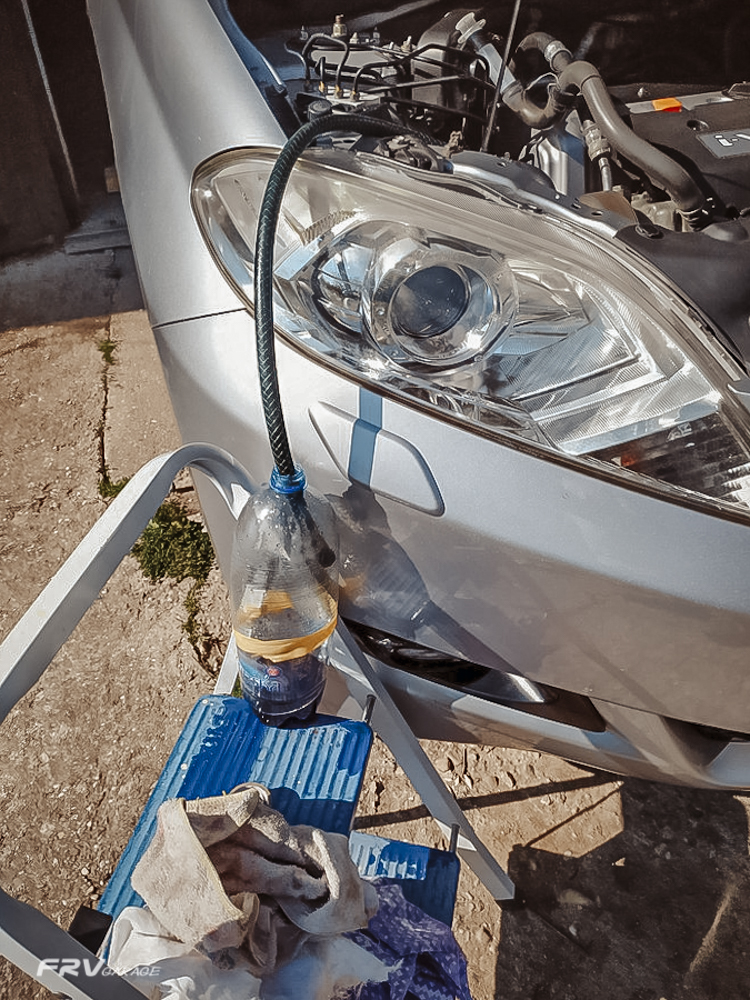
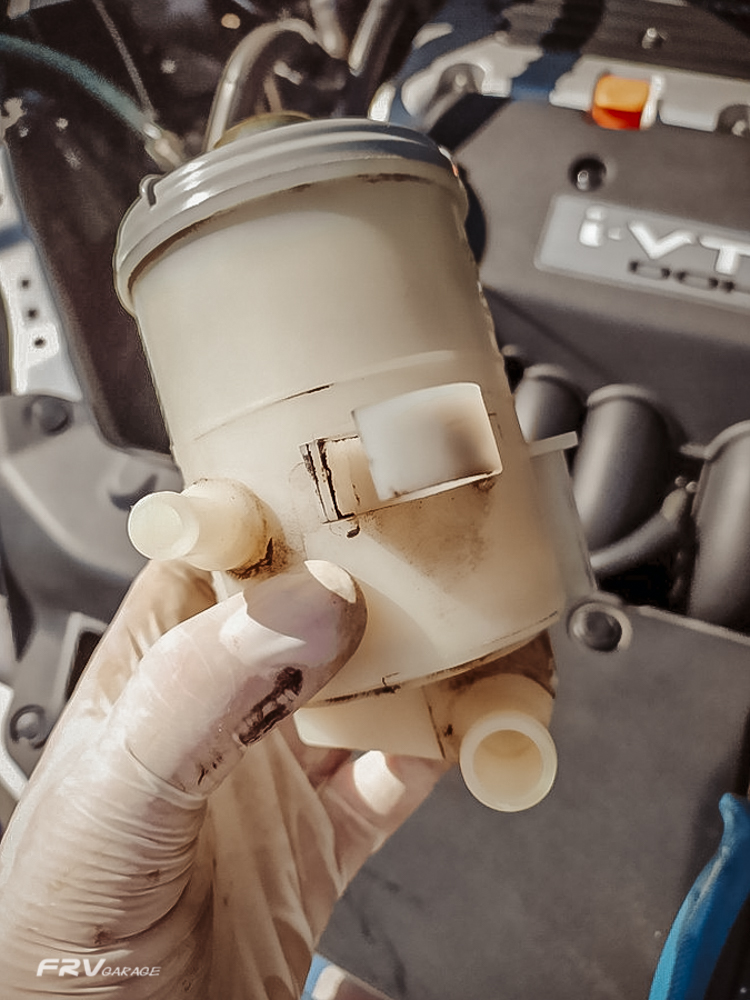
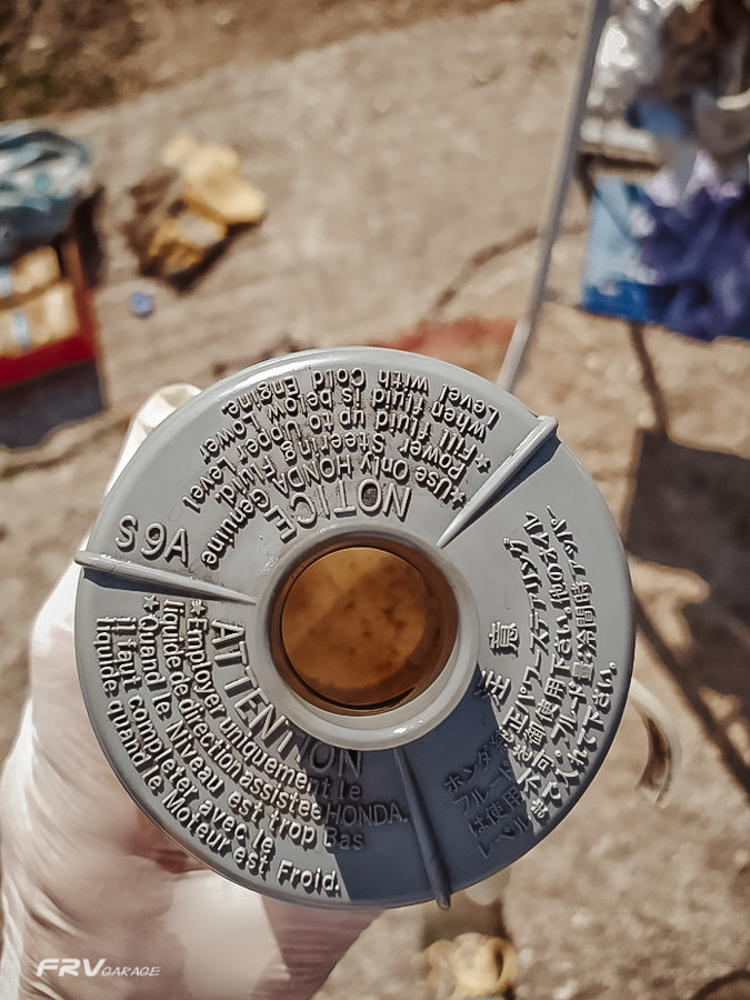
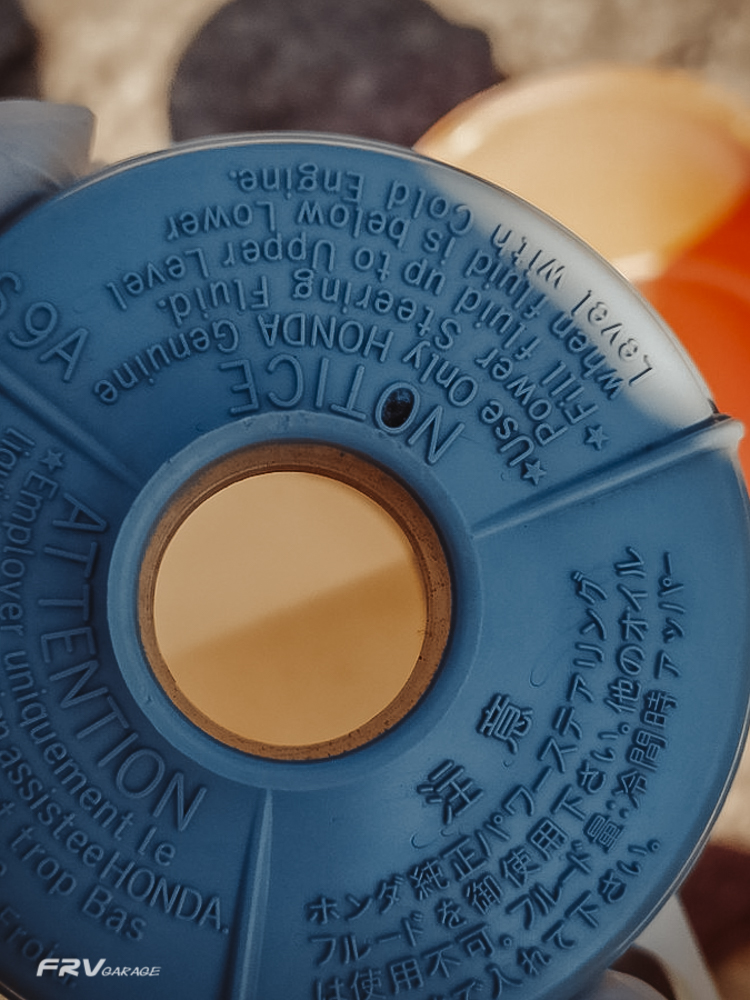
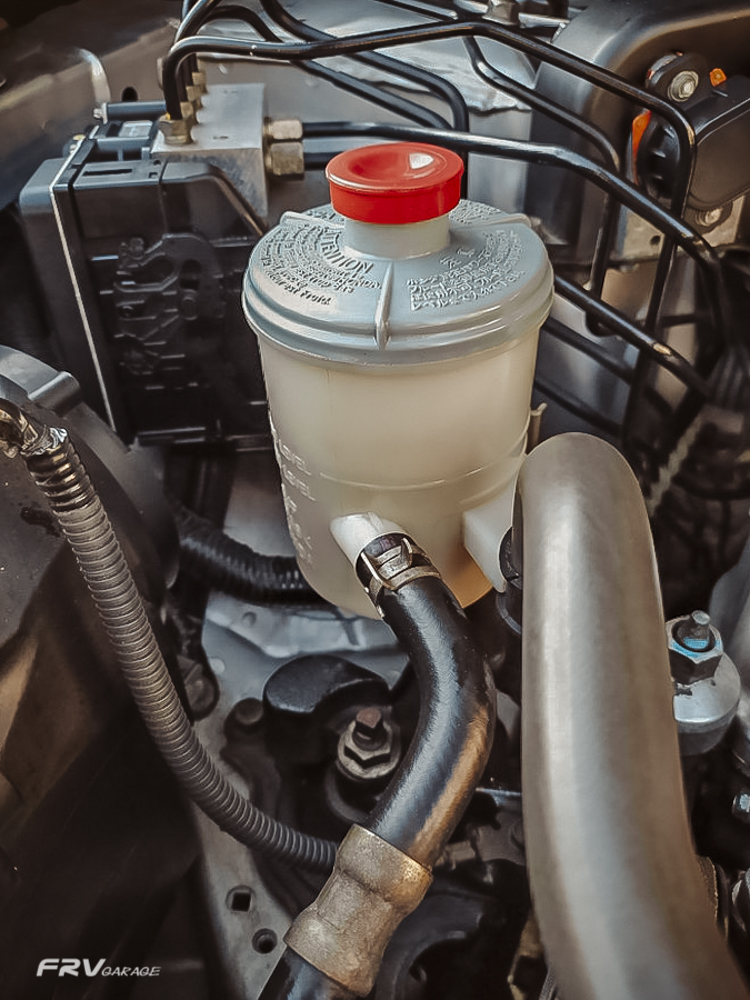
First I drove round for about 15 min to worm up the fluid, than jacked the front to get the wheels up 5 cm above the floor. Than replaced both O-rings on the PS pump and disconnected the PS  reservoir. I fed the returned pipe to a waste bottle and to the inlet pipe I attached a big funel for supplying fresh PSF to the system while turning the wheels from lock to lock several times pushing the old fluid out. New fluid was constantly adding to the funel, not to let the air in and run the PS pump dry.  If you connect at least 2l bottle or canister of fresh fluid to the PS pump its possible to do it with engine on for several seconds. I have repeated this proces 4-5 times until a nice, clean fluid was coming out. Than I washed out the reservoir  /in a bucket with hot soapy water/,  put all piping back and wiped out all spillings. Started the engine and made several slow turns from lock to lock /with the tires still up/ to bleed the system, the cup on the reservoir got to be opened, and than toped up the fluid.

The main purpose of this maintenance is to get rid of all the dirt in  the system, so flushing it out with a new fluid is important, so is the reservoir rinse. Inside is a filter - a very fine strainer catching the dirt. Replacing both O-rings on the pump is essential too so no air is leaking in. After this service, 70-80% of the unpleasant nose was gone and no air bubbles in the reservoir. 
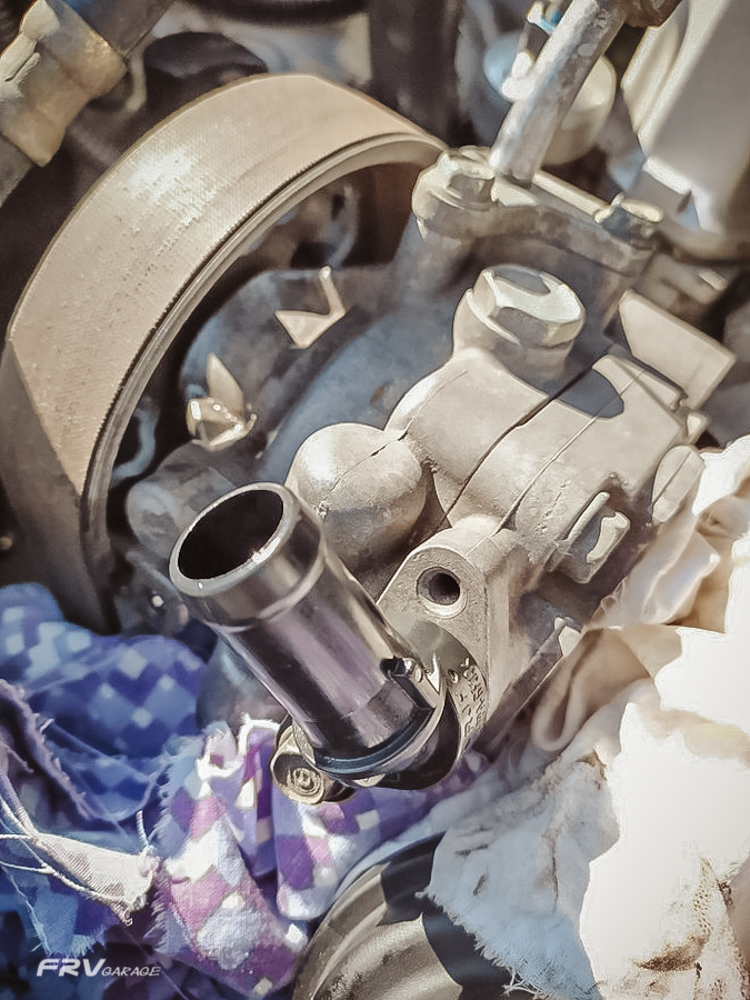
From this point and on it will be good enough changing the fluid only in the reservoir to keep it fresh n clean. I do it regularly  when changing the engine or gearbox oil, by sucking it out and filling it with a new PSF. On one go its possible to suck out and replace about 0,25 lit of fluid. Repeating it 6-7 times replaces almost the whole fluid. Ravenol PSF is cheap enough to do it this way. It fulfils the Honda 08206-9002 oil specs, I have been running Ravenol now for about 100K Km and will continue. 

Front axle inspection, lower ball joints and silent blocks replacement  @185K 

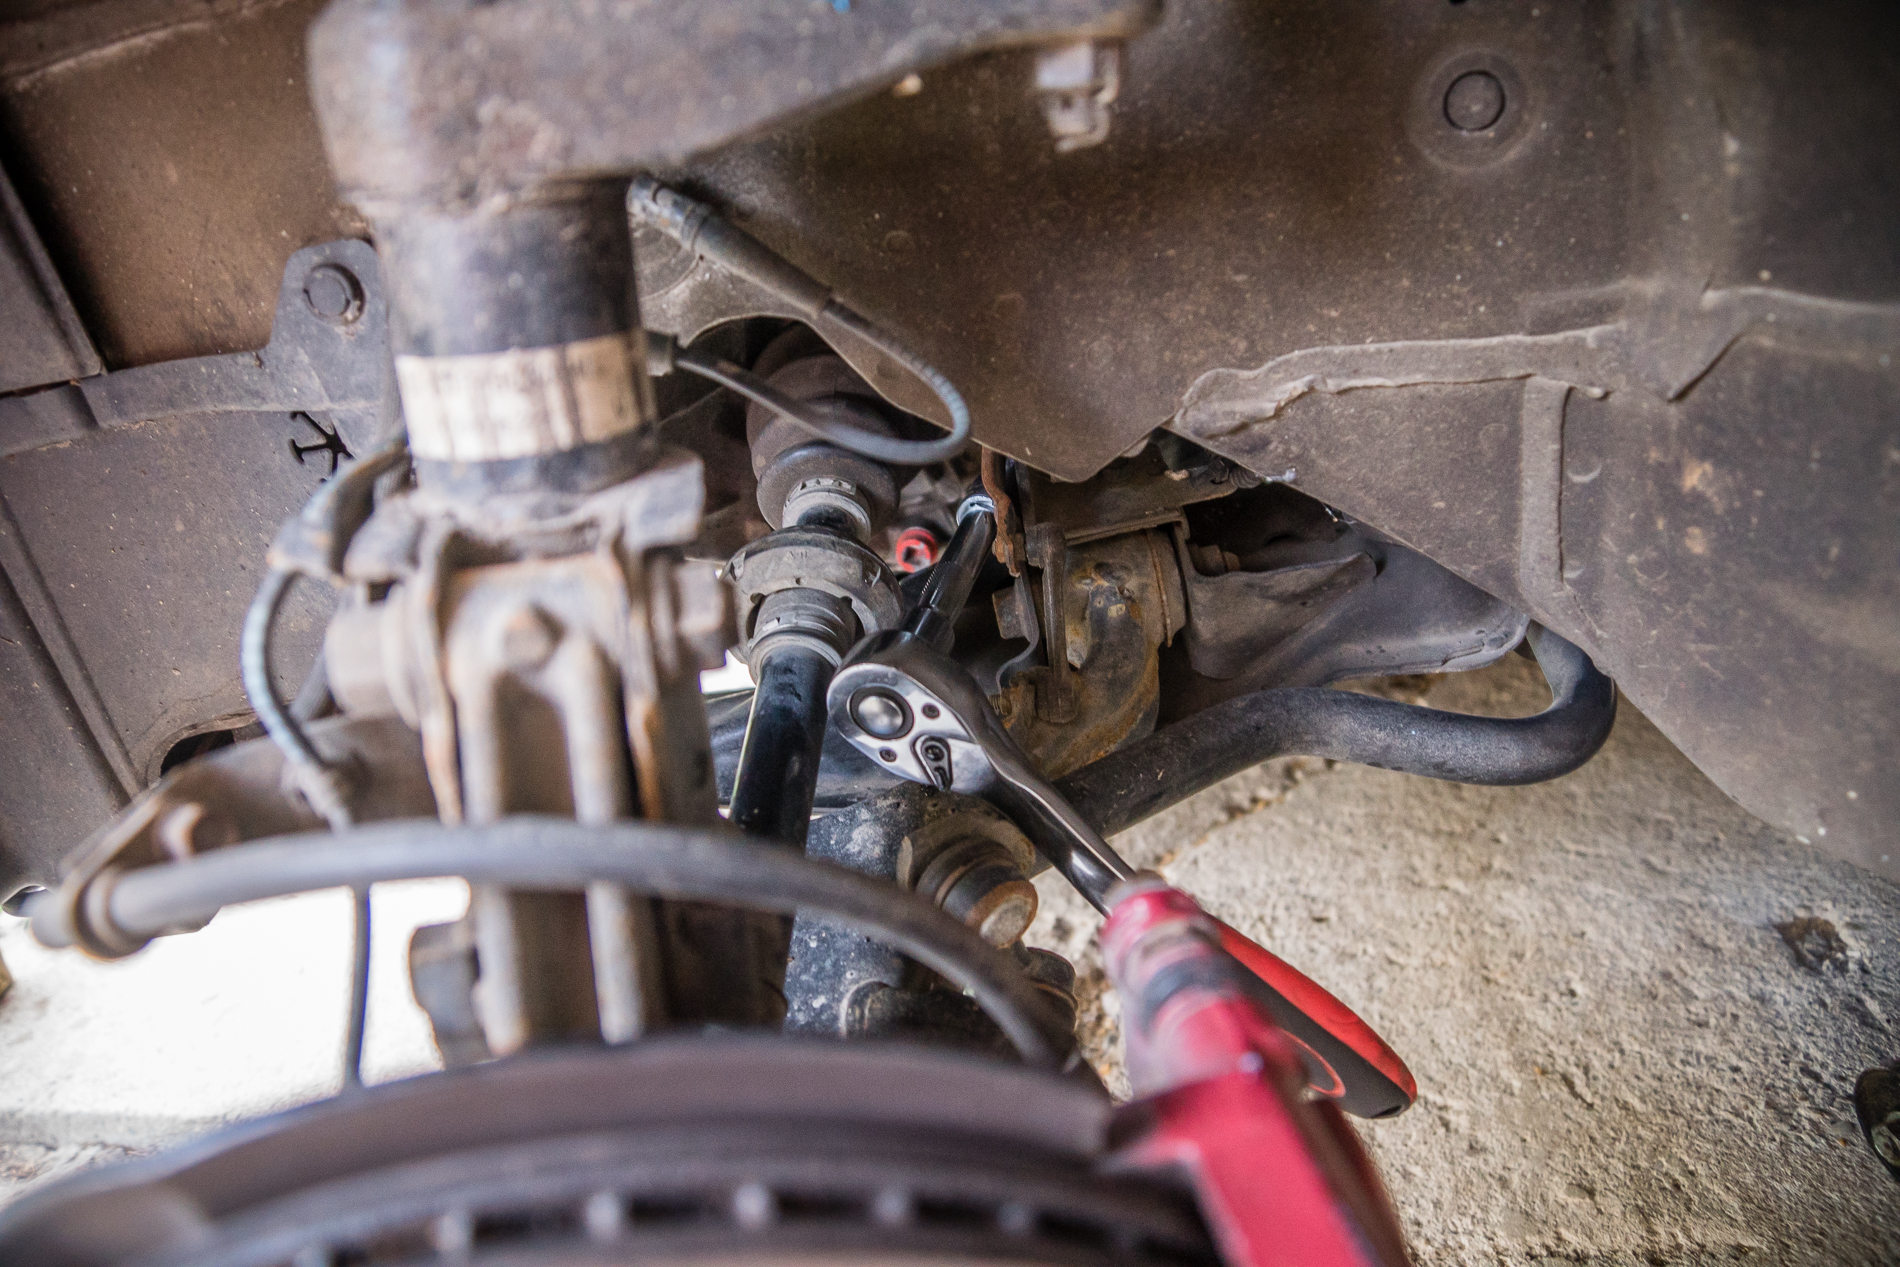
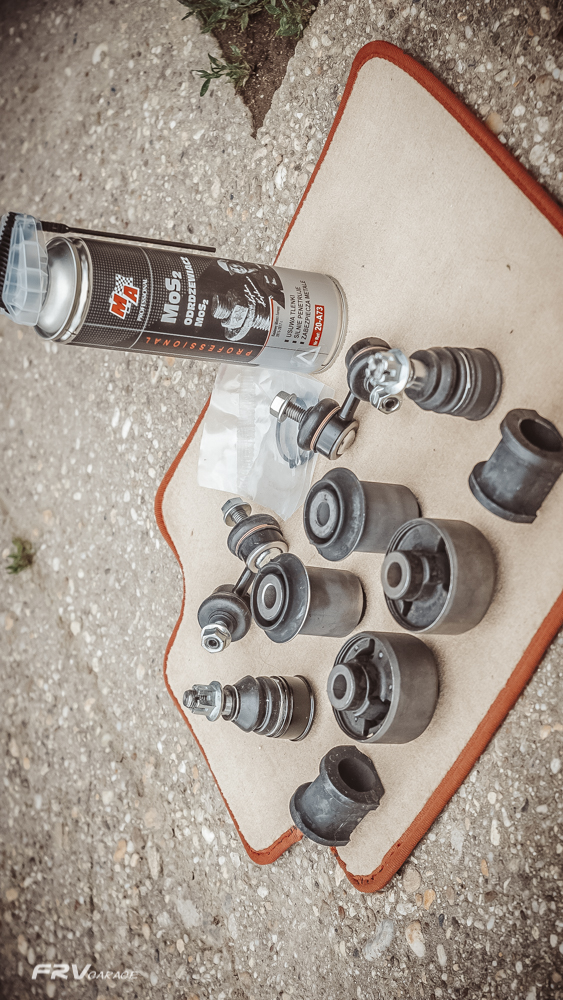
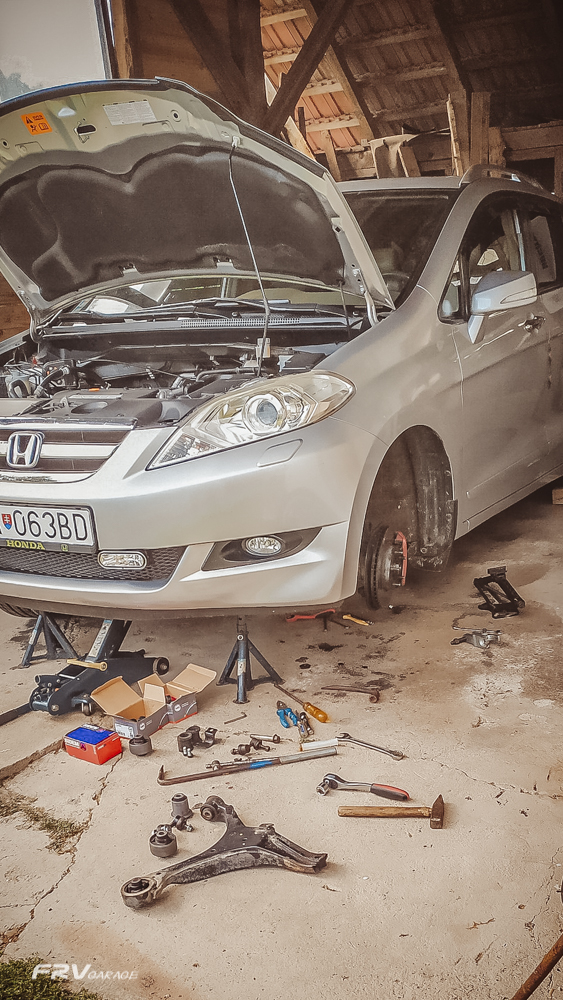
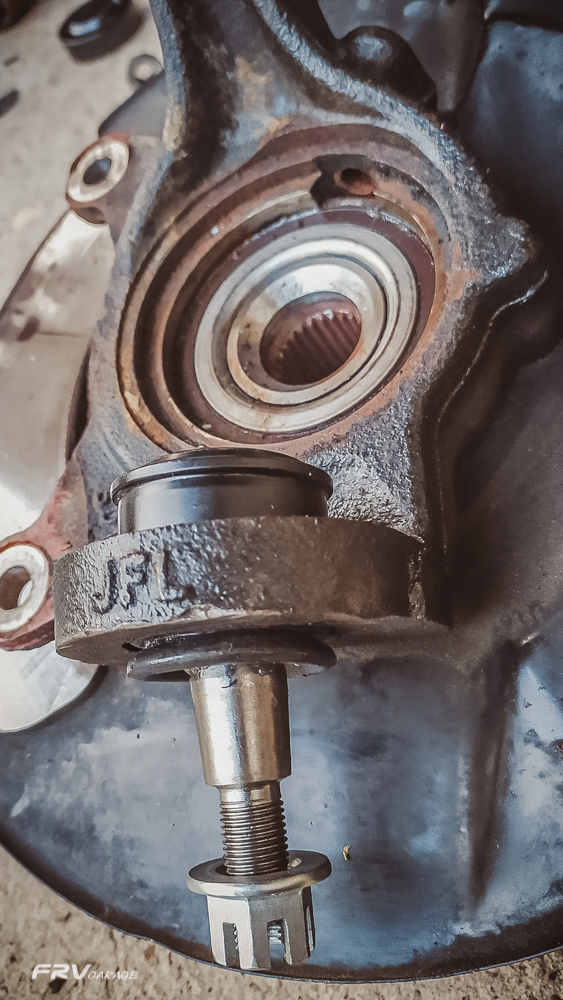
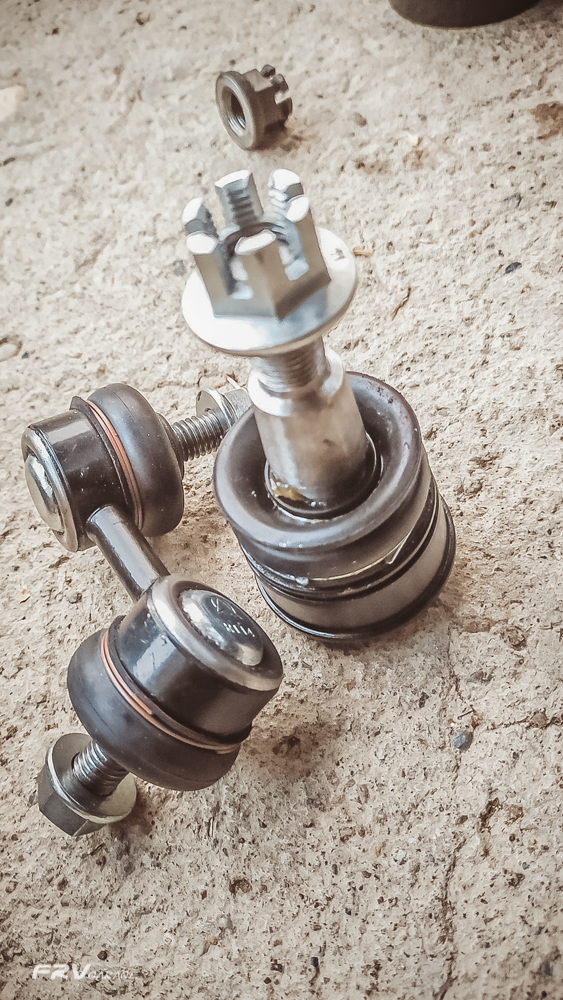
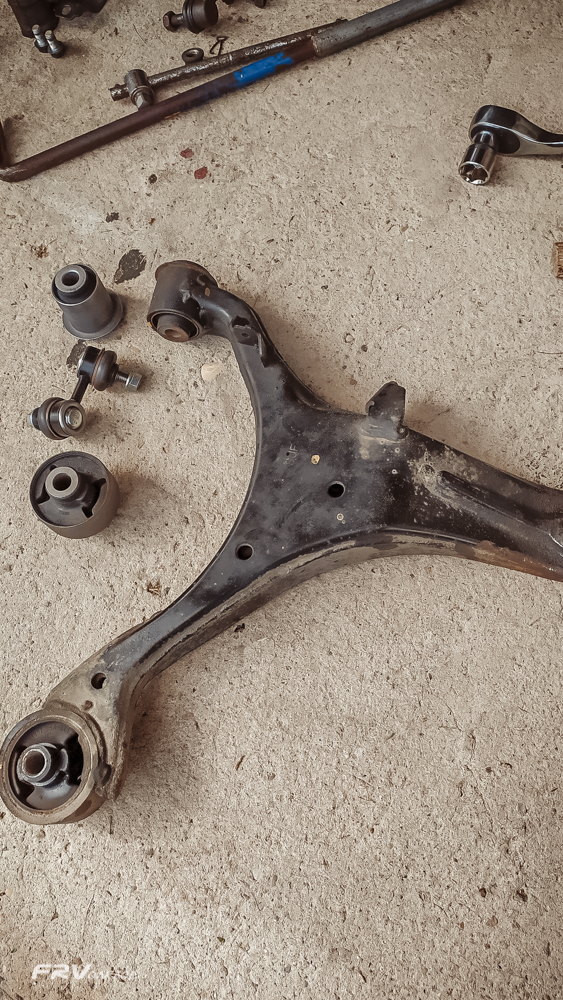
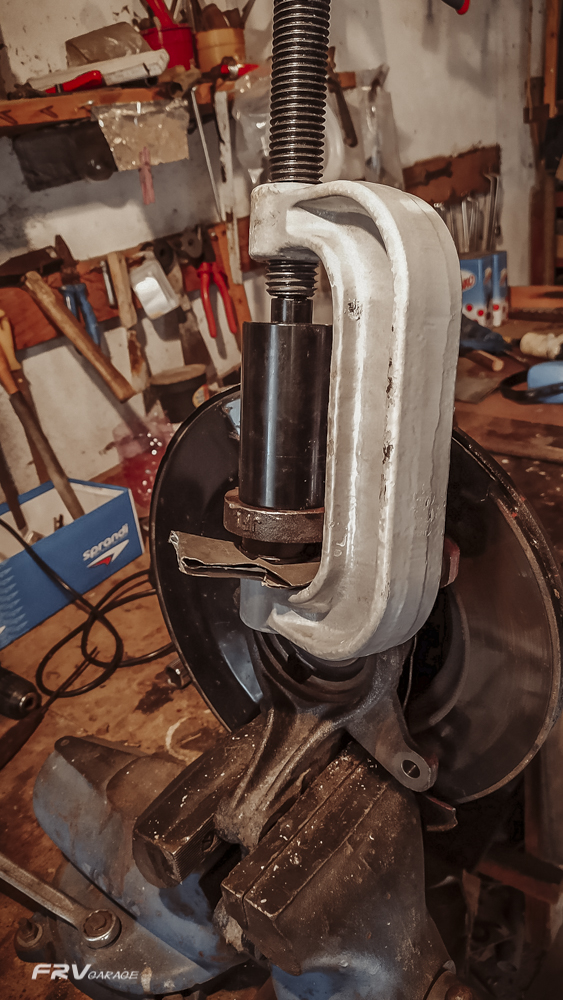
When inspecting the brakes recently, I have noticed oily coating and dirt on one of the low ball joints. Mechanically it was absolutely fine, no cracking sound or play, only the rubber had a crack, which would eventually lead to failure. I have decided to replace both of them, along with lower arms silent-bocks - 4 pieces, stabilizers links and stabilizer bar rubber bedding. All together 10 pieces for about 100€. I have also bought a ball joint remover and a heavy duty C clump and some penetrating cleaner and lub, another 70€. Pressing them out and in wasn't an easy job but quite do-able at home. When the wheel hubs were removed I have cleaned the ABS holes, sensors and rings. These things are often problematic and causes VSA problems. The next job will be replacing both shock absorbers, the springs and the top bearings. 

Brakes check and  clean @180K 

Occasional but well noticeable brake-asbestos smell has made me to have a look at the brakes. It was apparent at small crawling speed at a carparks or when parking after a ride at my driveway. 
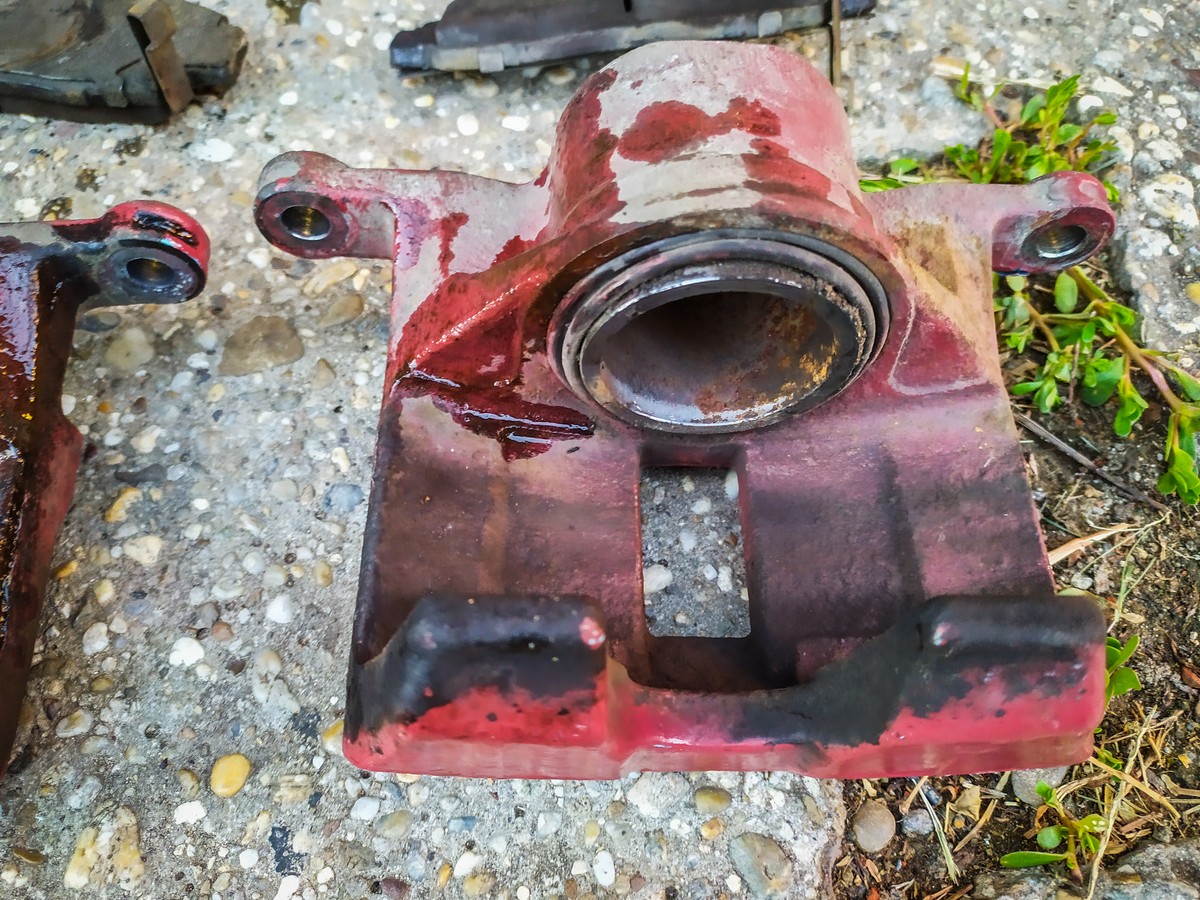
I have order 4 new brake replacement sets, containing the pistons, bleeders, gaskets and the lub, 2 liters of DOT4 fluid, some brake cleaner, brushes and dark red synthetic paint. All together round 60€. Common and available parts, of course non OEM for that price but a nice quality by Brembo. As I find out the pistons were not that bad, and after cleaning them with very fine oiled sandpaper they could have been reused. So I replaced only the gaskets and gave to the other parts - calipers pads, pins, shims well scrub and a new red coat. 

Minor improvements @175K 

Wouldn't classify these as tuning, but every little helps. While Mad flaps, Windows deflectors, Undercarriage rust, Door bung protectors are self-expleing. The Front grill cover main purpose isn't a designers element but an AC condenser protection. I have notices on several FRVs their AC rads ribs looking really crappy, bent and stuffed with mad and insects. This honeycomb screen does the protecting job quite well while providing a stylish look. Also useful in areas where brizolite is used to salt the winter roads. Behind the honeycomb screen is a very fine /like window mosquito/ net going upwards beyond the grill as well. All the debris that would fly through right to the radiator gets caught there. Such an useful and easy to make mod. 


Sidelights bulbs replacement @175K 

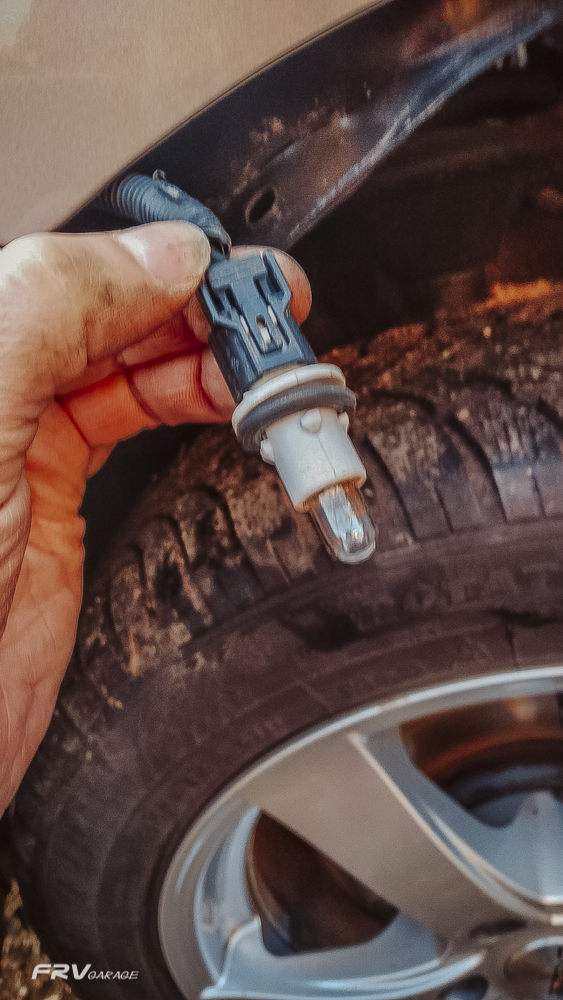
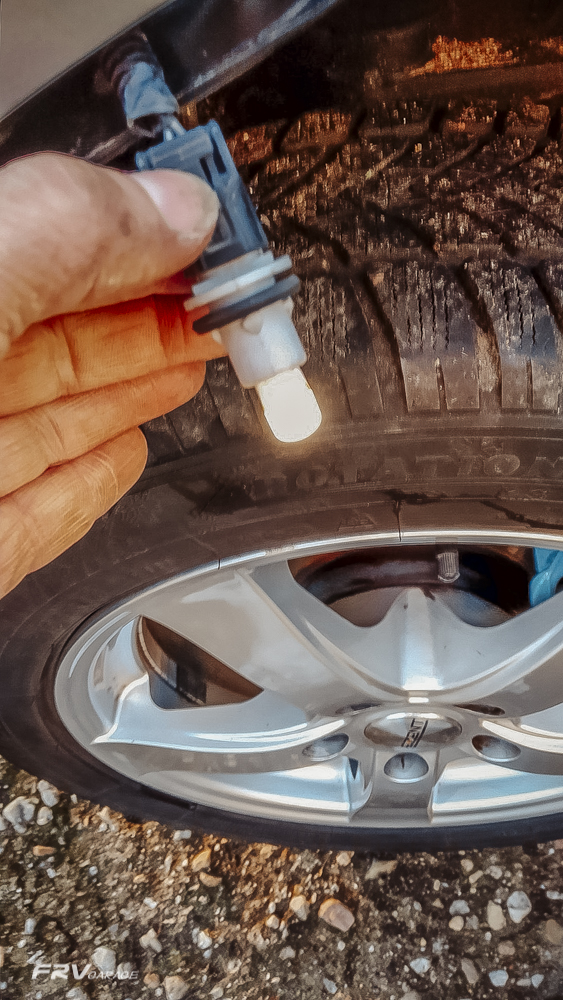
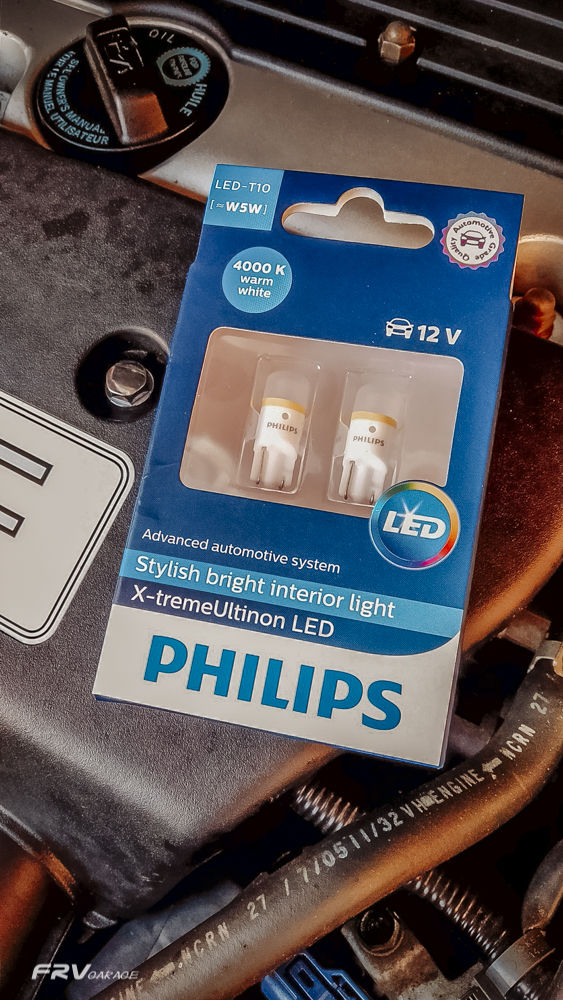
The easiest way /perhaps the only way/ how to do it, is from the wheel side. The fender inner got to be pulled off that opens a nice but narrow access to the light assembly. The sidelight bulb holder has an 1/2 circle turning attachment and wires long enough to be pulled out over the front wheel to an comfortable access.  I replaced the original yellowish halogens for Philips LED of 4000K /20€/ with 10x less power consumption and of double luminous intensity. The Philips W5W bulbs polarity matters so they will work only one way in. Try out before the final assembly. 

Vtec solenoid inspection @170K 

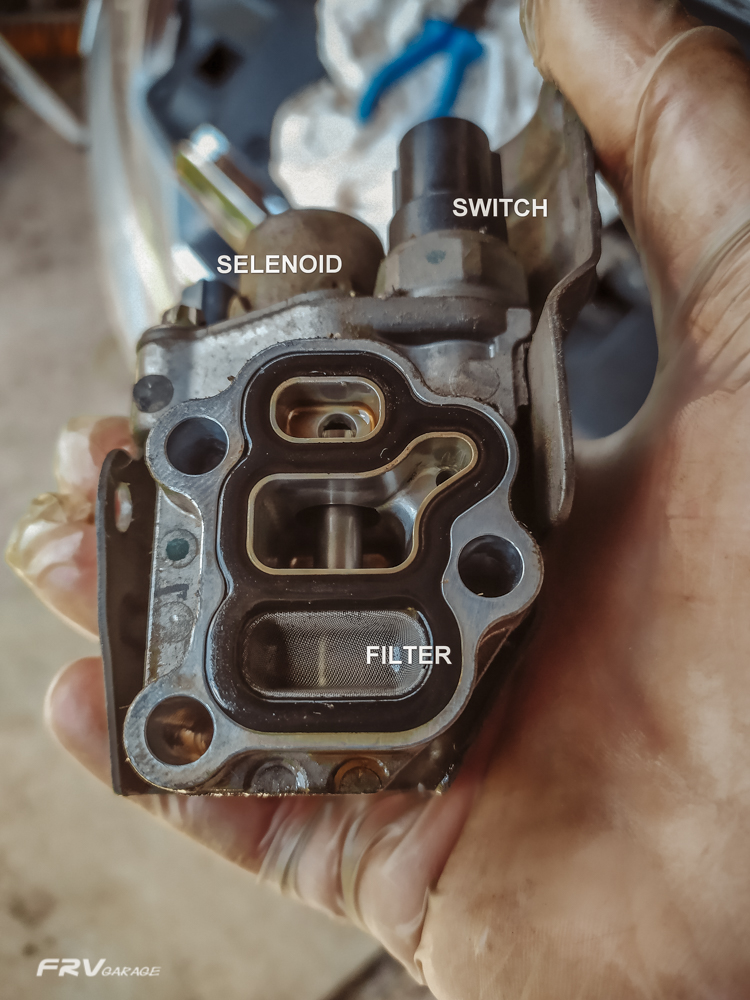
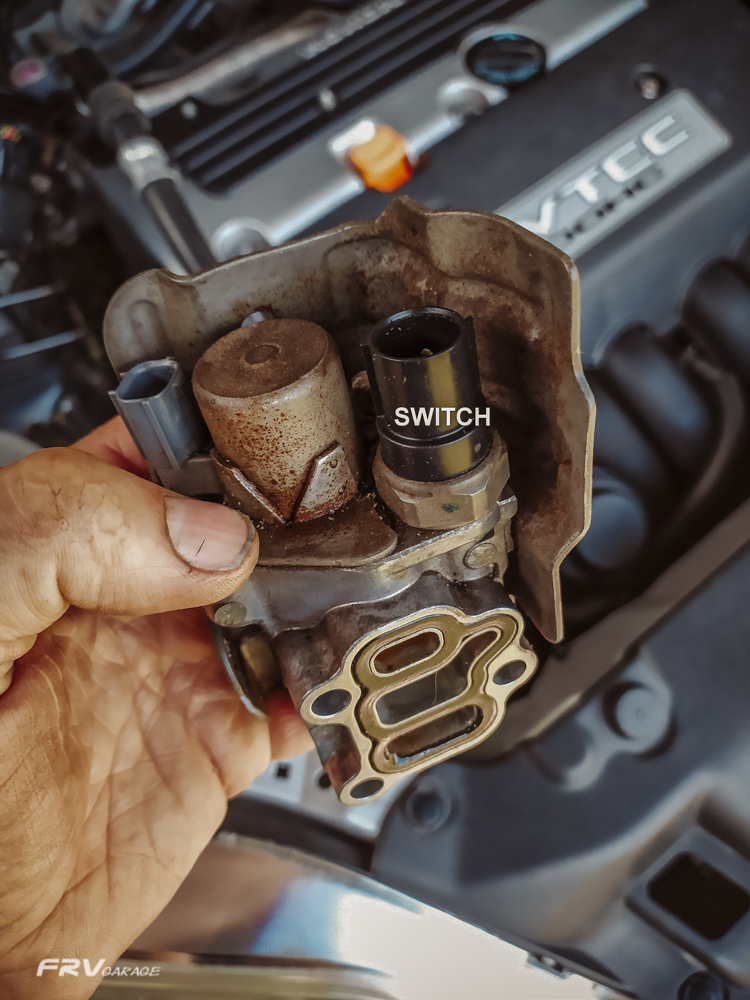
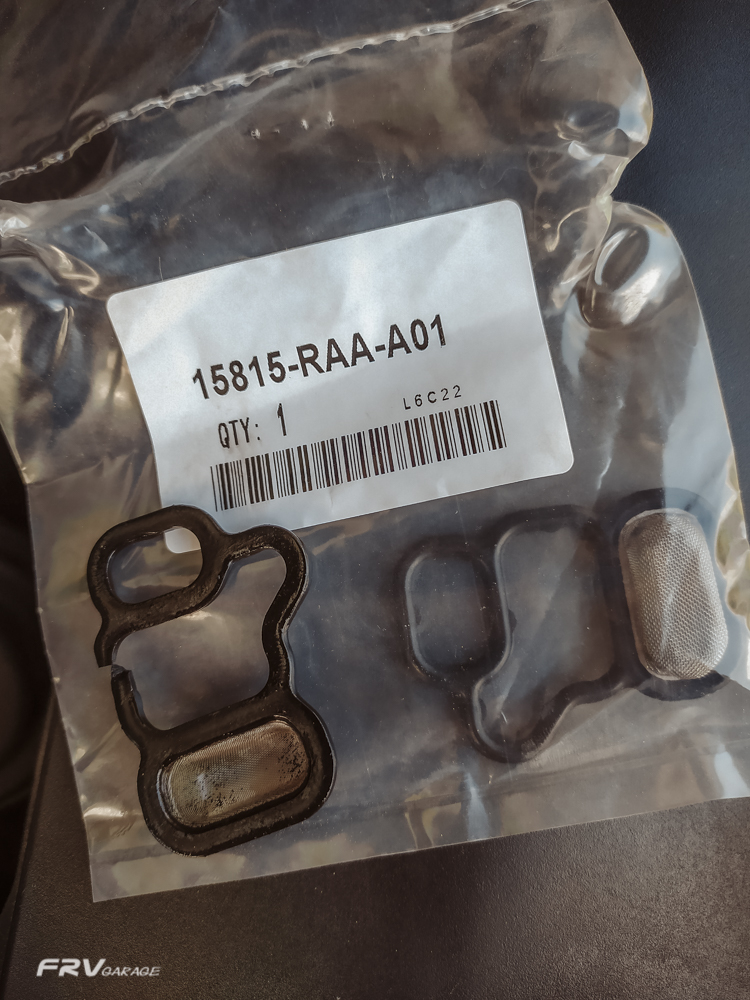
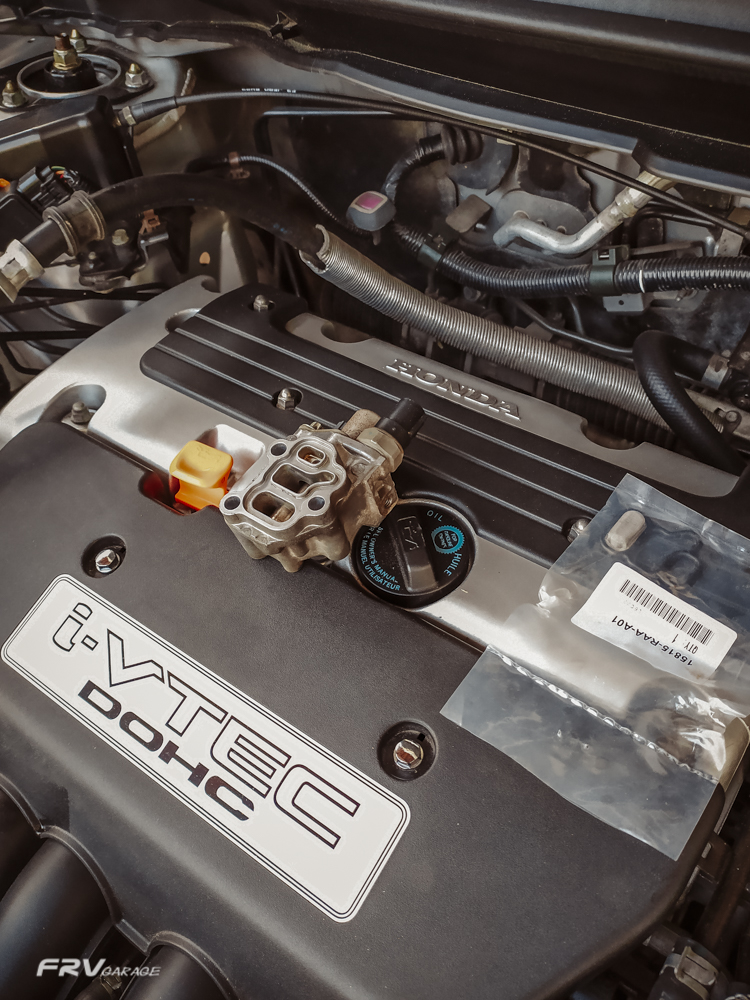
The Vtec filter is another easy and ridiculously cheap thing that can be done at home with only basic skills and tobols but all the more so important. After some 150-200K Km the gasket starts to be very brittle and a leakage can develop. The mash screen /filter/state depends on the frequency and quality oil servicing. Mine was quite good, but have seen ones totally clogged or ripped-colapsed inwards. 
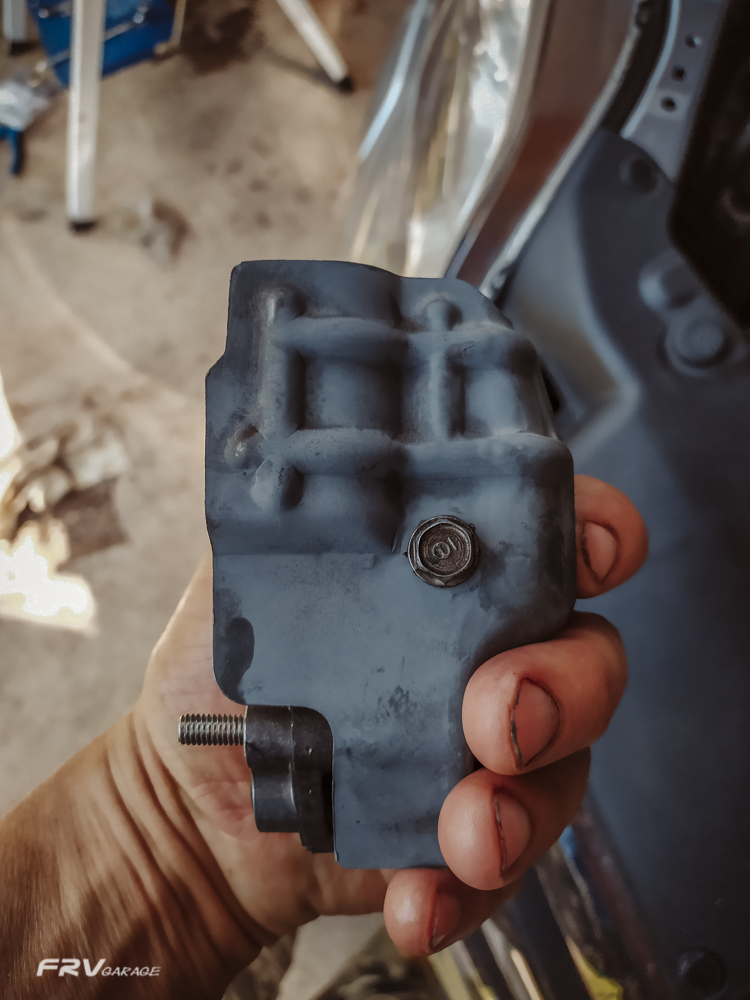
The valve is located at the left top corner, above the oil filter. It has two electric plugs and three 10mm bolts. The access is not bad. The heath shield comes off with it, no need to take it down separately.  Clean the valve cambers with a brake cleaner. Ive also de-rusted and painted the heath shield. The gasket set contains the VTC screen too. To replace that requires a bit more disassembling. /engine mount, PS pump/ VTC filter is on the block from the front under the PS pump. Two 10 mm bolts no cabling.  Costs up to 10€.

Rear axle upgrade @170K 

I consider the rear axle of this car as its week point. Here is my upgrade to it. Most of the info I find on the Polish Honda FRV FB.

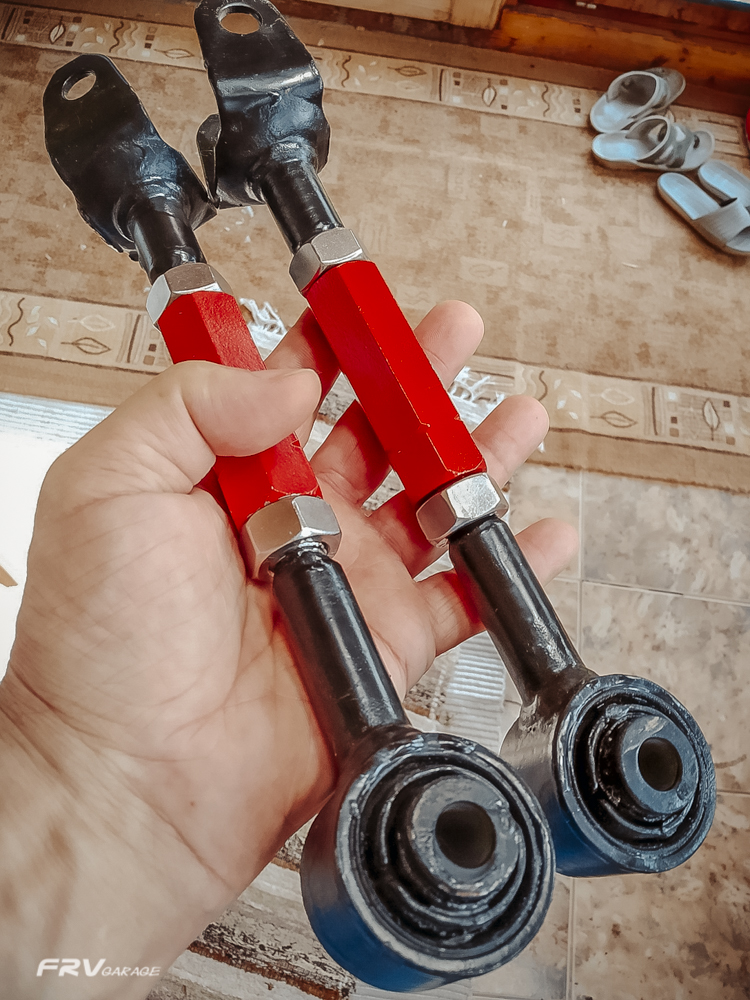
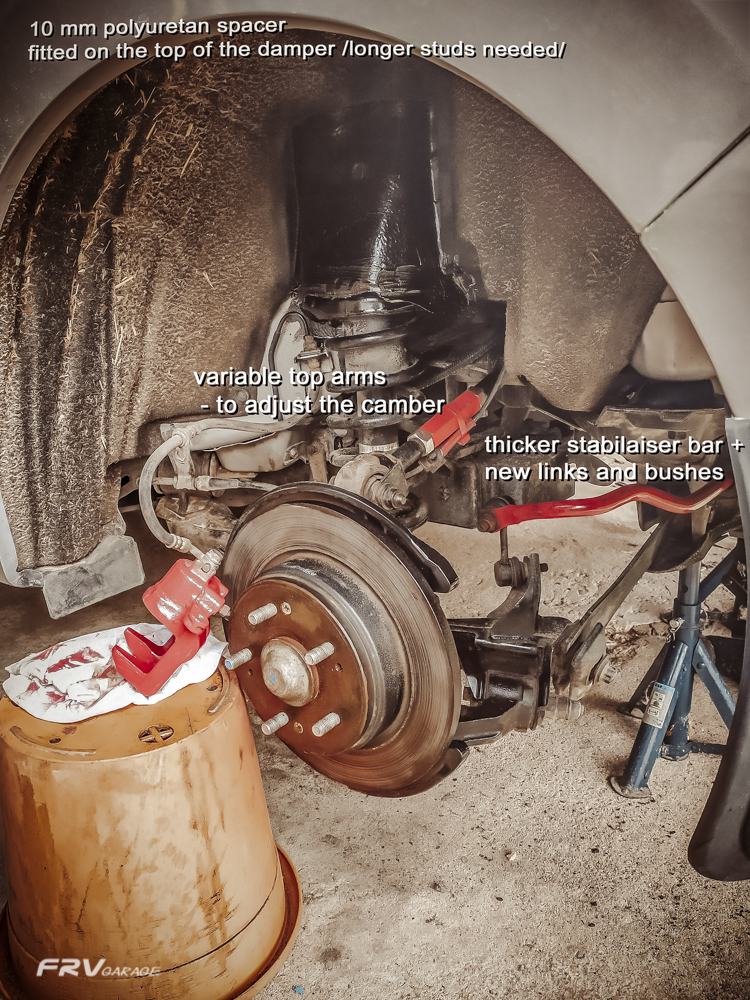
The most important upgrade is the set of adjustable top control arms, so the camber angle can be set. The other thing is rather cosmetic - 10 mm spacers between the coils and the chassis. Now with 3 people at back the car sits still straight, neatly and not like a ill frog. This also lets me to put higher tires for the winter - 215 60 r16 instead of 205 55 r16. The fender gap is almost the same, I reckon when the car was new and the springs fresh it could had been like this. Last thing - the stabilizer bar from the Honda FRV diesel models. This one is thicker thus firmer /petrol FRV is 17mm, diesel FRV 22mm/. Pricewise if I remember 70€ for the arms - they are home made from the original ones with new bushes, 20€ for the spacers, 25€ for a 2nd hand stabilizer bar + 10€ for new rubber bushes, and 25€ for a set of new stabilizers links. Bit of synthetic red paint, cleaner and bolt penetrator. 

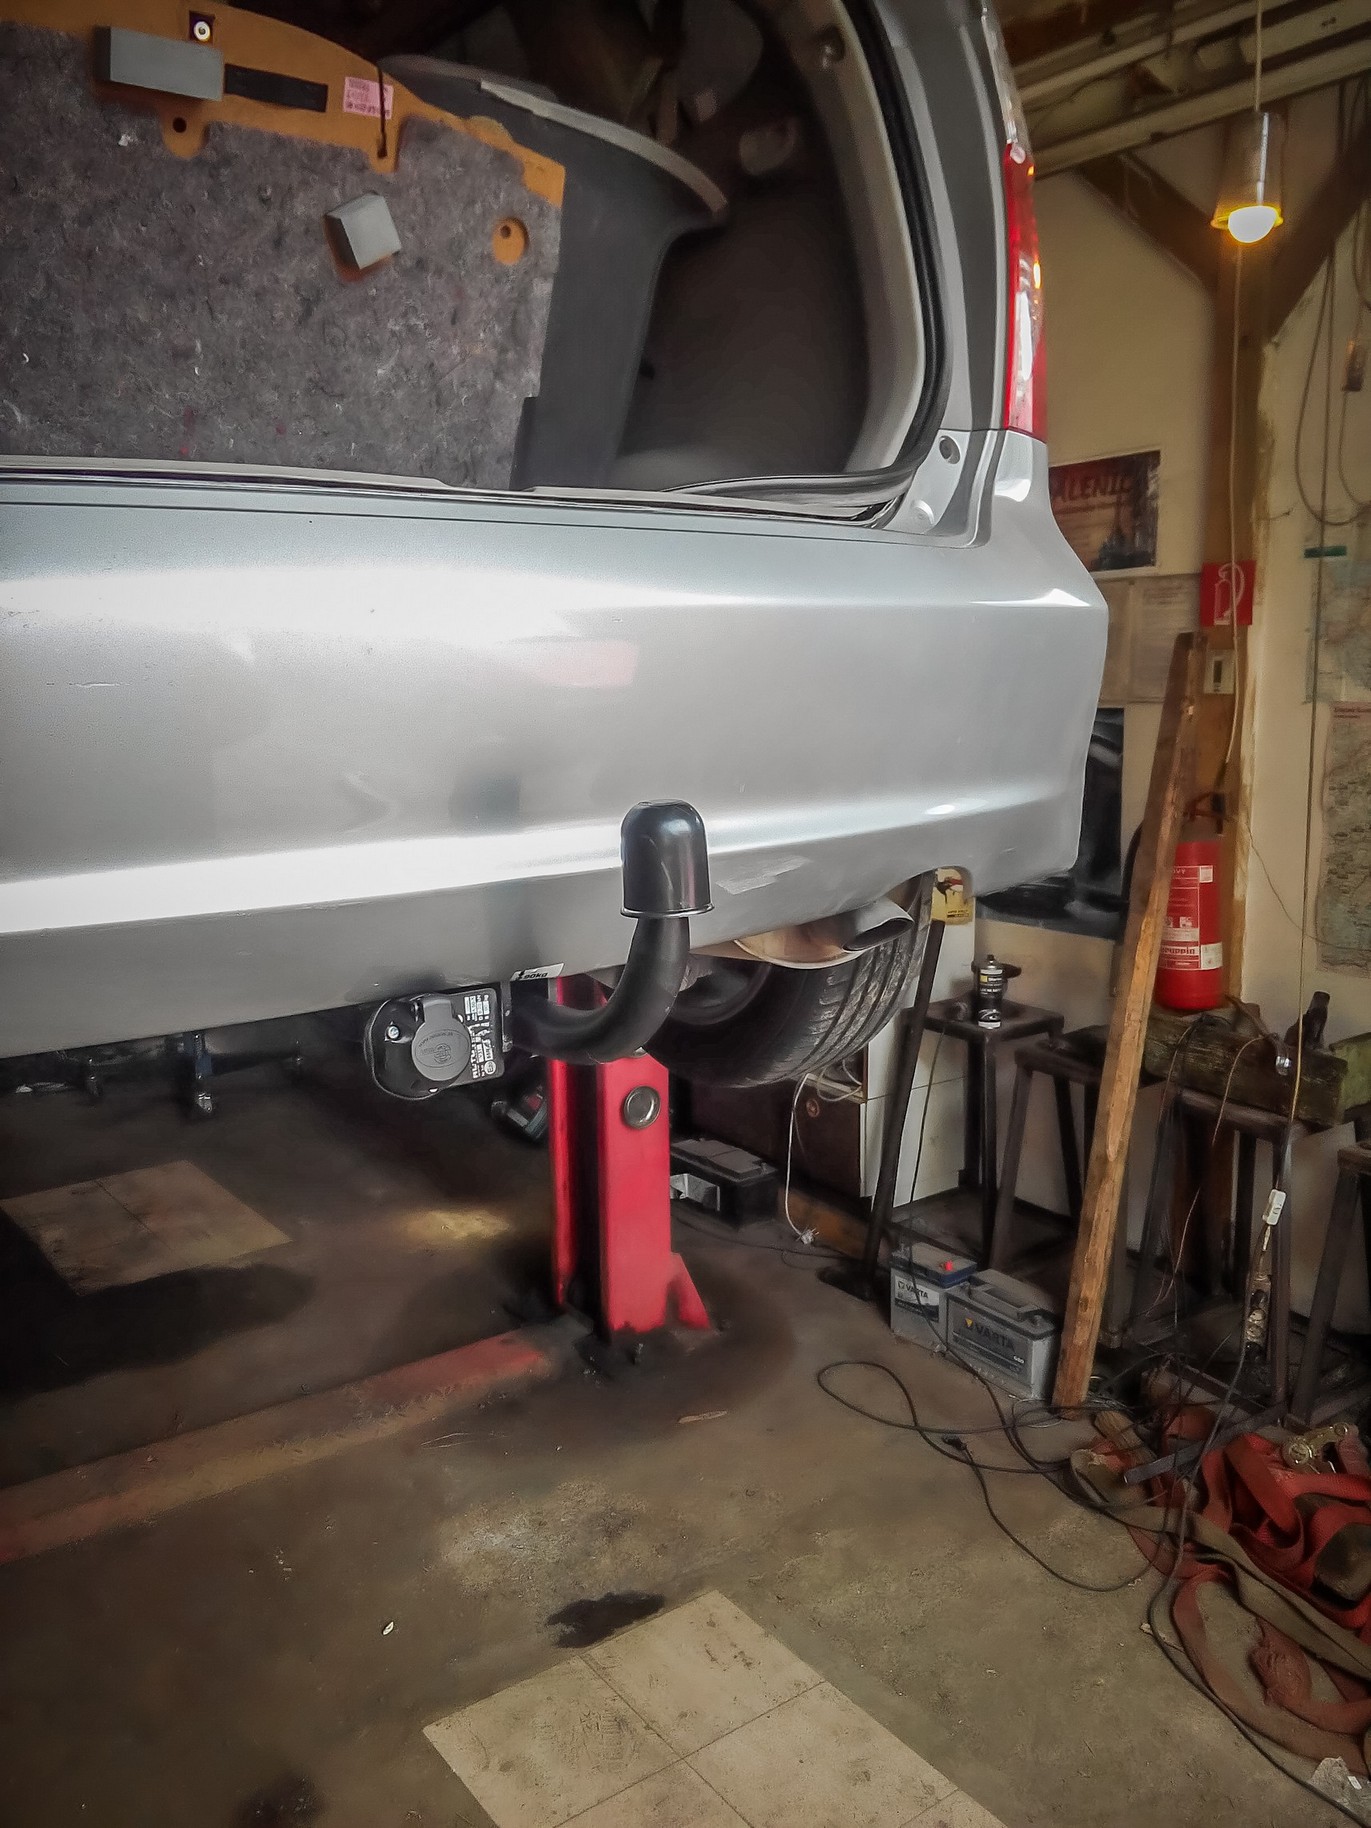
Tow bar @170K

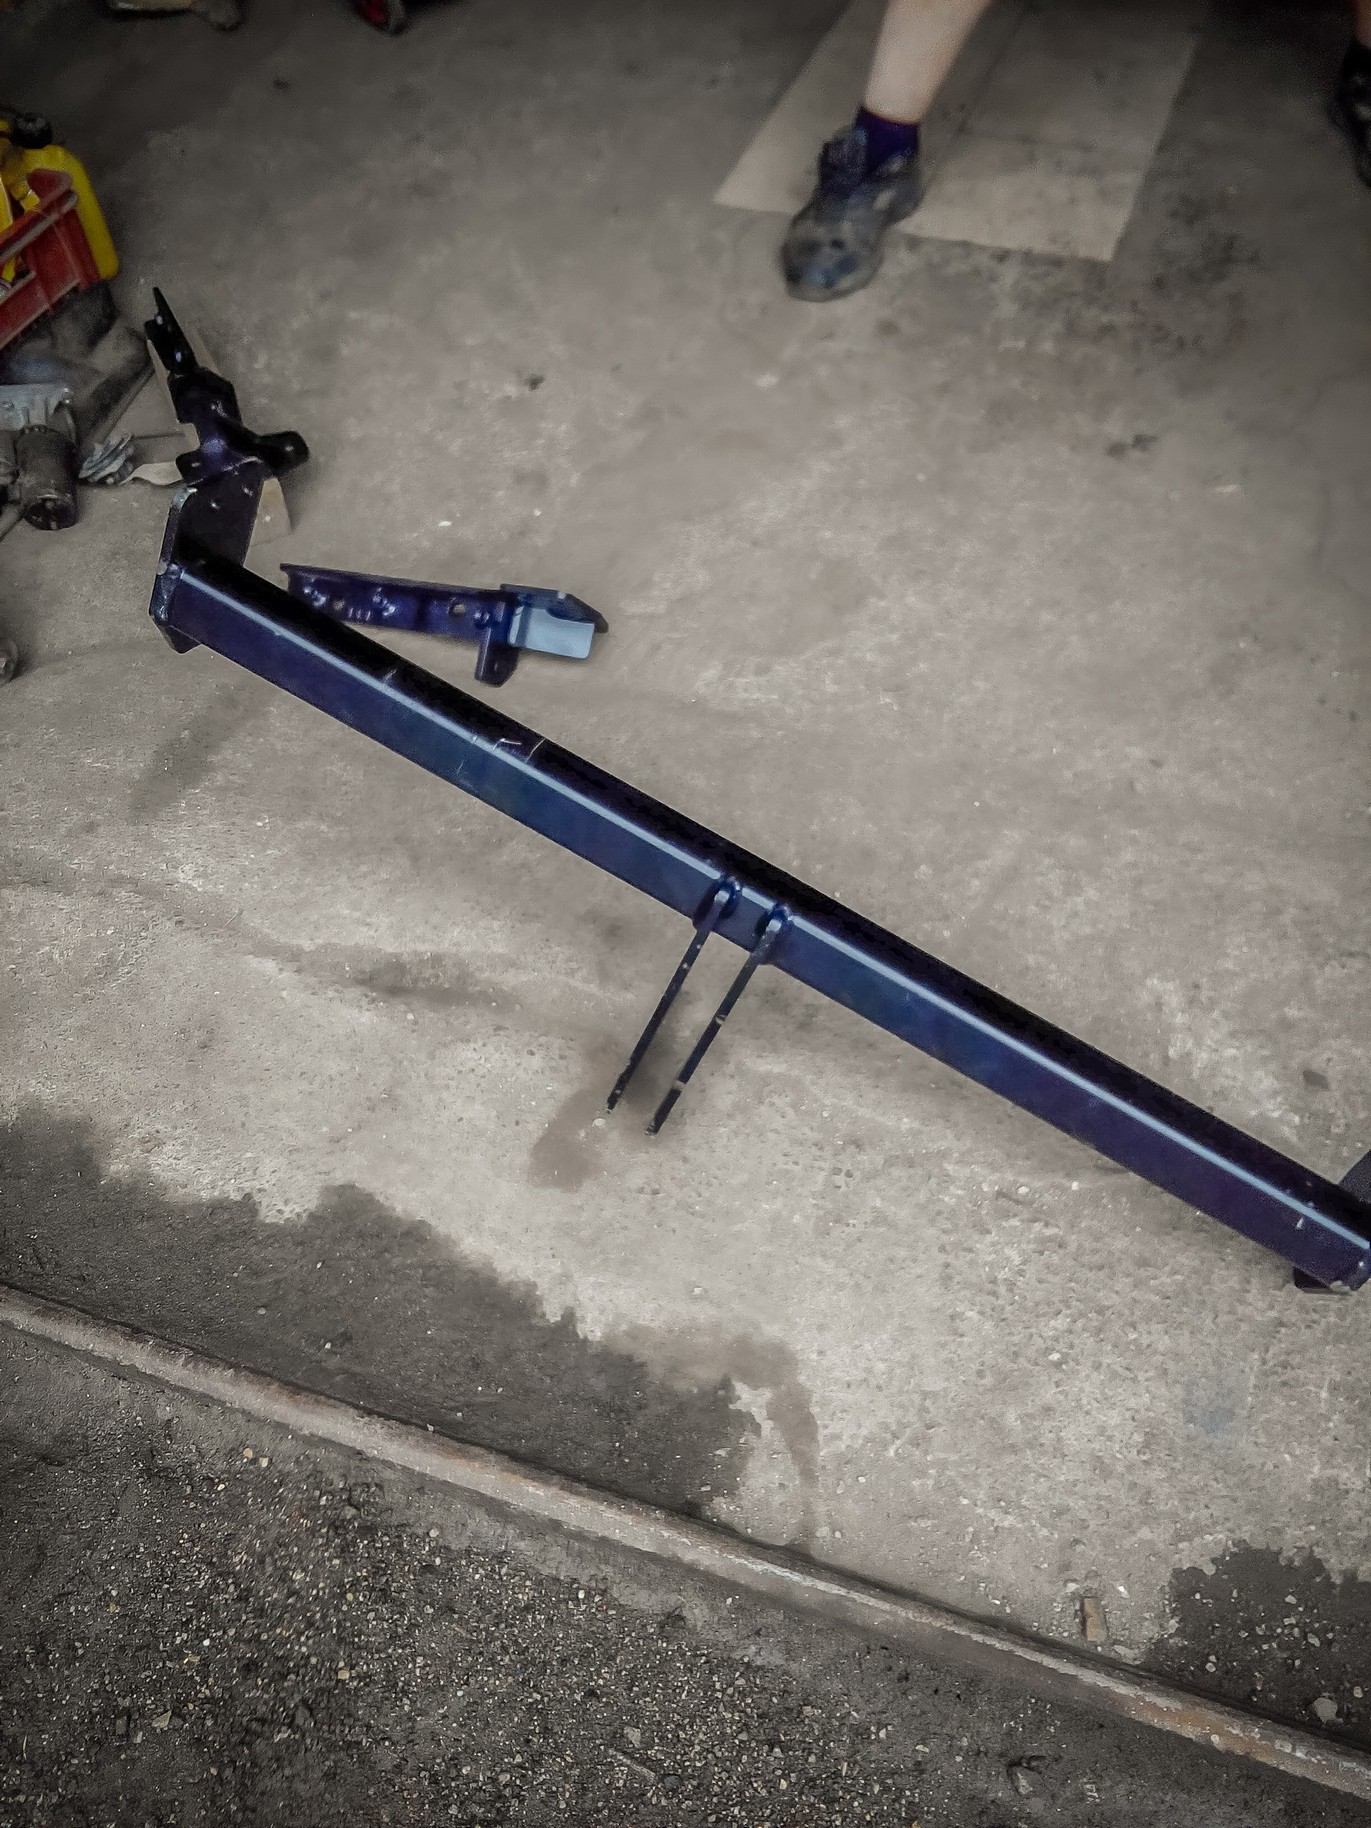
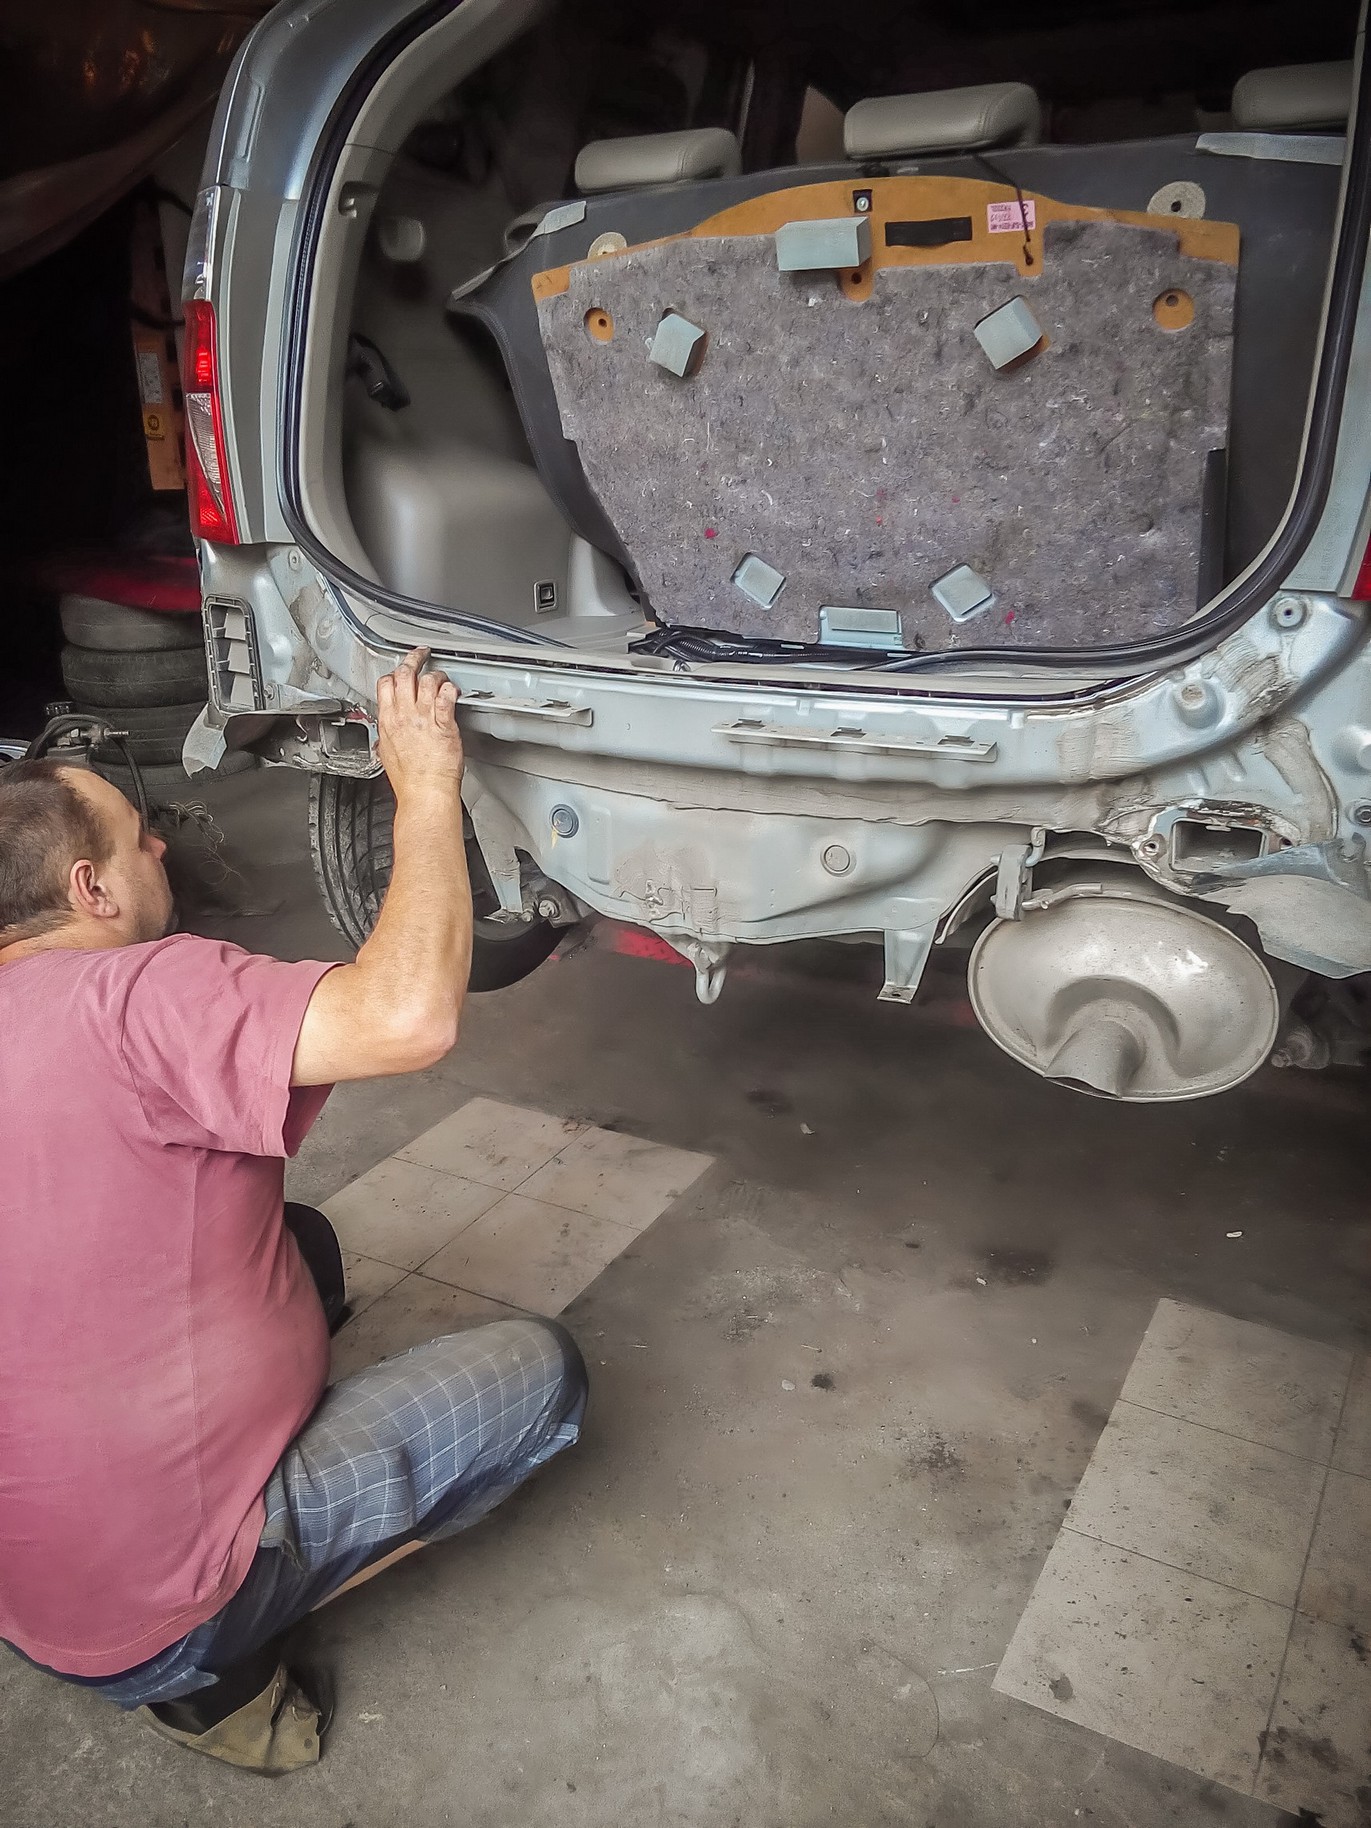
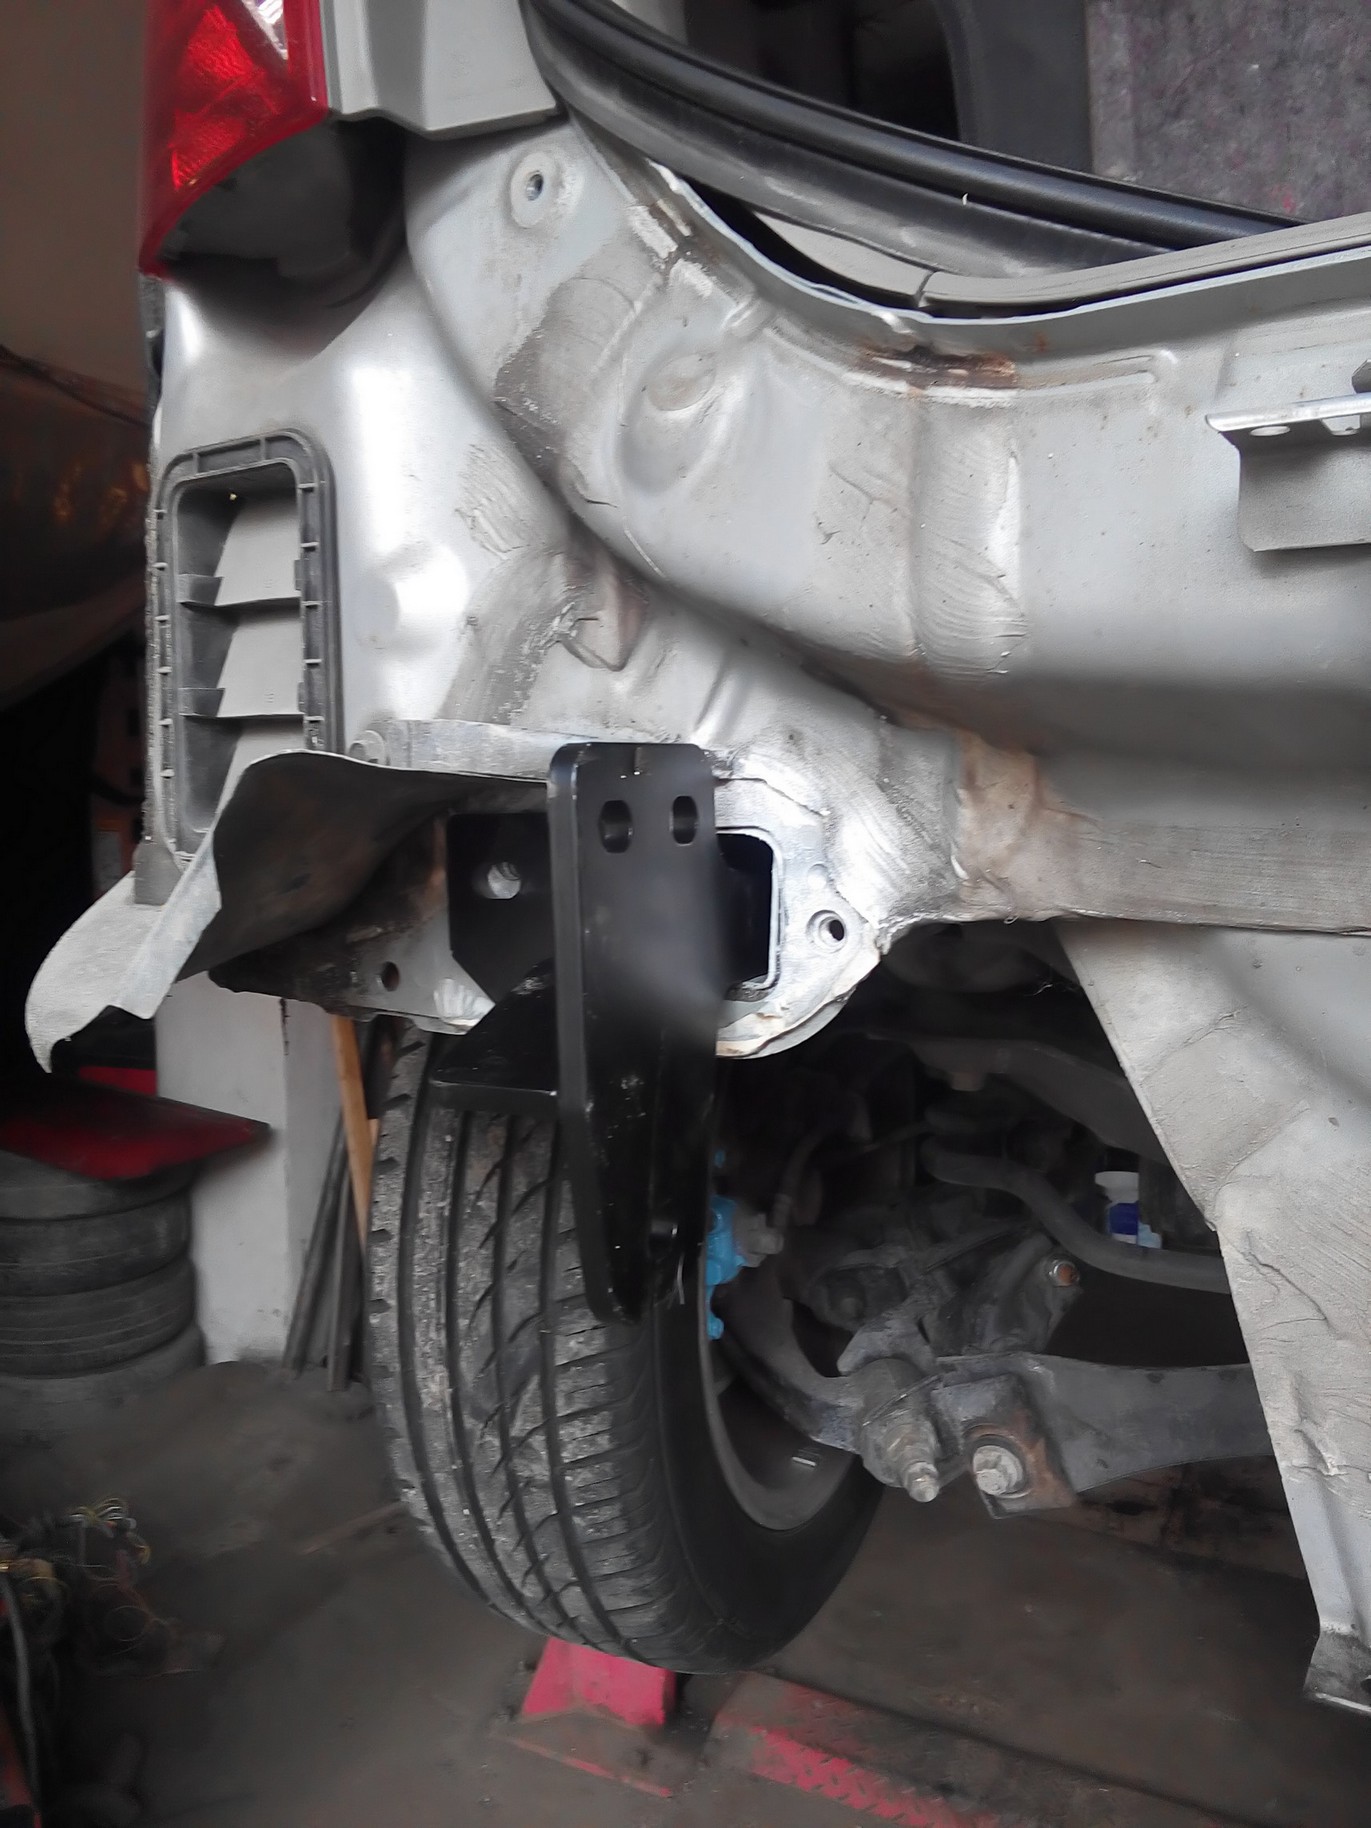
The car come without the tow bar. On one hand a sign of a healthy clutch, but when you are after one a head-scratcher.The first set I ordered, was actually a CRVs one. They even didn't know a Honda FRV exists. They picked it up and sent the replacement but it took a month, almost nobody shelfs Honda FRV tow bars just like that. This one come from Poland. In Slovakia, the tow bar got to be signed to the cars log book and should be put on by an authorized garage only. I have done it with a friend who is a mechanic and is authorized to carry out the paperwork as well. The tow bar costed 130€, the work and fees another50€. This tow bar has three mounting points. Two on the sides attached the chassis and one in the middle where the tow eye was. 

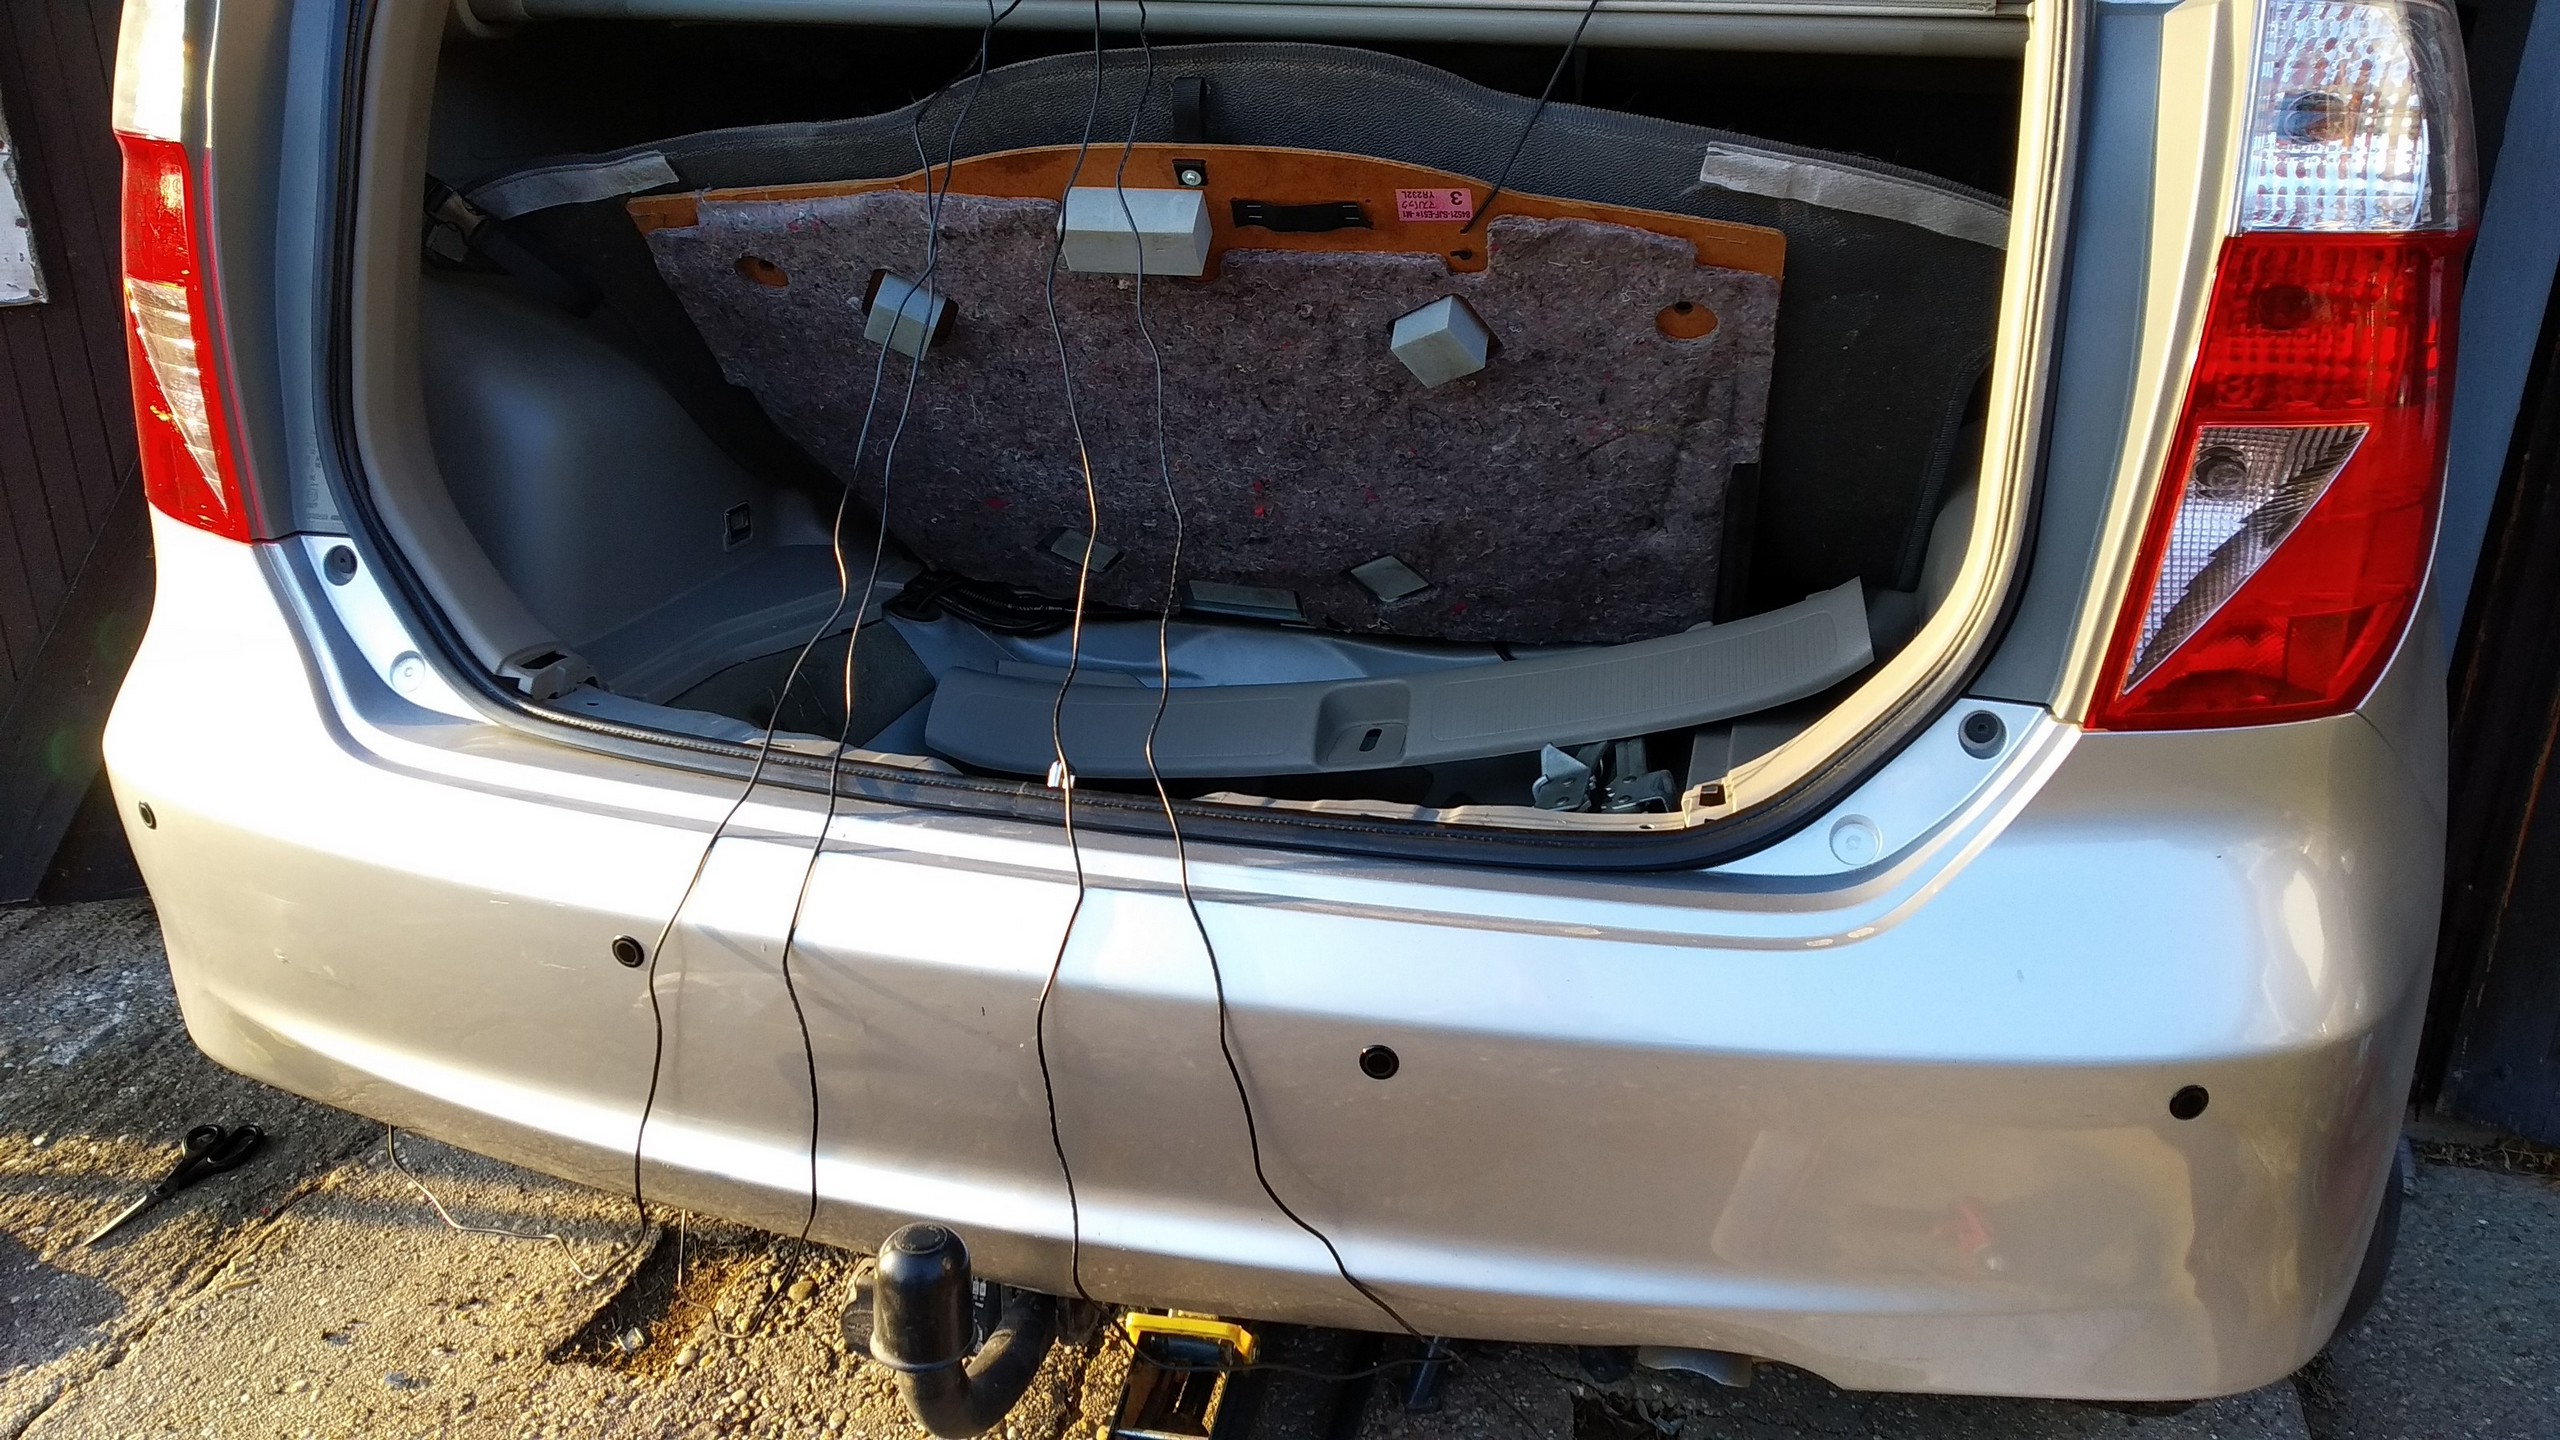
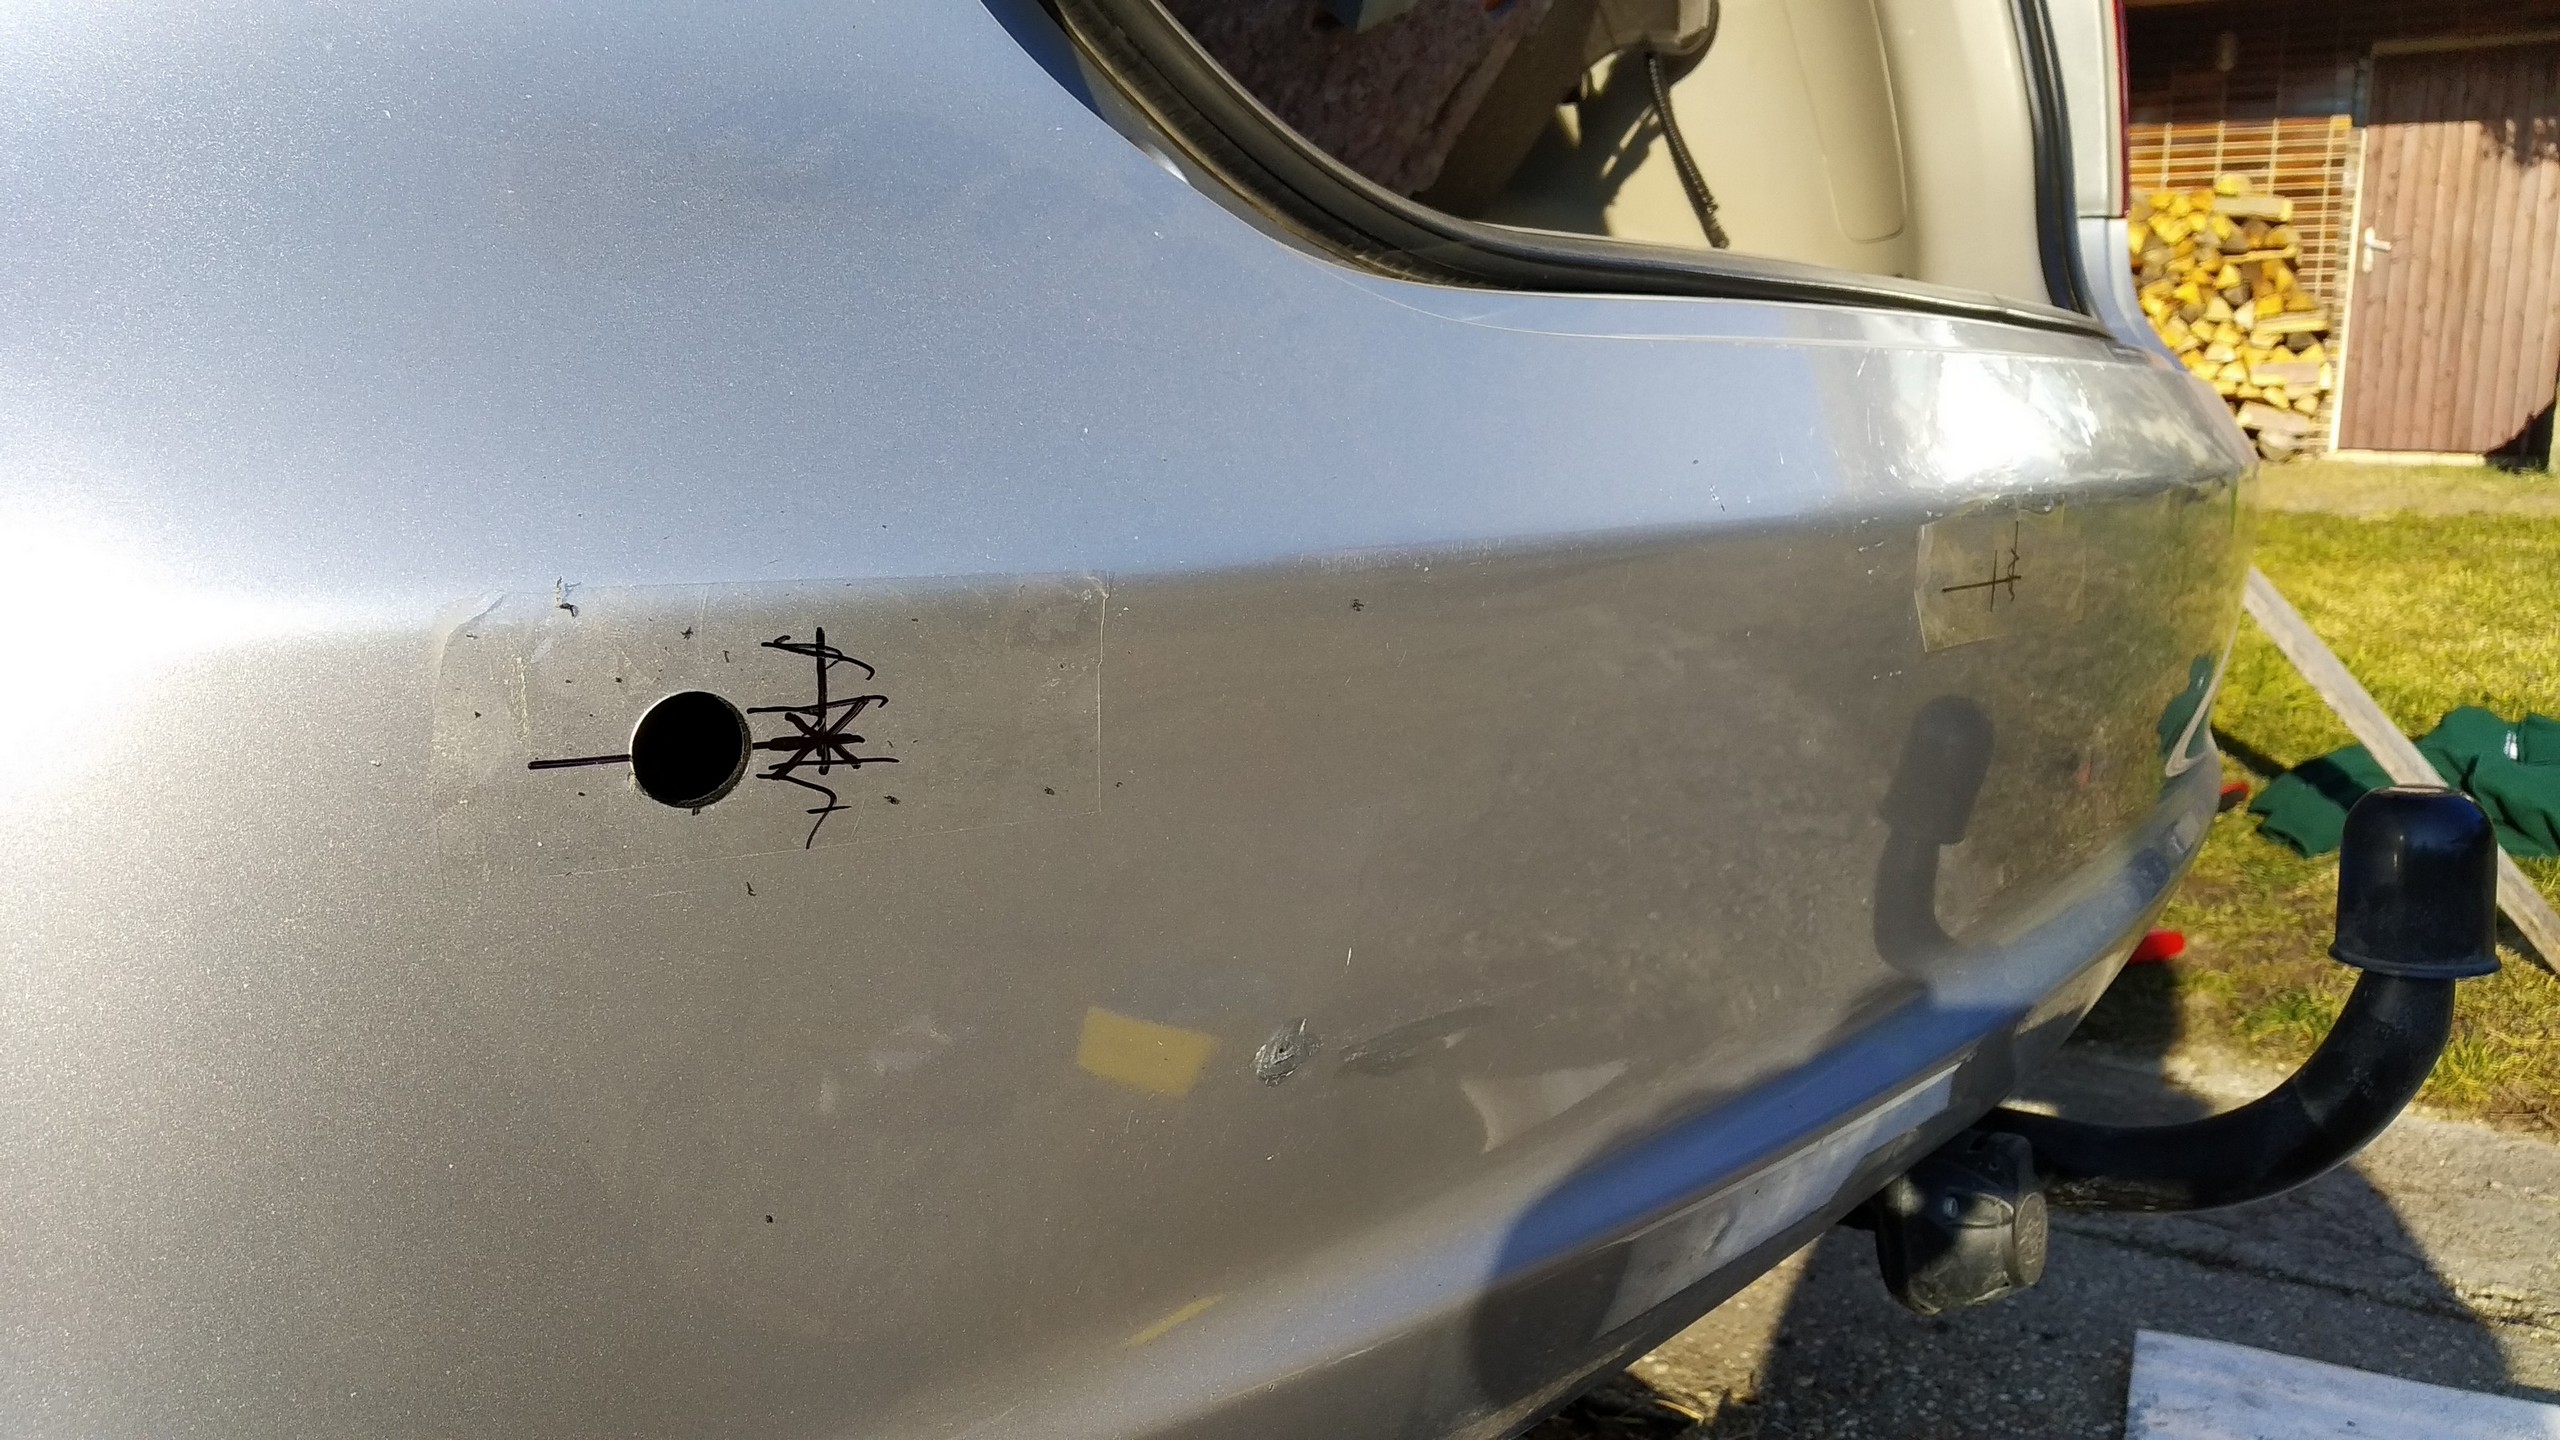
Reverse sensors - SteelMate @165K 

The Honda FRV rear view is not the best, so the reverse sensors or rev-cam are definitely useful. There is plenty of sets on the market, mostly of low chinese quality, priced about 20€ or on the other hand very expensive ones. The Stel Mate /originally a Jap company/ set I bought costed 65€, its wires are stronger, with thicker isolation, sensors are not too big, but feels robust and have plugs so could be replaced later if needed. They also come with several angle adapters to play well with the vehicles bumper curves. The control unit and the beeper have some useful settings like volume and the reaction distance not to interfere with the tow bar. Installation is easy and took me about 2 hours without taking the bumper off. I am very happy with them. Works better than my OEM Ford Mondeo sensors.

Engine oil - my first job @155K 

When I brought the car, it had an unknown viscosity or oil brand in.

To start off from a square one, I have done the first oil service twice in a raw prior to an engine flush by a Liqui Moly cleaner.  I used Valvoline 5w30 SM A3  /not the C, Dura or FE versions but regular synpower 5w30 - about 6-7€/lit./  I try to drop it out every 5-8K Km with Bosh, Purflux or Mann oil filter. The filter tool is 65-66mm but I do-undo them /usually/ by hand and never had a problem. Engine takes 4,2 litters of the fresh oil, depending on how well you drain the old one. Overall costs give or take 40€ with 1-2 hour work. It don't need to refill a drop between the swaps. While the 5w30 is absolutely fine, I am playing with an idea to switch over to a 0w40 grade as I do lot of motorways in the hot summer. On the "w-side" the 0 is not that much needed in this climate condition, but surely will help with cold starts too.  Along with the oil swap I always clean the TB and the air box.